Nutek MTIB Transmitter User Manual PLUS6900 UM qxp
Nutek Corporation Transmitter PLUS6900 UM qxp
Nutek >
Contents
- 1. rev1 User s Manual Part 1
- 2. rev1 User s Manual Part 2
rev1 User s Manual Part 1
User’sManual
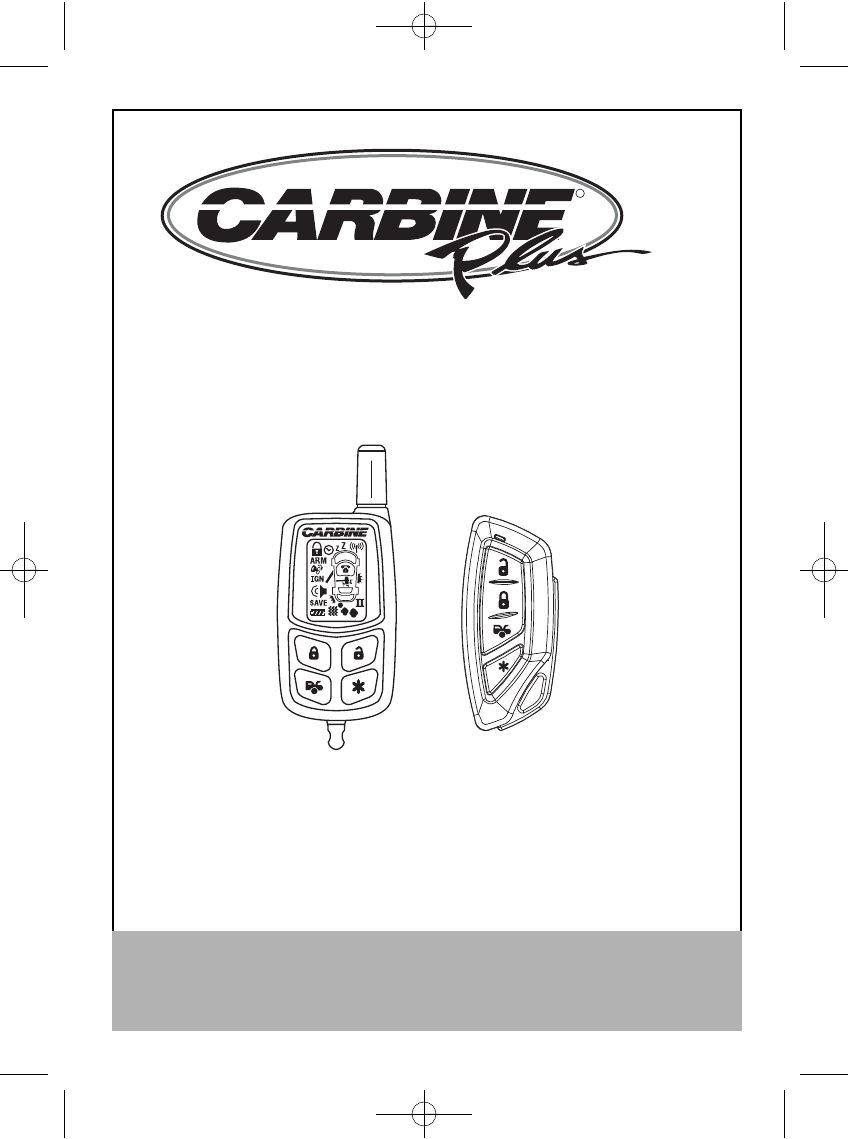
Model: Plus6900
This device complies with part 15 of the FCC rules. Operation is subject to the following two conditions:
(1) This device may not cause harmful interference; and
(2) This device must accept any interference received, including interference that may cause undesired operation.
Note: The manufacturer is not responsible for any radio or TV interference caused by unauthorized modifications to this
equipment. Such modifications could void the user’s authority to operate the equipment.
For Technical Assistance, please call (800) 638-3600,
or visit www.magnadyne.com
R
Automotive Security
PLUS6900-UM.qxp 4/3/2009 1:14 PM Page 1

Congratulations on your purchase of a quality Carbine automotive security and remote start system.
Carbine security products have been designed to provide the consumer with a technologically
superior product and years of trouble free operation. The information enclosed will provide a ready
reference of the operation and maintenance of your new Carbine security and remote start system.
As with any product that performs automatic functions, there are certain safety precautions that
you must practice and be aware of.
• Keep the transmitter out of children’s reach.
• Do not leave anyone in the vehicle while running on remote control.
• Alert servicing personnel that the vehicle can be started automatically.
• Do not start the vehicle by remote while it’s in an enclosed area.
• Always apply the parking brake and lock the vehicle as you exit the vehicle.
• The vehicle windows must be rolled up.
• Should the unit malfunction, disconnect the fuse until the problem is corrected.
• Some areas may have local ordinances that prohibit leaving a vehicle running on public streets.
2
Remote Control Transmitter Operation / Programming . . . . . . . . . . . . . . . . . . . . . . . . . . . . . . . . . . . . 3-6
Alarm Status Indicators . . . . . . . . . . . . . . . . . . . . . . . . . . . . . . . . . . . . . . . . . . . . . . . . . . . . . . . . . . . . 6-7
System Arming / Disarming . . . . . . . . . . . . . . . . . . . . . . . . . . . . . . . . . . . . . . . . . . . . . . . . . . . . . . . . . 8-9
Valet Mode Operation . . . . . . . . . . . . . . . . . . . . . . . . . . . . . . . . . . . . . . . . . . . . . . . . . . . . . . . . . . . . . . 10
Panic Function . . . . . . . . . . . . . . . . . . . . . . . . . . . . . . . . . . . . . . . . . . . . . . . . . . . . . . . . . . . . . . . . . 10-11
Anti-Car Jacking . . . . . . . . . . . . . . . . . . . . . . . . . . . . . . . . . . . . . . . . . . . . . . . . . . . . . . . . . . . . . . . . . . 12
Additional Speciality Features . . . . . . . . . . . . . . . . . . . . . . . . . . . . . . . . . . . . . . . . . . . . . . . . . . . . . . . 13
Remote Start Operations / Programming . . . . . . . . . . . . . . . . . . . . . . . . . . . . . . . . . . . . . . . . . . . 14-16
Second System Operation / LCD Transmitter Battery Replacement . . . . . . . . . . . . . . . . . . . . . . . . . . 17
Warnings
Contents
PLUS6900-UM.qxp 4/3/2009 1:14 PM Page 2
3
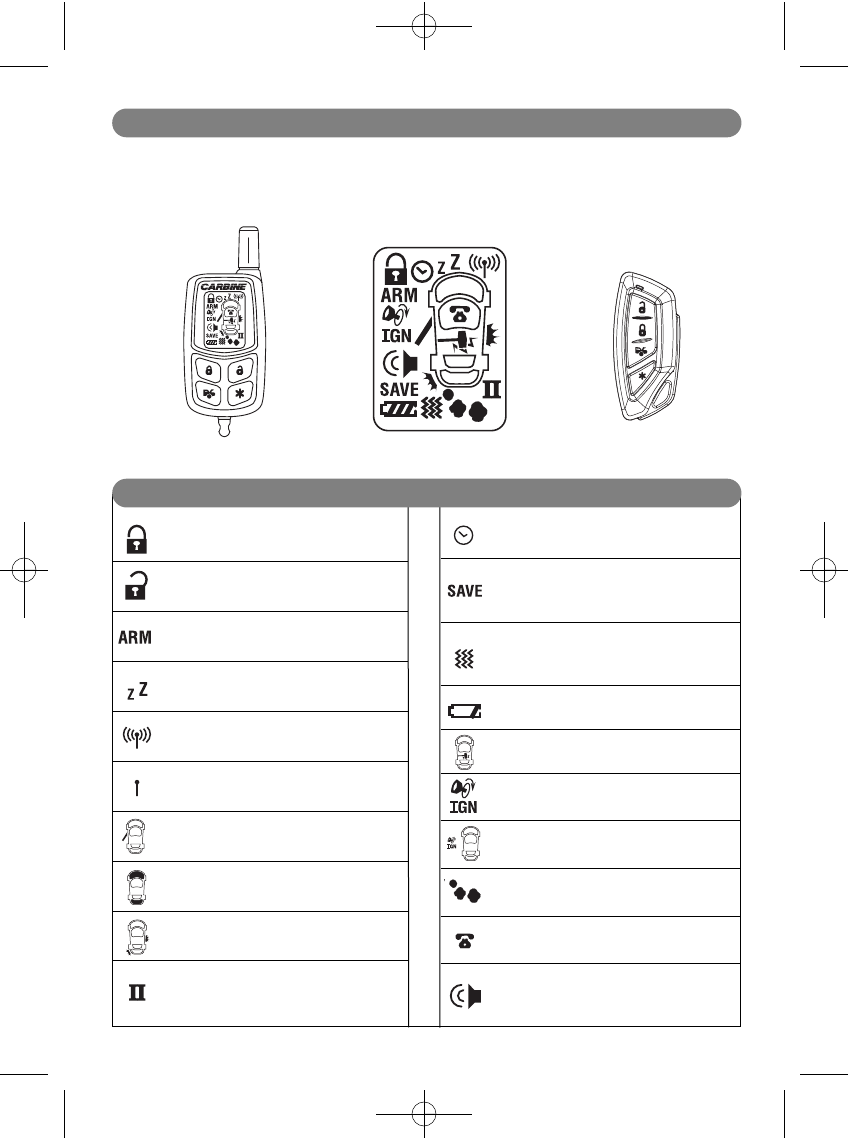
2-Way LCD Remote LCD Display Icons 1-Way Remote
The LCD screen on the 2-way remote control displays graphic icons. It provides visual information
on any trigger of the sensors and around the clock surveillance of your vehicle, as well as
displaying the present status of the system.
Door Lock
Vehicles Doors are Locked
Door Unlock
Vehicles Doors are Unlocked
Armed Mode
Security System is Armed
Valet Mode
Security System is Disarmed
Remote Transmission
Transmitting a Signal
In-Range Indicator
You are within Remote Control Range
Door Triggered
Doors are Opened (Zone 3)
Trunk/Hood Triggered
Trunk/Hood are Open
Warn Away
Shock Sensor Triggered (Zone 1)
Second Vehicle
Communicate with a Second Vehicle’s
Security System
Timer Control Start
Automatic Engine Start (Timed)
Power Save Mode
Saves The Battery Power when
Transmitter is not in Use
Vibrate Mode
Vibrates when Security System is
Triggered
Low Battery
Replace the Transmitter Battery
Shock Sensor
Shock Sensor Triggered
Ignition
Engine Starting by Remote Control
Ignition
Trigger On Ignition Switch (Zone 5)
Engine Running
Vehicle Engine is Running
Driver Paging / Lost and Found
Someone is Paging you from the Vehicle
System Trigger/Panic
Alerts that the System has been
Triggered
Remote Control Transmitters
LCD Remote Icons
PLUS6900-UM.qxp 4/3/2009 1:14 PM Page 3

Two Steps Door Unlock and
Disarm System
Panic Function
Silent Arming/Disarming
Lock Doors & Arms System
Transmitter Button
System Function
4
Remark
Car Locator Armed for 30 seconds or longer
Arm and Delete the 2-Stage
Shock Sensor Press Twice within 3 Seconds
Ignition in “OFF” Position
Active Anti-Car Jacking Mode Ignition in “ON” Position,
Press and Hold for 2 Seconds
Channel #4 Timer Control Output
Unlock Doors & Disarm System
Press Twice within 3 Seconds
Trunk Release - Channel 3 Press and Hold for up to 3 Seconds
Passive Arming Bypass While the System
is in “Disarmed” Mode
Arm System and
Hidden Alarm Function Press within 3 Seconds
Activate or Turn Off the Remote
Start (Default Setting) Press Twice within 3 Seconds
-
+
+
+
-
-
-
-
Press and Hold for 3 seconds.
Activate Turbo Timer Mode
-
+(Hold)
Then
(Hold)
Enter/ Exit Second Vehicle System
Control using the LCD Transmitter
See Page 17 of this Manual for
More Details
Transmitter Operation
While Ignition is On
Press and Release
+
+
Activate Valet Mode
De-Activate Valet Mode
See Page 10 for More Details
See Page 10 for More Details
Press and Release
Press Both and Release
PLUS6900-UM.qxp 4/3/2009 1:16 PM Page 4
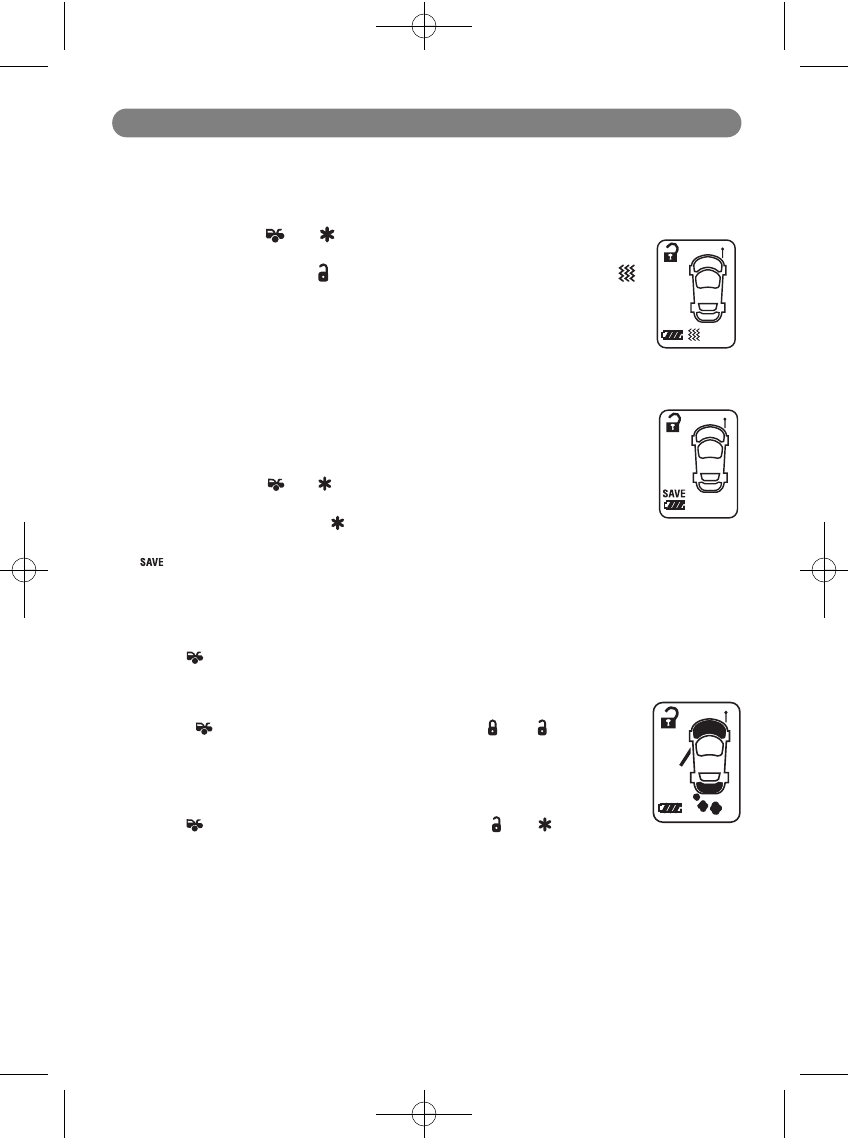
Vibration/Melody Mode
This mode is useful when you are in a noisy place and it is difficult to hear the beep from the
transmitter. While in the Vibration/Melody Mode, the transmitter will vibrate if your security
system has been activated.
1. Press and hold the and buttons at the same time until one long beep is
heard. Programming has now been entered.
2. Within 5 seconds, press the button to toggle between “ON” or “OFF”. The
icon will be displayed in the LCD display when the Melody Mode is On.
3. To exit the Programming Mode, take no action for five seconds. The remote
control will generate two long beeps to indicate Programming Mode has been
exited.
Power Save Mode
While in the Power Save Mode, the LCD remote transmitter will “Sleep” until a
button is pushed, extending the life of battery. When Power Save Mode is “OFF”,
the remote control will wake up periodically to check for messages from the
security system.
1. Press and hold the and buttons at the same time until one long beep is
heard. Programming has now been entered.
2. Within 5 seconds, press the button to toggle between “ON” or “OFF”. The
remote will beep once for “ON”, and twice for “OFF”. When Power Save Mode is “ON”, the
icon on the LCD screen indicates entry into Power Save Mode.
3. To exit Programming Mode, take no action for five seconds. The remote control will generate
two long beeps indicating Programming Mode has been exited.
Screen Lamp On
Press the button once, and the LCD screen lamp will turn on for 5 seconds.
System Status Check
To check the system’s present status through the LCD screen, press the
transmitter button first, then within 3 seconds press and buttons at the
same time. The response will be one melody sound, and the LCD screen will be
illuminated. Note: If no response is received, then you are out of range.
Clear the Flash Icon and Melody Sound
Press the button first, then within 3 seconds press the and buttons at the
same time. These steps will clear the flash icon and melody sound on the LCD
transmitter.
Stop the Trigger Melody Sound
While triggering the alarm the LCD screen will alert the user through a melody sound and a
flashing trigger icon. Press any button on the LCD transmitter to stop melody sound only, and the
remote control will not send a command to the system.
5
LCD Remote Programming
PLUS6900-UM.qxp 4/3/2009 1:17 PM Page 5
LED Function
OFF System is Disarmed
Slow Flashing System is Armed
Fast Flashing Automatic Arming Timer is Counting Down
LED On Solid System in Valet Mode (Ignition Key On)
1 Flash Every 5 Seconds System in Valet Mode (Ignition Key Off)
2 Flashes - Pause Zone 2, Trigger from Trunk/Hood
3 Flashes - Pause Zone 3, Trigger from Door Switch
4 Flashes - Pause Zone 4, Trigger from Shock Sensor
5 Flashes - Pause Zone 5, Trigger from Ignition Switch
Press Buttons at the Same Time: Then Press Button Within: System Function
5 Sec.
Switching to 2nd Vehicle
or Returning to 1st
Vehicle Operation
5 Sec. Melody / Vibration Mode
5 Sec. Power Save Mode
LCD Screen Lamp
Turns On for Five Seconds
3 Sec. System Status Check
3 Sec. Clear the Flash Icon
and Melody Sound
6
+
+
+
+
+
The transmission range may decrease if the system encounters interference from tall structures or
stronger radio frequencies such as high-voltage power lines.
LCD Remote Programming
RF Interference
LED Indicator
PLUS6900-UM.qxp 4/3/2009 1:18 PM Page 6