Ocean Digital Technology MS280I0000 Internet Radio User Manual
Ocean Digital Technology Ltd. Internet Radio Users Manual
UserManual.wiki
>
Ocean Digital Technology
>
MS280I0000 User Manual
user manual
Navigation menu
Upload a User Manual
Namespaces
Wiki Guide
HTML
PDF
Info
Views
User Manual
Discussion / Help
Navigation
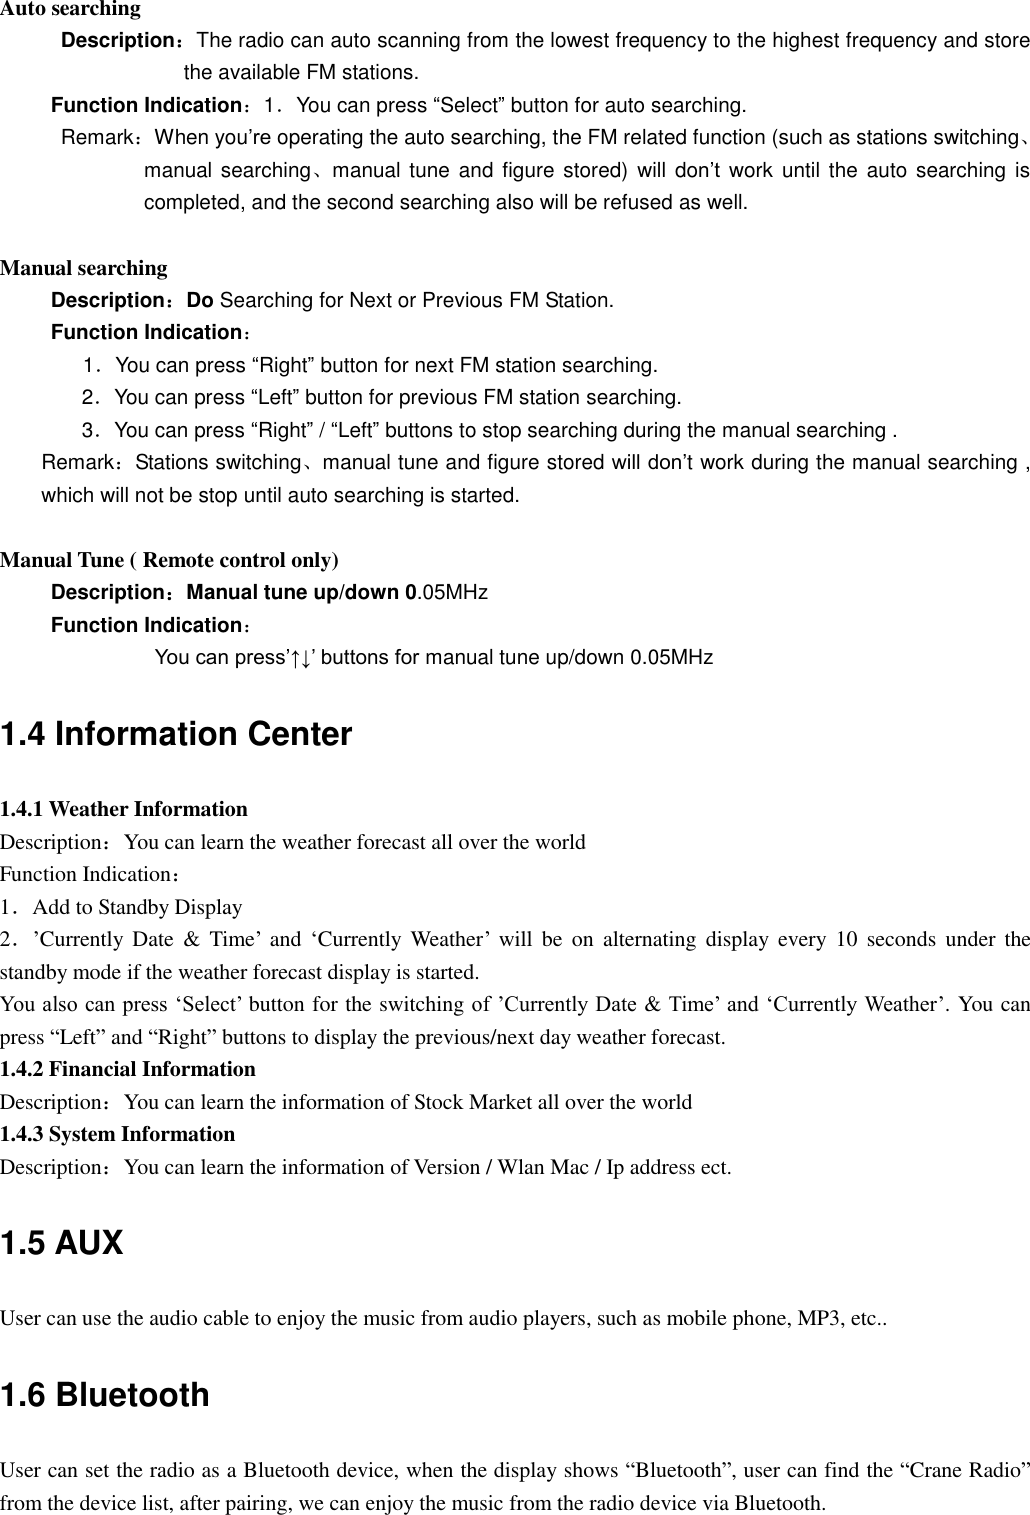
![You can press “ON/OFF” button to stop the ringing when the alarm goes off 5minutes later again. 5. You also can set Alarm Clock with „Alarm‟ key from remote control. 6. Alarm volume, user can set the alarm volume by turn the Remark: [1]You can select any internet station as Alarm tone from the function of internet station. When the internet station doesn‟t work in 1 minute, it will auto set into Beep. [2] Alarm tone is fixed on volume 15 [3]Alarm Clock stops 1 hour later in auto 1.7.4 Configuration-Language Description:Language setting Function Indication:1.11 Language options 1.English 2.German 3.Spanish 4.French 5.Portuguese 6.Dutch 7.Italian 8.Russian etc. Remark:When you enter this menu, it will remain on the previous option. 1.7.5 Configuration-Dimmer Description:Set the Screen Backlight Function Indication:1.Options 1) Power Saving Remark:when the backlight is under the Low-power mode,it will turn into highlight when you press any key,and low-power mode will be Auto started again after 15 minutes without any operation. 2)Turn on(Default setting) 20 Levels option of backlight 3) Dimmer Timer Set the timer for Dimmer Remark: When you enter this menu, it will remain on the previous option. 1.7.6 Configuration-Power management Set the radio go to standby mode timer or turn off the setting for power management. 1.7.7 Configuration-Sleep Timer Description: You can set a related time to enter standby mode automatically Function Indication: 1.Options: 1)Off 2)15minutes 3)30minutes 4)60minutes 5)90minutes 6)120minutes 7)150minutes 8)180minutes 2.You also can do the setting with the “Sleep” button from remote control Remark:When you enter this menu, it will remain on the previous option. 1.7.8 Configuration-Buffer Description:Buffer time for internet radio playing Function Indication: 1.Options: 1)2 seconds(default setting) 2)4 seconds](https://usermanual.wiki/Ocean-Digital-Technology/MS280I0000/User-Guide-2144385-Page-9.png)
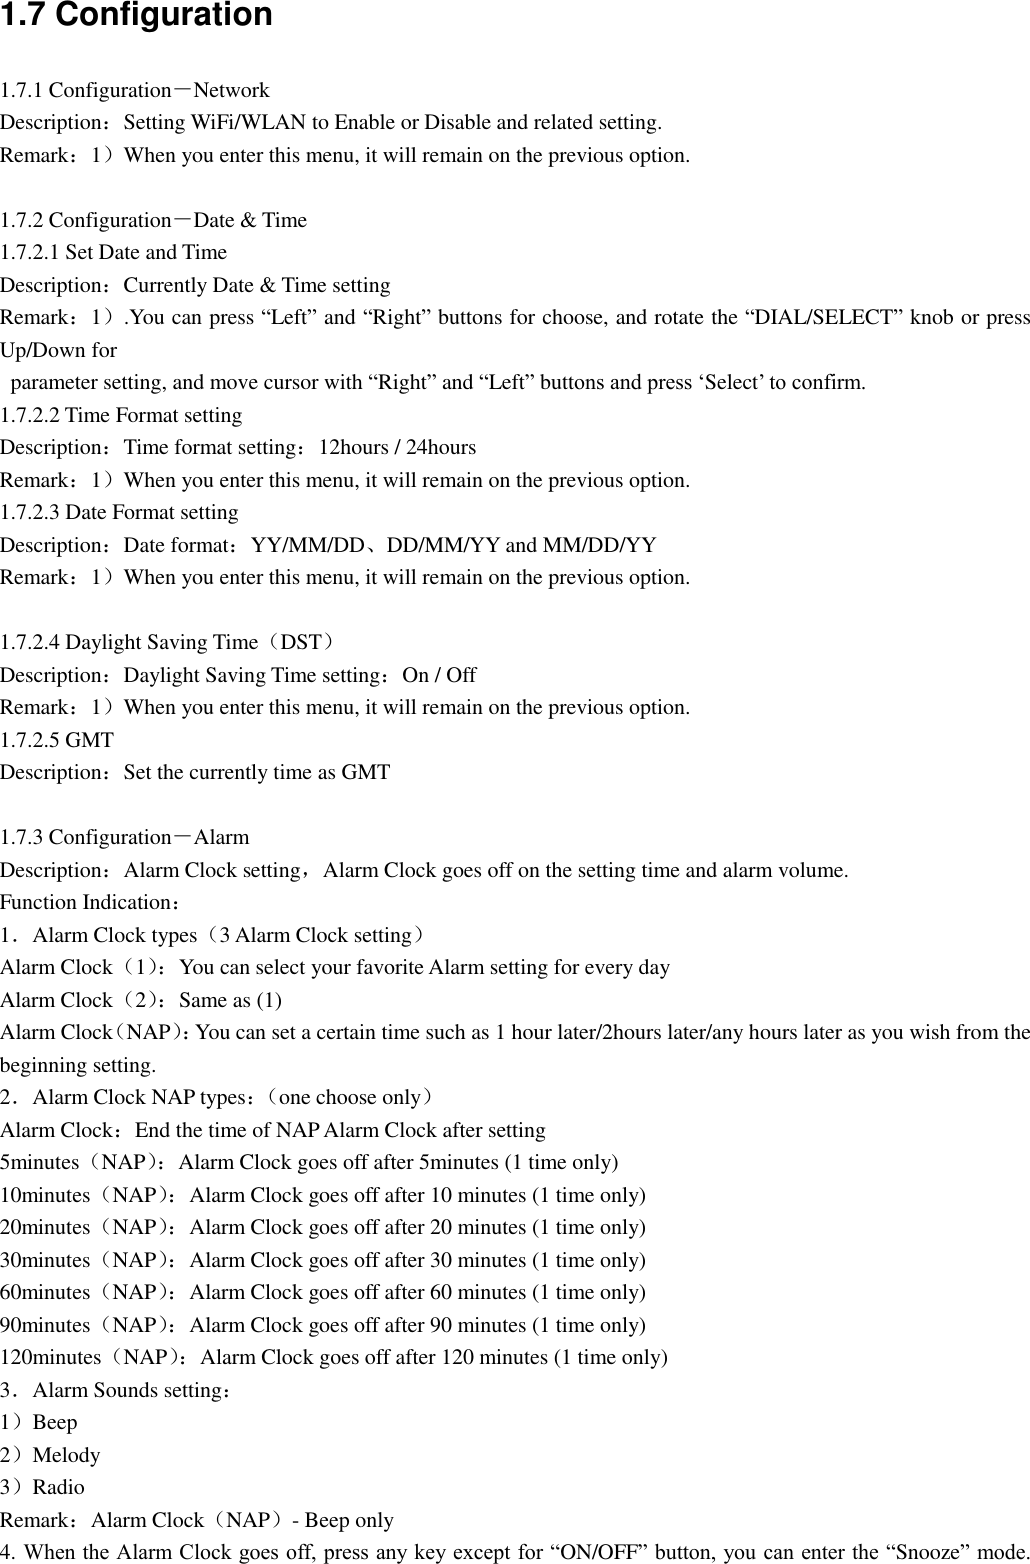
![11)Weather Display:Off 12)Temperature Unit:Fahrenheit 13)Folder/FM/History List:Empty 14) Default Alarm Clock station:Empty 15)FM Audio Setting:Stereo 16)Internet Radio Alarm Sounds:Nil 17)Time Zone:hour=0,Min=0 18)WiFi Setup:Disable 19)WiFi DHCP:On 20)WiFi IP Address/ Subnet Mask/Default Gateway/DNS1/2:Empty 21)WiFi ESSID, ESSID PW:Empty 22)Default weather forecast display:Berlin Remark:Playing stopped when it comes back to default settings and skip into Language Setting automatically, after that it will turn to the internet setting. 2.1 Figure Button Description: i. Figure button input ii. When you input the letters,cycle pressing the keys will be the characters as below: key 0: „0‟->„DEL‟(Delete button) key 1: „1‟->„@‟->„ ‟(Space)->„!‟-> ”(double quotes) ->„#‟->„$‟->„%‟->„&‟-> ‟(single quotes)->„(‟ ->„)‟->„*‟->„+‟->„,‟->„-‟->„.‟->„/‟->„:‟->„;‟->„<‟->„=‟->„>‟->„?‟->„[‟->„\‟->„]‟->„^‟->„_‟->„`‟->„{‟->„|‟->„}‟->„~‟ Key 2: „2‟->„A‟->„B‟ ->„C‟->„a‟ ->„b‟ ->„c‟ Key 3: „3‟->„D‟->„E‟ ->„F‟->„d‟ ->„e‟ ->„f‟ Key 4: „4‟->„G‟->„H‟ ->„I‟->„g‟ ->„h‟ ->„i‟ Key 5: „5‟->„J‟->„K‟ ->„L‟->„j‟ ->„k‟ ->„l‟ Key 6: „6‟->„M‟->„N‟ ->„O‟->„m‟ ->„n‟ ->„o‟ Key 7: „7‟->„P‟->„Q‟->„R‟->„S‟->„p‟->„q‟ ->„r‟->„s‟ Key 8: „8‟->„T‟->„U‟ ->„V‟->„t‟ ->„u‟ ->„v‟ Key 9: „W‟->„X‟->„Y‟->„Z‟->„w‟->„x‟ ->„y‟->„z‟](https://usermanual.wiki/Ocean-Digital-Technology/MS280I0000/User-Guide-2144385-Page-11.png)