Orion Electric Co F9S946 19 Inch Color Display Monitor User Manual for F9S946 Color Display Monitor
Orion Electric Co Ltd 19 Inch Color Display Monitor Users Manual for F9S946 Color Display Monitor
UserManual.wiki
>
Orion Electric Co
>
F9S946 User Manual
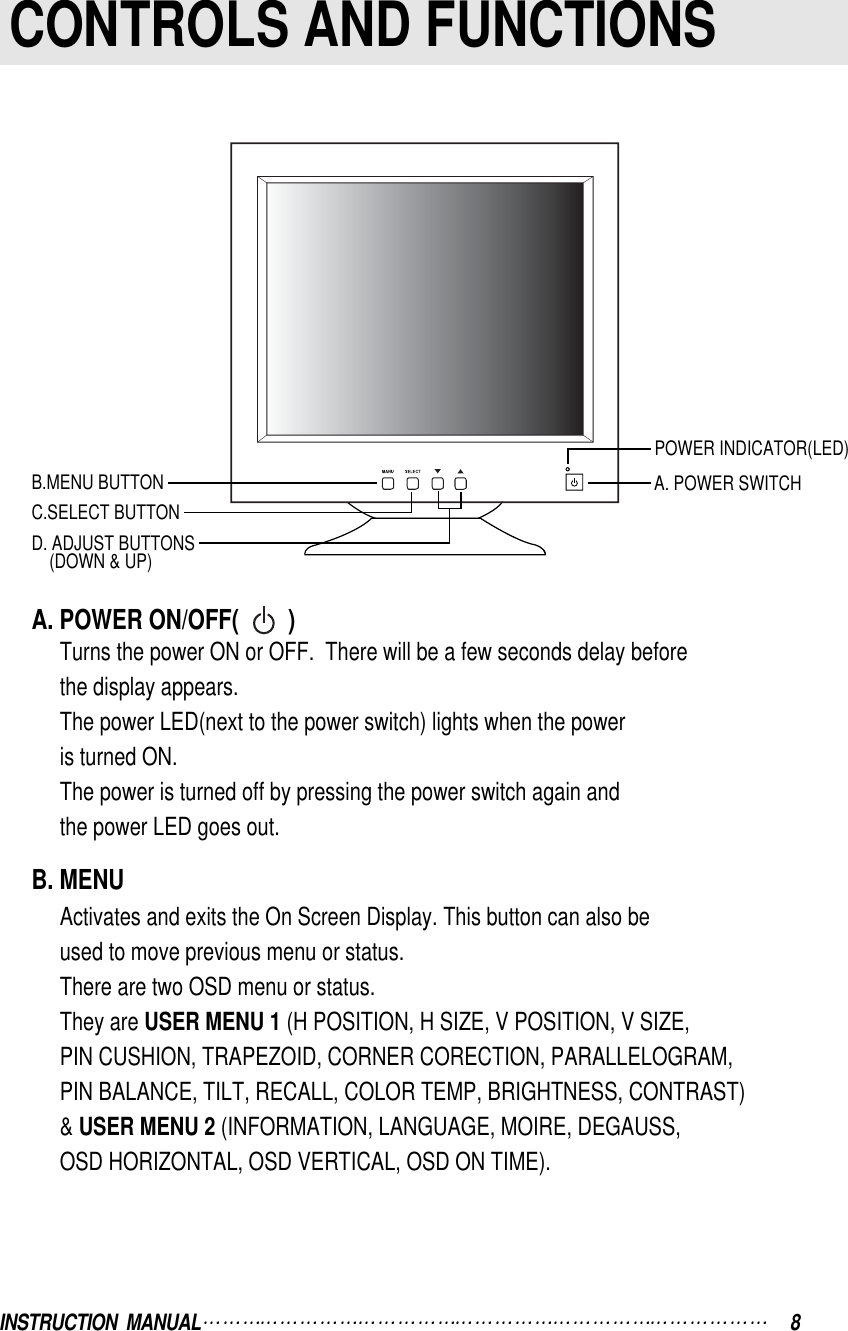
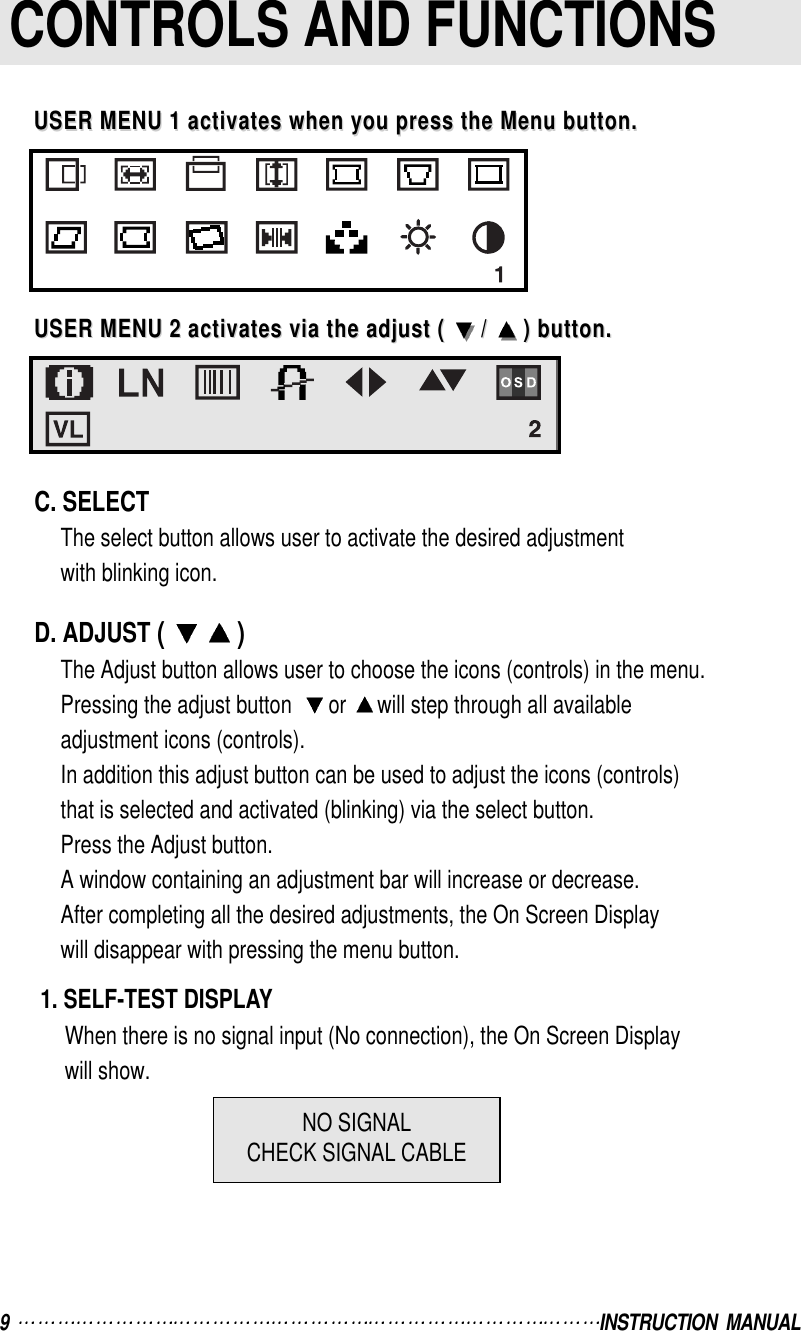
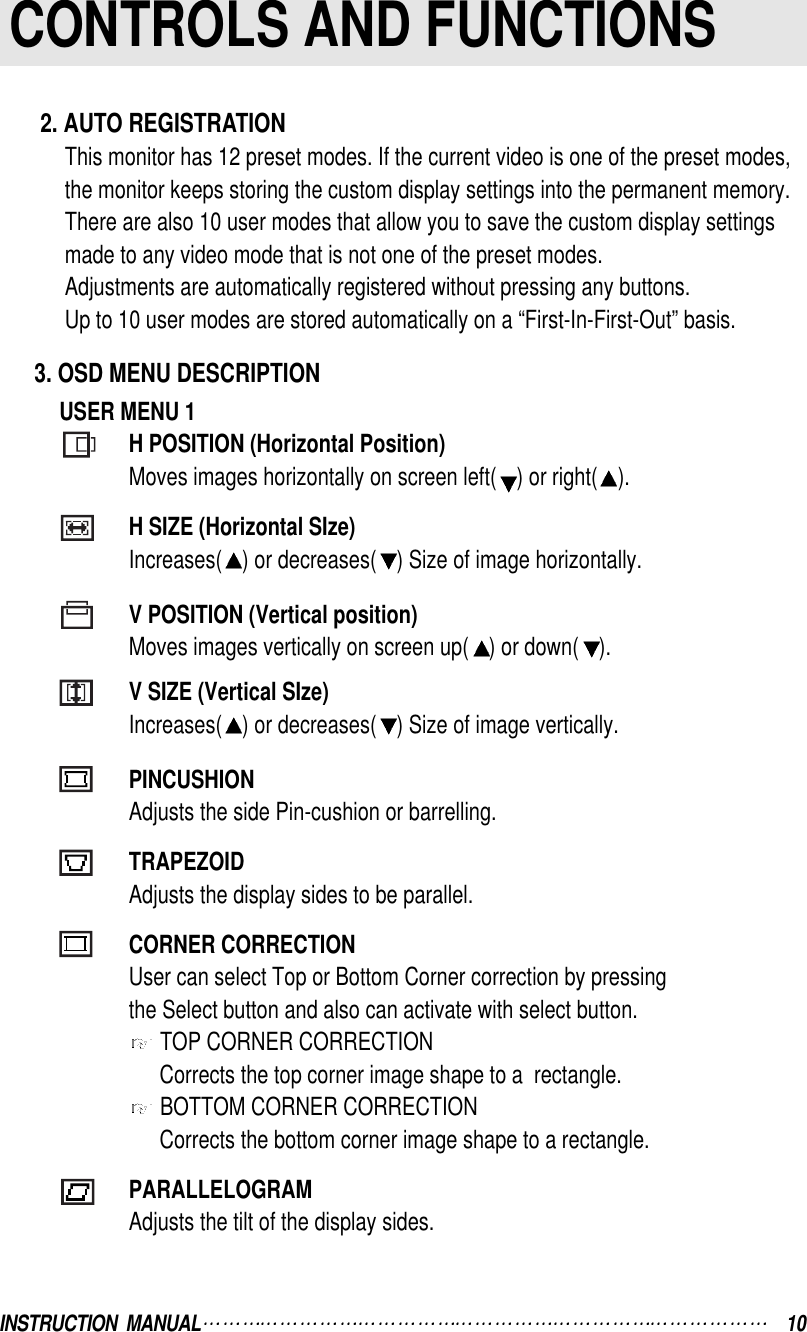
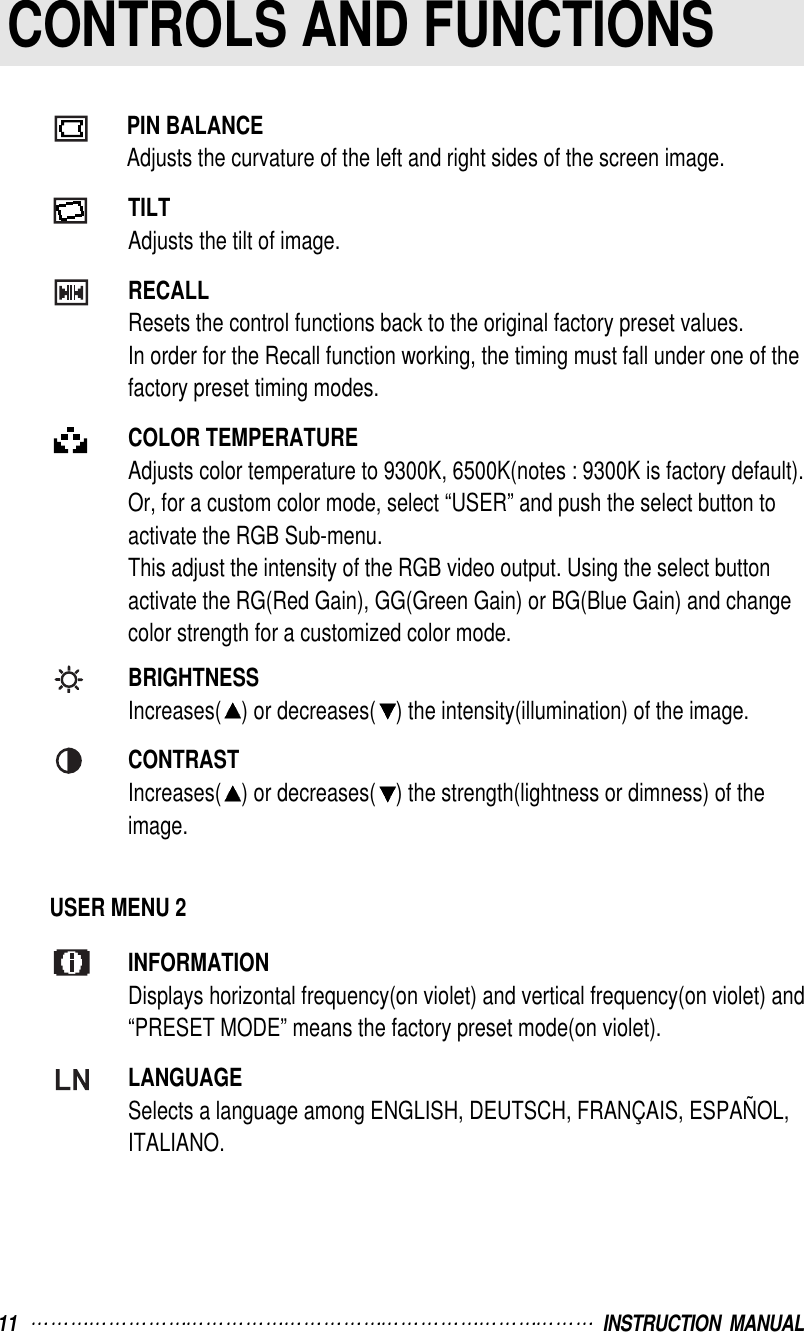
Users Manual for F9S946 Color Display Monitor
Navigation menu
Upload a User Manual
Namespaces
Wiki Guide
HTML
PDF
Info
Views
User Manual
Discussion / Help
Navigation