PARROT KEA BLUETOOTH PHOTO VIEWER User Manual users manual
PARROT BLUETOOTH PHOTO VIEWER users manual
UserManual.wiki
>
PARROT
>
KEA User Manual
users manual
Navigation menu
Upload a User Manual
Namespaces
Wiki Guide
HTML
PDF
Info
Views
User Manual
Discussion / Help
Navigation
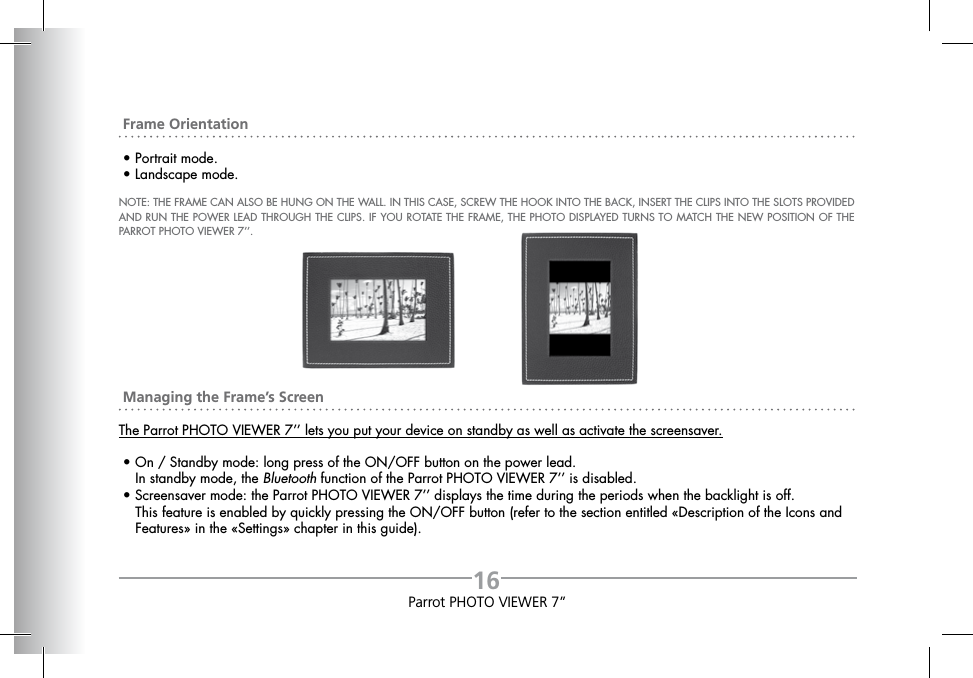
![17EnglishParrot PHOTO VIEWER 7’’ UPDATING THE SOFTWAREThe Parrot PHOTO VIEWER 7’’ can be updated by Bluetooth. Download the utilities and the update procedure from our website at www.parrot.com. Doing so will increase the compatibility of the Parrot PHOTO VIEWER 7’’ with other Bluetooth devices. HOTLINE • Our hotline is at your disposal. You can contact us by email or telephone.Europe : [+33] 01 48 03 60 69Italy : [+39] 02 86 39 14 63Spain : [+34] 902 404 202UK : [+44] 0 870 112 5872Germany : [+49] 0900 1727768USA : [+1] (877) 9 PARROT (toll-free)China : [+86] 2164 601 944Hong Kong : [+852] 2736 1169Check out our website at www.parrot.com for further information.](https://usermanual.wiki/PARROT/KEA/User-Guide-772340-Page-17.png)