PARROT OKIA Digital Photo Frame User Manual
PARROT Digital Photo Frame
UserManual.wiki
>
PARROT
>
OKIA User Manual
user manual
Navigation menu
Upload a User Manual
Namespaces
Wiki Guide
HTML
PDF
Info
Views
User Manual
Discussion / Help
Navigation


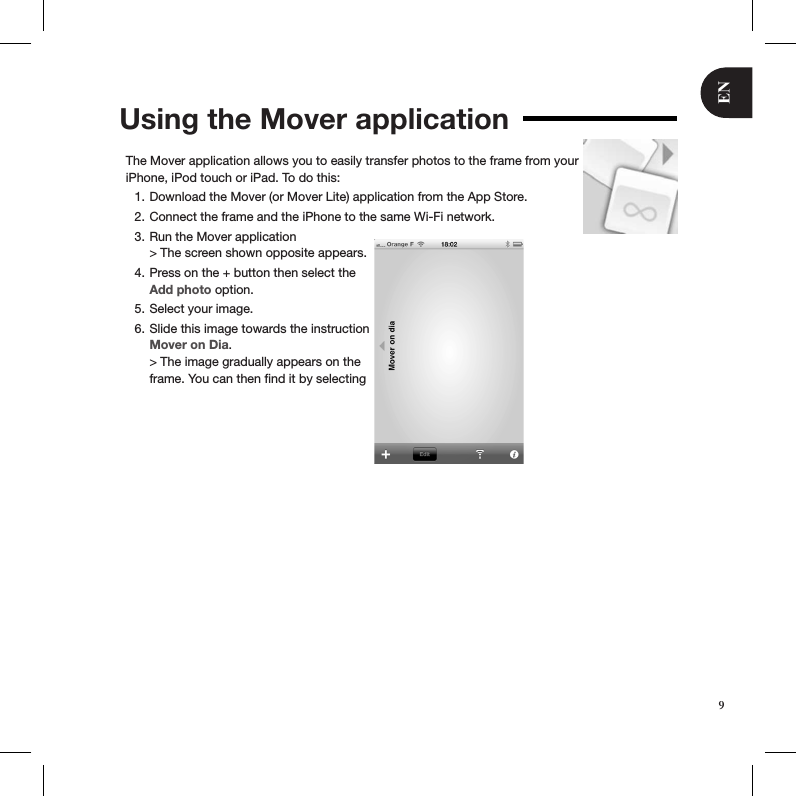

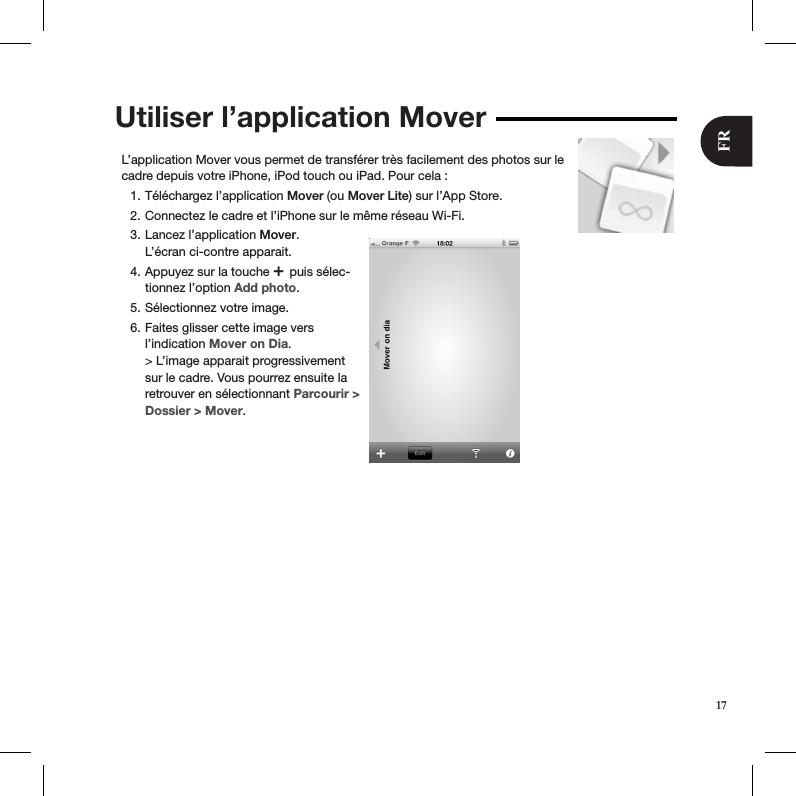
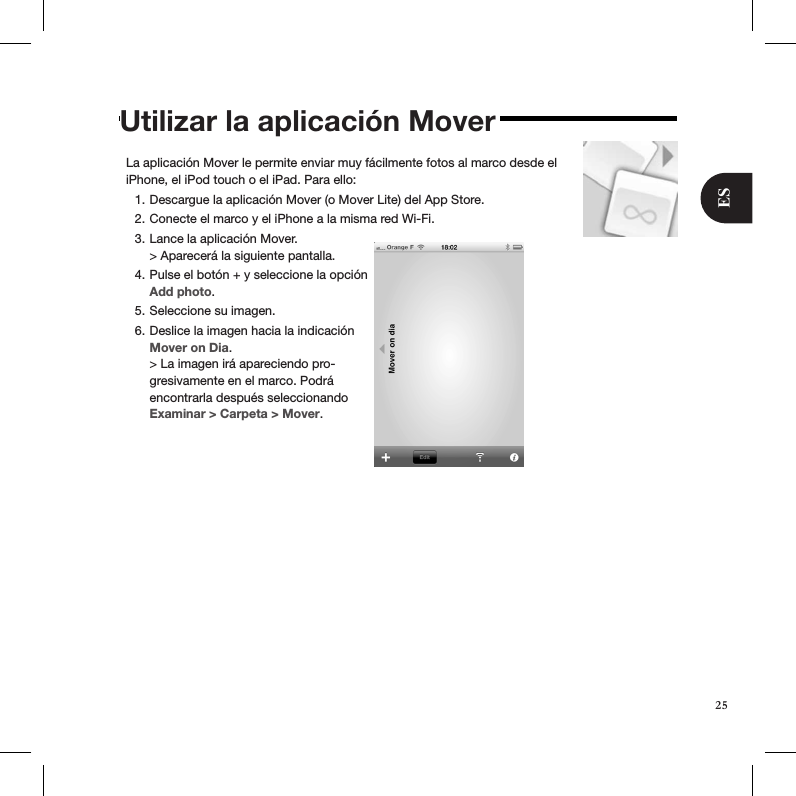
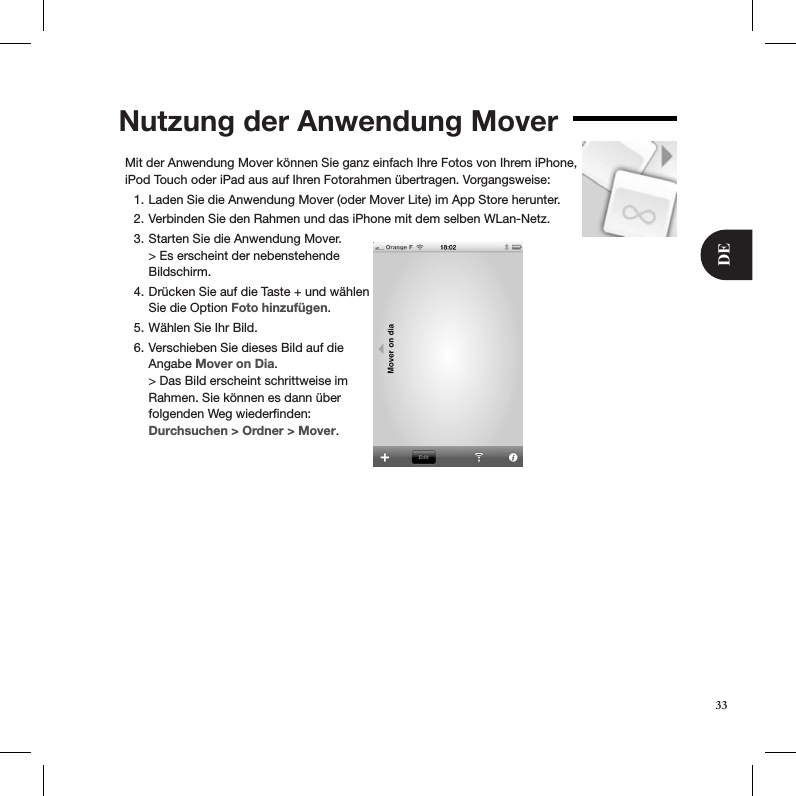
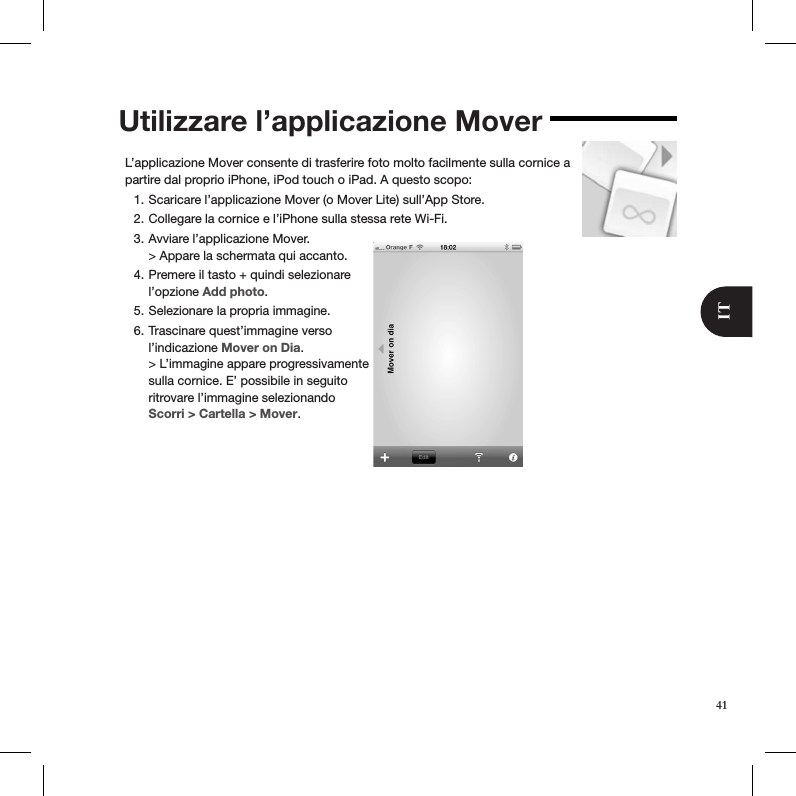
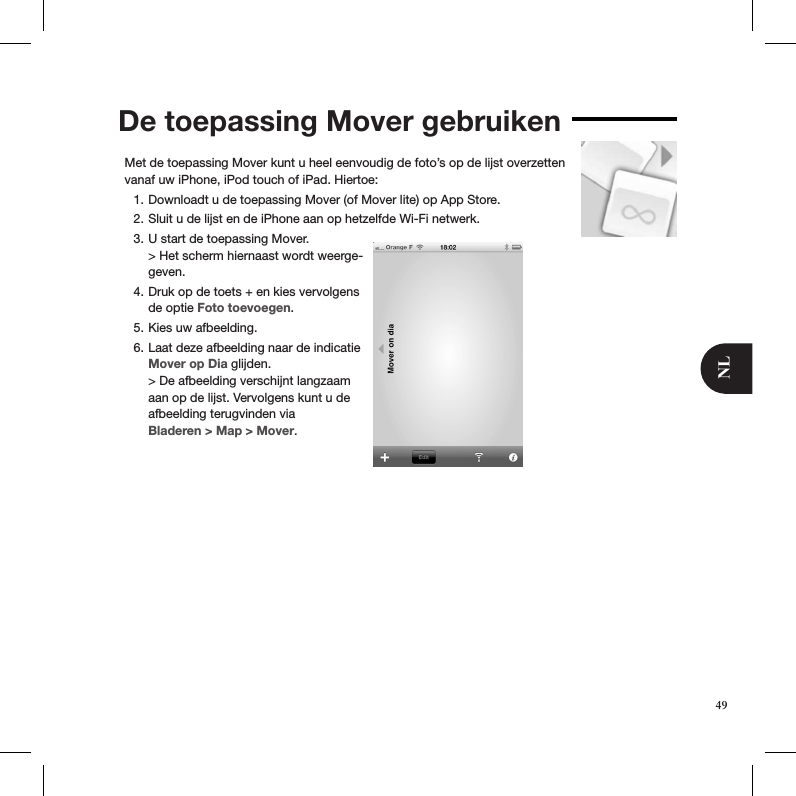
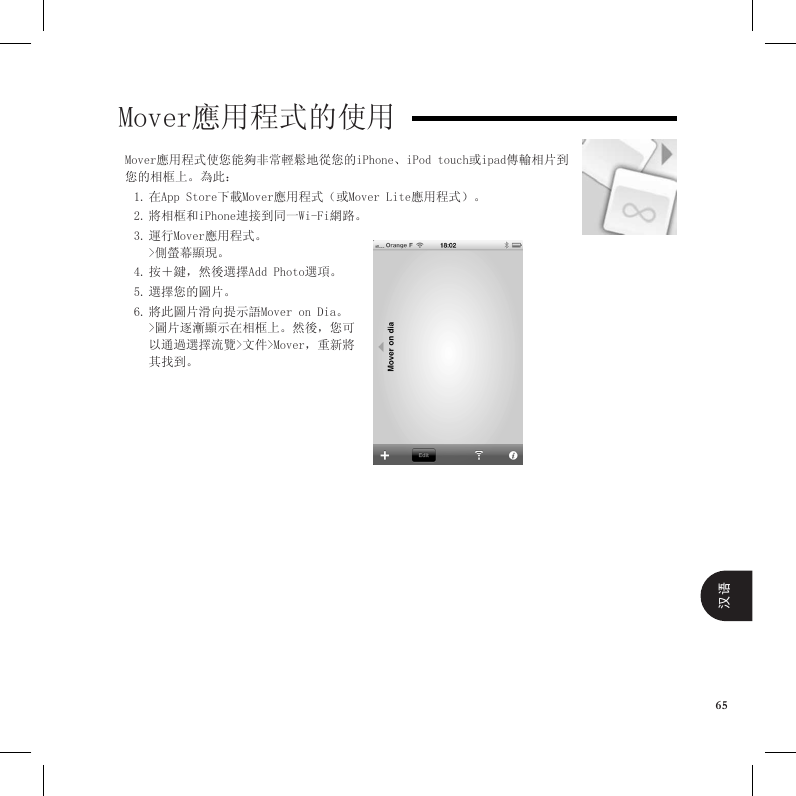
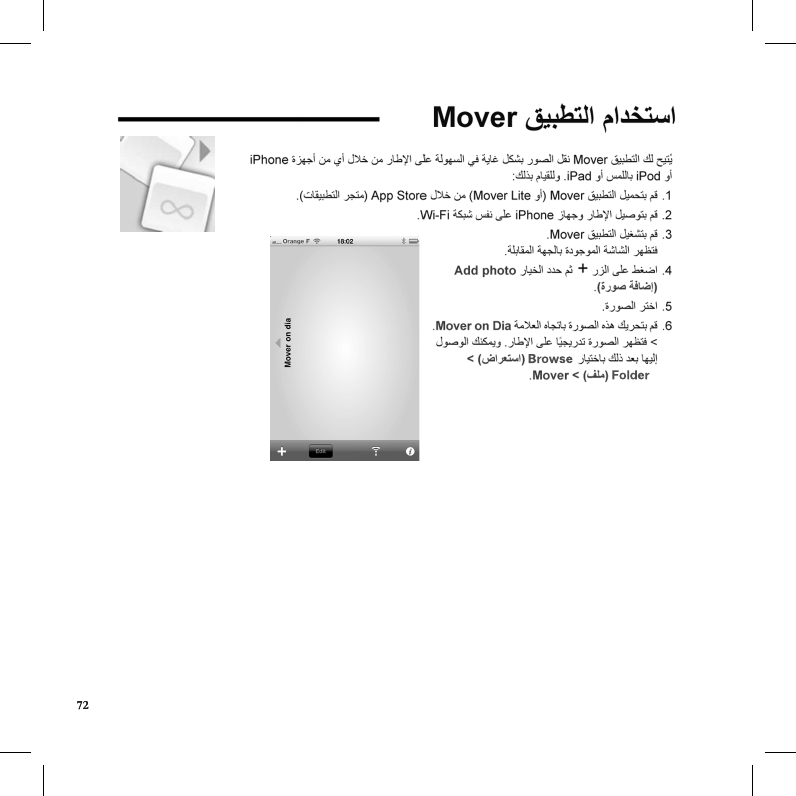
![アプリケーションMoverの使用アプリケーションMoverをお使いいただくと、お使いのiPhone、iPod touchまたはiPadから写真をフレームに大変簡単に転送することができます。それには:App Storeから、アプリケーションMover(またはMover Lite)をダウンロー1. ドしてください。フレームとiPhoneを、同じワイヤレス2. ネットワーク上に接続してください。アプリケーションMoverを起動します。 3. > 右の画面が表示されます。[+] キーを押した後、オプションの4. [Add photo]を選択します。画像を選択してください。5. 選択した画像を、 6. [Mover on Dia]へドラッグします。 > 画像が少しずつフレームに表示されます。その後は、 Browse > Folder > Mover を選択して、画像を確認していただけます。57日本語](https://usermanual.wiki/PARROT/OKIA/User-Guide-1410083-Page-57.png)
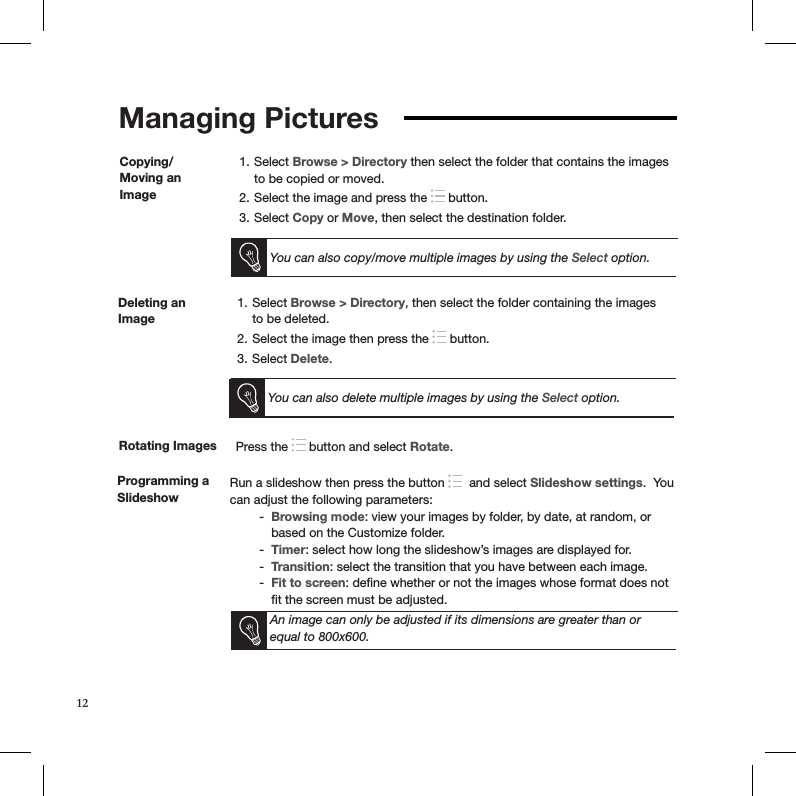
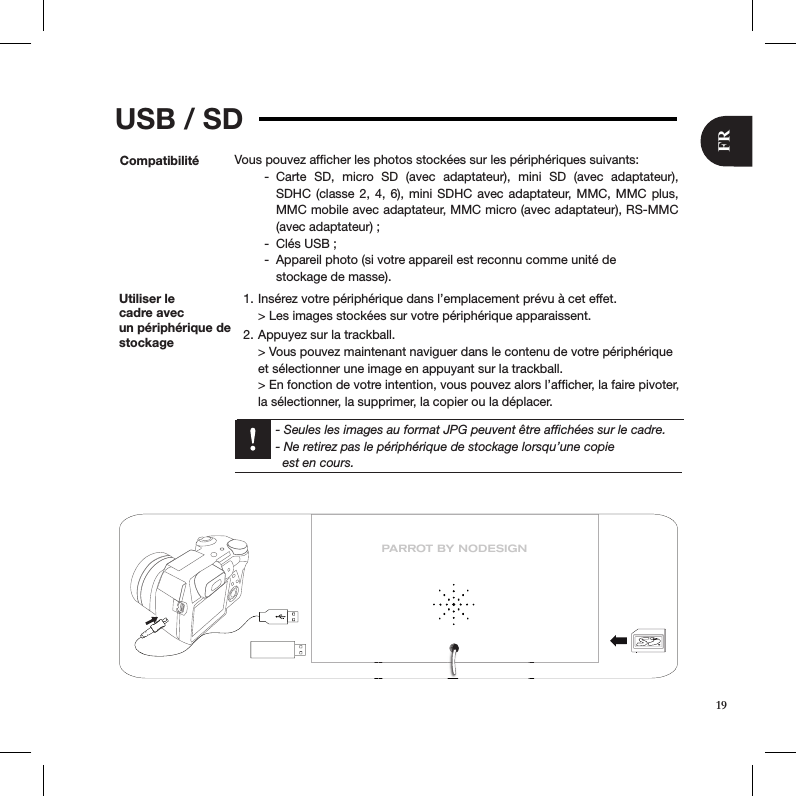
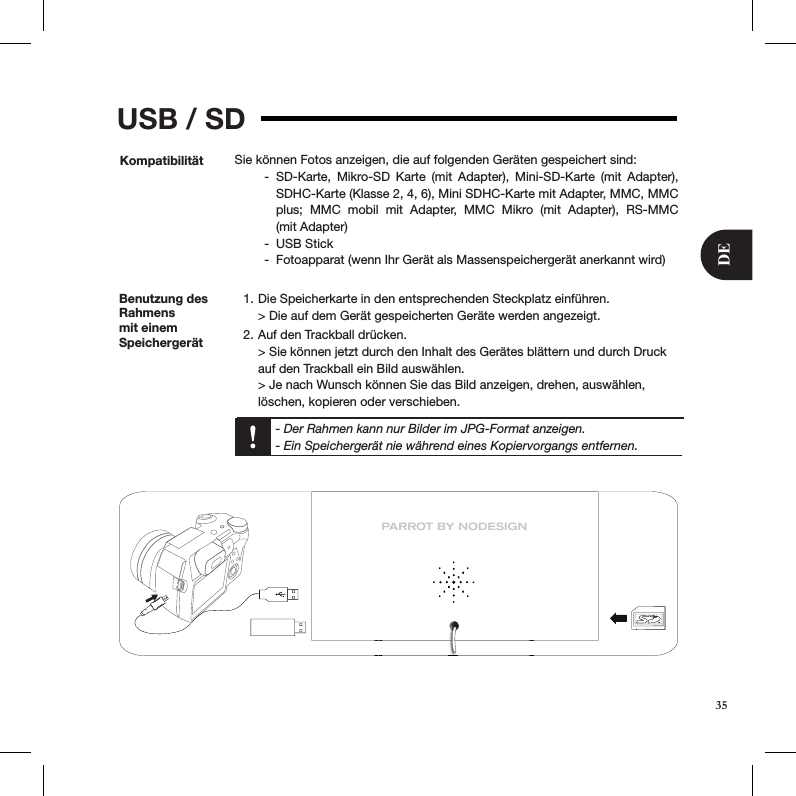
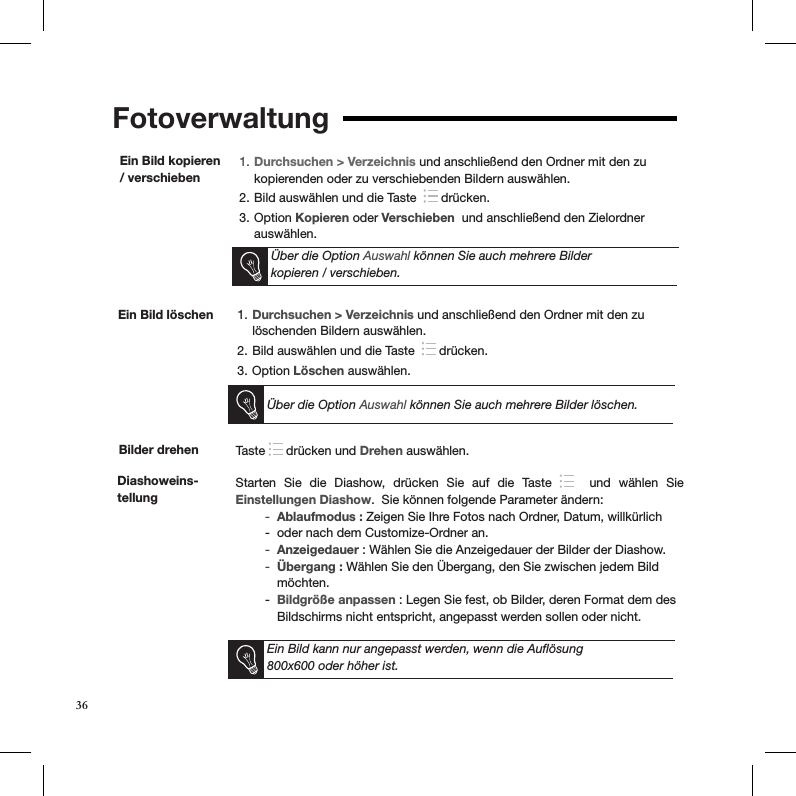
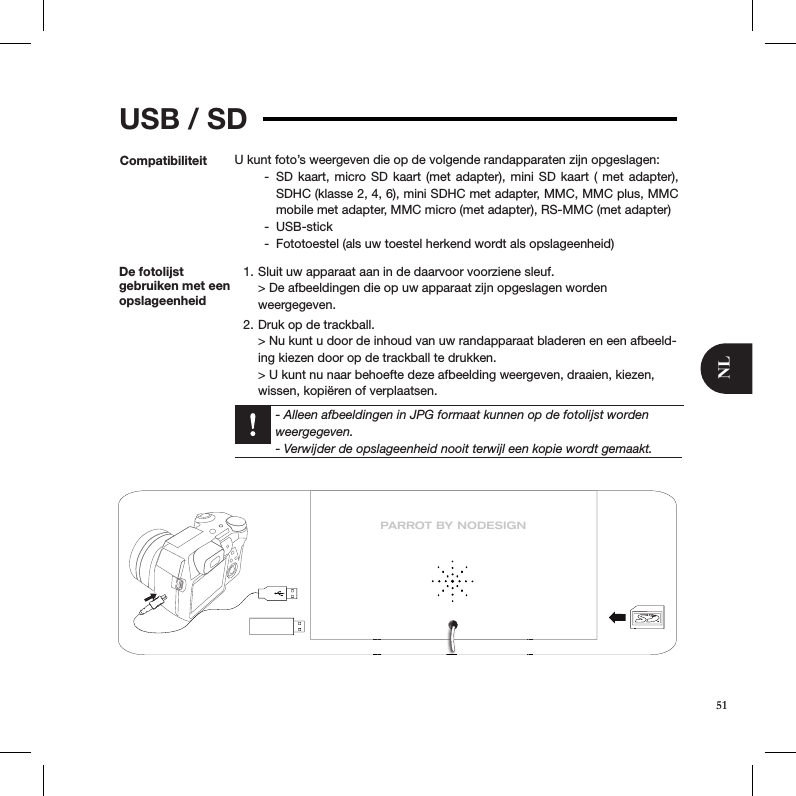
![写真の管理画像を回転させる キーを押した後、Rotate を選択してください。 画像をコピーまたは移動するBrowse > Directory1. を選択した後、コピーまたは移動する画像を含むドキュメントを選択してください。 画像を選択した後、2. キーを押してください。 オプションから3. Copy または Move を選択した後、コピーまたは移動先のファイルを選択してください。オプションから Select を利用して、複数の画像をコピーまたは移動することもできます。画像を削除する Browse > Directory1. を選択した後、削除する画像を含むファイルを選択してください。画像を選択した後、2. キーを押してください。 オプションの3. Delete を選択します。 オプションから Select を利用して、複数の画像を削除することもできます。スライドショーを設定する スライドショーを起動させた後、 キーを押して、[Slideshow settings]を選択してください。次の設定を変更することができます: Browsing mode -: ファイル毎、日付毎、ランダムまたはカスタマイズファイルにしたがって写真を表示することができます Timer -: スライドショーで表示する画像の表示時間を選択してください。 Transition -: 画像間の切り替え方法を選択してください。 Fit to screen - : 画像形式を画面に合わせるかどうかを決定してください。 画像の調整は、解像度が800x600かそれ以上の場合のみ可能です。60](https://usermanual.wiki/PARROT/OKIA/User-Guide-1410083-Page-60.png)


![HotlineLINEOur hotline is at your disposal from Monday to Friday between 9 am and 6 pm (GMT + 1) Hot-line@parrot.comItaly : [+39] 2 59 90 15 97Spain : [+34] 902 404 202UK : [+44] (0)844 472 2360Germany : [+49] 900 1727768USA : [+1] (877) 9 Parrot (toll free)China : [+86] 755 8203 3307Hong Kong : [+852] 2736 1169France : [+33] 1 48 03 60 69Europe : [+33] 1 48 03 60 69 (Spoken languages : French, English and Spanish) FCC ID: RKXOKIACONTAINS FCC ID: EW4DWMW014IC ID: 5119AOKIACONTAINS IC ID: 4250ADWMW014 US ONLY](https://usermanual.wiki/PARROT/OKIA/User-Guide-1410083-Page-97.png)