PARROT RNB5 Multimedia Car Radio User Manual RWi9600
PARROT Multimedia Car Radio RWi9600
UserManual.wiki
>
PARROT
>
RNB5 User Manual
>
User manual
Contents
1.
User manual
2.
user manual
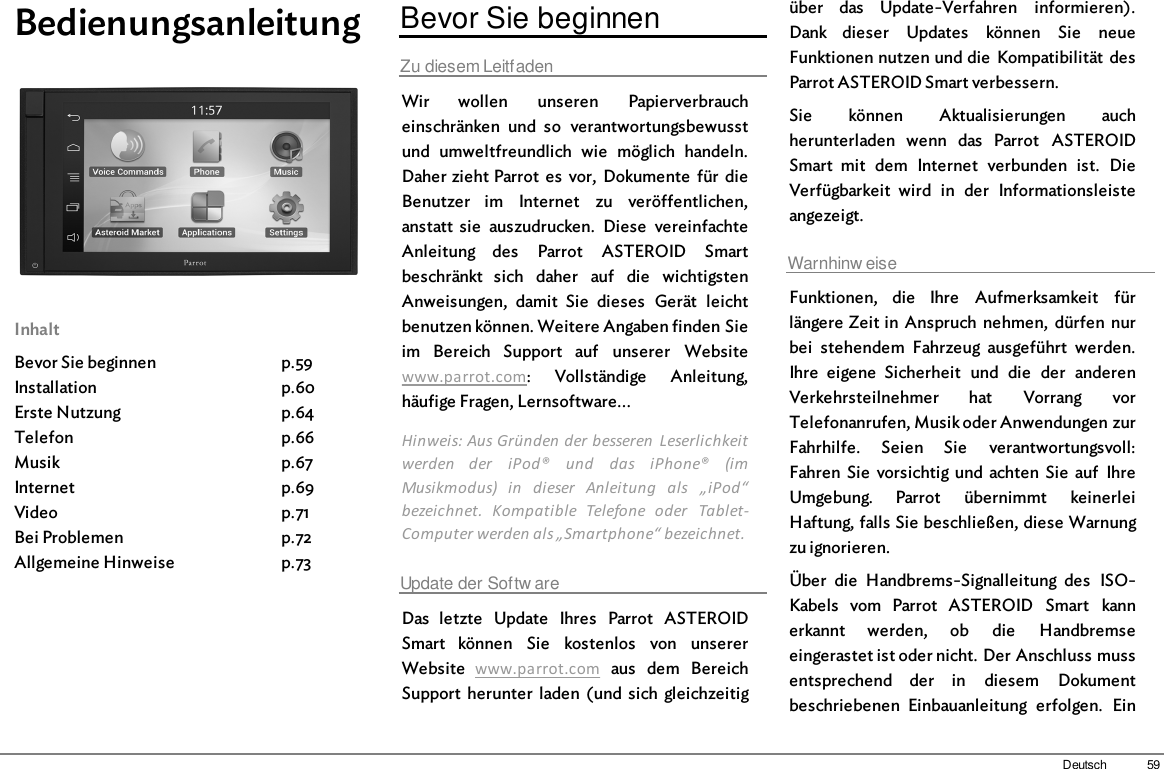
User manual
Navigation menu
Upload a User Manual
Namespaces
Wiki Guide
HTML
PDF
Info
Views
User Manual
Discussion / Help
Navigation


![25Englishv1.3.2 following the provision ofRadio&Telecommunication equipmentdirective 1999/5/EC R&TTE, Safety directive2006/95/EC and EMC directive Automotive2009/19/CE.http://www.parrot.com/fr/support/parrot-asteroid-smart/asteroid-smart_ce_conformity_declaration.pdfRegistered TrademarksParrot and the Parrot logo are registeredtrademarks of PARROT SA.The Bluetooth word mark is are registeredtrademarks owned by Bluetooth SIG, Inc. andany use of such marks by Parrot S.A. is underlicense. Bluetooth QDID : B013841, B013839,[-]"Made for iPod / iPhone / iPad" means that anelectronic accessory has been designed toconnect specifically to iPod, iPhone or iPad,respectively, and has been certified by thedeveloper to meet Apple performancestandards. Apple is not responsible for theoperation of this device or its compliance withsafety and regulatory standards.iPad, iPod, iPod Touch and iPhone aretrademarks of Apple Inc, registered in the USand others countriesiPad is a trademark of Apple Inc.Wi-Fi is a registered trademark of the Wi-FiAlliance.Gracenote, the Gracenote logo and logotypeand "Powered by Gracenote" are eitherregistered trademarks or trademarks ofGracenote Inc. in the United States and/orother countries.All other trademarks mentioned in this guideare protected and are the property of theirrespective owners.This device complies with Industry Canadalicence-exempt RSS standard(s). Operation issubject to the following two conditions: (1) thisdevice may not cause interference, and (2) thisdevice must accept any interference, includinginterference that may cause undesiredoperation of the device.This equipment complies with FCC’s and IC’sRF radiation exposure limits set forth for anuncontrolled environment.. The antenna(s)used for this transmitter must be installed andoperated to provide a separation distance of atleast 20 cm from all persons and must not becollocated or operating in conjunction with.](https://usermanual.wiki/PARROT/RNB5.User-manual/User-Guide-1861069-Page-25.png)


![Technical supportIf you have any questions regarding your Parrot product, contact our hotline by phone or using our technical contact formavailable on our website (support section).China : [+86] 755 8203 3307Europe : [+33] 1 48 03 60 69 (Spoken languages : French, English and Spanish)France : 01 48 03 60 69Germany : 0900 1727768Hong Kong : [+852] 2736 1169Italy : [+39] 02 59 90 15 97Spain : [+34] 902 404 202UK : [+44] (0)844 472 2360USA : [+1] (877) 9 Parrot (toll free)Our hotline is at your disposal from Monday to Friday. Refer to our website for more information about the service hours.FCC ID: RKXRNB5](https://usermanual.wiki/PARROT/RNB5.User-manual/User-Guide-1861069-Page-127.png)