PARROT SOLO Wireless speaker User Manual Enter the help project title here
PARROT Wireless speaker Enter the help project title here
UserManual.wiki
>
PARROT
>
SOLO User Manual
user manual
Navigation menu
Upload a User Manual
Namespaces
Wiki Guide
HTML
PDF
Info
Views
User Manual
Discussion / Help
Navigation
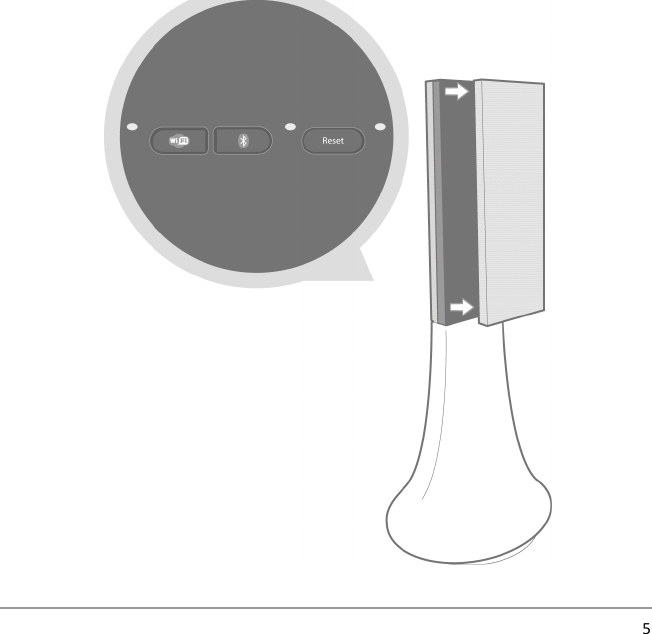

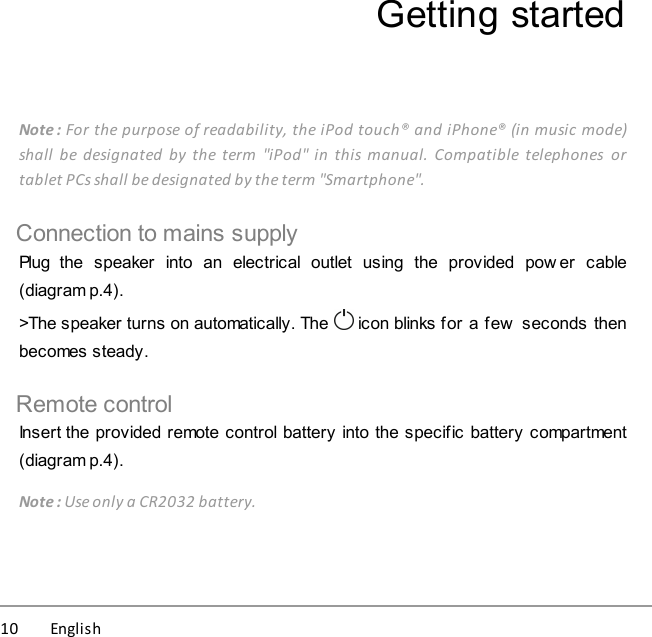
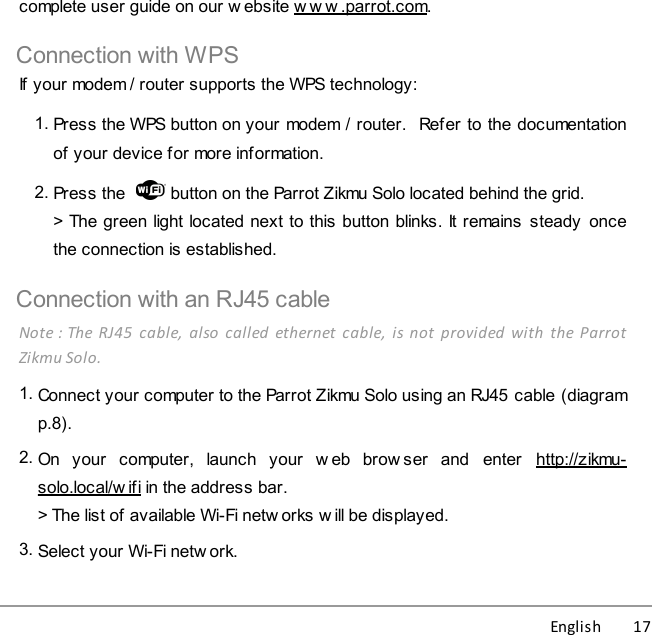
![English 19not create its own Wi-Fi network. To do so, you first need to reset the Parrot ZikmuSolo Wi-Fi parameters by holding down the button for 2 seconds.1. On your computer, scan for available Wi-Fi netw orks.2. Join the "SoloNet-xx.xx" Wi-Fi netw ork (as if you w ere trying to establish aconnection w ith a router / modem).Note : You will temporarily lose your Internet access. You can reconnect yourcomputer to your Wi-Fi network at the end of this procedure.3. Launch your w eb brow ser on your computer or Smartphone and enterhttp://zikmu-solo.local (or http://[new -name].local if you changed thespeaker name) in the address bar.4. Click on Wi-Fi Configuration.> The list of available Wi-Fi netw orks is displayed. 5. Select your Wi-Fi netw ork. 6. Enter the WEP / WPA / WPA2 if necessary then click on Apply.Using the web interfaceThe Parrot Zikmu Solo w eb interface allows you to control the playback of youraudio files and modify several audio settings. You can access this interfacefrom your computer, Smartphone or tablet.](https://usermanual.wiki/PARROT/SOLO/User-Guide-1811458-Page-19.png)
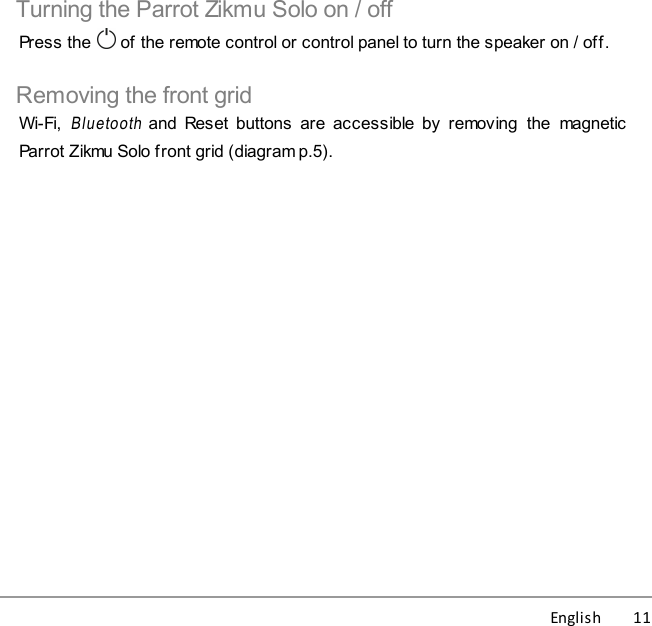
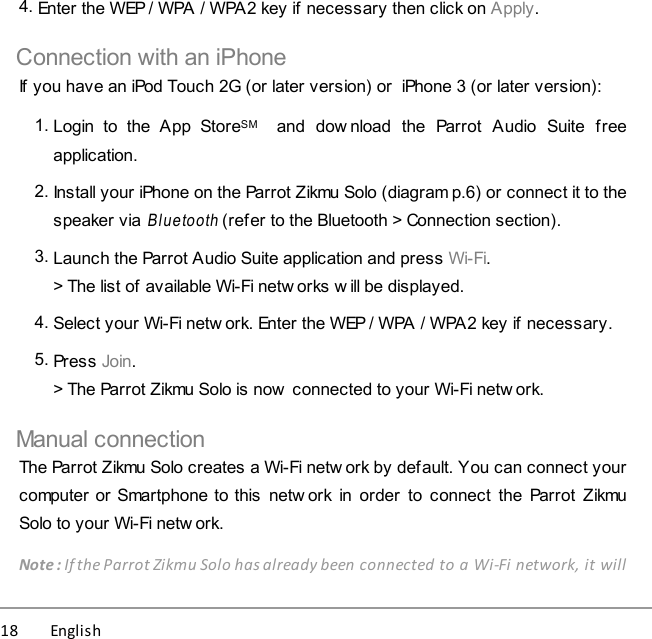
![20 English 1. Connect the Parrot Zikmu Solo to your Wi-Fi netw ork using one of thepreviously described methods.2. On your computer or Smartphone, launch your w eb brow ser.3. Enter http://zikmu-solo.local (or http://[new -name].local if you changed thespeaker name) in the address bar.Note : For more information about the web interface, refer to the correspondingtutorial available on the Parrot Zikmu Solo support page on our websitewww.parrot.com.](https://usermanual.wiki/PARROT/SOLO/User-Guide-1811458-Page-20.png)
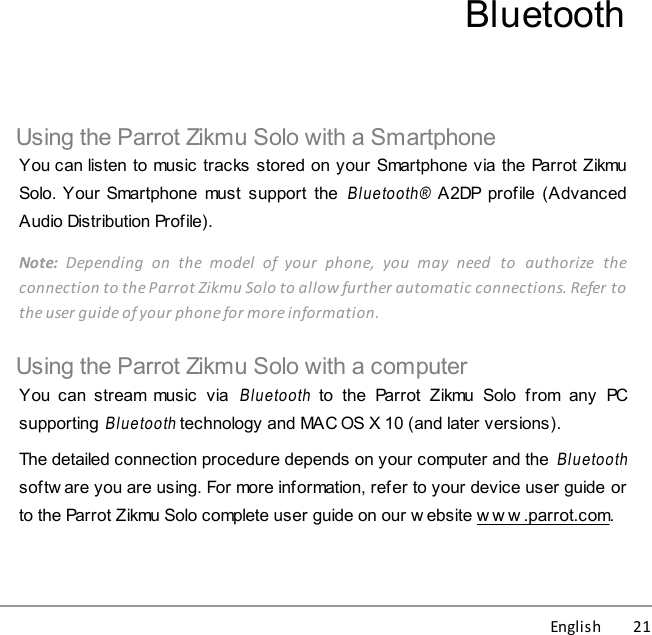
![30 English ongoing concern to upgrade and improve our products, the product that youhave purchased may differ slightly from the model described in this guide. If so,a later version of this guide might be available in electronic format at Parrot’sw ebsite at w w w .parrot.com.Registered TrademarksParrot, Parrot Zikmu Solo and the Parrot logo are registered trademarks ofPARROT SA.The Bluetooth ® w ord mark and logos are registered trademarks ow ned byBluetooth SIG, Inc. and any use of such marks by Parrot S.A. is under license.Bluetooth QDID : B013841, B013839, [-]iPod, iPhone, Mac and Apple are trademarks of Apple Inc, registered in the USand others countries.Window s XP, Window s Vista and Window s 7 are registered trademarks ofMicrosoft Corporation in the US and other countries.Wi-Fi ® is a registered trademark of the Wi-Fi Alliance. The Wi-Fi CERTIFIED logois a certification mark of the Wi-Fi Alliance.Google Play is a trademark of Google Inc.](https://usermanual.wiki/PARROT/SOLO/User-Guide-1811458-Page-30.png)