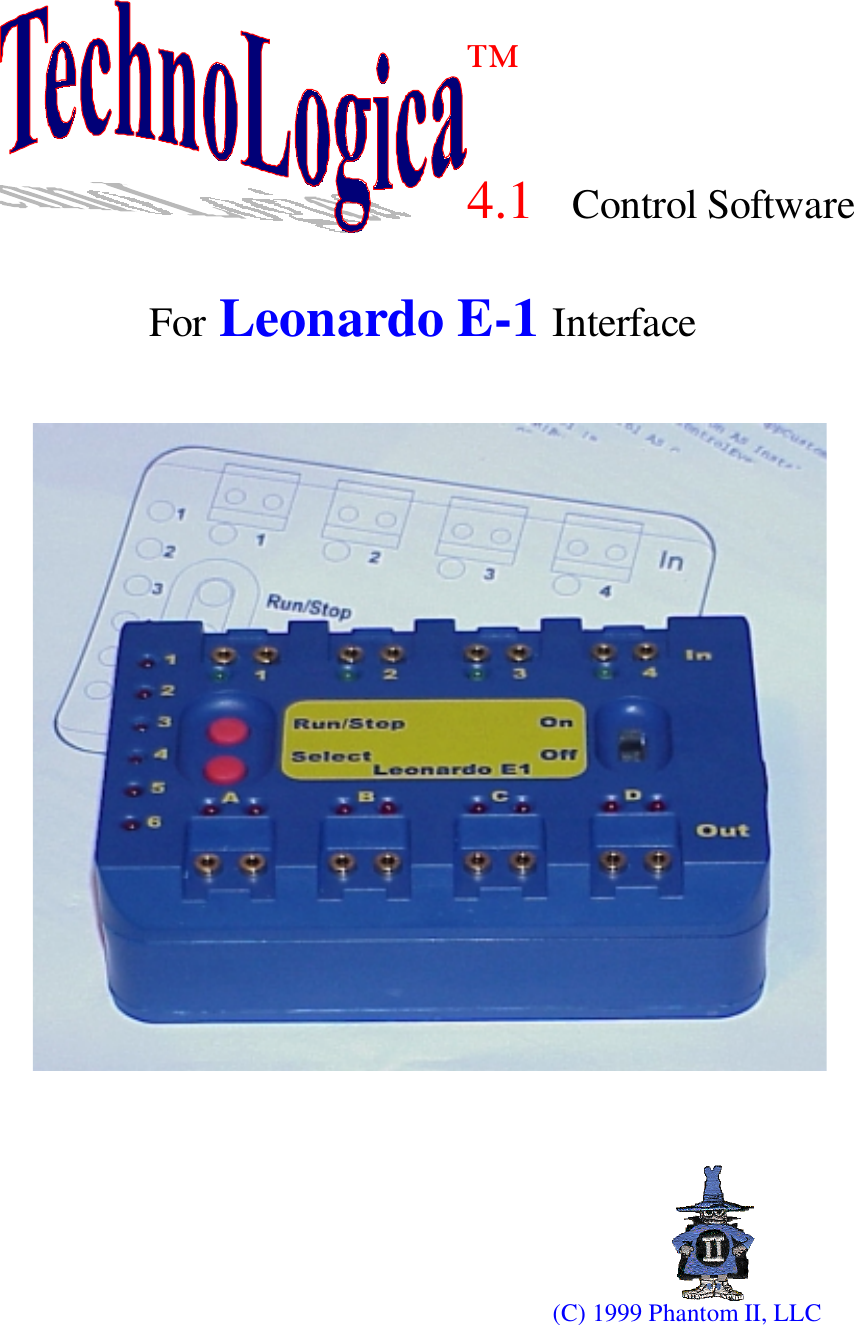
PHANTOM II Production PC-MODEM-2-00 Smart interface which gets orders from PC and tran User Manual

PHANTOM II Production Ltd. Smart interface which gets orders from PC and tran

user manual

For Leonardo E-1 Interface(C) 1999 Phantom II, LLC™4.1 Control Software
 (C) Phantom II, LLC. 2Software ManualQuick Help to Technologica softwareWelcome to Technologica software. This guide summarizes the primary elementsneeded to know in order to work with Technologica.The guide has two parts:I.   “General Concept” and a list of the Primitive Commands.II.  “General Structure” and how to use the software.I.  General ConceptTechnologica is a Control Software designed to work with Leonardo Interface.Technologica is used to control models built with K’NEX parts. In other words, youbuild K’NEX models using motors, lights, sensors etc., attach them to the Leonardointerface box and use Technologica to control the operation of the model.Technologica is designed to be a highly user-friendly software and does not requireany previous knowledge in computers or programming.Technologica is provided in four levels: 1. Direct Level is for young users. 2. Automatic Level is for new or novice users. 3. Interactive Level is for advanced users. It expands the Automatic Level to workwith K’NEX sensors. 4. Collaborative Level expands the Interactive Level to work with severalLeonardo interfaces using communication. Each Leonardo interface can send andreceive information or commands from other Leonardo interfaces.In general, when you work with Technologica you work on a project.A project is a set of Procedures you design. A Procedure is an organized set ofPrimitive Commands and other Procedures. The Primitive Commands and theProcedures are used to interact with the ports on the Interface Box thus, operating theK’NEX model.All Commands and Procedures are actually buttons on the screen. To operate(execute) a command, simply Click it.Note: Direct Level uses only several of the basic Primitive Commands without theoption of creating and editing procedures.
 (C) Phantom II, LLC. 3Software ManualThe principle of Technologica software is that at any given time, there is only oneOutput Port (A to D) that the computer talks-to. This port is called the talk-to port.From now on, every command is addressed to this Output Port. If you want to changethe talk-to port, click a new one on the Interface image.Primitives CommandsTalk-To  Address an Output Port (A to D).On  Turn on the selected Output Port.Off   Turn off the selected Output Port.Reverse-Direction, Set-Direction Change/Set the Direction of the selected Output Port.Set-Power  Set the level of electricity power of the selected Output Port.Flash Turn the selected Output Port on and off repeatedly.Delay Pause the flow of commands for a defined period. Sound Produces a tone defined by its pitch and duration.
 (C) Phantom II, LLC. 4Software ManualRepeat   Repeat the following command (button), the number of times as set bythe repeat button.Utilities Buttons Exit Button             Allows you to return back to previous screen or exit the program. Printing Button  Allows you to print the current screen.Help button Gives information about all the software instruction and everything else you can see on the screen.Procedure Editor  Moves you to the procedure editor to define or edit a procedurecontent.Picture Editor   Moves you to the picture editor to draw or edit a procedure icon.Power Supply Status  By clicking on this icon you get information on the powersupply status of the Leonardo interface.
 (C) Phantom II, LLC. 5Software ManualInteractive Level ConceptIf you are using the Direct Level or Automatic Level of Technologica you may skipthis chapter and read it later when you are more experienced with Technologicaconcepts.Interactive Level expands the principle to work with the K’NEX sensors concerningthe input ports (1 to 4). That is, at any given time there is only one input port that thecomputer listens-to. This port is called the listen-to port. All the input commandsaddress this port.  If you want to change the listen-to port, click a new one.After you have attached and defined a sensor to an input port, you can watch the valueit is currently reporting appear below the sensors image. These values are updatedevery half second.Some of the sensors can operate in two types of operation. Meaning, the same K’NEXsensor can report different values according to the specific type defined to it. Forexample, the angle sensor can either report the rotation angle or the number ofrotations. Therefore, you should set the sensor type according to the specificoperation you want it to perform.Additional Primitive Commands (Interactive Level and Collaborative Level only)Listen-to    Address an input port (1 to 4). If-Then  Test the current listen-to port according to the condition set on the button. If the result is true, the following command (button) will be executed. Otherwise, it will be skipped.
 (C) Phantom II, LLC. 6Software ManualIf-Then-Else Test the current listen-to port according to the condition set on thebutton. If the result is true, the first following command will beexecuted and the second following command will be skipped.Otherwise, the first following command will be skipped and thesecond following command will be executed.Wait-Until  Test the current listen-to port according to the condition set on the button. As long as the result is false, the computer waits, as soon asthe result is true, the execution of the following commands continue.Reset  Used to reset and adjust the values of the sensor ports (1 to 4)according to the kind of sensor. Not all types of sensors can be reset.Condition Primitives  (Interactive Level and Collaborative Level only)The primitives: if, if-else and wait-until are called condition primitives.These primitives test the current listen-to input port, according to the kind of sensorthat is defined for that port and the condition that is defined by the user for thatprimitive.Each condition command has two parameters:operator and value.The operator can be either:   = ,  ≠ ,  < ,  ≤ ,  ≥ , >= ,  ≠ ,  < ,  ≤ ,  ≥ , >= ,  ≠ ,  < ,  ≤ ,  ≥ , >= ,  ≠ ,  < ,  ≤ ,  ≥ , >  .
 (C) Phantom II, LLC. 7Software ManualCollaborative Level ConceptIf you are using Direct Level or Automatic Level or Interactive Level ofTechnologica you may skip this chapter and read it later when you are moreexperienced with Technologica concepts.The  Collaborative Level expands the principle to work with several Leonardointerfaces using communication. Each Leonardo interface can send and receiveinformation or commands from other Leonardo interfaces.Each Leonardo interface has an ID (a number between 1 and 99). The ID can be set inTechnologica Main Screen.At any time, Technologica is communicating with one Interface ID. In order forTechnologica to interact with another Leonardo (which has a different ID) youshould click the “Choose Interface” command button on the Technologica MainScreen.Note: Collaborative Level operates only in wireless communication mode. In order tocommunicate in Wireless Mode follow these steps:One) disconnect the communication cable from the Leonardo interface.Two) Reset the Leonardo interface (turn it OFF and then ON)Three) Connect the communication cable to the RF-Modem and check thatthe RF-Modem is connected to the power supply (the RF modem Red led is on).
 (C) Phantom II, LLC. 8Software ManualCommand Interface #   The “Command Interface #” command sends the followingcommand to the Interface ID which is set on the commandbutton.Note that the sent Command will be executed by the otherInterface. It will NOT be executed by the current Interface.Setting Interface ID commands The Command Interface #  and Listen toInterface # commands - You need to tell theLeonardo interface what interface ID to control orlisten to.Send Value   The ”Send Value” command broadcasts a number into theair and continues the program execution.This number can be either the current “Input Port” value ora specific chosen number (1..200).This command is valid only in “Downloading Mode”.Set the interface ID hereYou may use the Test button to checkwhether an Interface ID you set currentlyexists in the room.
 (C) Phantom II, LLC. 9Software ManualSending a ValueThe Send Value command can send either aconstant value or the value from a specific InputPort.Listen-to-Interface #   The “Listen-to-Interface #” command checks if a specific“Interface ID” had just sent a value (using 'Send Value'command).You should set two properties for this commandbutton:1) Set the specific (other) 'Interface ID' that the currentInterface will listen-to.2) Choose the Sensor-Type you are expecting the otherInterface to send (this value should correspond to thesensor type the other Interface is sending, in case ofmismatch, the received value will be undefined). If youwish to receive a Raw number, you may choose the“question-mark” (raw) sensor type.Operation: After placing this command in a procedure, it “replaces” the current listen-to port with listening the ‘other’ Interface.This means that every condition command (If, If-Else, Waituntil) you will place in theprocedure after this command, will check the value that was sent from the otherinterface (rather than the previous input port).Choose a Value to send thisspecific value to the otherinterface.Choose an Input Port to send thevalue from that Input Port to theother Interface.
 (C) Phantom II, LLC. 10Software ManualThe “Stop-All” commandThe “Stop-All” command is the Leonardo interfaces button “Run/Stop”.When you click this button on the Main Screen, it will either “Start Running” or“Stop Running” the current selected program (1 to 6) on the Leonardo interface.In the Editor Screen the Run/Stop command button can be dragged from the Interfacein order to place a “Stop-All” command button inside our procedure.When “Stop-All” command is executed during program running, the execution of theprogram stops (same as clicking the Run/Stop button on the Leonardo interface).In this example, the Tone command will never be executed, since the program willstop after the On command.
 (C) Phantom II, LLC. 11Software ManualII. How to use Technologica softwareUsing the on-line helpTechnologica provides detailed on-line help windows. Activate the Help Window byclicking the help button, located at the upper left corner of every screen, second fromthe left.After activating the Help Window, click the item you want help about. You may clickas many item as you need.To close the Help Window and return to regular work, click the close button on theHelp Window.The structure of TechnologicaTechnologica has four main screens: • Projects Screen • Main Screen • Picture Editor Screen • Procedure Editor ScreenDefining Procedures :A  procedure is an organized set of commands you design to be automaticallyexecuted one by one. The commands can be primitives or other commands(procedures) you had already designed.A  procedure has two properties: its icon and its contents. To design these twoproperties you use the Picture Editor and the Procedure Editor accordingly.A new procedure button is built in two steps: first draw its icon (picture), then defineits contents (set of commands).The Picture Editor Screen is used to draw an icon for the new procedure button youare designing. Click the Picture Editor button (upper right) and then the empty buttonin the procedures area. The Picture Editor will open and you can now draw an iconusing the drawing tools in this screen. It is recommended to draw a meaningful iconthat will tell about the action of the procedure.When you exit the Picture Editor and return to the Main Screen, you will have anempty new procedure which has, so far, only an icon.
 (C) Phantom II, LLC. 12Software ManualThe Procedure Editor Screen is used to design procedures.To design a new procedure, click the Procedure Editor button (next to the PictureEditor button) and then, click the icon you have just created.To add a command to a procedure, either a primitive or other procedure, drag it fromits location into the procedure body area.Command parameters (like any condition, or scale, if necessary), can be set eitherbefore or after dragging them to the procedure body area.To remove a command from the procedure window, drag it into the trash.When you exit the Procedure Editor you return to the Main Screen.Using primitives in the Procedure Editor Screen:The following commands relate to the command that is placed after them in theprocedure. Here is a list of each command and the relation to the following command:Repeat  Place one command you want to be repeated after the repeatcommand.If-Then Place one command after the if command. It will be executed if at the moment the condition is tested the result is true. Otherwise, it will be skipped.If-Then-Else  Place two commands after If-Else command.  If at the moment thecondition is tested the result is true, the first command will beexecuted and the second will be skipped. If the result is false, the firstcommand is skipped and the second command is executed.Command Interface # Place one command after that command. The commandwill be sent and executed by the Leonardo interface ID set on thecommand button.Listen to Interface # The next Condition Command that will be executed willconsider the value that was sent (meanwhile) by the other Leonardointerface.To exit the Procedure Editor, click Exit and you will return to the Main Screen.Choosing a project:
 (C) Phantom II, LLC. 13Software ManualIn the Projects Screen, you choose a project you want to work on. It can be anexisting project one or a new project. To choose a project, click it. After clicking theproject, the Main Screen automatically opens and you can begin your work.Operating a model:Operating a model is done at the Main Screen, where you activate the primitivecommands and the procedures you had designed.The primitive commands are located at the lower left area of the Main Screen.The procedures are located in the procedure area on the upper right area of the mainscreen.To activate a primitive command you should click it.Notice that some primitive commands have a scale located on them. They are activatedin two steps: first, drag the scale to set its value and then, click the button to activatethe command.The set-direction primitive command has two circles that determine the direction ofthe electricity. You should first click the desired circle and then click the button itselfto activate the set-direction command.Sensors and additional commands: (Interactive and Collaborative Levels only)Interactive and Collaborative Levels allows the use of sensors to control the modeloperation. To use sensors you have to notify the computer which sensors have beenattached to the Interface Box.To notify a sensor (attached or removed) for an input port, double click the input port andchoose the type of sensor from the pop-up options (you may also click both mousebuttons), according to the type of sensor you have attached to that port on the interfacebox, and the kind of operation you want it to perform.For example, to set an angle sensor to count rotations for port 4, double click port 4 andfrom the pop-up options click the rotation counter sensor type.To set parameters to a condition command, click the condition command button (on itslower area) and choose, from the pop-up options, both, the operator and the value. Theoperator can be either:  = , ≠ , < , ≤ , ≥ ,= , ≠ , < , ≤ , ≥ ,= , ≠ , < , ≤ , ≥ ,= , ≠ , < , ≤ , ≥ , >>>>. The value can be a numberFor example, to set the condition > 10 for the if primitive, click the condition area, click>  and set 10 on the pop-up options. Then, click the OK button.
 (C) Phantom II, LLC. 14Software ManualYou can also use procedures to operate the model. The procedures you design arelocated at the upper right area of the  Main Screen. A procedure is constructed ofprimitive commands and other procedures. It will be explained later how to run aprocedure.Operating advanced primitive commands in the Main Screen(Interactive Level and Collaborative Level only):Repeat   After clicking the button it remains pressed, waiting for you to click the command you want to repeat. Only after you chose the command, the computer will execute it a number of times according to the number set on the repeat button. To set the right number you can use the  +  and  -  buttons.If-Then  After clicking the button it remains pressed, waiting for you to click the command you want to be executed if the condition will be true.If-Then-Else  After clicking the button it remains pressed, waiting for you to click twocommands that one of them will be executed according to the result of thecondition. If the condition is true, the first command will be executed andthe second will be skipped. If the condition is false, the second commandwill be executed and the first will be skipped.Wait-Until After clicking the button, it will open the running window that will beclosed only when the result of the condition is true.Reset  Click the button to reset the current listen-to input port.
 (C) Phantom II, LLC. 15Software ManualRunning Modes:Technologica has two operation (running) modes1) Download running mode – the whole procedure is downloaded into one of the 6programs of the Leonardo interface. Then use the “Run/Stop” button run theprocedure.2) PC running mode – The PC executes the procedure commands by sending themone by one to the Leonardo interface. This is a “debugging” (step-by-step) mode.1) Downloading and Running procedures from LEONARDO interface:To download a procedure:1. Choose the procedure that you wantto download.2. Click the left mouse button.The following window will appear1.Select one of the Leonardoprograms that you want to savethe procedure.2. Click Enter, or click the leftmouse button to start thedownload .
 (C) Phantom II, LLC. 16Software ManualRunning a downloaded  Procedure:The program that was downloaded can now berun both from the LEONARDO interface or theLeonardo image on the screen.The run another download program:1. Push Select button until the program that youwant to run is selected.Notice, that the light that indicates the chosenprogram will flash on the interface.1. To run a chosen program, push the Run/Stopbutton on the LEONARDO interface, or click onthe Run/Stop screen button.Notice, The LED is flashing in a constant frequency2. To stop the program, push again the Run/Stopbutton, or click this button on the screen.
 (C) Phantom II, LLC. 17Software Manual2) Running a Procedure in a 'Step by Step' mode from the PC:1.  Make sure that the 'Step by Step' button is pressed2.  Click the procedure button you want to run.The Step by step window will appear. This window will be automaticallyclosed after the procedure will be finished.Clicking this button will run theprocedure successively, showingeach command that is executedClicking this button, the procedure willrun the commands Step by step.To execute the next command, clickthis button again.The Stop button:Clicking this button will stop the procedure and will set all Output Ports to OFF.
 (C) Phantom II, LLC. 18Software ManualIdentifying Interface IDTo find out the ID of a Leonardo interface: 1. Make sure that the Leonardo interface isconnected to the computer. 2. Turn Off the Leonardo interface. 3. Open Technologica Main Screen. 4. Click the “Choose Interface” button to open the'Set Interface ID' window. 5. Click the 'Search' button, Technologica issearching for an interface ID. 6. Turn On the Leonardo interface.Within 10 seconds, Technologica should now identify the ID of the Leonardo youare holding.Setting Interface Update RateTechnologica is constantly updated by the statu  s ofthe Leonardo interface.The rate of the updates can be either:1. Cable Connection – Very quick updates, suitableonly for cable connection.2. Wireless Connection – Normal update rate,suitable for a single-user environment.3. Collaborative Connection – Slower updates rate,suitable for an environment where severalLeonardo interfaces operate simultaneously.Notice that these option buttons are enabled only after the Leonardo interface isinitialized (color of the top box is Lime).The default connection rate is Wireless (option 2).
 (C) Phantom II, LLC. 19Software ManualChanging an Interface IDIn order to change the ID of a Leonardo interface youneed to open the Set Interface ID window and clickthe “Set Lenoardo ID” button.Notice that this button is enabled only after theinterface was found.After the window is opened, follow the guiding stepsthat appear there.

Navigation menu