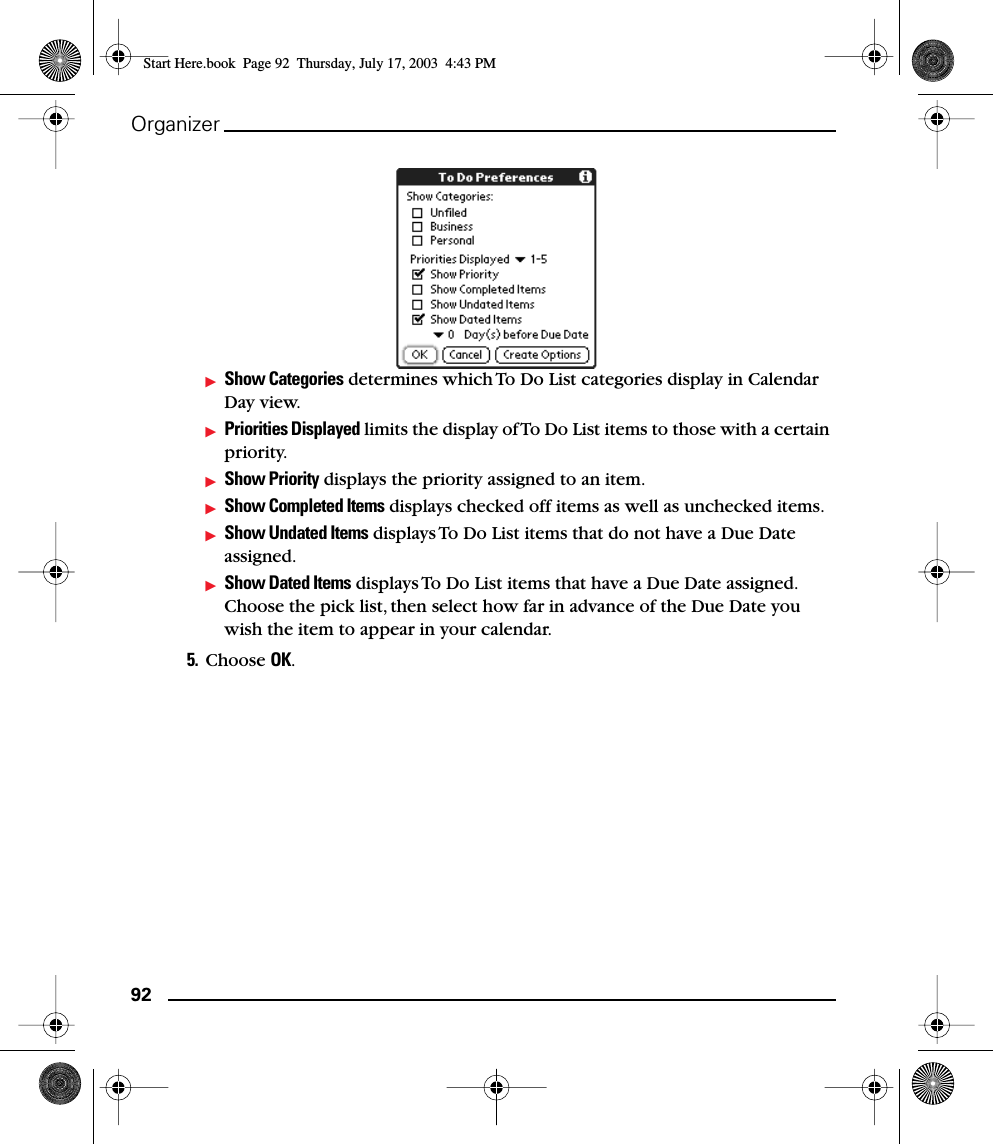
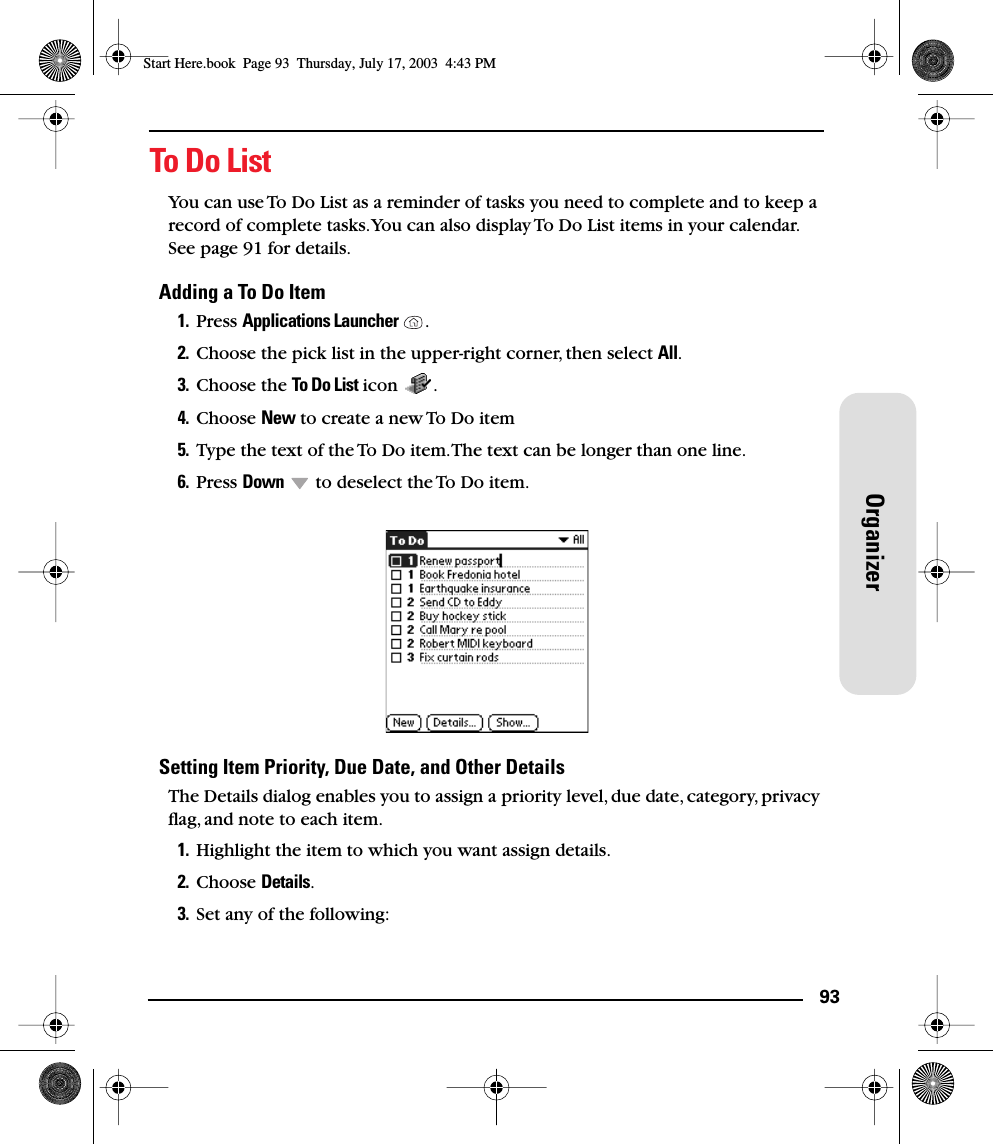
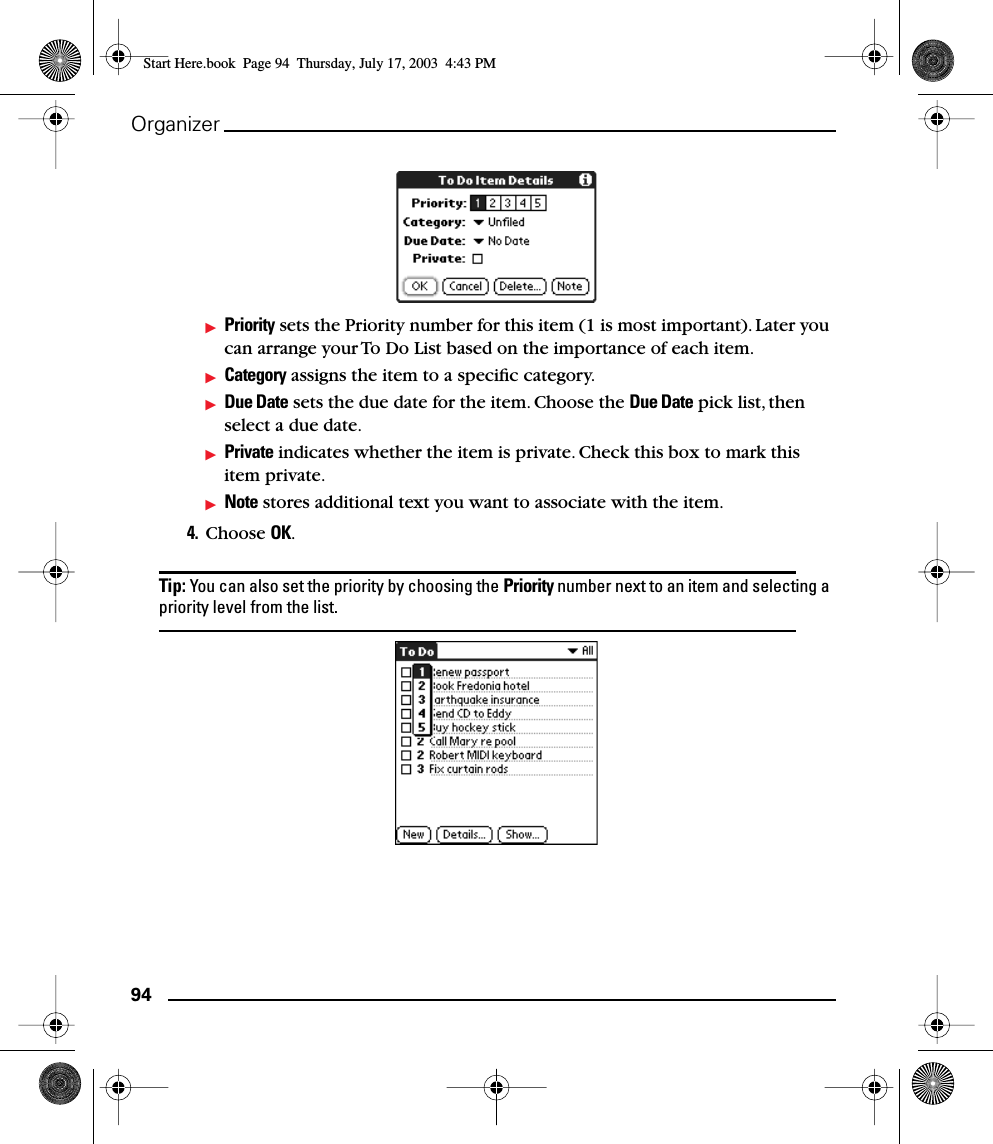
Palm BW Treo 600 CDMA PDA Phone User Manual Start Here
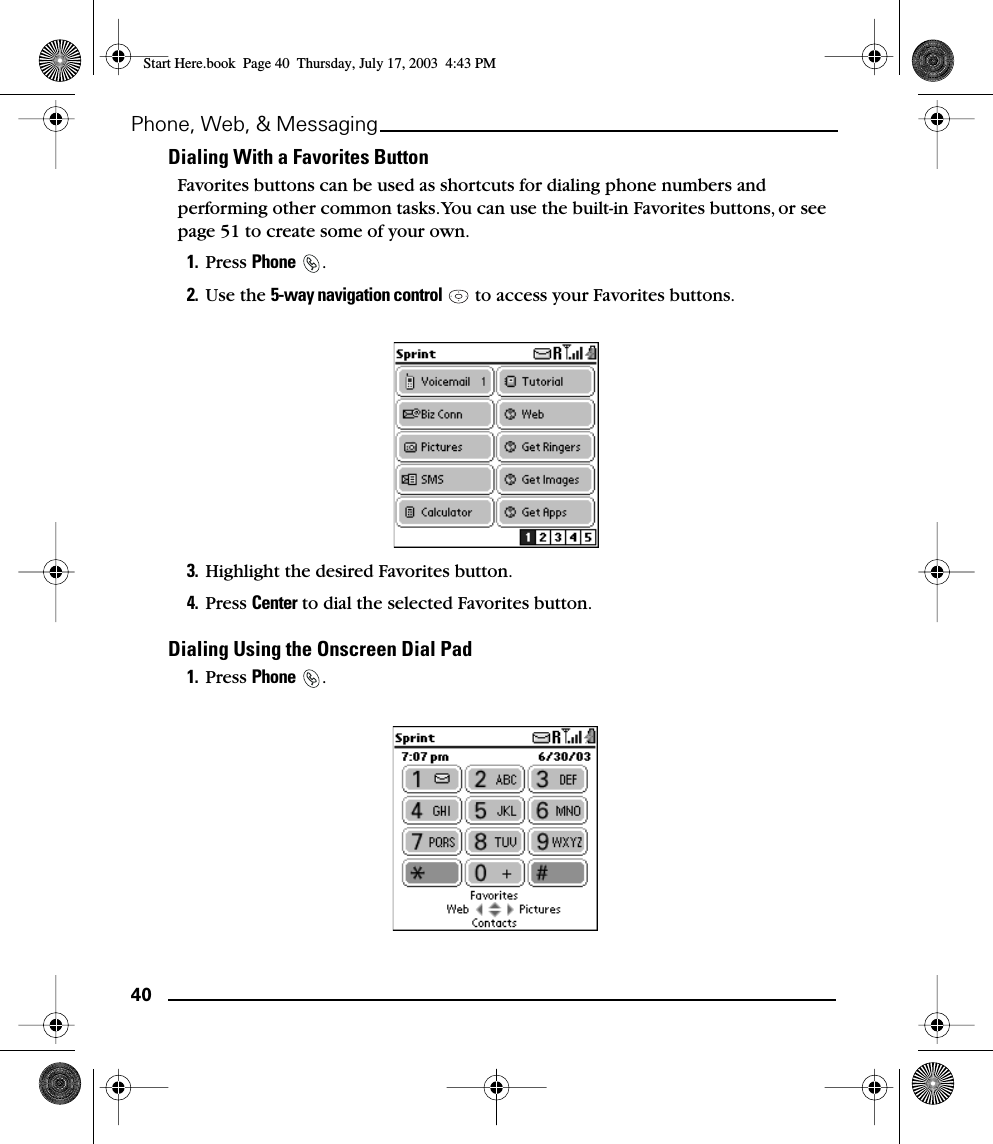
Palm Inc Treo 600 CDMA PDA Phone Start Here
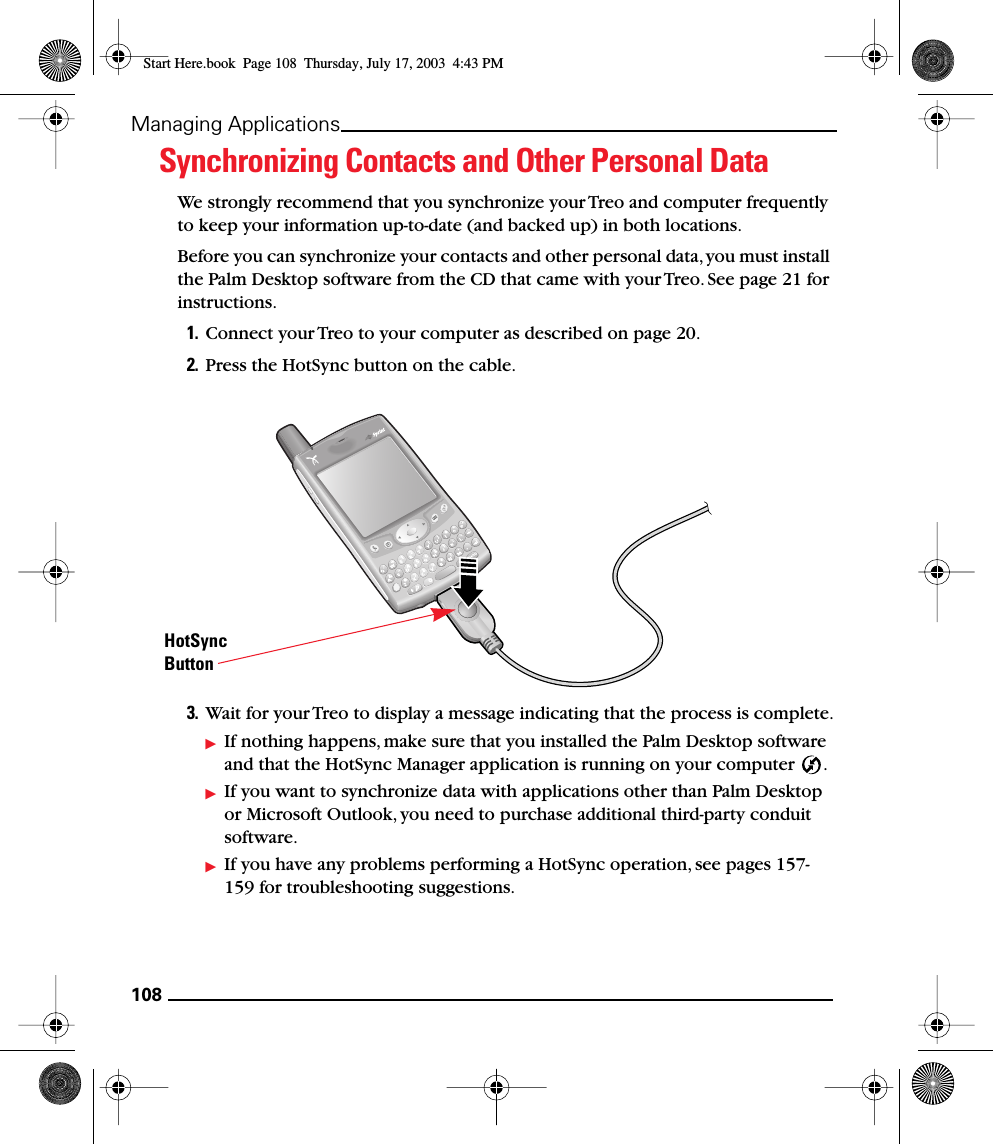
UserManual.wiki
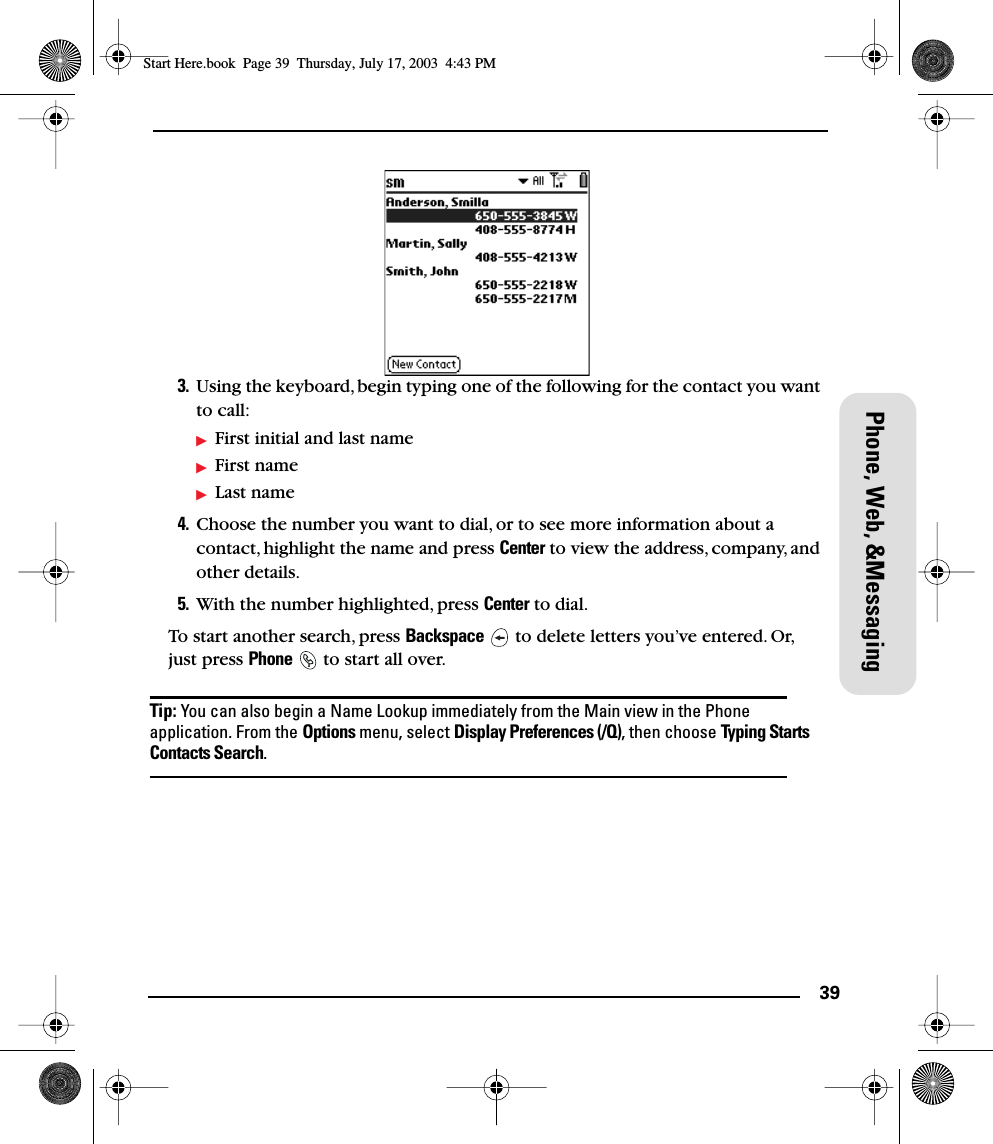
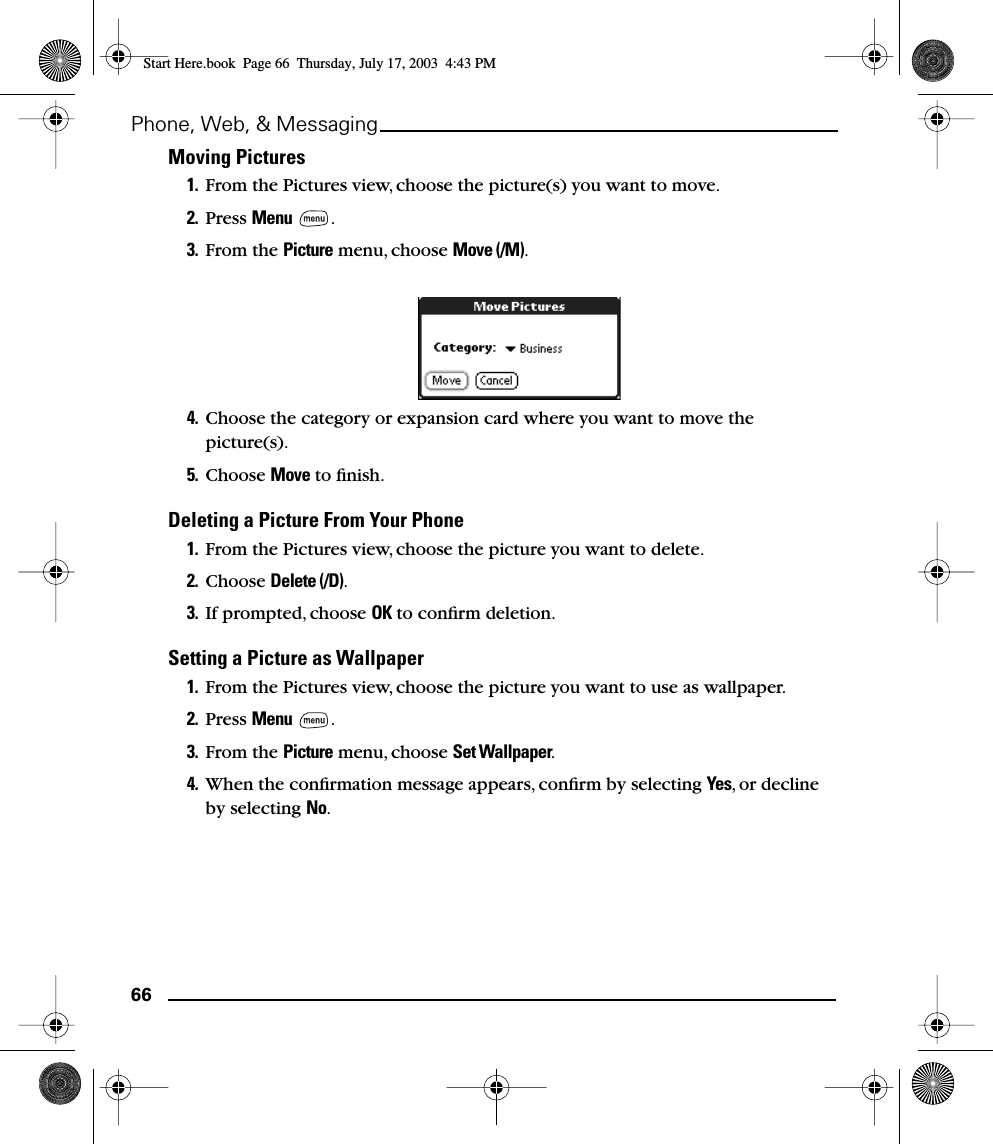
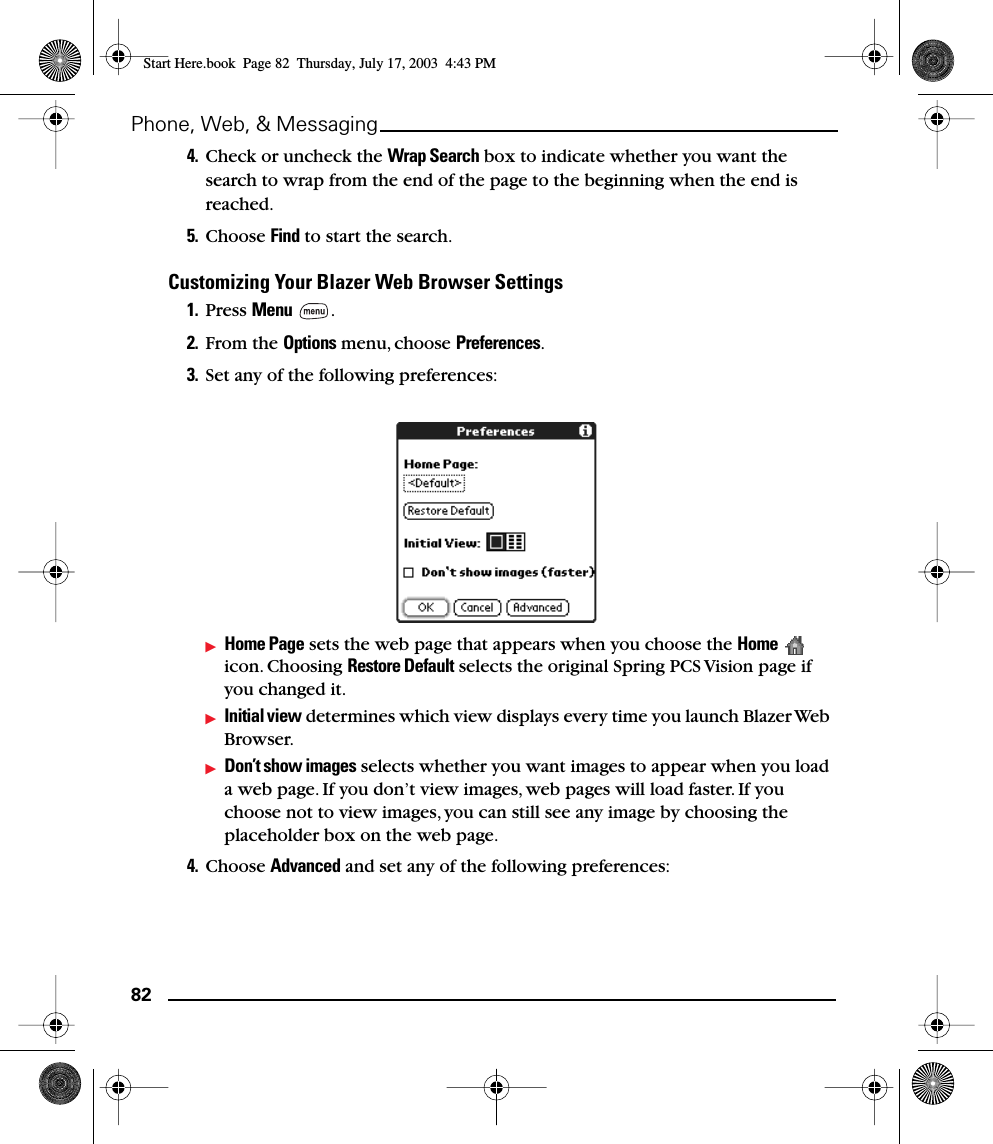
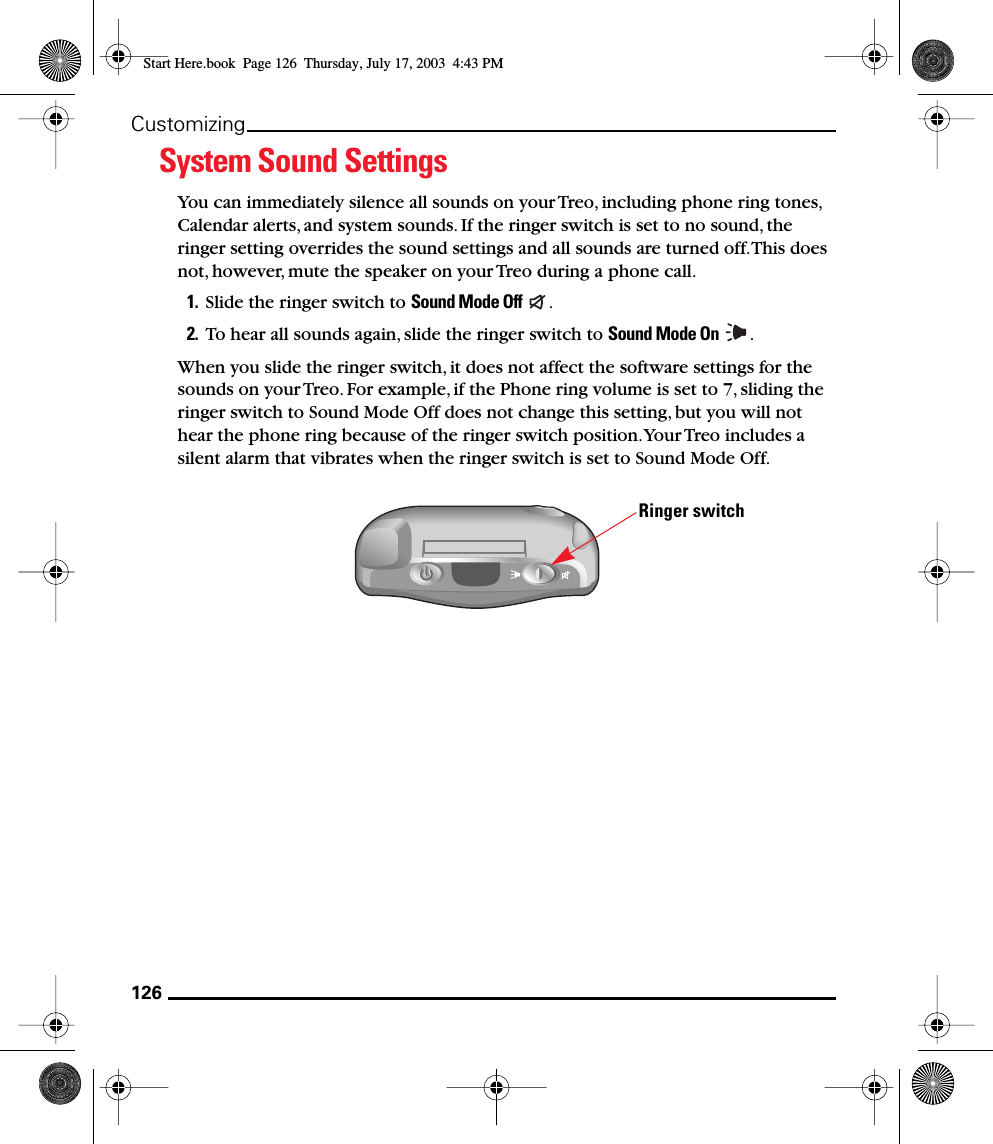
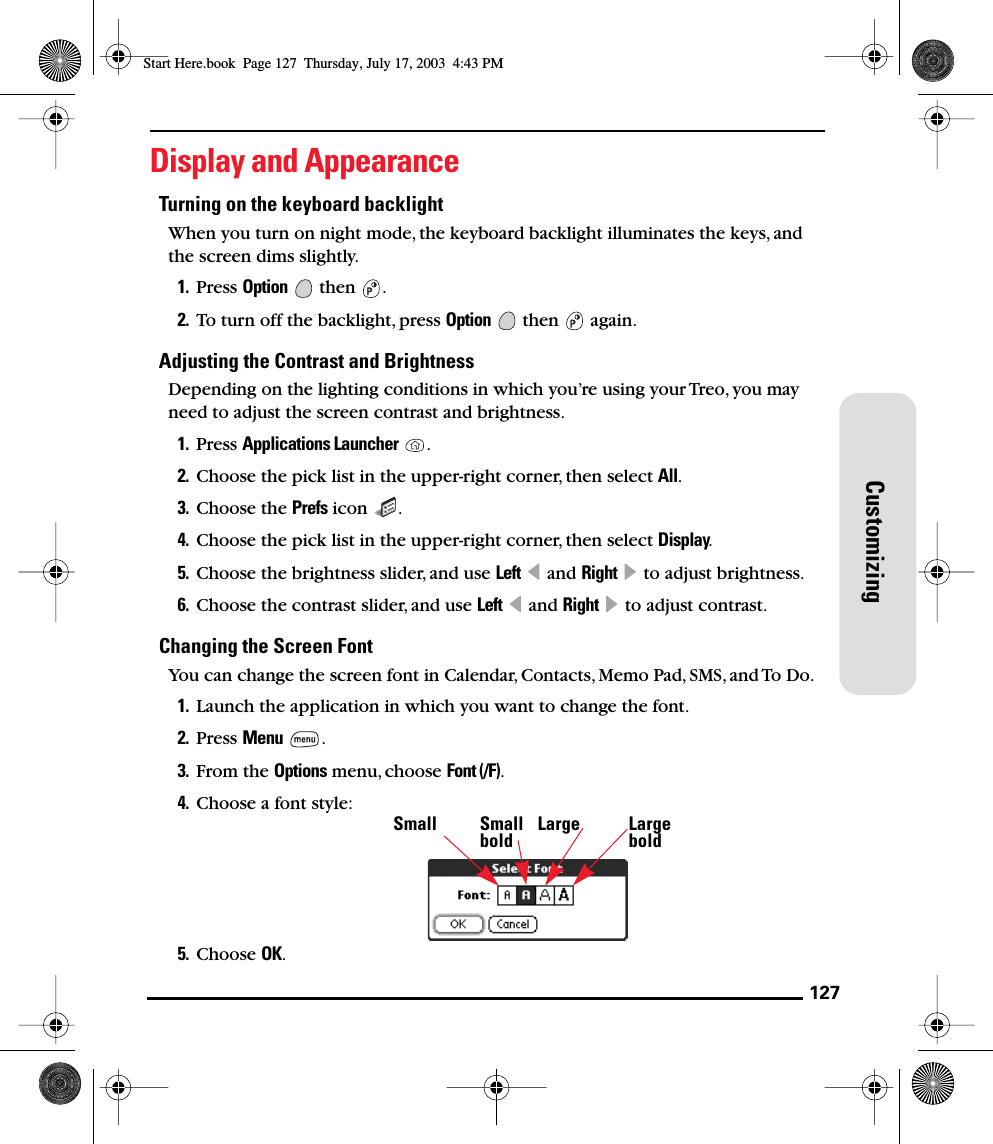
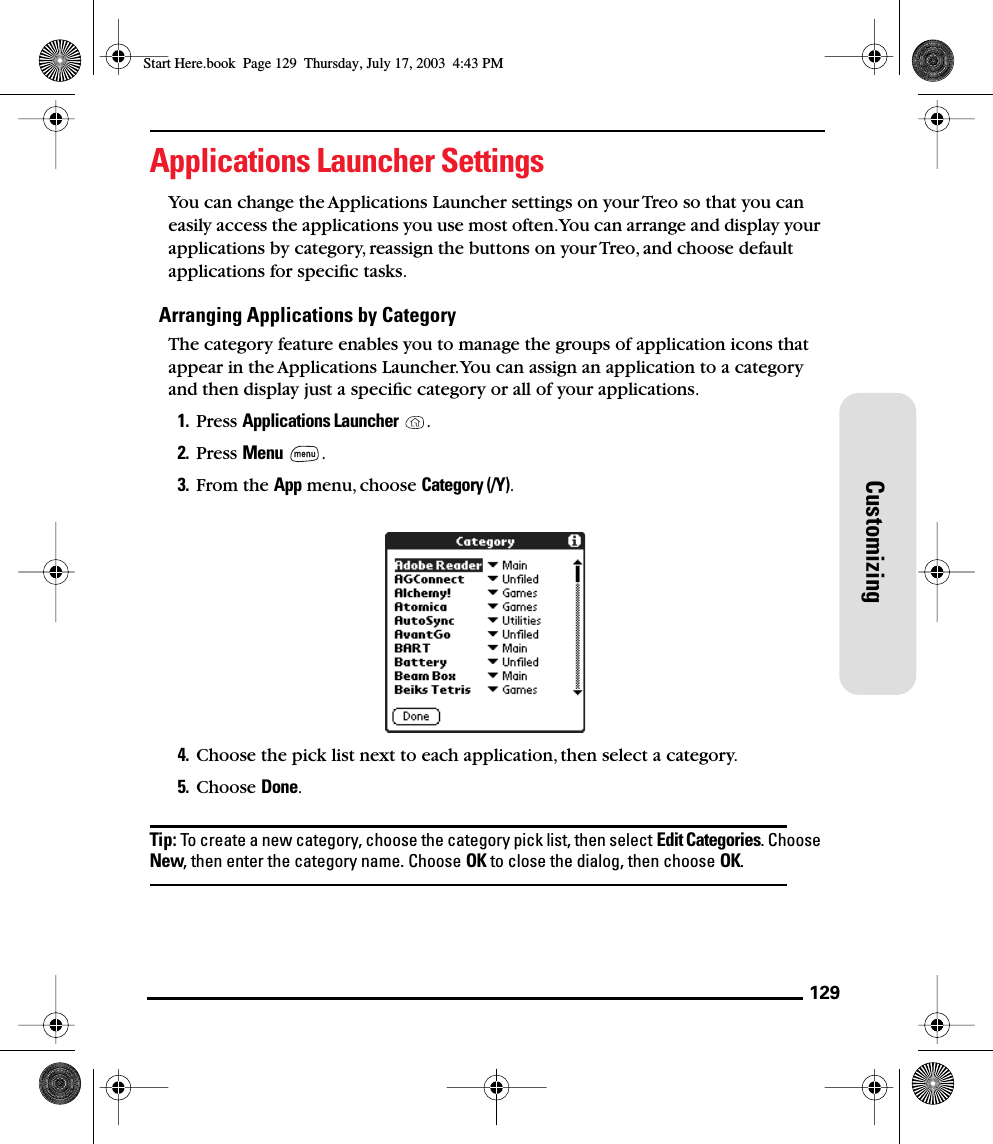
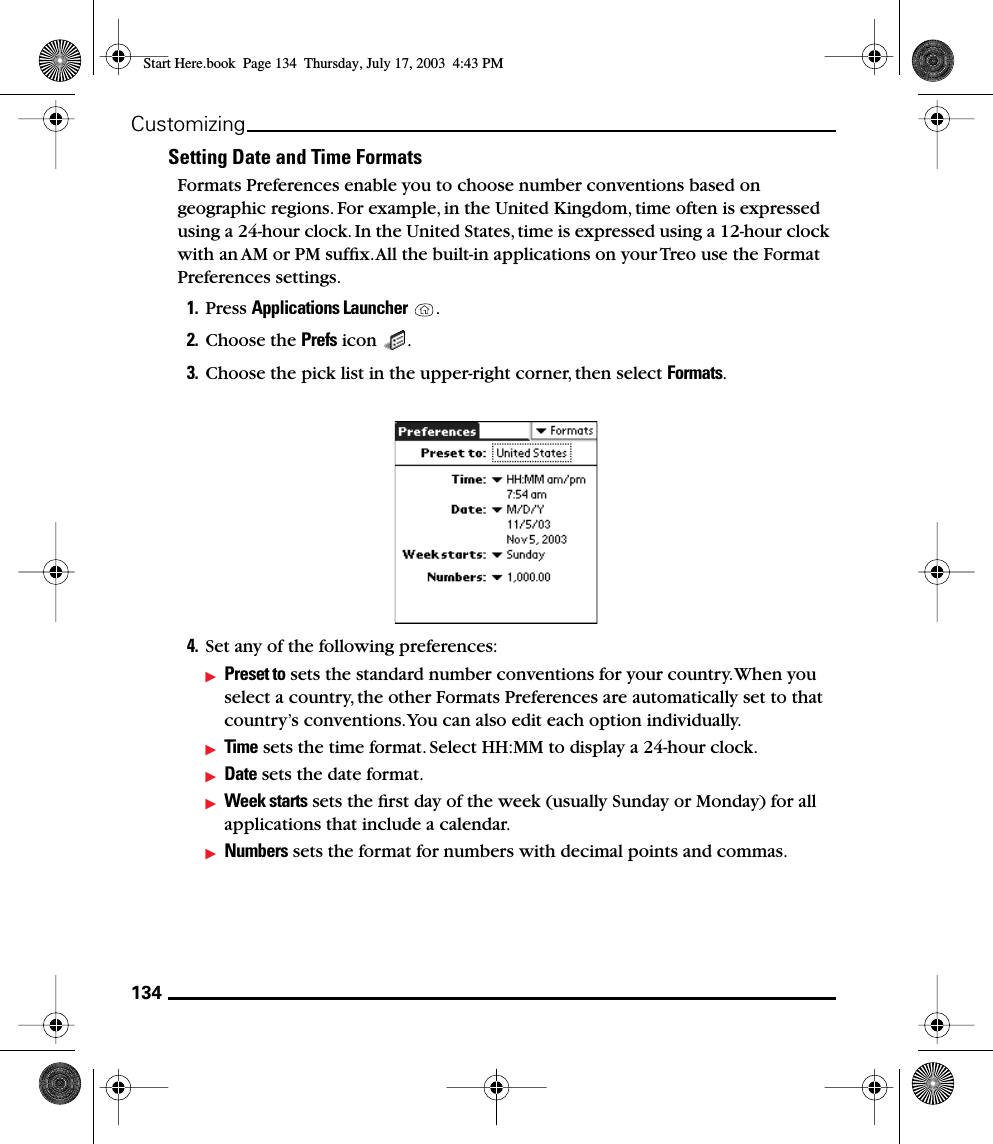
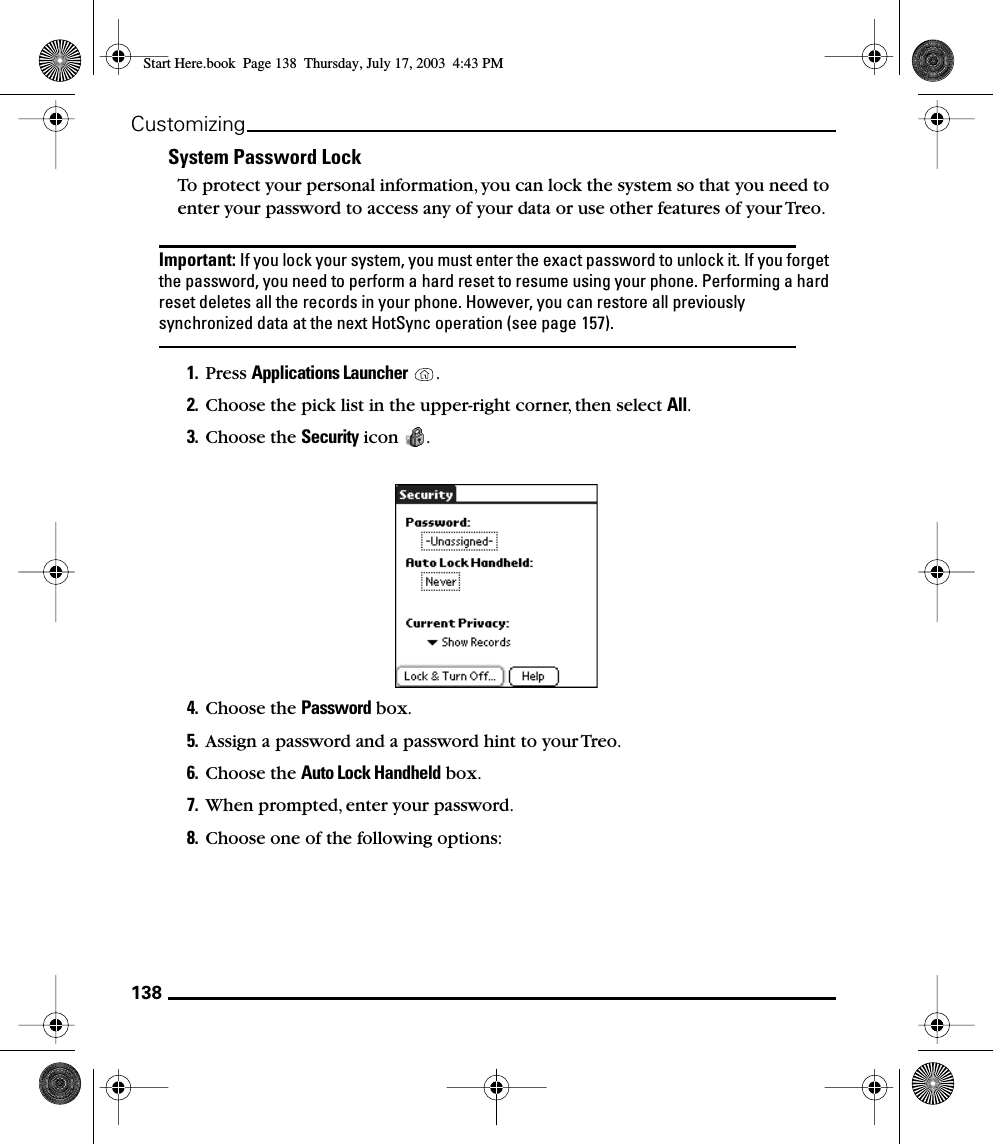
>
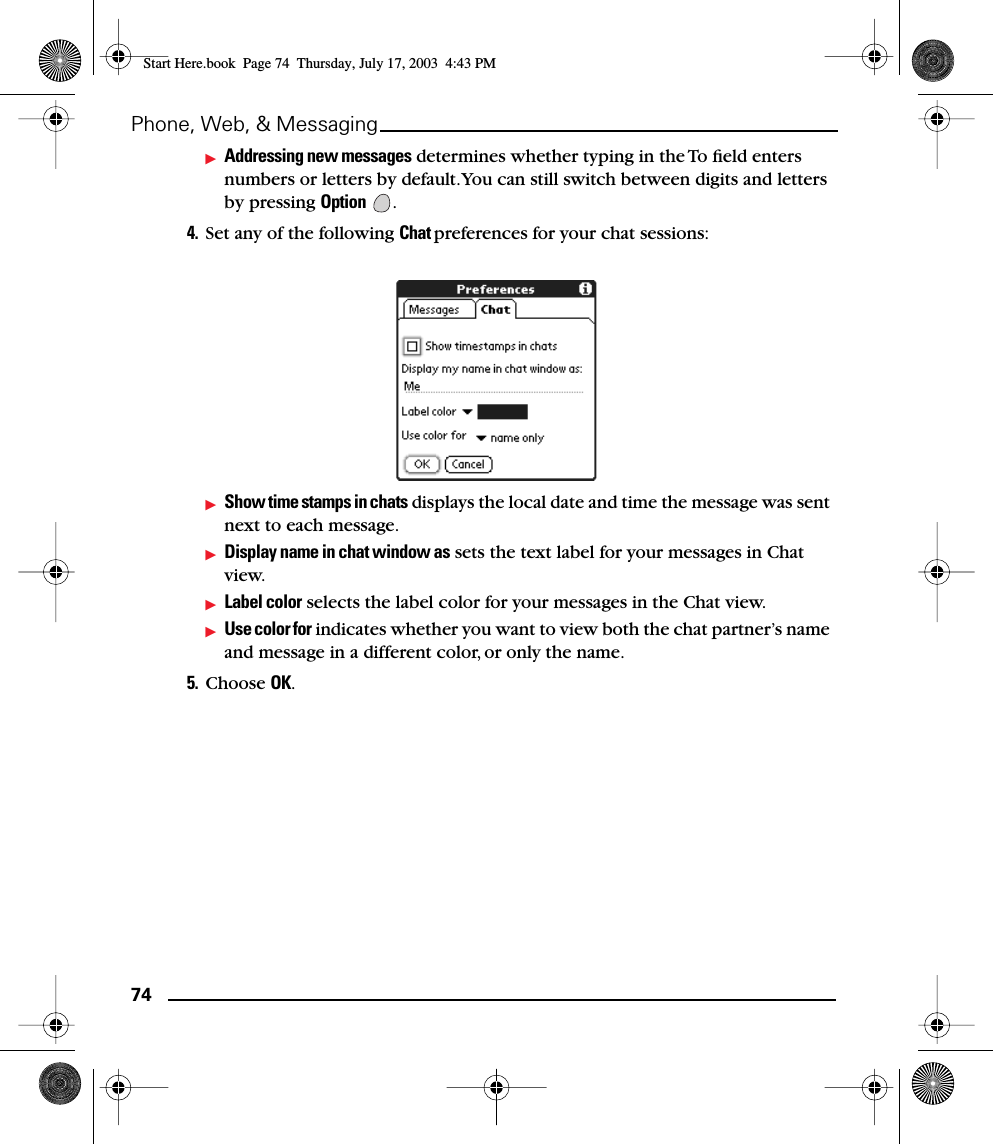
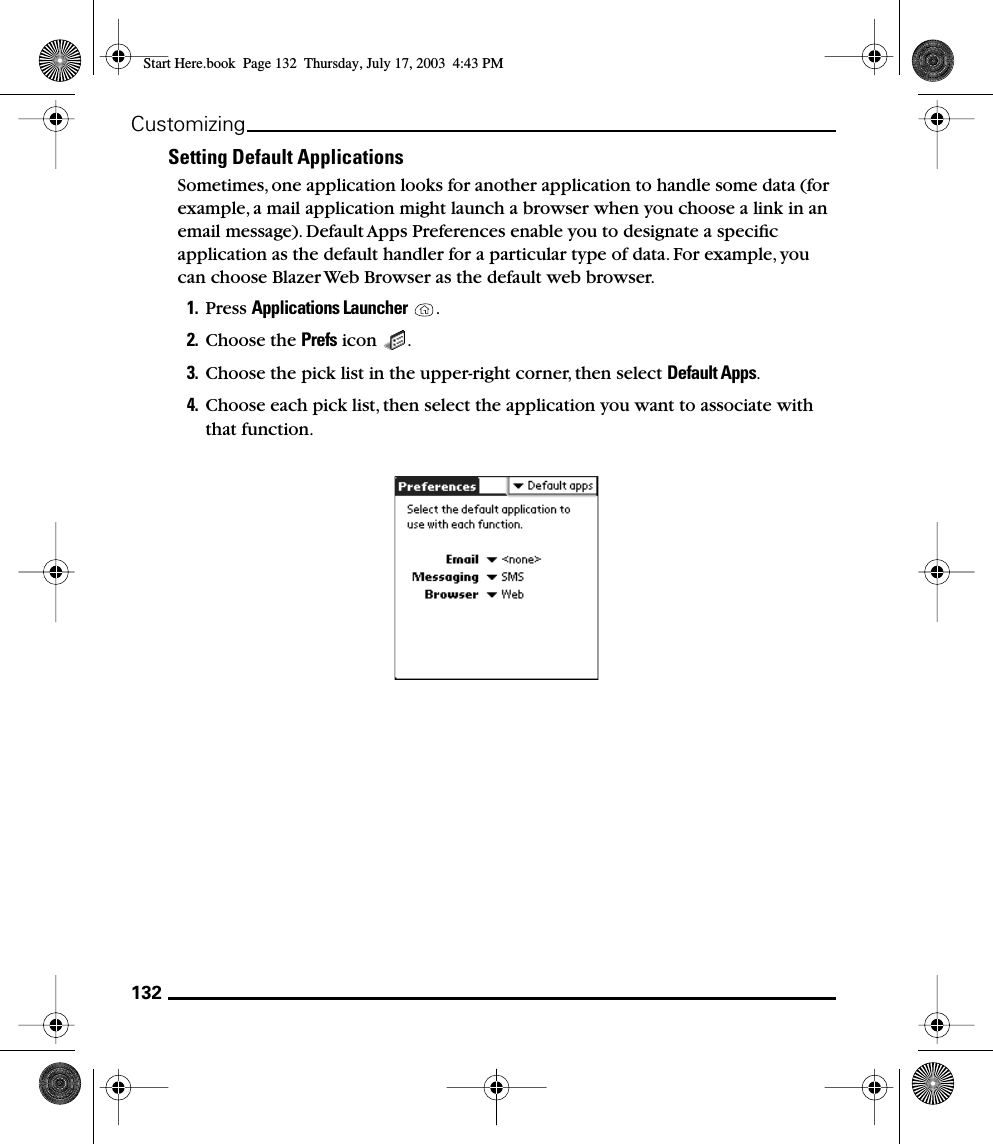
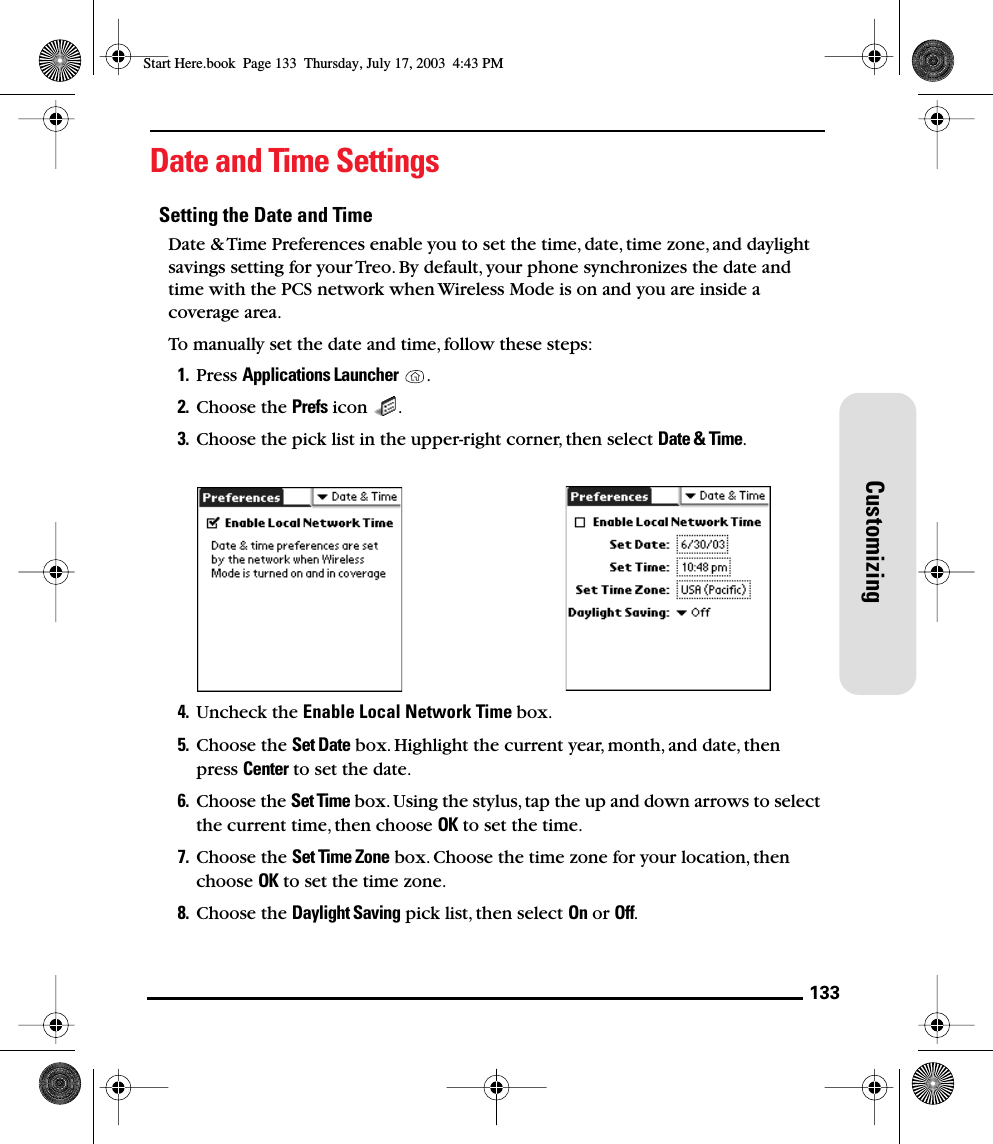
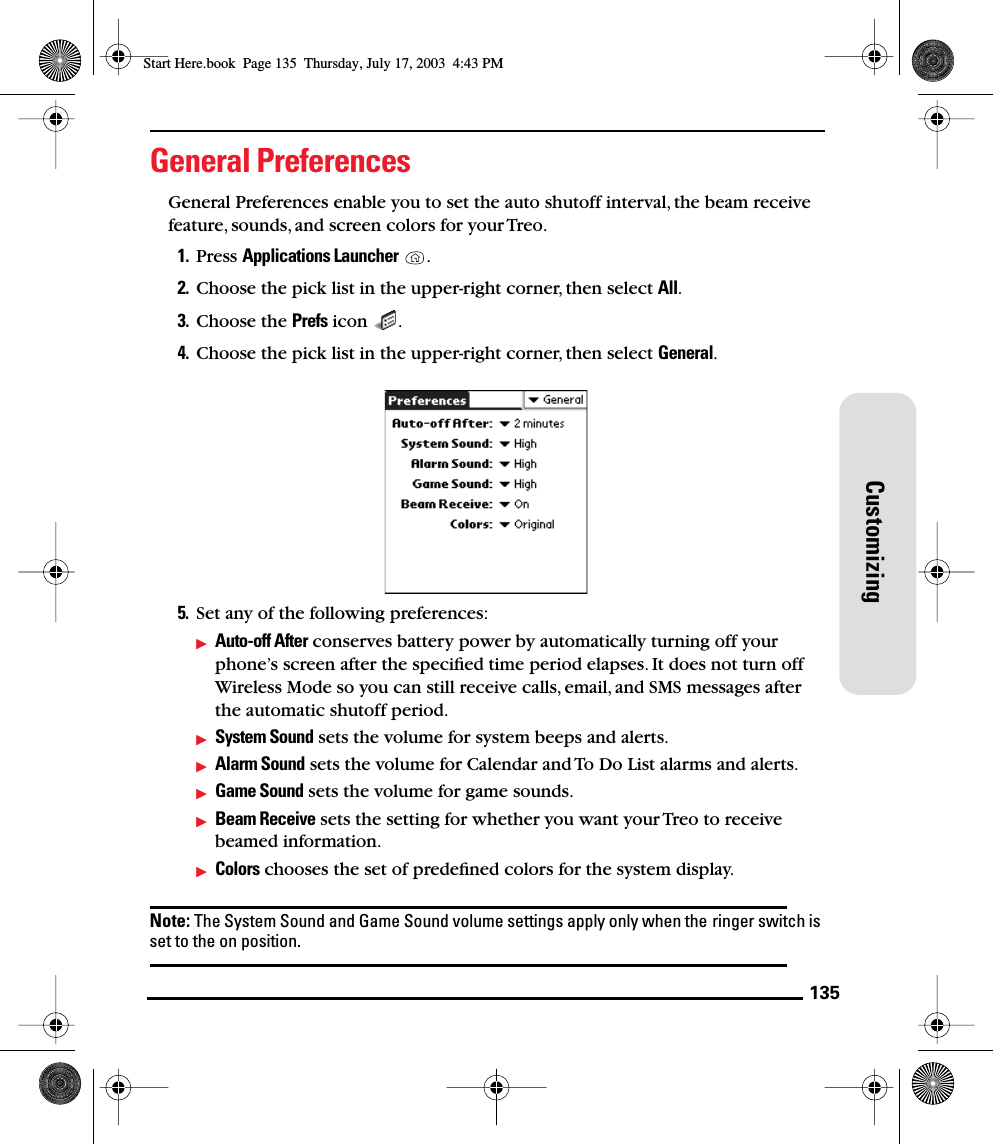
Palm
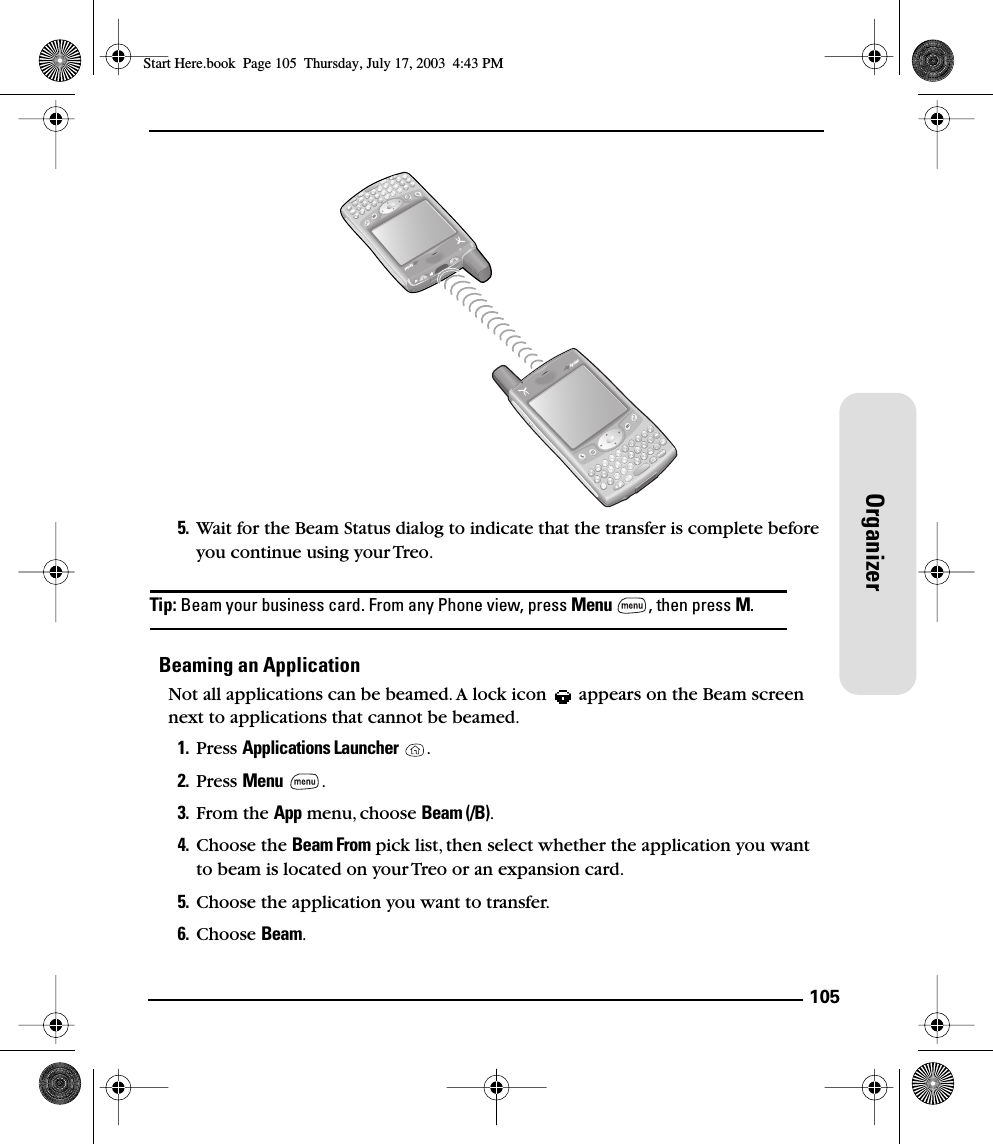
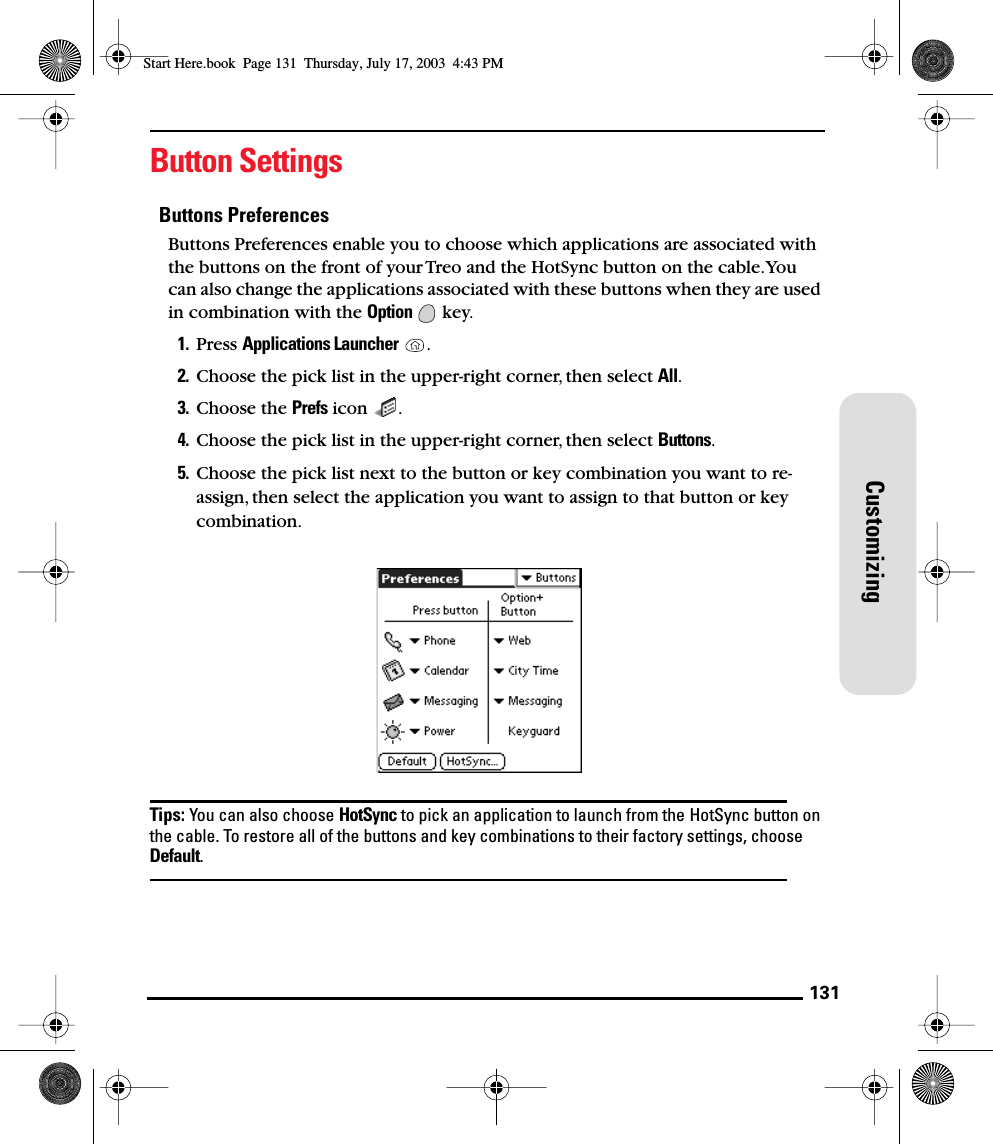
>
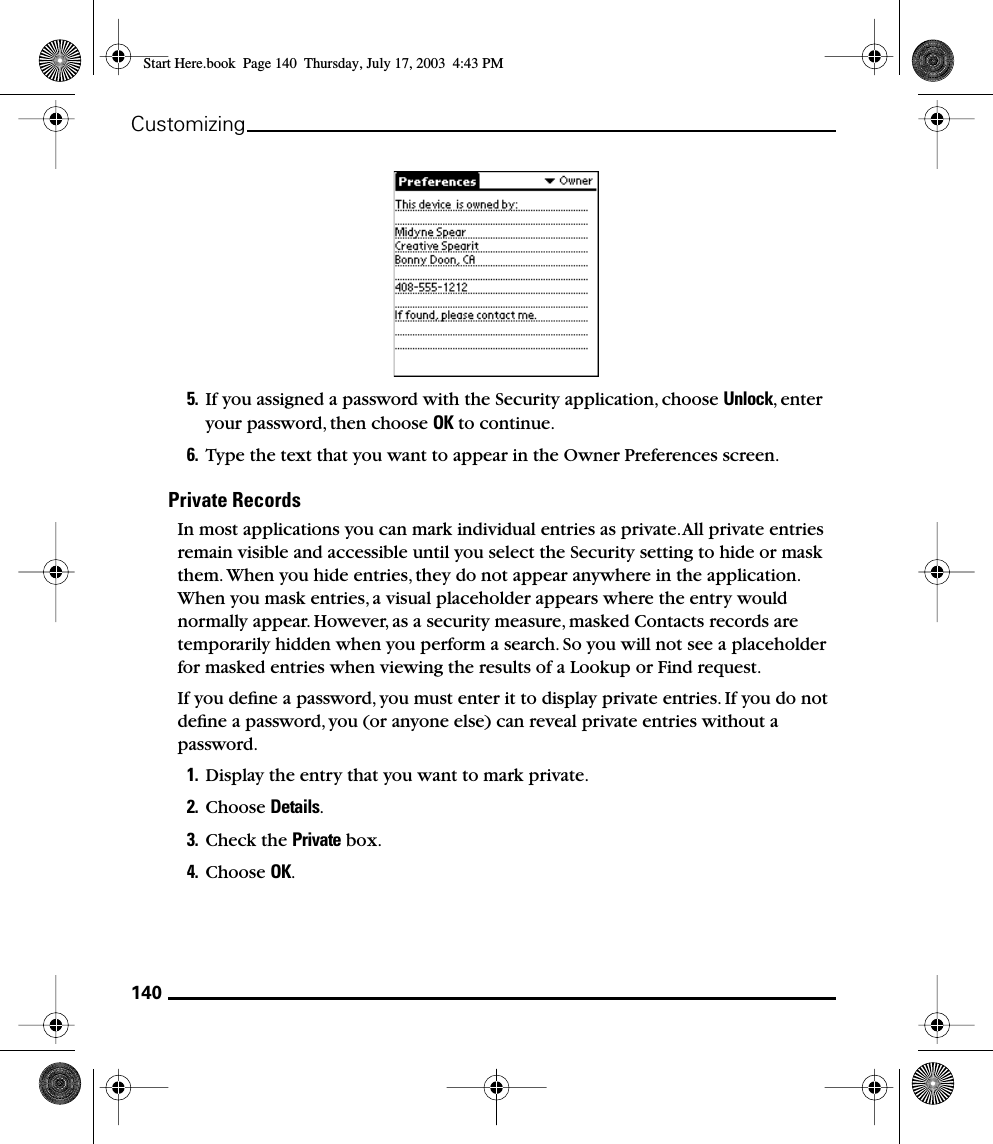
BW User Manual
>
Users Manual Revised
Contents
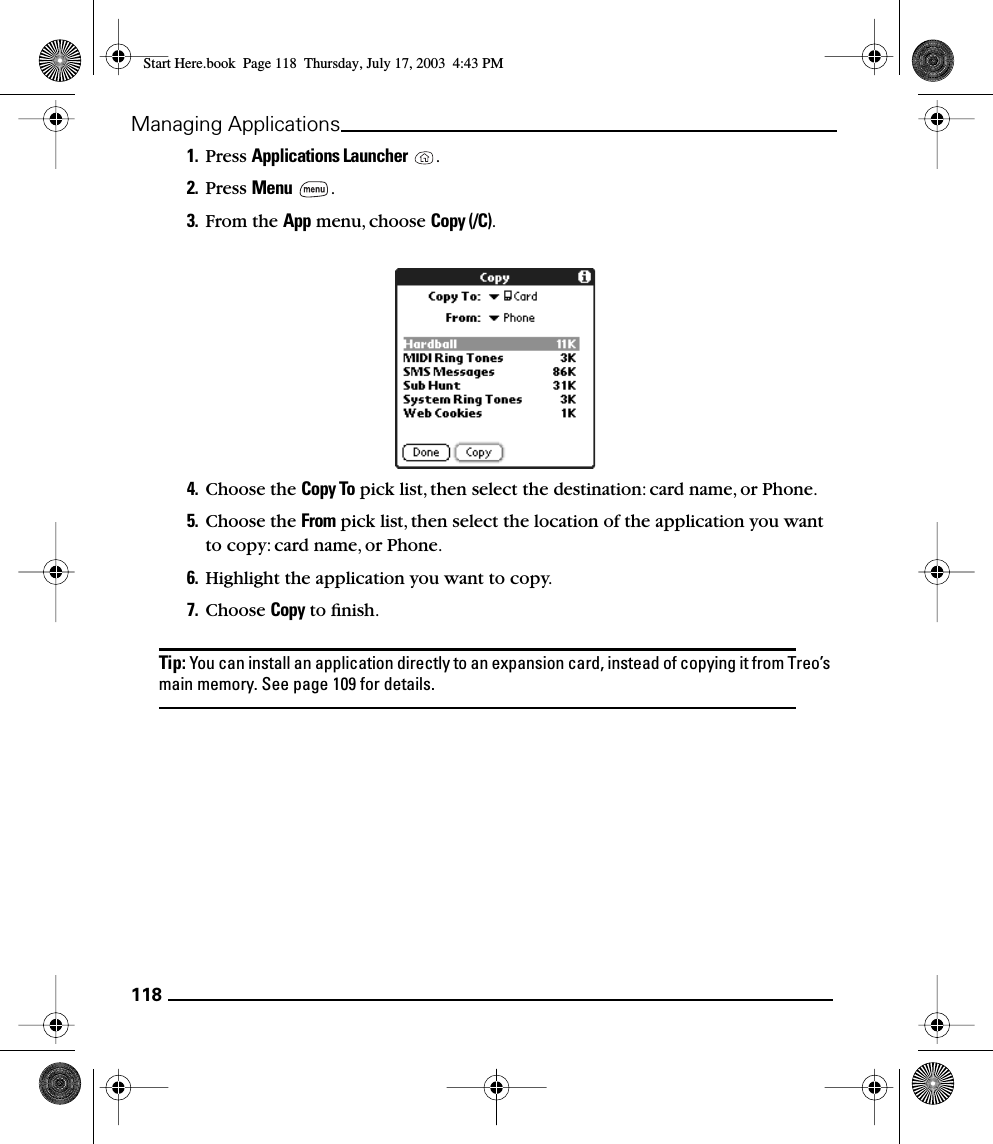
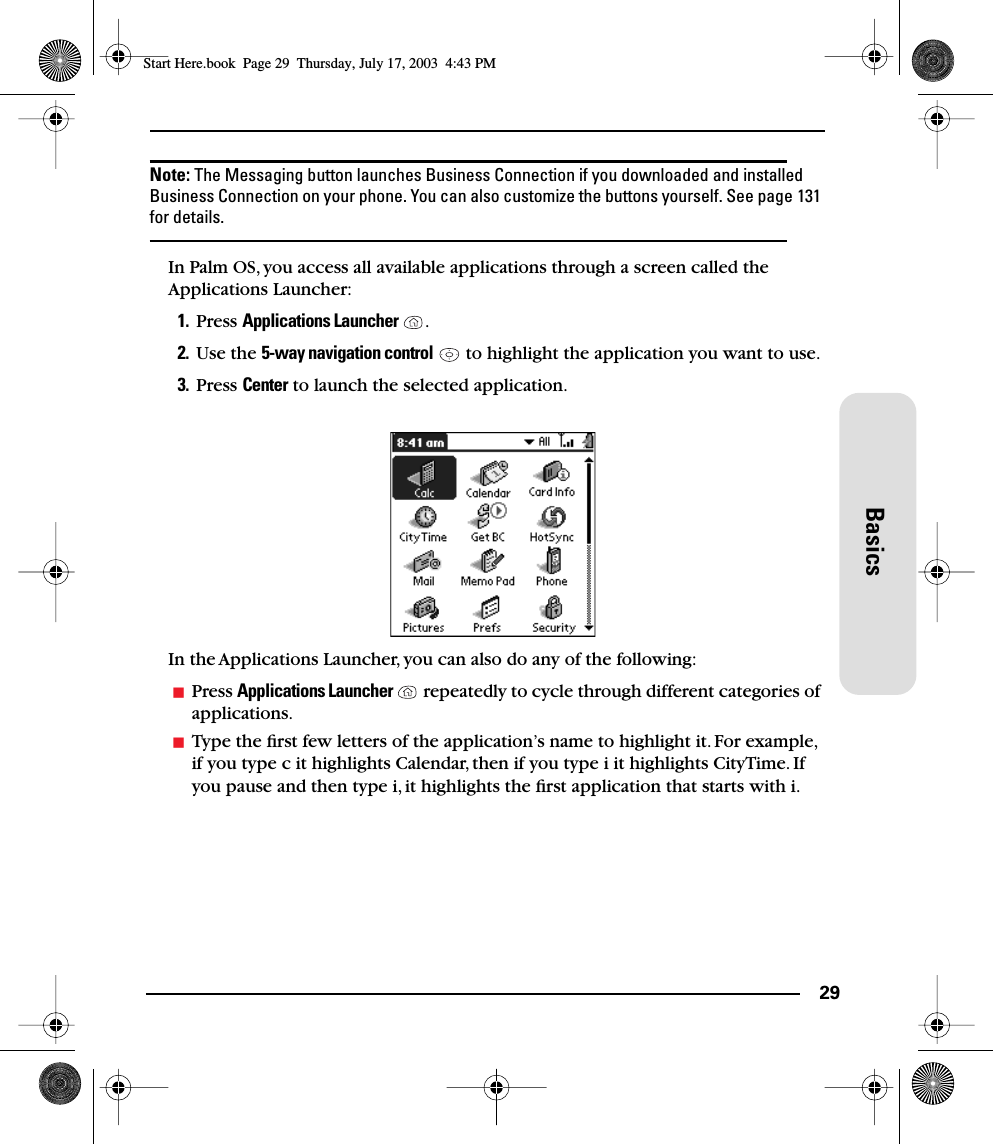
1.
Users Manual
2.
Users Manual Revised
Users Manual Revised
Navigation menu
Upload a User Manual
Namespaces
Wiki Guide
HTML
PDF
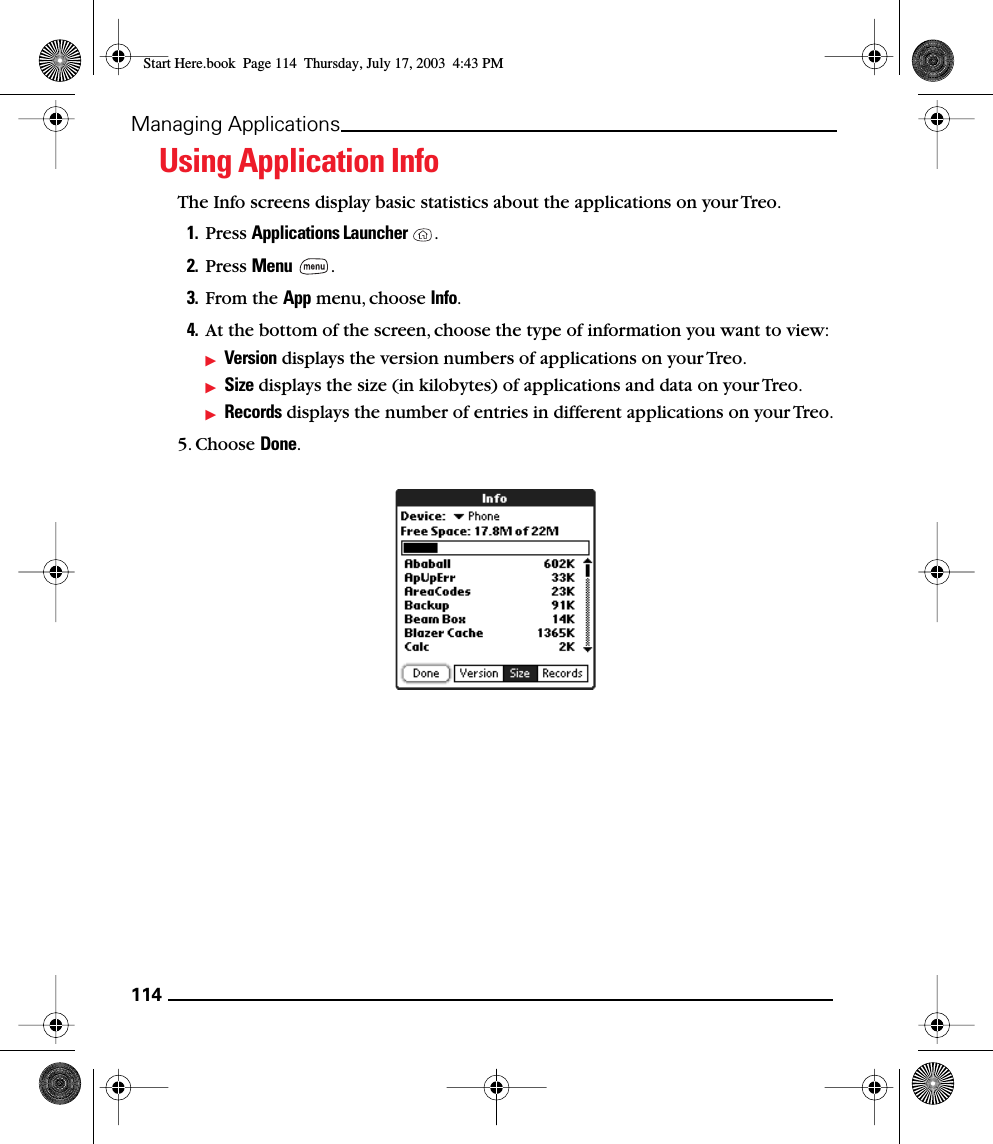
Info
Views
User Manual
Discussion / Help
Navigation

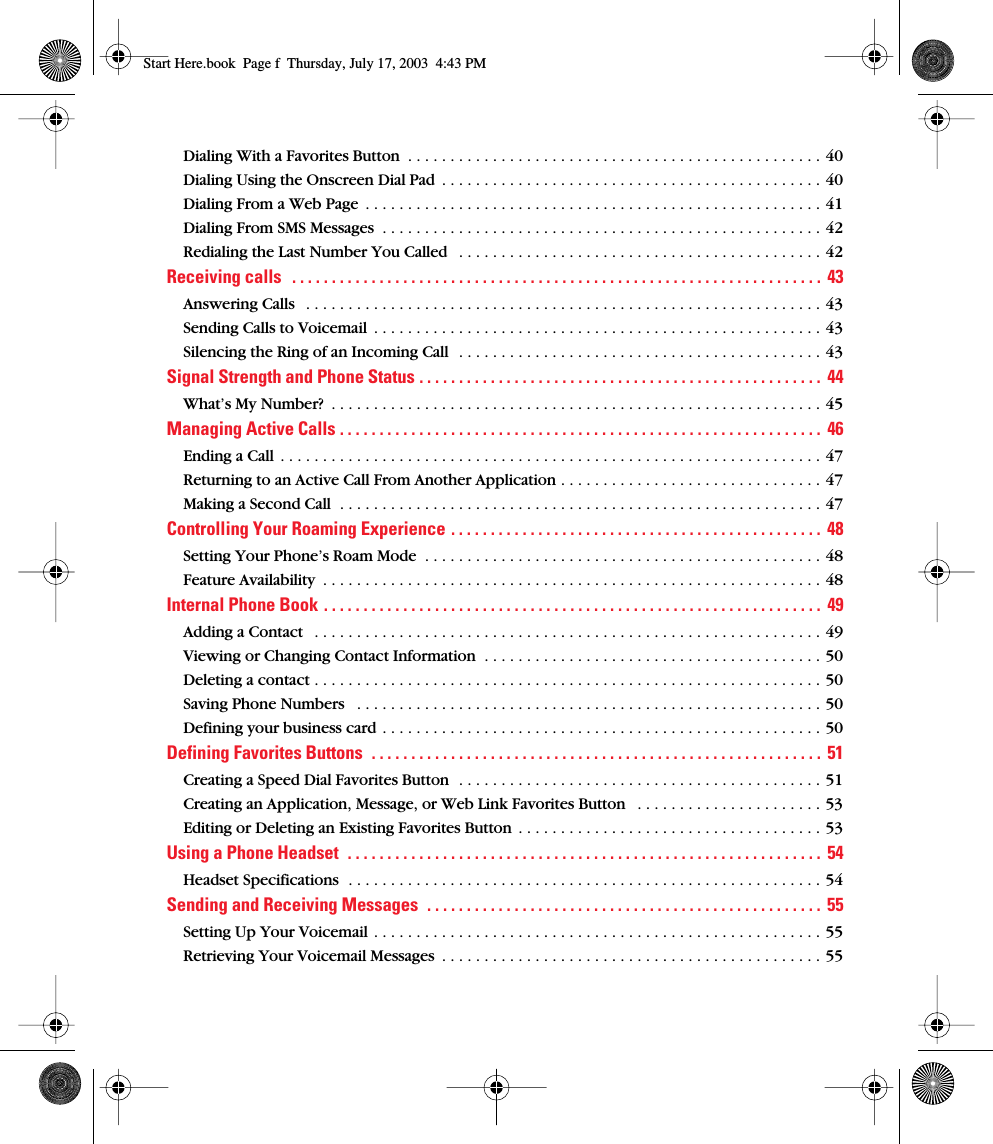


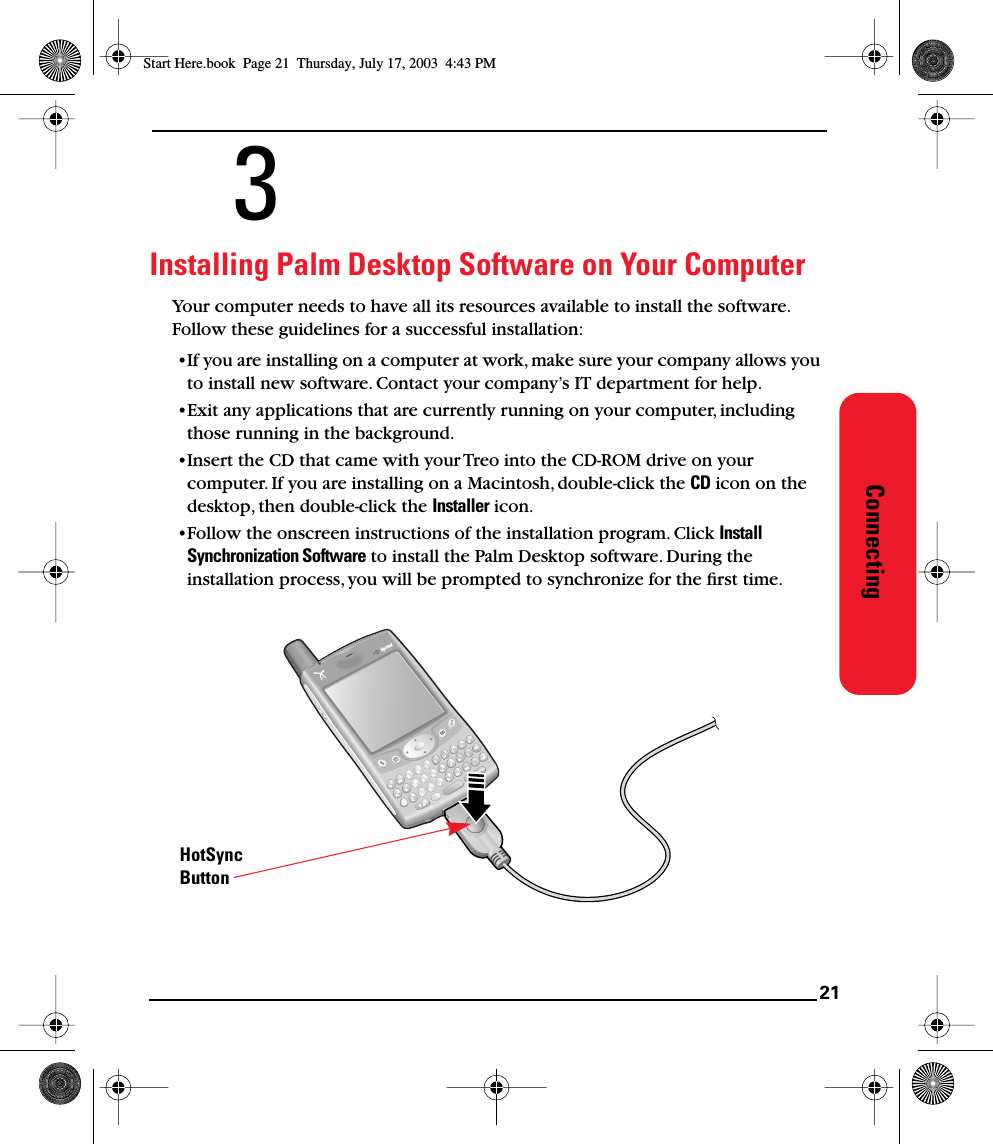
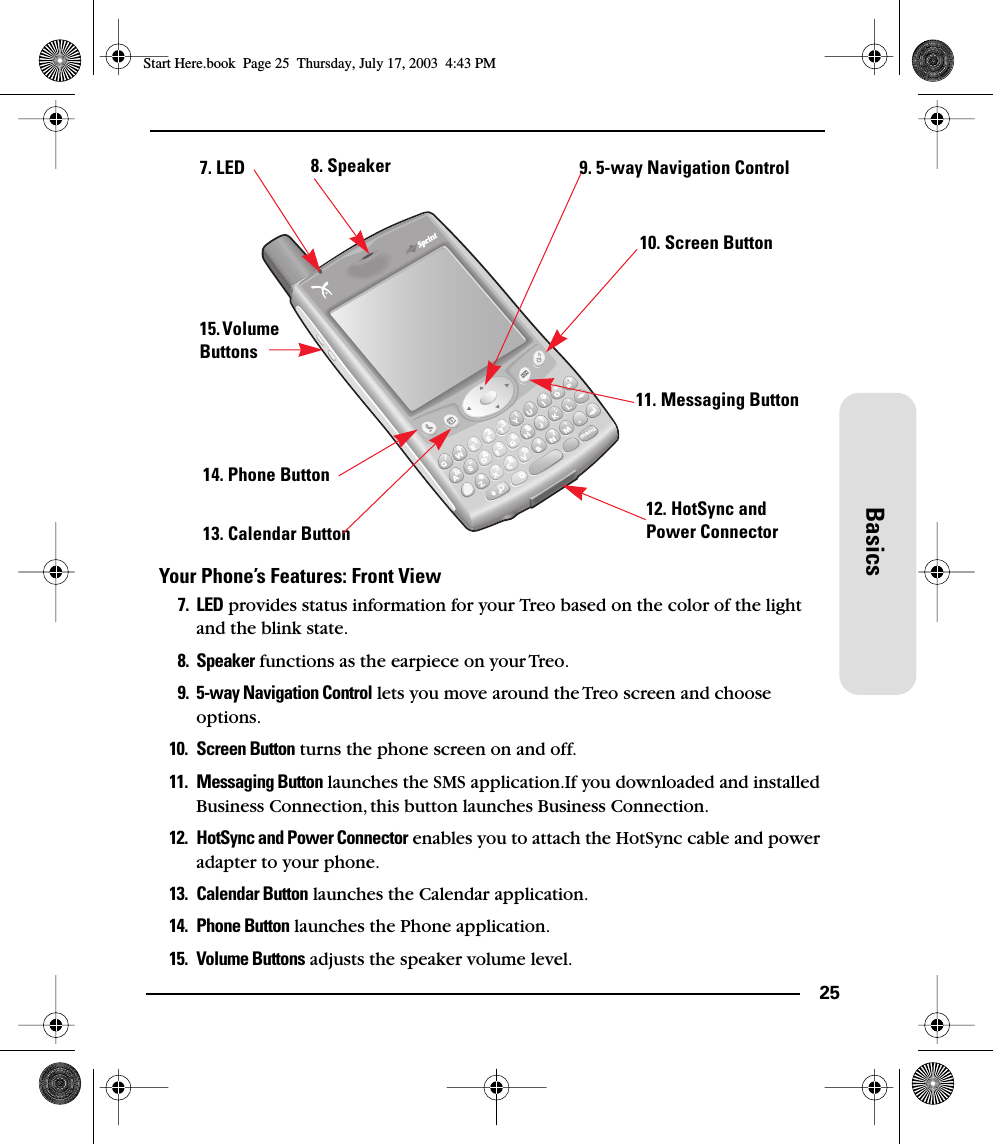
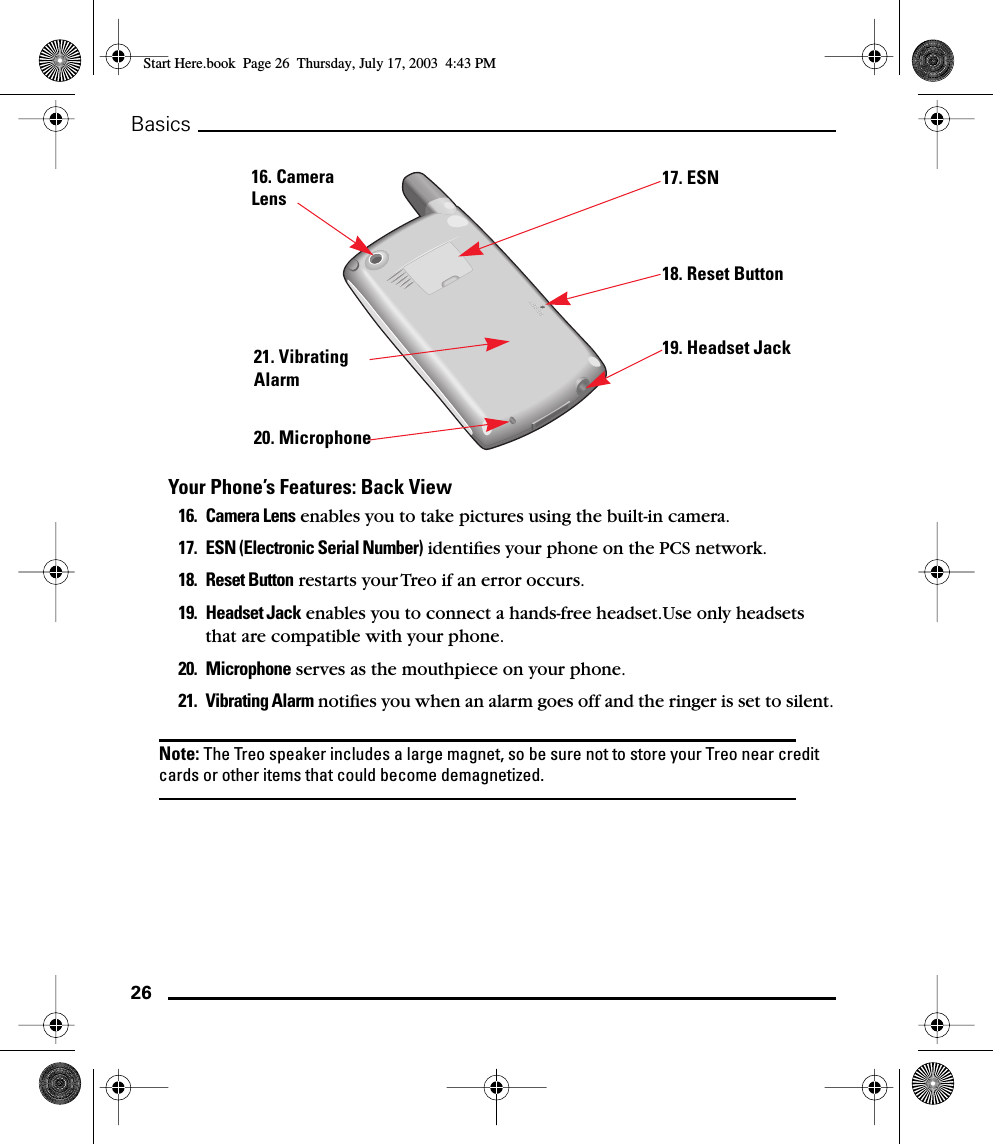
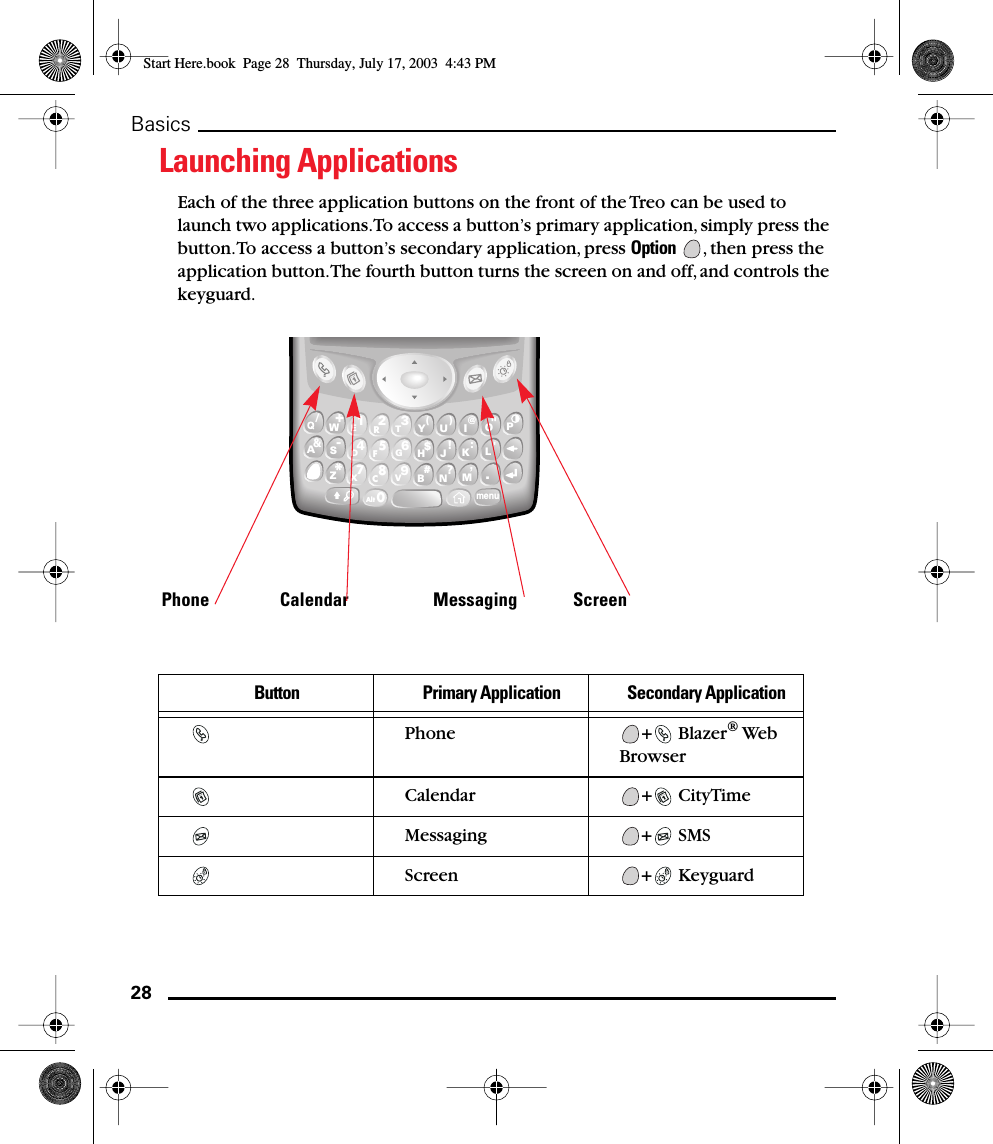
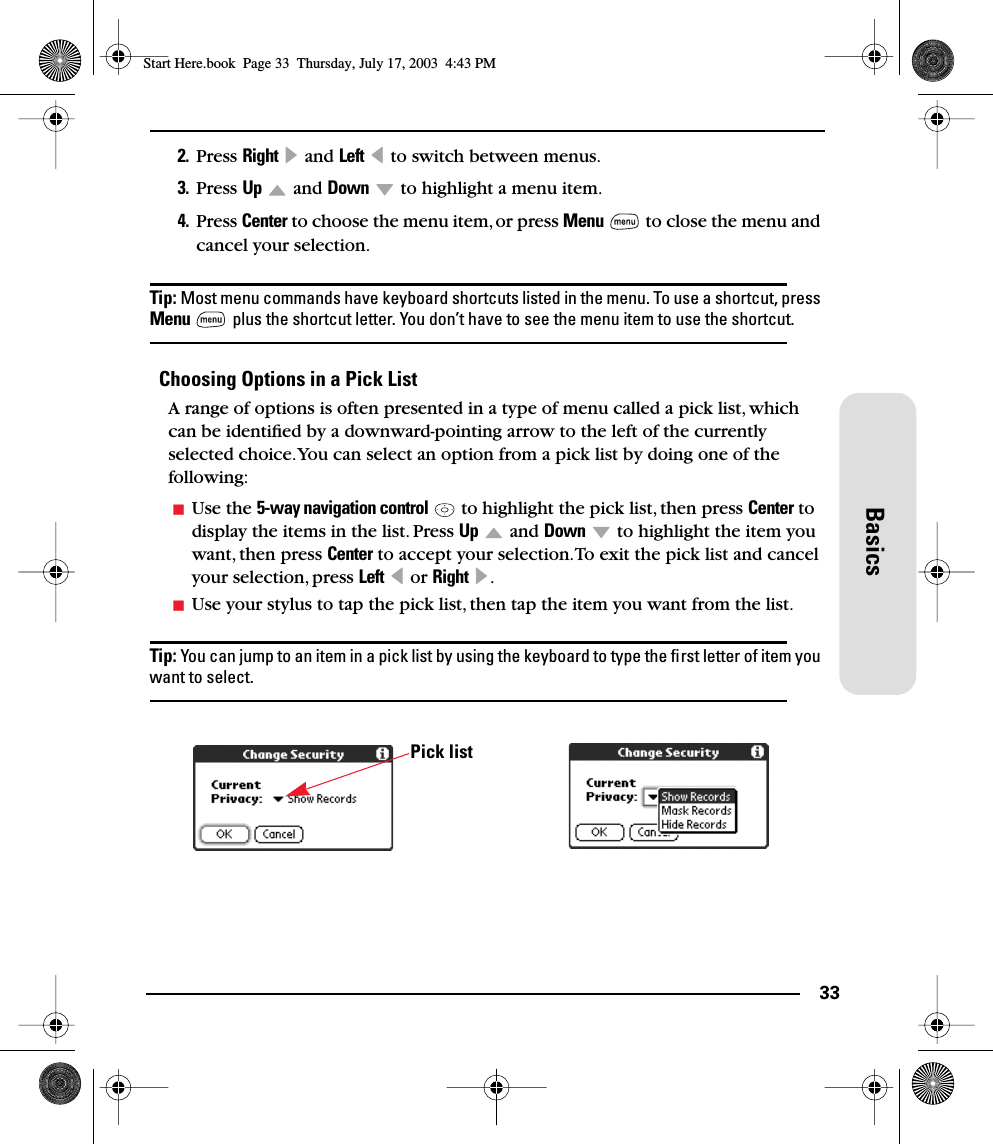
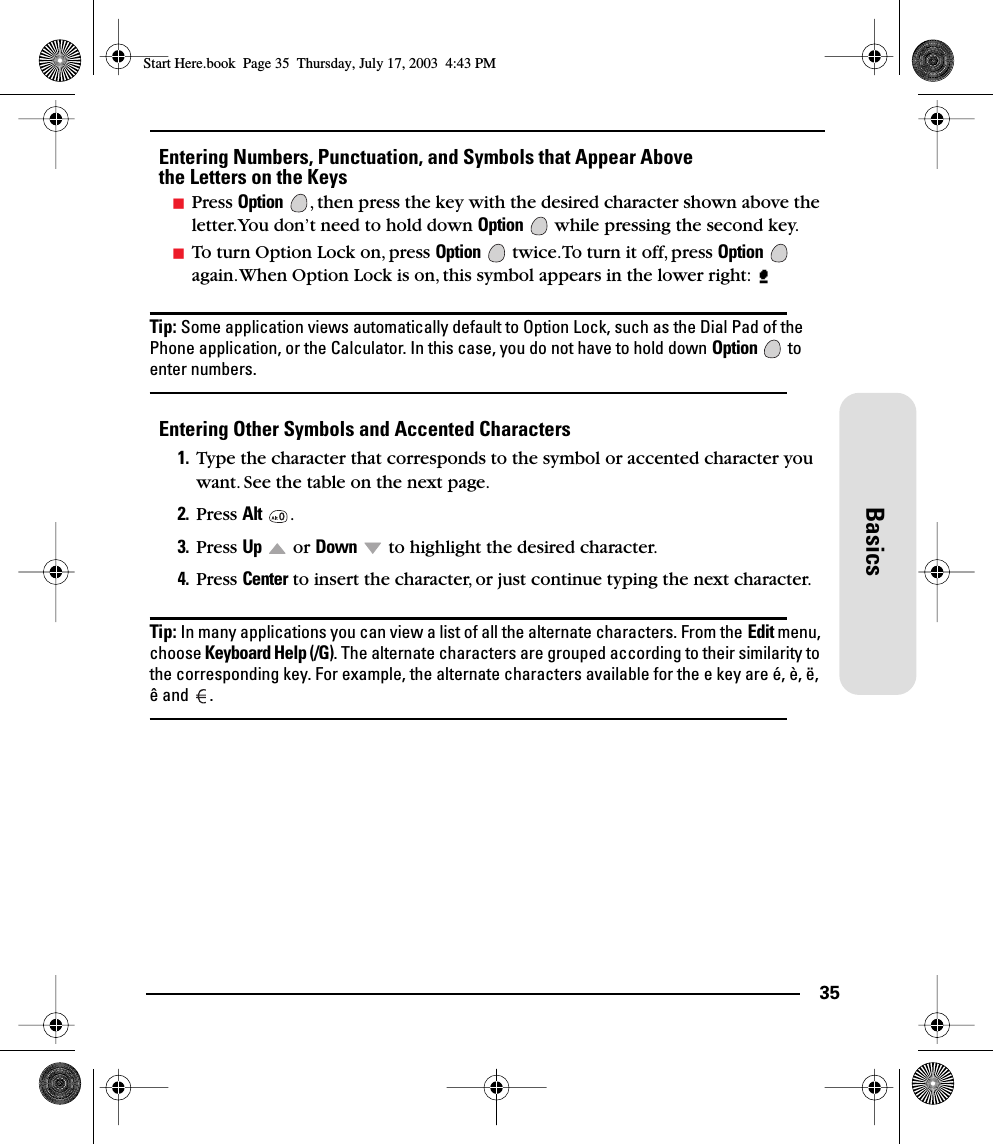
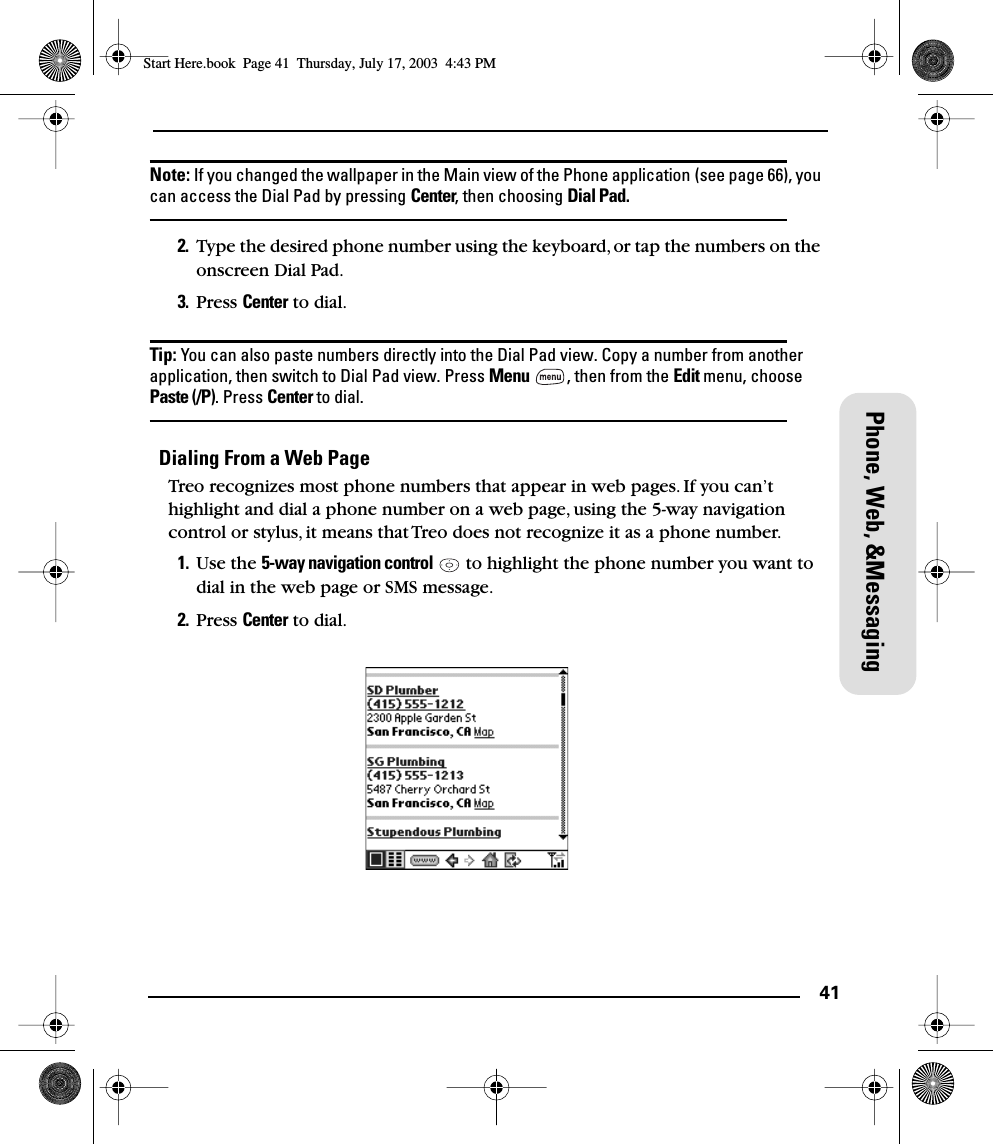
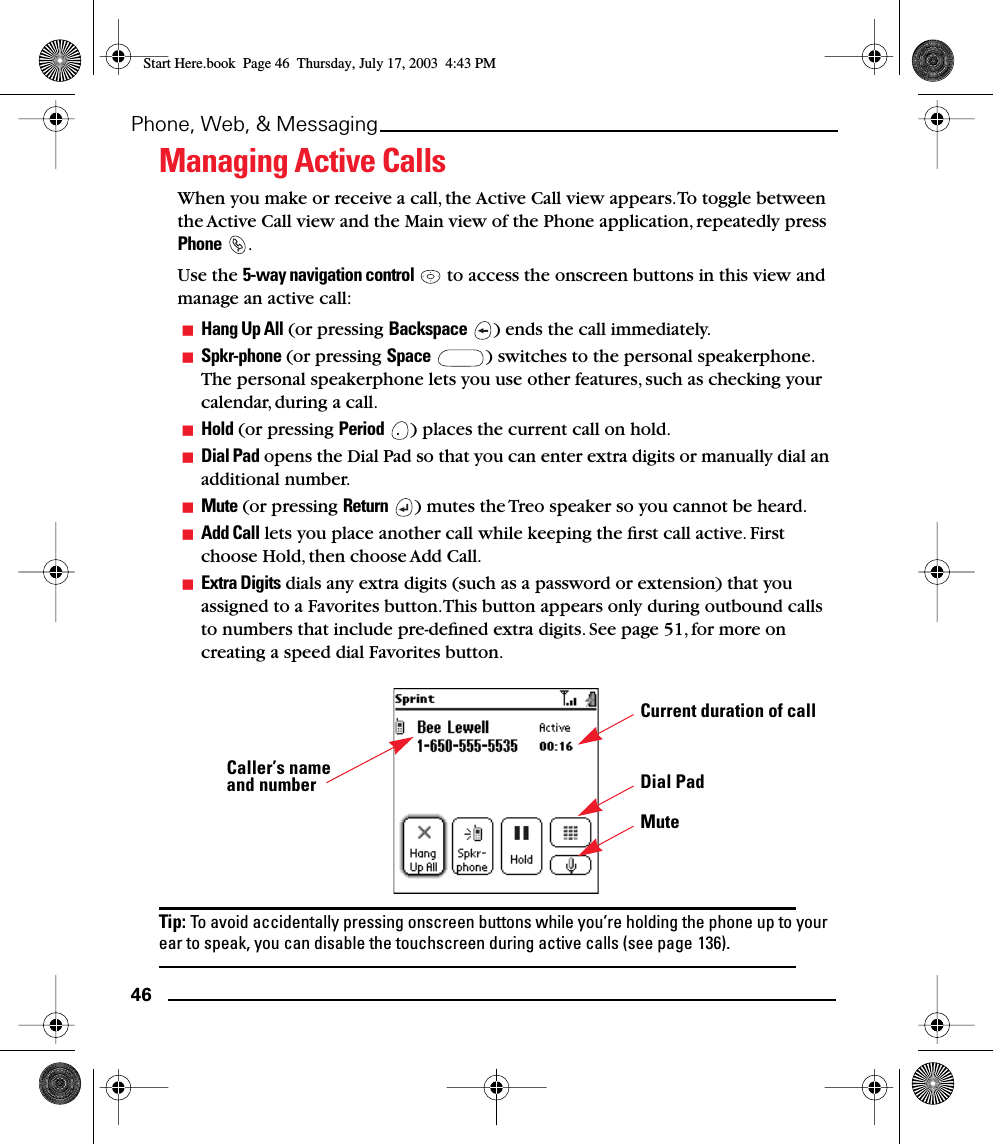
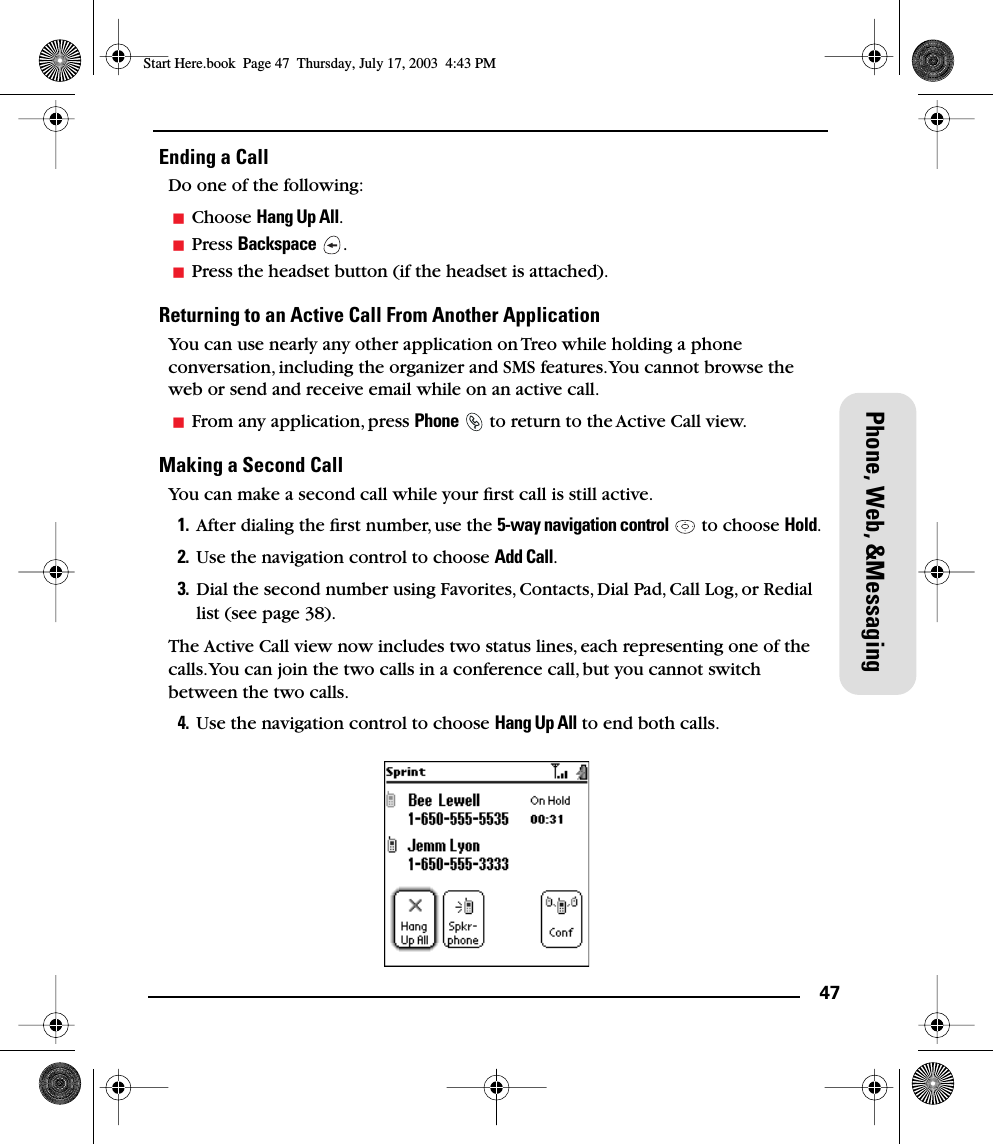
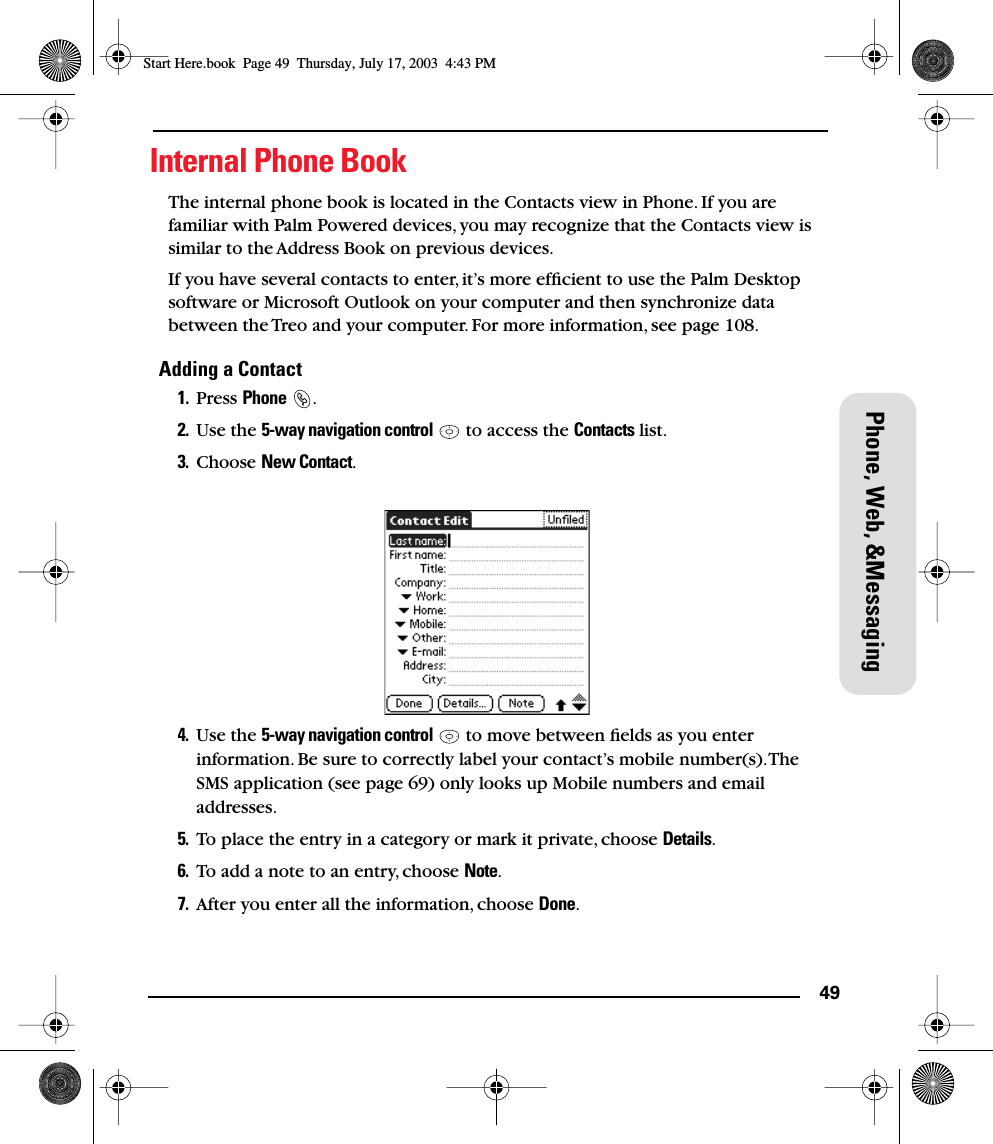
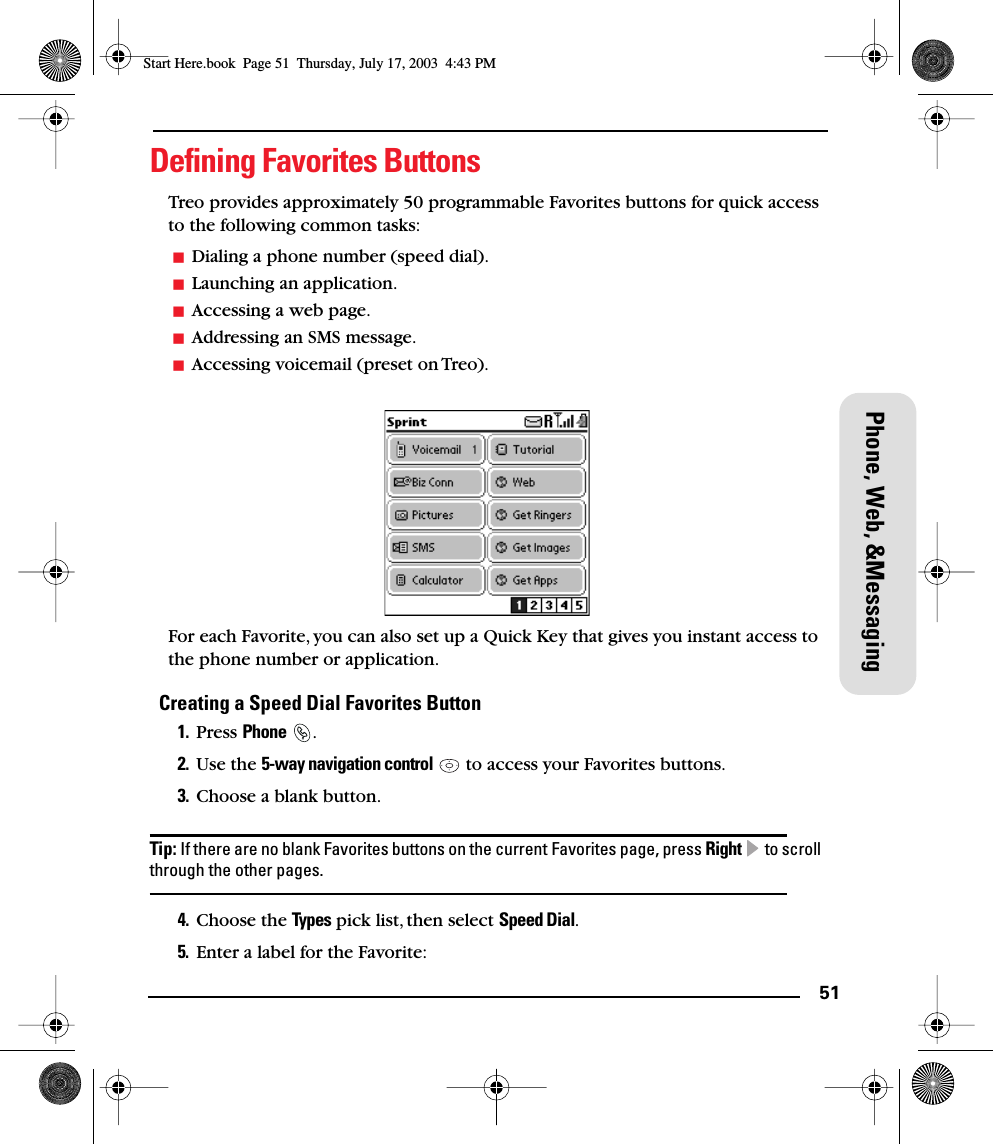
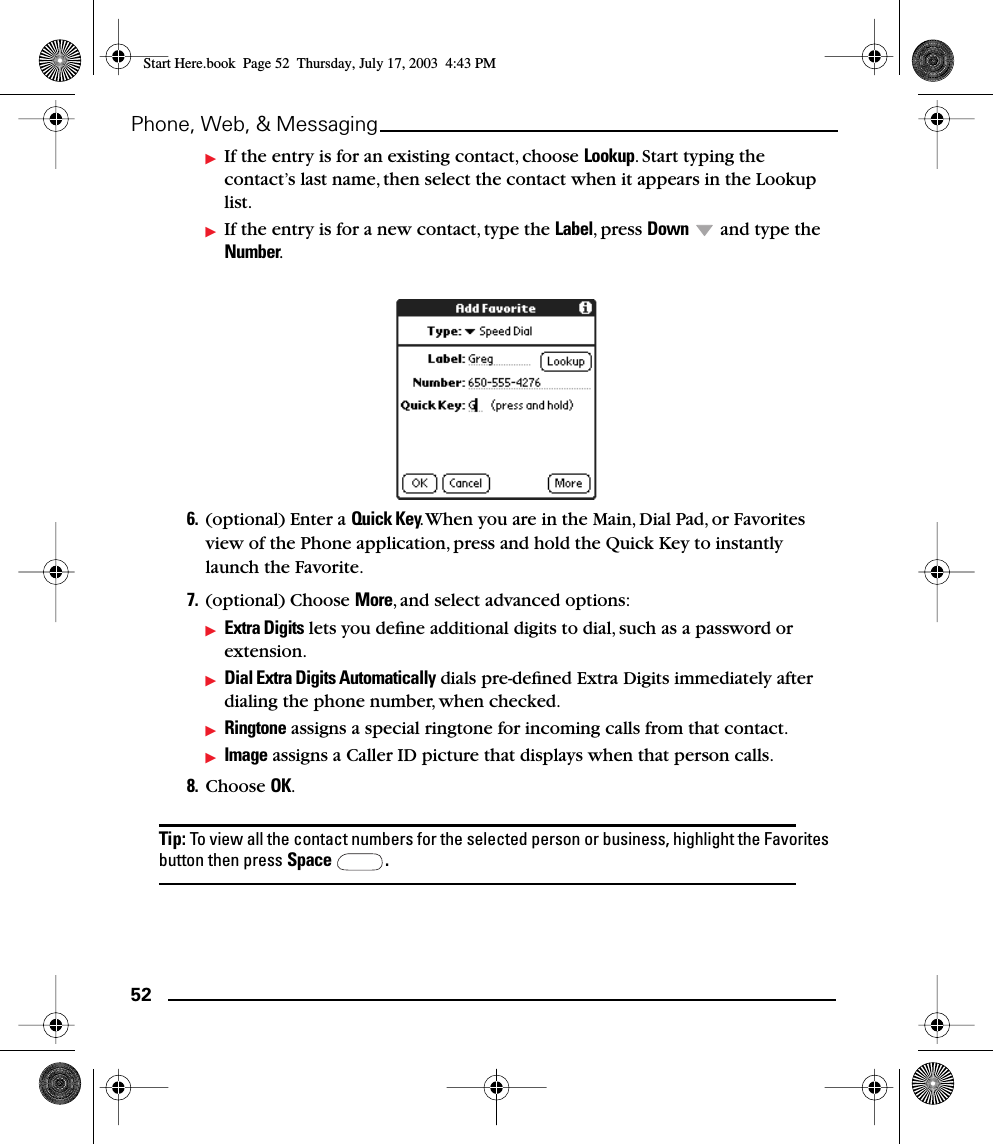
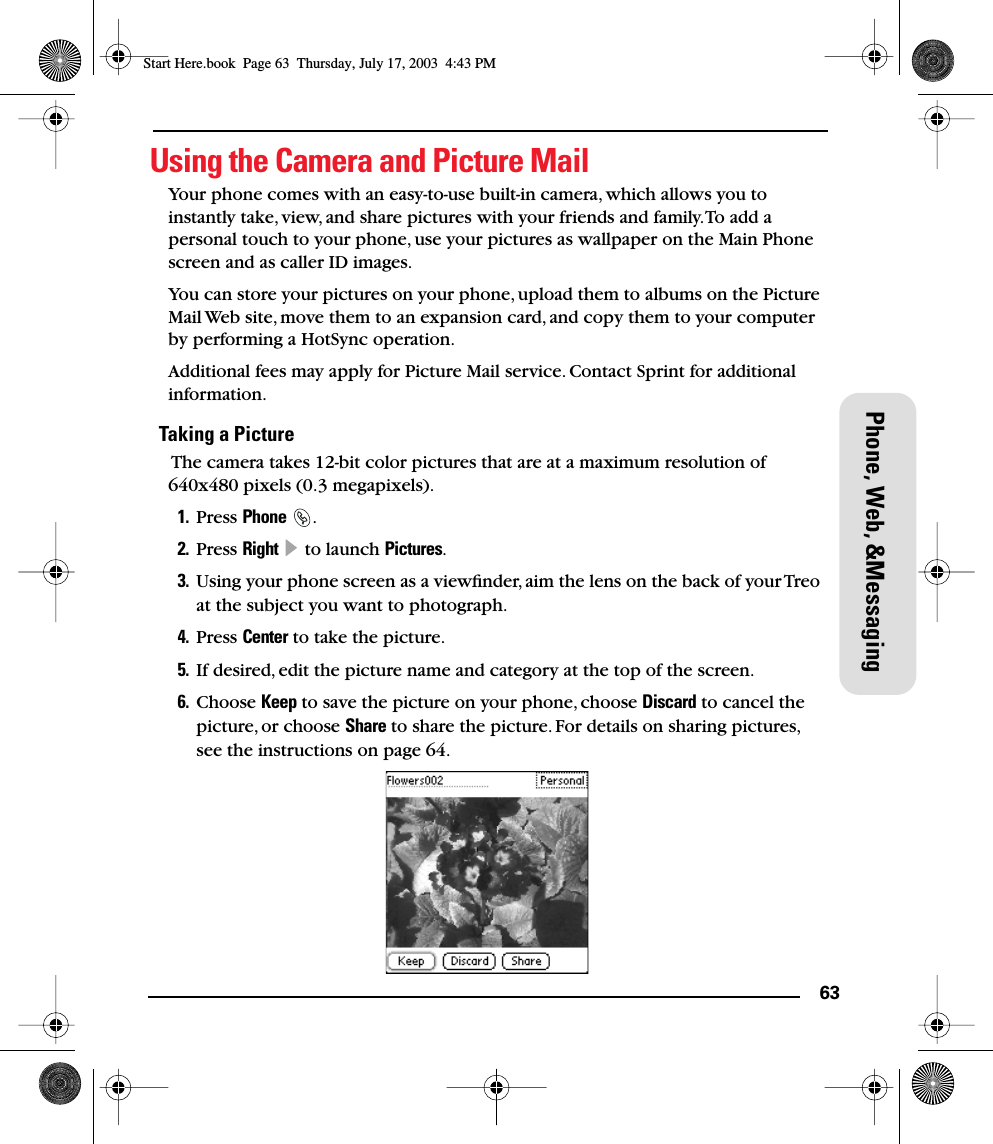
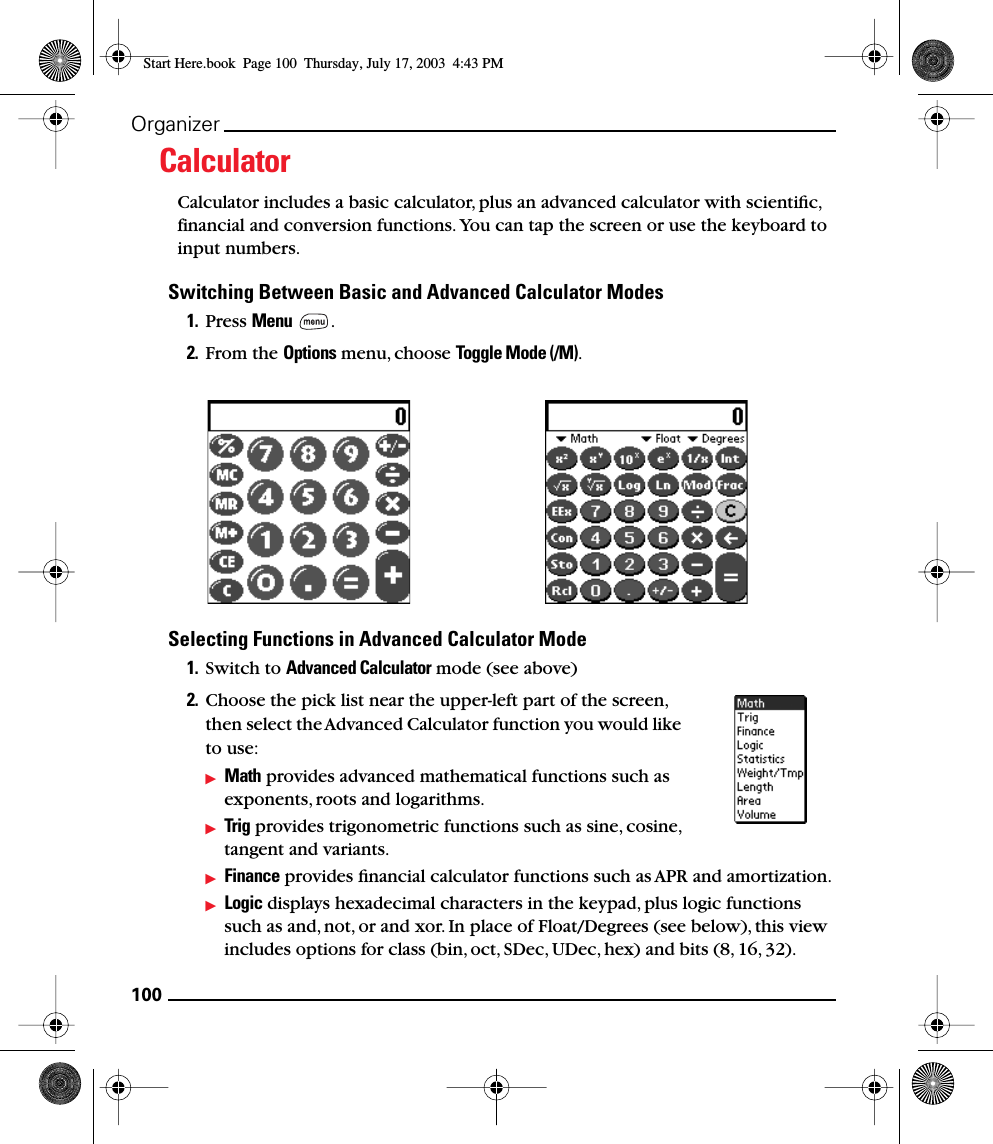
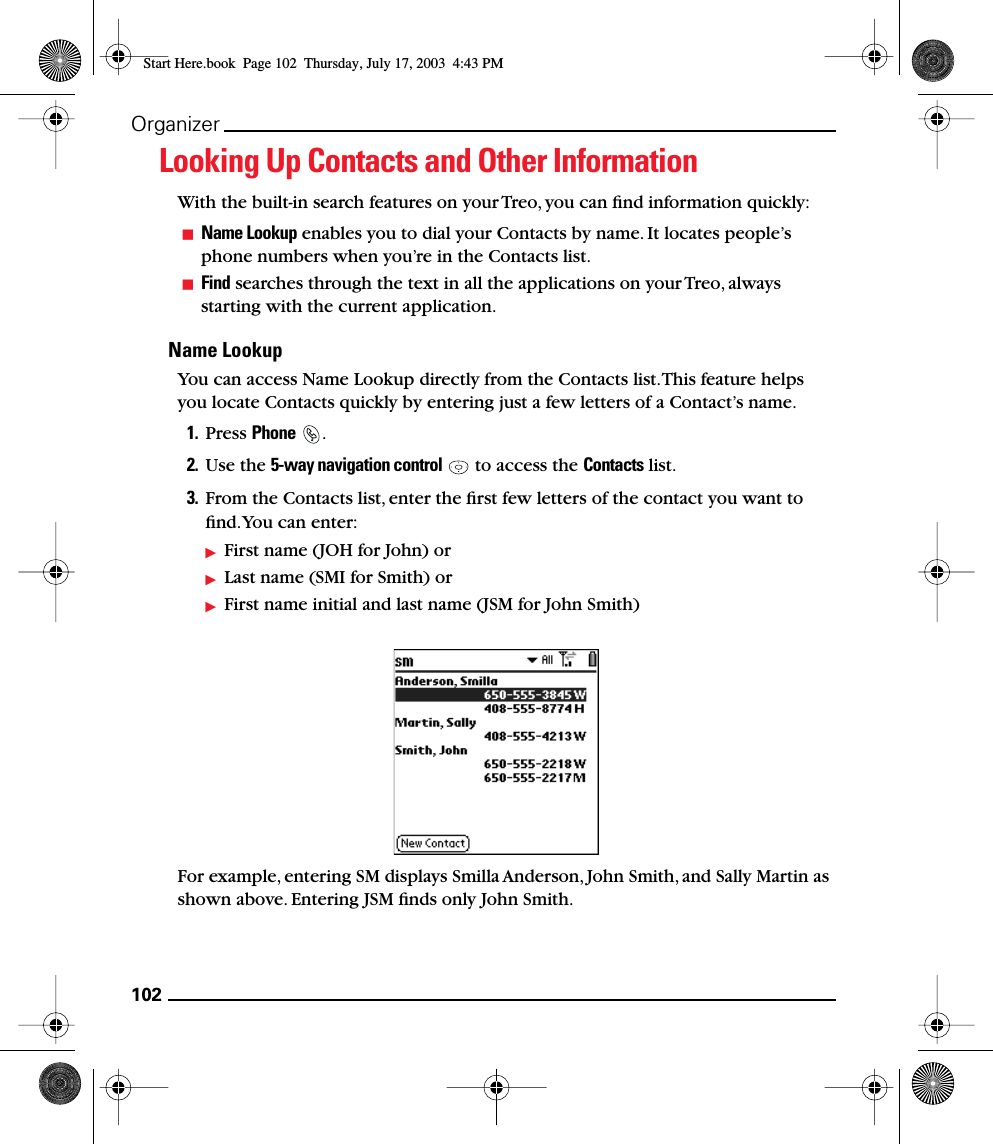
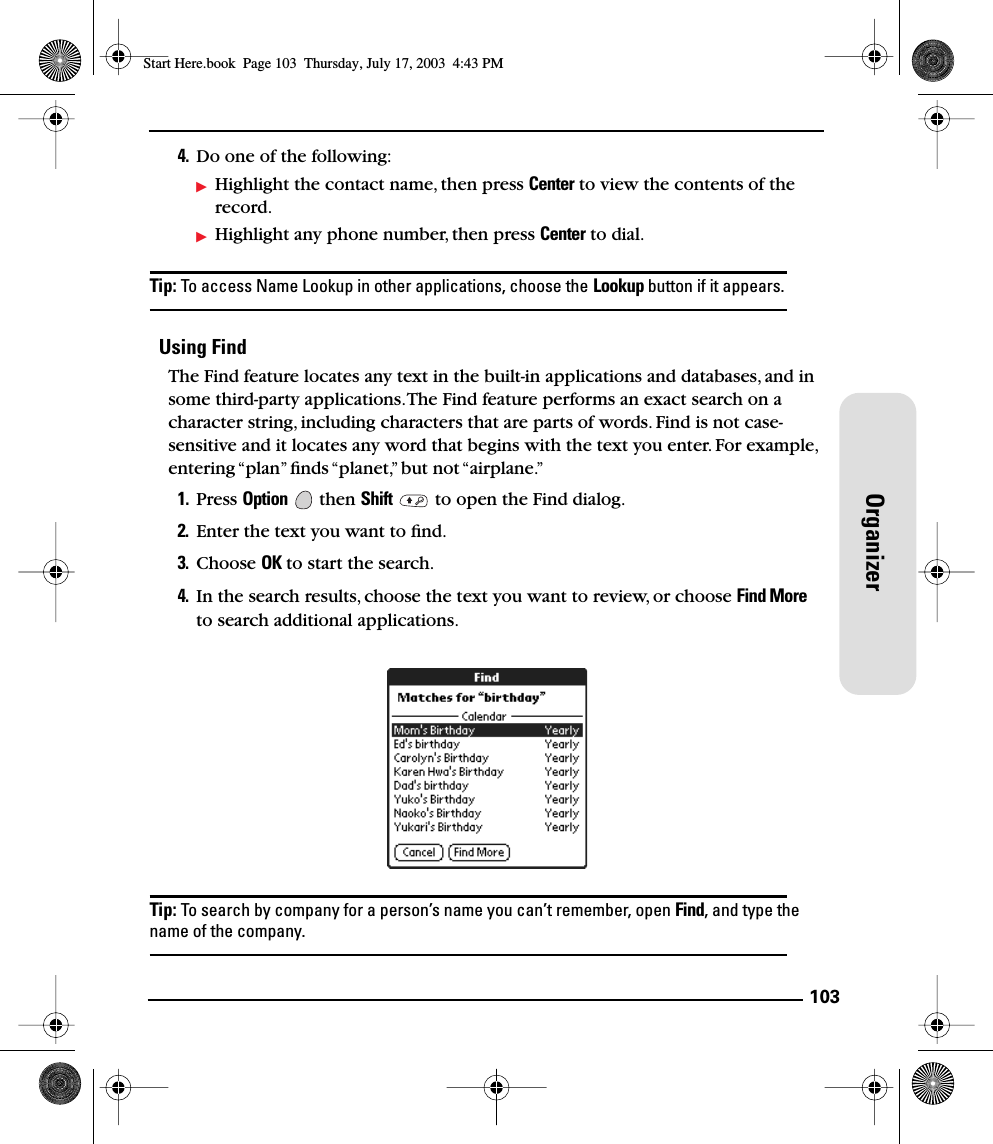
![36BasicsType ……then press to choose…Type ……then press to choose…aà á ä â ã å æUÙ Ú Ü Û AÀ Á Ä Â Ã Å Æx or X∞b or Bßy∆ ÿ ¥cç ¢ © ^ ˆY∆ Ÿ ¥CÇ ¢ © ^ ˆ0‰ ºd† ‡1∂ π ∫D† ‡ √2∑eè é ë ê 3∏EÈ É Ë Ê .? ! …f or Fƒ,‚‚‚iì í ï î !¡IÌ Í Ï Î ?¿l or L£:; :-) :-( ;-) :-Dm or Mµ.? ! …nñ'‘ ’ ‹ › ~ `NÑ"“ ” « »o ò ó ö ô õ ø$ £ ¥O Ò Ó Ö Ô Õ Ø+&p or P¶-_ ~ • – —r or R®/\ ÷ ≠sß §%‰Sß ≥ §#=t or T~ ™ † ‡(<[{‹uù ú ü û)>]}›Start Here.book Page 36 Thursday, July 17, 2003 4:43 PM](https://usermanual.wiki/Palm/BW.Users-Manual-Revised/User-Guide-343949-Page-50.png)