Palm PIXE CDMA-EVDO SmartPhone User Manual Palm Pixi User Guide
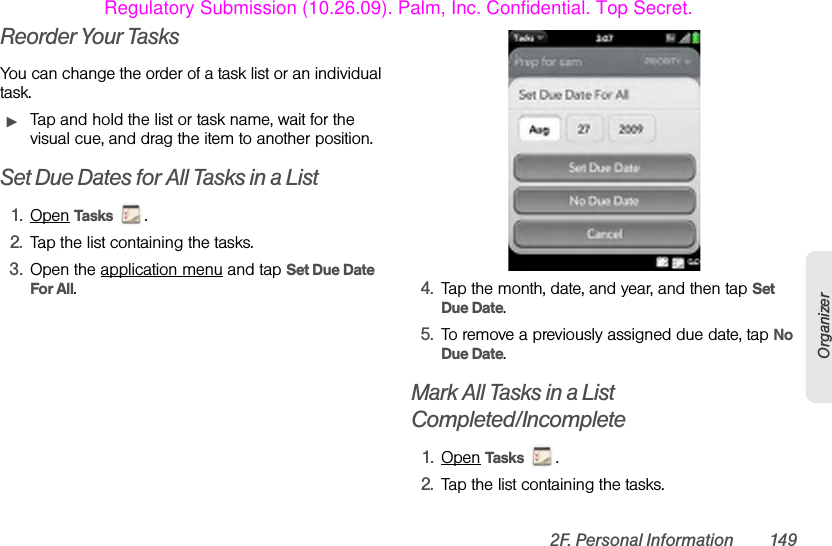
Palm Inc CDMA-EVDO SmartPhone Palm Pixi User Guide
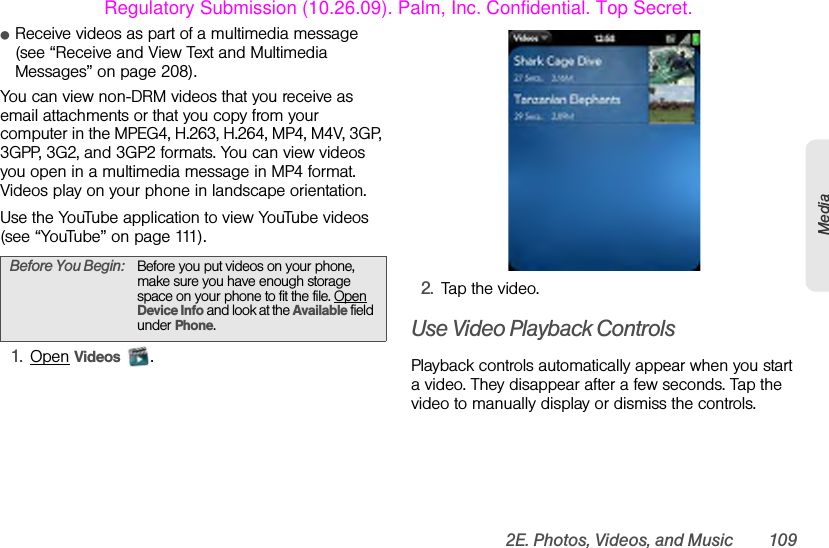
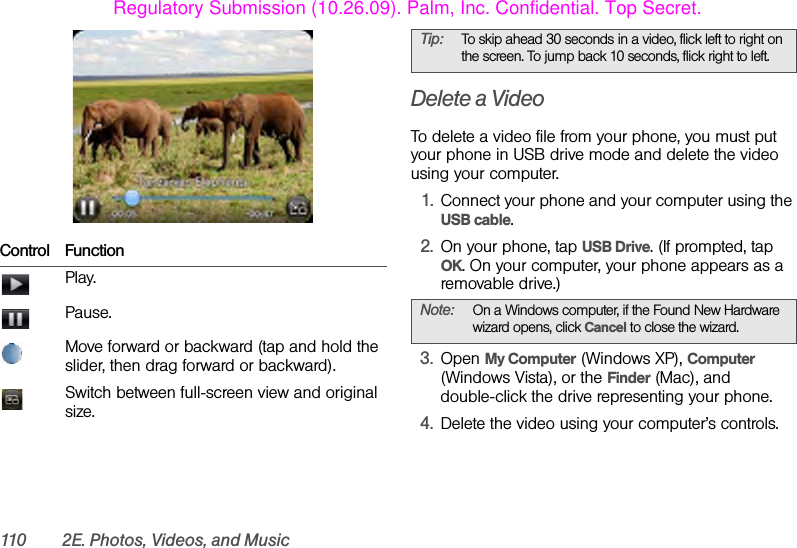
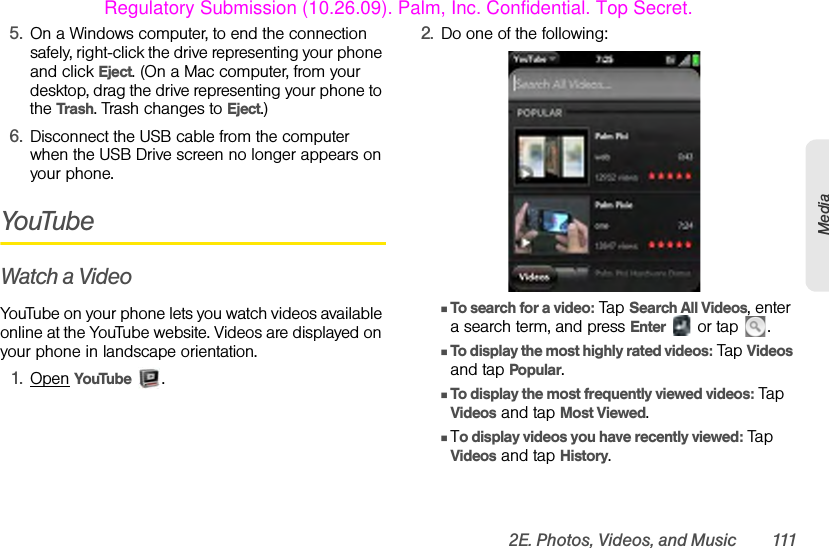
UserManual.wiki
>
Palm
>
PIXE User Manual
>
User Manual 1 of 2
Contents
1.
User Manual 1 of 2
2.
User Manual 2 of 2
User Manual 1 of 2
Navigation menu
Upload a User Manual
Namespaces
Wiki Guide
HTML
PDF
Info
Views
User Manual
Discussion / Help
Navigation


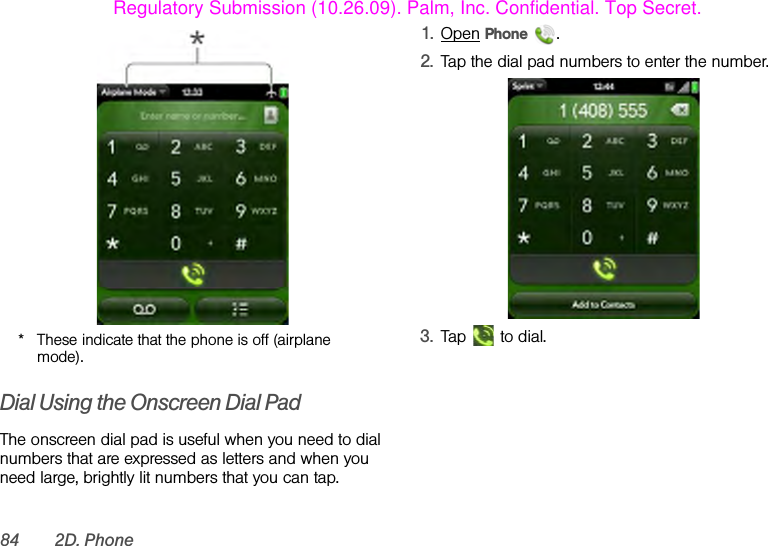
![2B Move Around on Your Phone 55Move AroundSymbols and Accented CharactersPress Sym and press…to select…a or A á à ä â ã å æ Á À Ä Â Ã Å Æ ª ~ \ ` • ÷ ^ [ ] { } < > « » Ø μ |b or B ~ \ ` • ÷ ^ [ ] { } < > « » Ø μ |c or C © ç Ç ¢d or D † ‡e or E é è ë ê ? É È Ë Ê € ¹ ¼ ½h or H ¢ € £ ¥ ƒi or I í ì ï î Í Ì Ï Î ÷ ‰j or J ¡k or K :-) :-( ;-)l or L ` ‘ ’ ‚ "m or M μ :-) :-( ;-)n or N ñ Ñ ¿o or O ó ò ö ô œ õ ø Ó Ò Ö Ô Œ Õ Ø º “ ” „ < > « »p or P ¶ ~ \ ` • ÷ ^ [ ] { } < > « » Ø μ |q or Q \ ~ |r or R ® ²s or S ß š Š ~ \ ` • ÷ ^ [ ] { } < > « » Ø |t or T ™ ³ ¾u or U ú ù ü û Ú Ù Ü Û [ ] { } < > « »v or V ^w or W ÷ ^ ±x or X x ¤y or Y ÿ ý Ÿ Ý ¥ [ ] { } < > « »z? ? •, or _ ~ \ ` • ÷ ^ [ ] { } < > « » Ø μ |Press Sym and press…to select…Regulatory Submission (10.26.09). Palm, Inc. Confidential. Top Secret.](https://usermanual.wiki/Palm/PIXE.User-Manual-1-of-2/User-Guide-1189046-Page-55.png)
![56 2B Move Around on Your PhoneEnter Information in a FieldYou can enter information in a field by typing or by pasting previously copied information (see “Cut, Copy, and Paste Information” on page 57). Applications with text fields support the auto-correct feature. If the app recognizes a common misspelling, it auto-corrects the word. To cancel the auto-correction, press Backspace .To accept the information you entered, do one of the following:ⅷTap outside the field.ⅷPress Enter . If a screen contains multiple fields, pressing Enter accepts the information you just entered and jumps the cursor to the next field.ⅷWhen you are done entering information on the screen containing the field, make the back gesture to accept the information and back out of the screen (see “Go Up One Level in an App (Back Gesture)” on page 48).Select Items in a ListLists enable you to select from a range of options. Lists are different from menus (see “Use the Menus” on page 58), which give you access to additional features.Lists are hidden until you tap the currently displayed option for that list.1. Tap the currently displayed option to open the list. (For example, when creating a new event in . … ~ \ ` • ÷ ^ [ ] { } < > « » Ø μ |@° • ØPress Sym and press…to select…Regulatory Submission (10.26.09). Palm, Inc. Confidential. Top Secret.](https://usermanual.wiki/Palm/PIXE.User-Manual-1-of-2/User-Guide-1189046-Page-56.png)
![70 2B Move Around on Your PhoneDownload a Free Application1. Open App Catalog .2. Browse to the app you want (see “Browse Applications in App Catalog” on page 68).3. Tap the app name, and then tap Download for free.4. If the app uses Location Services, a notification is displayed (see “Location Services” on page 214). (Tap Continue.)5. After you download an app, tap Tap to launch to open it. (The app also now appears as an icon in the Launcher, so you can open it from the Launcher as well.)Buy an Application1. Open App Catalog .2. Browse to the app you want (see “Browse Applications in App Catalog” on page 68).3. Tap the app name, and then tap Download for [amount].4. If the app uses Location Services, a notification is displayed (see “Location Services” on page 214). (Tap Continue.)5. Do one of the following:ⅢIf you have set up a billing account: If prompted, enter your Palm profile password to authorize the purchase, and tap Continue.Before You Begin: Before you download an app, make sure you have enough storage space on your phone to fit the app. Open Device Info and look at the Available field under Phone. Did You Know? After you download an application, you can tap Reviews on the app details screen to see reviews from others. Or, on the Reviews screen, tap Review to write a review. Before You Begin: Before you purchase and download an app, make sure you have enough storage space on your phone to fit the app. Open Device Info and look at the Available field under Phone. Note: If you enter an incorrect Palm profile password three times, a message appears that explains how you can contact Palm support for help.Regulatory Submission (10.26.09). Palm, Inc. Confidential. Top Secret.](https://usermanual.wiki/Palm/PIXE.User-Manual-1-of-2/User-Guide-1189046-Page-70.png)


![118 2E. Photos, Videos, and Music4. Do one of the following:ⅢIf the item you want appears on the screen: Tap the song, album, or artist name. Tapping the name of a song plays the preview; tapping its price gives you the option to buy it (see “Preview and Buy a Song” on page 119).ⅢIf the item you want doesn’t appear: Tap See all [total number of] results at the bottom of the Artists, Albums, or Songs section.Browse Songs, Albums, Artists, or Genres1. Open Amazon MP3 .2. Do any of the following:ⅢView all songs in a certain genre: Tap and tap the genre.ⅢView the top 10 new and notable releases: Swipe left or right on the New & Notable album thumbnails.ⅢView the top 100 new releases: Tap New releases.ⅢView the top 100 albums: Tap Albums.ⅢView the top 100 artists: Tap Artists.ⅢView the top 100 songs: Tap Songs.View Artist Information1. Search for (see “Search for a Specific Song, Album, or Artist” on page 117) or browse to (see “Browse Songs, Albums, Artists, or Genres” on page 118) an artist, and tap the artist name.2. Tap the word to the right of the artist name (Albums, Songs, or Bio).Regulatory Submission (10.26.09). Palm, Inc. Confidential. Top Secret.](https://usermanual.wiki/Palm/PIXE.User-Manual-1-of-2/User-Guide-1189046-Page-118.png)


![2F. Personal Information 129Organizer1. Open Contacts .2. Search for a contact (see “Find a Contact” on page 125 to learn how), and tap the contact name.3. Open the application menu and tap Set Speed Dial. 4. Tap the phone number you want to assign a speed dial to, and then tap the key to use as a speed dial. (You may have to scroll to find the key you want.)Assign a Reminder Message to a ContactIf you have an important message or a question for a contact, you can enter a reminder right on your phone. The next time you and the contact are in touch—whether by phone call, email, or text message/IM—a notification appears showing the contact name and a message bubble. Tap the bubble to view the reminder.1. Open Contacts .2. Search for a contact (see “Find a Contact” on page 125), and tap the contact name.3. Open the application menu and tap Add Contact Reminder. 4. Enter the reminder, and make the back gesture to save it.Tip: To assign a currently used speed dial key to a new number, follow the steps for setting a new speed dial for the new number. Tap the key to use in step 4, and tap Reassign To [Name].Tip: To remove a speed dial from a number, open the contact, open the application menu, and tap Set Speed Dial. Tap the number and tap Remove Speed Dial [key letter].Regulatory Submission (10.26.09). Palm, Inc. Confidential. Top Secret.](https://usermanual.wiki/Palm/PIXE.User-Manual-1-of-2/User-Guide-1189046-Page-129.png)

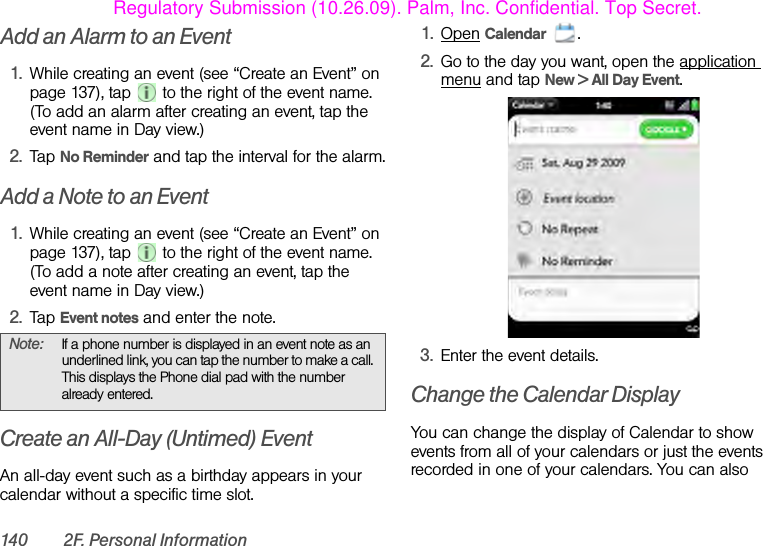
![2F. Personal Information 139OrganizerSchedule a Repeating Event1. While creating an event (see “Create an Event” on page 137), tap to the right of the event name. (To set an event as repeating after creating the event, tap the event name in Day view.)2. Tap No Repeat and tap the repeat interval. 3. (Optional) Tap Custom to define your own repeat interval and set the end date.Tip: Need to find the event location on a map? Open an event that has a location specified in the Event location field, open the application menu, and tap Event Location. Tap either Show on Map, which shows the location on Google Maps, or Get Directions, which gives directions from your current location.Did You Know? To enter a birthday, anniversary, or holiday, create an untimed event. Then select Yearly on [date] as the repeat interval.Regulatory Submission (10.26.09). Palm, Inc. Confidential. Top Secret.](https://usermanual.wiki/Palm/PIXE.User-Manual-1-of-2/User-Guide-1189046-Page-139.png)