Panasonic of North America 96NKX-TGA277 DECT 6.0 Handset User Manual Operating Instructions English
Panasonic Corporation of North America DECT 6.0 Handset Operating Instructions English
UserManual.wiki
>
Panasonic of North America
>
96NKX TGA277 User Manual
User Manual
Navigation menu
Upload a User Manual
Namespaces
Wiki Guide
HTML
PDF
Info
Views
User Manual
Discussion / Help
Navigation


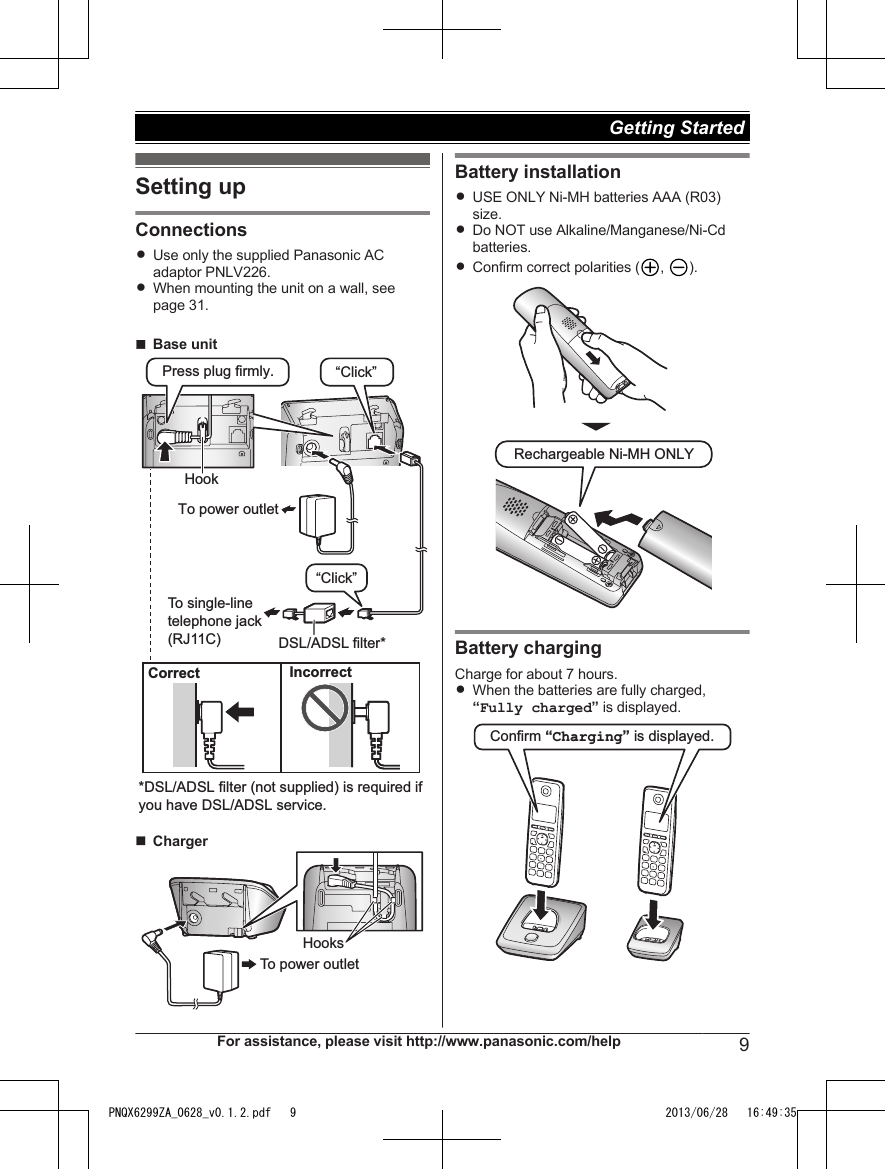

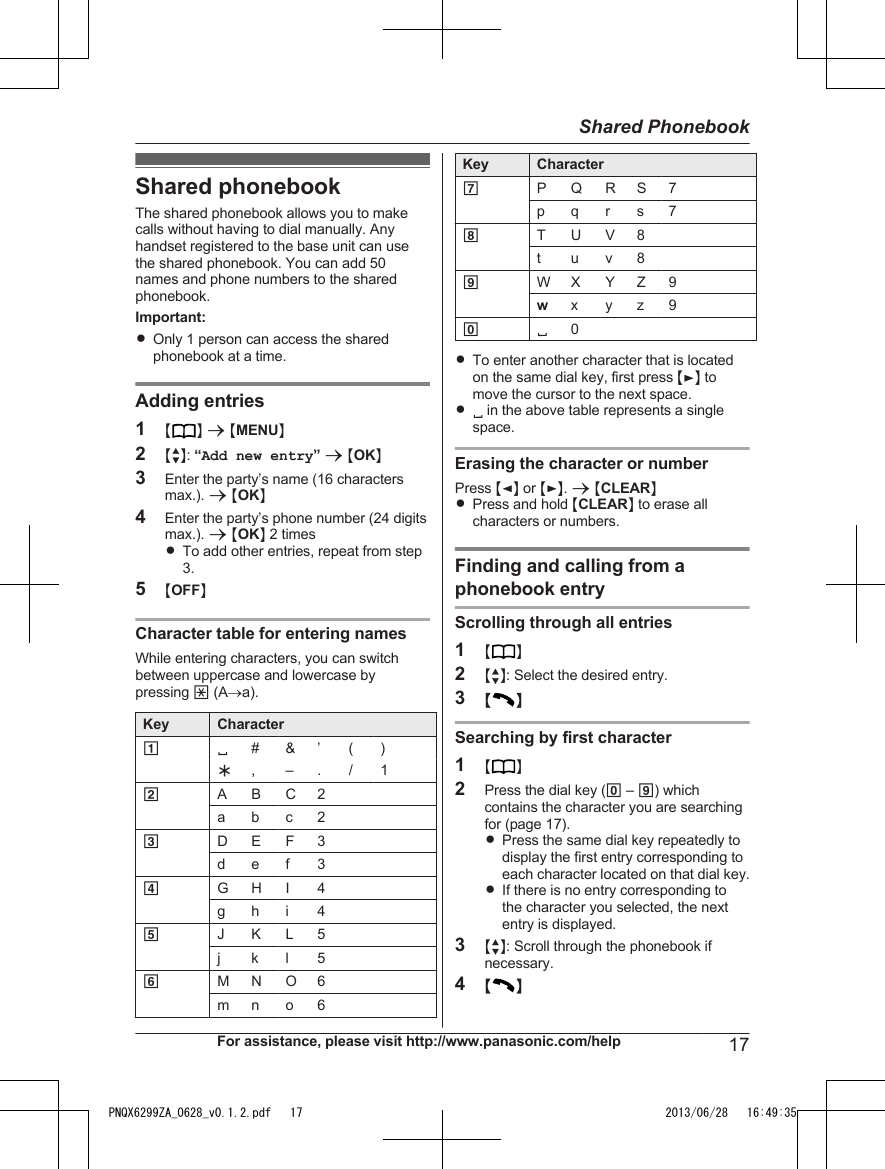
![nKX-TG2721 series: page 3ACDEBHGF IMjN/MkN (VOL.: Volume up/down)M N (ERASE)M N (PLAY)Message indicatorCharge contactsSpeakerM N/M N (Repeat/Skip)MnN (STOP)M N (LOCATOR)M N (ANSWER ON/OFF)ANSWER ON/OFF indicatorDisplayHandset display itemsItem MeaningWithin base unit rangeRWhen flashing:Handset is searching for thebase unit. (page 33)ECO Eco mode is on. (page 10)[P] Privacy mode is on. (page 20)[1] Handset numberBattery levelIn use RSomeone is using the line.RAnswering system is beingused by the base unit.*1*1 KX-TG2721 series: page 3Initial settingsn Symbol meaning:Symbol MeaningExample:MbN: “Off”Press MCN or MDN to select thewords in quotations.Date and time1MMENUN2MbN: “Date and time” a MOKN3Enter the current month, date, and yearby selecting 2 digits for each.Example: July 15, 201307 15 134Enter the current hour and minute(12-hour clock format) by selecting 2digits for each.Example: 9:3009 305*: Select “AM” or “PM”.6MOKN a MOFFNNote:RWhen English is selected as the displaylanguage, 12-hour clock format is used.When Spanish is selected, 24-hour clockformat is used.RThe date and time may be incorrect after apower failure. In this case, set the date andtime again.Display languageYou can select either “English” or“Español” as the display language. Thedefault setting is “English”.1MMENUN2MbN: “Initial setting” a MOKN3MbN: “Display settings” a MOKN4MbN: “Change language” a MOKN5MbN: Select the desired setting. a MOKN6MOFFN12 For assistance, please visit http://www.panasonic.com/help Getting StartedPNQX6299ZA_0628_v0.1.2.pdf 12 2013/06/28 16:49:35](https://usermanual.wiki/Panasonic-of-North-America/96NKX-TGA277/User-Guide-2026607-Page-12.png)