Panasonic of North America 96NKX-TGA402 DECT 6.0 Handset User Manual Users manual
Panasonic Corporation of North America DECT 6.0 Handset Users manual
UserManual.wiki
>
Panasonic of North America
>
96NKX TGA402 User Manual
Users manual
Navigation menu
Upload a User Manual
Namespaces
Wiki Guide
HTML
PDF
Info
Views
User Manual
Discussion / Help
Navigation
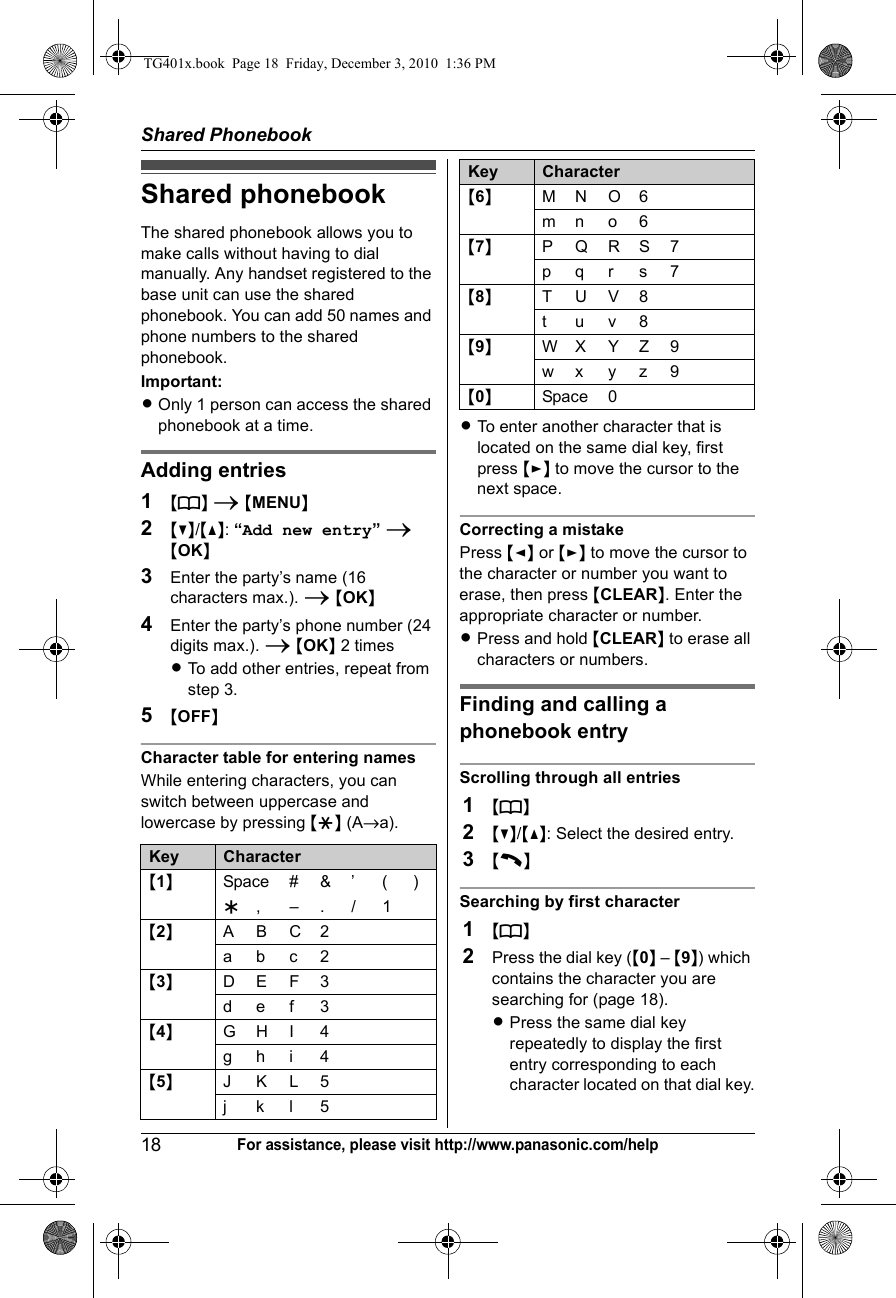
![Getting Started13For assistance, please visit http://www.panasonic.com/helpF{6} (PLAY) Message indicatorG{LOCATOR}H{ANSWER ON} ANSWER ON indicatorIVOL. (Volume: {^}/{V})Belt clipDisplayHandset display items*1 KX-TG4021/KX-TG4071 series: page 3Initial settingsDisplay languageYou can select either “English” or “Español” as the display language. The default setting is “English”.1{MENU}2{V}/{^}: “Initial setting” i {OK}3{V}/{^}: “Display settings” i {OK}4{V}/{^}: “Change language” i {OK}5{V}/{^}: Select the desired setting.6{OK} i {OFF}Note:LHow to change from Spanish back to English:■ To attach ■ To removeItem MeaningwWithin base unit rangeLWhen flashing: Handset is searching for the base unit. (page 39)ECO Eco mode is on. (page 11)[P] Privacy mode is on. (page 17)[1] Handset number5Battery levelIn use Someone is using the line. Answering system is being used by another handset or the base unit.*1Symbol meaning:Example: {V}/{^}: “Off”Press {V} or {^} to select the words in quotations.1{MENU}2{V}/{^}: “Ajuste inicial” i {OK}3{V}/{^}: “Ajuste pantalla” i {OK}4{V}/{^}: “Cambiar idioma” i {OK}5{V}/{^}: “English” i {OK} i {OFF}TG401x.book Page 13 Friday, December 3, 2010 1:36 PM](https://usermanual.wiki/Panasonic-of-North-America/96NKX-TGA402/User-Guide-1601876-Page-13.png)
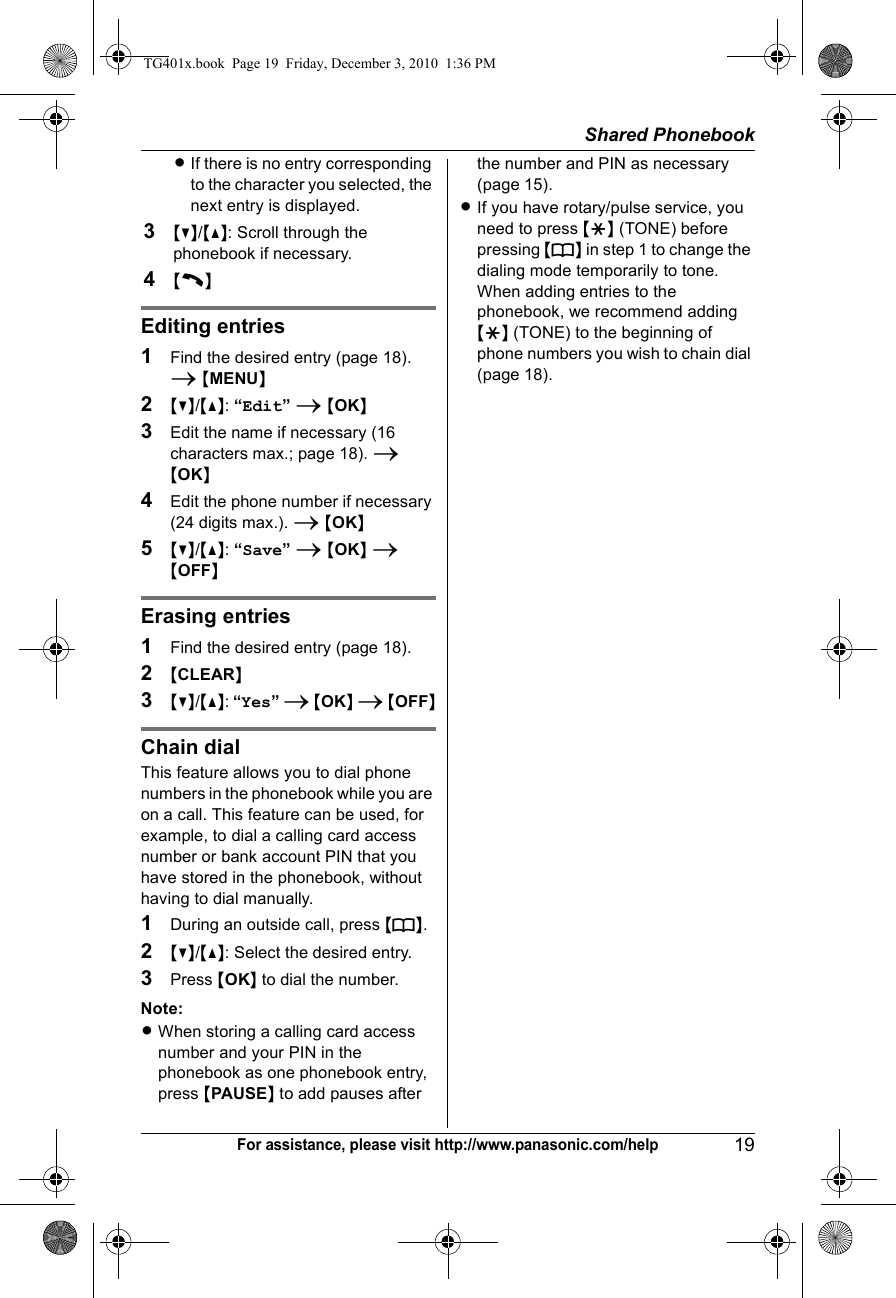
![Making/Answering Calls17For assistance, please visit http://www.panasonic.com/helpFor call waiting or Call Waiting Caller ID service usersTo use call waiting, you must first subscribe to call waiting from your service provider/telephone company.This feature allows you to receive calls while you are already talking on the phone. If you receive a call while on the phone, you will hear a call waiting tone.If you subscribe to both Caller ID and Call Waiting with Caller ID services, the 2nd caller’s information is displayed after you hear the call waiting tone on the handset.1Press {CALL WAIT} to answer the 2nd call.2To switch between calls, press {CALL WAIT}.Note:LPlease contact your service provider/telephone company for details and availability of this service in your area.Temporary tone dialing (for rotary/pulse service users)You can temporarily switch the dialing mode to tone when you need to access touch-tone services (for example, answering services, telephone banking services, etc.).Press {*} (TONE) before entering access numbers which require tone dialing.Handset clarity boosterThis feature can improve sound clarity when the handset is used in an area where there may be interference. During an outside call, this feature is turned on automatically when necessary.Call shareThis feature allows you to join an existing outside call.Important:LWhen the privacy mode is on, you cannot join the conversation. Turn it off.To join the conversation, press {C} when the other handset is on an outside call.Note:LA maximum of 4 parties (including 1 outside party) can join a conversation using 3 extensions. (4-way conference)Privacy modeWhen the privacy mode is “On”, the unit prevents other users from joining your conversations with outside callers. To allow other users to join your conversations (call share), leave this feature off. The default setting is “Off”.1{MENU} i {V}/{^}: “Initial setting” i {OK}2{V}/{^}: “Privacy mode” i {OK}3{V}/{^}: Select “On” or “Off”.4{OK} i {OFF}LWhen this feature is turned on, “[P]” is displayed during an outside call.TG401x.book Page 17 Friday, December 3, 2010 1:36 PM](https://usermanual.wiki/Panasonic-of-North-America/96NKX-TGA402/User-Guide-1601876-Page-17.png)