Panasonic of North America 96NKX-TGTA61 Panasonic Corporation of NA\NEX-355114-1-FCC (KX-TGTA61) User Manual Installation Manual English
Panasonic Corporation of North America Panasonic Corporation of NA\NEX-355114-1-FCC (KX-TGTA61) Installation Manual English
Users Manual
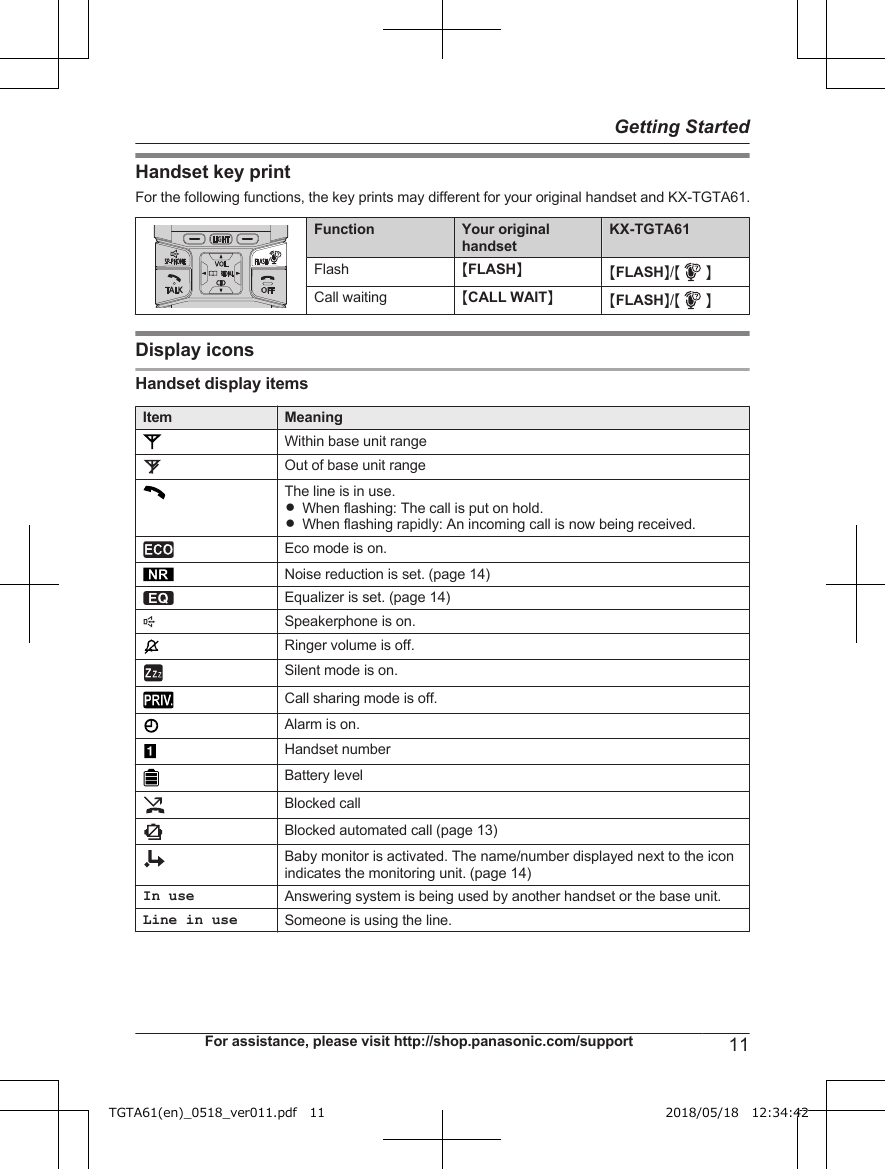
![ControlsHandsetAABB C DIFEGHJLMKNAAFlashlightBSpeakerRSpeaker is located behind thebelt clip.CBelt clipDHeadset jackEMZN (SP-PHONE:Speakerphone)FMTALKNGDial keypad*: Temporary tone dialing0: ( ) Ringer offRYou can turn the ringer on/offby pressing and holding [0]() until the unit beeps.HMicrophoneIReceiverJDisplayKMLIGHTNRPress MLIGHTN to turn theflashlight on/off. Themaximum lightning time isabout 5 minutes.LMFLASHNM N(ASSIST)MMOFFNNCharge contactsnControl type Soft keysBy pressing a soft key, you canselect the feature shown directlyabove it on the display. Navigator key–MDN, MCN, MFN, or MEN: Scrollthrough various lists and items.– VOL. (Volume: MDN or MCN): Adjustthe receiver or speaker volumewhile talking.–MFN W: View the phonebookentry.–MEN REDIAL: View the redial list.–MCN CID (Caller ID): View thecaller list.Note:RThe preset melodies in this product (“Tone3” - “Melody 10”) are used withpermission of © 2004-2013 CopyrightsVision Inc.RYou can switch the language for enteringcharacters by the following procedure:# a MbN: Selecting the desired language.a MOKN10 For assistance, please visit http://shop.panasonic.com/supportGetting StartedTGTA61(en)_0518_ver011.pdf 10 2018/05/18 12:34:42](https://usermanual.wiki/Panasonic-of-North-America/96NKX-TGTA61/User-Guide-3925203-Page-10.png)