Panasonic of North America 9TGCF-T11 CF-T1 Notebook w/ Agere Mini-PCI WLAN User Manual
Panasonic Corporation of North America CF-T1 Notebook w/ Agere Mini-PCI WLAN Users Manual
Users Manual
Personal Computer
Supplementary Instructions
®
This Supplementary Instructions manual explains how to get started with a wireless LAN and
point out cases where the operation of the computer will differ from that in the Operating Instruc-
tions and the Reference Manuals.
CF-R1/CF-T1 Series with Wireless LAN
1
Information to the User
This product and your Health
This product, like other radio devices, emits radio frequency electromagnetic energy. The level
of energy emitted by this product however is far much less than the electromagnetic energy
emitted by wireless devices like for example mobile phones.
Because this product operates within the guidelines found in radio frequency safety standards
and recommendations, we believe this product is safe for use by consumers. These standards
and recommendations reflect the consensus of the scientific community and result from delib-
erations of panels and committees of scientists who continually review and interpret the exten-
sive research literature.
In some situations or environments, the use of this product may be restricted by the proprietor of
the building or responsible representatives of the organization. These situations may for ex-
ample include:
Using this product on board of airplanes, or
In any other environment where the risk of interference to other devices or services is per-
ceived or identified as harmful.
If you are uncertain of the policy that applies on the use of wireless devices in a specific organi-
zation or environment (e.g. airports), you are encouraged to ask for authorization to use this
product prior to turning on the product.
Regulatory Information
We are not responsible for any radio or television interference caused by unauthorized modifi-
cation of this product. The correction of interference caused by such unauthorized modification
will be the responsibility of the user. We and its authorized resellers or distributors are not liable
for damage or violation of government regulations that may arise from failing to comply with
these guidelines.
Illustrations in this Manual
Windows 2000 : Information for Microsoft® Windows® 2000 Professional users.
Windows XP : Information for Microsoft® Windows® XP Professional users.
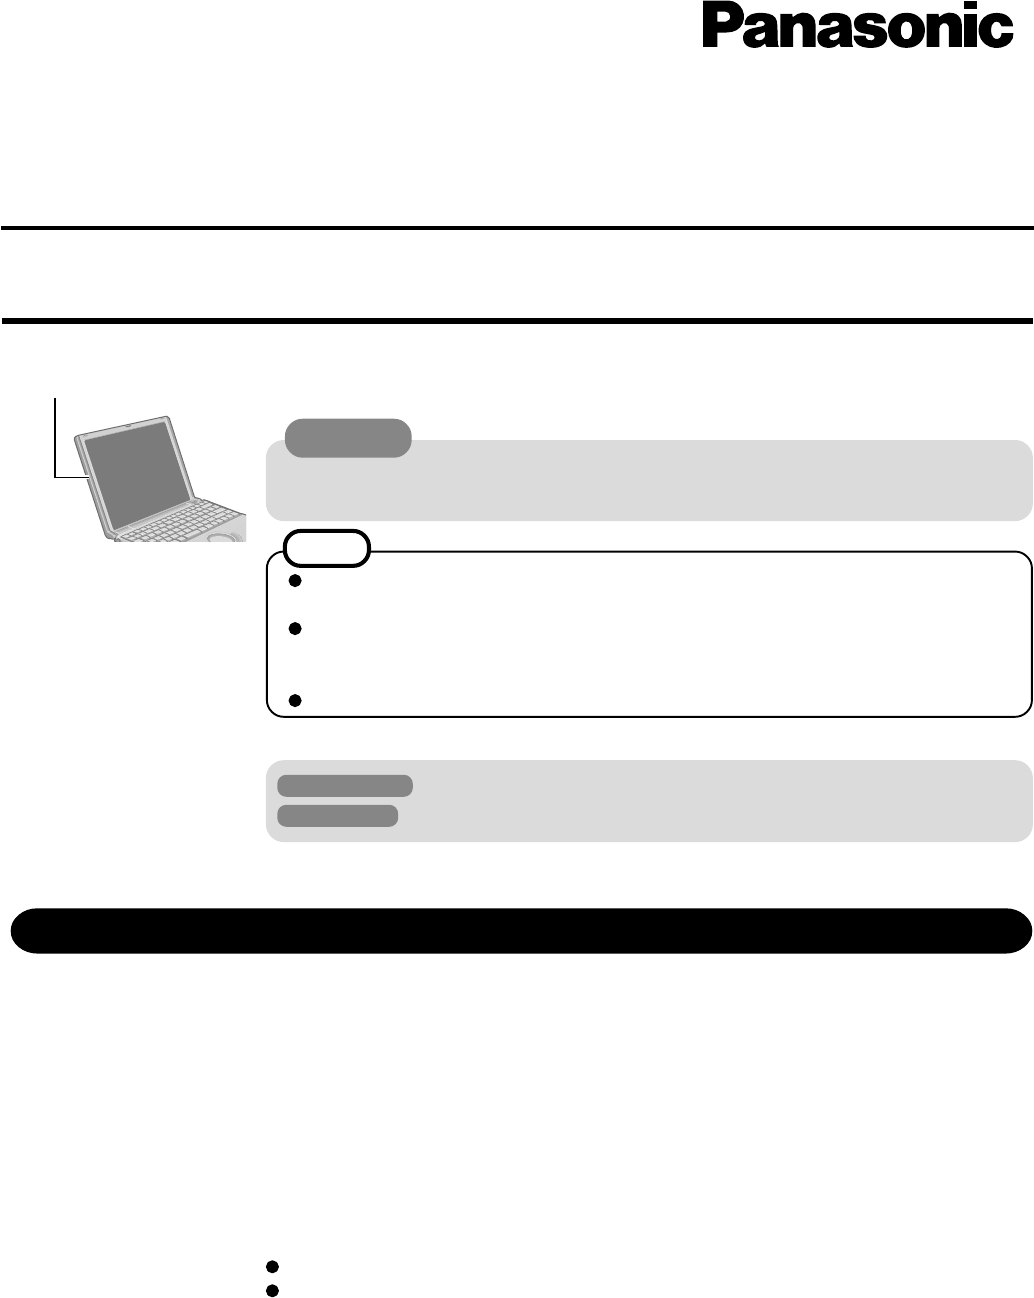
Communication is performed through the wireless LAN antenna. Do not block the antenna
area with your hand or otherwise interfere with the passage of the radio signals.
CAUTION
NOTE
The communication speeds and distances differ depending on the devices that support
the wireless LAN, the installation environment and other ambient conditions.
One characteristic of radio waves is that their transmission rate tends to drop as the
communication distance increases. It is recommended that the devices supporting the
wireless LAN be used in close vicinity to each other.
The rate may drop while a microwave oven is being used.
Wireless LAN Antenna
2
Federal Communications Commission Radio Frequency Interference Statement
Note: This equipment has been tested and found to comply with the limits for a Class B digital
device, pursuant to Part 15 of the FCC Rules. These limits are designed to provide reasonable
protection against harmful interference in a residential installation. This equipment generates, uses
and can radiate radio frequency energy and, if not installed and used in accordance with the instruc-
tions, may cause harmful interference to radio communications. However, there is no guarantee that
interference will not occur in a particular installation. If this equipment does cause harmful interfer-
ence to radio or television reception, which can be determined by turning the equipment off and on,
the user is encouraged to try to correct the interference by one or more of the following measures:
Reorient or relocate the receiving antenna.
Increase the separation between the equipment and receiver.
Connect the equipment into an outlet on a circuit different from that to which the receiver is
connected.
Consult the Panasonic Service Center or an experienced radio/TV technician for help.
Warning
To assure continued compliance, use only shielded interface cables when connecting to a computer or
peripheral. Also, any changes or modifications not expressly approved by the party responsible for
compliance could void the user’s authority to operate this equipment.
This device complies with Part 15 of the FCC Rules. Operation is subject to the following two
conditions:
(1) This device may not cause harmful interference, and
(2) This device must accept any interference received, including interference that may cause
undesired operation.
Responsible Party: Matsushita Electric Corporation of America
One Panasonic Way
Secaucus, NJ 07094
Tel No:1-800-LAPTOP-5
(1-800-527-8675)
FCC RF Exposure Warning:
This equipment complies with FCC radiation exposure limits set forth for an uncontrolled envi-
ronment.
This equipment must be installed and operated in accordance with provided instructions and
minimum 2.5 cm spacing must be provided between antenna and all person’s body (excluding
extremities of hands, wrist and feet) during wireless modes of operation.
This transmitter must not be co-located or operated in conjunction with any other antenna or
transmitter. This computer is provided with a PC Card slot that could be used with wireless
transmitter(s), which will be specifically recommended, when they become available. Other
third-party wireless transmitter(s) have not been RF exposure evaluated for use with this com-
puter and may not comply with FCC RF exposure requirements.
For U.S.A.
Add the following.
For Canada
Add the following.
Industry Canada
This product complies with RSS210 Industry Canada.
Operation is subject to the following two conditions;
(1) this device may not cause interference, and
(2) this device must accept any interference, including interference that may cause undesired
operation of the device.
Supplementary Instructions

3
Precautions
●Do not use wireless LAN on airplanes, in hospitals, or in other
locations where wireless LAN signals may affect the operation of
devices in the vicinity
If you intend to use the computer in the environments described above, turn the wireless LAN
off using the following procedure:
1Windows 2000
Select [Start] - [Settings] - [Control Panel] - [System] - [Hardware] - [Device Manager] -
[Network adapters].
Windows XP
Select [start] - [Control Panel] - [Performance and Maintenance] - [System] - [Hardware] -
[Device Manager] - [Network adapters].
2Select the network adaptor name (wireless LAN) you are using.
3Select [Do not use this device (disable)] in [Device usage] to disable the wireless LAN
function.
Windows 2000
At the time of purchase, the profile for the wireless LAN has not been set. Set the profile using
the following procedure.
The settings will vary for different network environments depending on the network system
being used. For more details, ask your system administrator or the person in charge of the net-
work.
1Select [Start] - [Settings] - [Control Panel] - [Wireless Network]
2Select [Add]
[Profile Name]
Input the optical profile name.
[Network Type]
Select [Access Point] or [Peer-to-Peer Group].
(To next page)
無線無線
無線無線
無線LANによるデータの盗聴:ハードディスク内への侵入防止のためによるデータの盗聴:ハードディスク内への侵入防止のため
によるデータの盗聴:ハードディスク内への侵入防止のためによるデータの盗聴:ハードディスク内への侵入防止のため
によるデータの盗聴:ハードディスク内への侵入防止のため
にに
にに
に
・お買い上げ時の状態では無線LANにセキュリティ機能が設定されていません。ネッ
トワークを経由して、ハードディスク内のデータを盗聴されたり、共有している
ファイルなどにアクセスされるおそれがあります。
・無線LAN機能をお使いになる際は、セキュリティのため、データの暗号化などを設
定してお使いいただくことをおすすめします。
Settings
Set profiles after logging on with the administrator authority.
Be sure to set profiles using the following procedure. Do not use any other methods.
CAUTION

4
Some additional settings may have to be made depending on the usage conditions. We recom-
mend asking your system administrator or the person in charge of the network.
Windows XP
3Select [Next]
[Network Name]
When [Access Point] has been selected, set the name of the network that has been set as the
access point.
When [Peer-to-Peer Group] has been selected, set the name of the network that will act as the
receiving party in communications.
4Select [Next]
[Enable Data Security]
When making security settings, add the check mark here, and then set the security key using
either 13 alphanumeric characters or 26 alphanumeric characters representing hexadecimal
digits.
We recommend the use of security functions to prevent unauthorized access to the network.
(The use of security functions does not guarantee that such access will be completely pre-
vented.)
5Select [Next]
6Select [Next]
[Renew IP Address when selecting this profile]
If you want to use the DHCP server to update the IP address when switching networks, add
the check mark here.
7Select [Finish]
8Select [OK]
1Select [start] - [All Programs] - [Accessories] - [Communications]
- [Network Connections]
2Select [Wireless Network Connections] that you are using with
the right button, select [Properties] from the menu, and select
[Wireless Networks]
1From [Available Networks], select the access point which is to be connected.
If you are using a recommended wireless LAN access point, the name of the access point
will appear as “Wired MAC address + GROUP” with the initial setting.
If the name of the access point to be connected is not displayed, select [Refresh].
2<With a connection to an existing network>
Select [Configure].
<With a first-time connection to a network>
Select [Add].
Supplementary Instructions

5
3Perform the necessary settings, and select [OK]
For use in a network environment that uses the IEEE 802.1X standard, add the check mark
for [Enable IEEE 802.1x authentification for this network] on [Authentification] screen.
Check the network environment carefully.
[Network name (SSID)]
<With a connection to an existing network>
The name selected in step 2 is displayed.
<With a first-time connection to a network>
Input the network name.
[Data encryption (WEB enabled)]
To enable encryption (WEP), add the check mark here.
[Network Authentification (Shared mode)]
To use the shared key, add the check mark here.
[Network key/Confirm network key]
If the cipher key has been set for the equipment to be connected, input the cipher key.
“40 bits (5 characters)”, “104 bits (13 characters)” for ASCII characters
“40 bits (10 digits)”, “104 bits (26 digits)” for hexadecimal notation
[Key index (advanced)]
Select 1, 2, 3 or 4 for the index.
Normally “1” is selected.
[The key is provided for me automatically]
In an environment where the network key is provided, add the check mark here.
[This is a computer- to computer (ad hoc) network; wireless access points are
not used]
When connecting one computer to another, add the check mark here.
4Check that the device name selected in [Preferred networks] un-
der [Wireless Network Connection Properties] screen has been
added
5After selecting the IP address for TCP/IP and performing all other
necessary protocol settings in [General] - [Internet Protocol (TCP/
IP)] - [Properties], select [OK] on [Wireless Network Connection
Properties] screen
In a few moments, the “Wireless connection available” message appears at the bottom right
of the screen.
6Set the IP address of the access point, etc
The setting procedure differs depending on the access point used. Refer to the operation
manual of the access point.
6
If the function fails to operate correctly
The access point fails to be displayed in [Usable Networks]
[Computer-to-computer (ad hoc) network only] in [Wireless Network Connection Proper-
ties] - [Wireless Networks] - [Advanced] may have been selected. In this case, select [Any
available network (access point preferred)].
The access point cannot be accessed
The network key setting may not conform to the access point.
Check the network key setting of the access point and, if necessary, set it again correctly.
The computer’s protocol setting may be incorrect.
Select [Wireless Network Connection Properties] - [General] - [Internet Protocol (TCP/
IP)] and, if necessary, set the IP address and other protocol settings again correctly.
Depending on the access point and settings, access may not be accepted unless the
computer’s MAC address is registered beforehand. In this case, check the computer’s
MAC address and register it according to the operation manual of the access point using
the following procedure.
1 Select [start] - [Run].
2 Input [cmd], and select [OK].
3 Input [ipconfig/all], and press Enter .
4 Make a note of the 12 alphanumeric characters displayed on “Physical Address” line
on the wireless LAN side. Then input [exit], and press Enter .
The IP address of the access point is wrong
Following the operation manual of the access point, set the IP address of the access point
again correctly.
Check the communication status
Windows 2000
Select on the taskbar, and then refer to “Wireless Client Manager”.
Windows XP
Select * on the taskbar.
*If the cursor is over , a box appears displaying “Wireless Network Connections”.
Setup Utility “REFERENCE MANUAL”
Replace “Advanced” menu for the following.
Modem: [Enable]
LAN: [Enable]
Boot up from LAN: [Enable]
Wireless LAN: [Enable]
Legacy USB Support: [Enable]
Video Power Saving Mode:[Battery Optimized]
Supplementary Instructions
Windows XP
7
Disable
Enable
Disable
Enable
Disable
Enable
Disable
Enable
Disable
Enable
Battery Optimized
Max Performance
Parameters
Modem
LAN
Boot up from LAN*1
Wireless LAN*2
Legacy USB Support*3
Video Power Saving Mode
Dealing with Problems (Advanced) “REFERENCE MANUAL”
Add the following.
Confirm that [Wireless LAN] is set to [Enable] in the Setup Utility.
Confirm the setting of the IP address for the access point, following the operating instruc-
tions for that access point.
Did you log on with the administrator authority?
On the network setting screen*, if the wireless LAN “Enable” and “Disable” settings are
changed repeatedly, these settings may function properly. If this happens, restart the
computer.
*Windows 2000
[Start] - [Settings] - [Control Panel] - [Network and Dial-up Connections]
Windows XP
[start] - [Control Panel] - [Network and Internet Connections] - [Network Connections]
Network
Unable to use wireless LAN
Unable to set “Enable” or
“Disable” for wireless LAN
*1This can be set only
when [LAN] is set to
[Enable]. This does
not work for a LAN
card.
*2<Only for internal
wireless LAN mod-
els>
This can be set only
an internal wireless
LAN. This does not
work for a LAN card.
*3Only works for de-
vices connected to the
USB port on the left
side.
Specifications “OPERATING INSTRUCTIONS”
Replace “Battery Pack” in “Main Specifications” for the following.
Battery Pack
Operating Time*7
Charging Time*7
Clock Battery
*7Varies depending on
the usage conditions,
CPU speed, etc.
Li-ion 7.4 V, 4.4 Ah
Approx. 4.5 hours
Approx. 3 hours
Coin type lithium battery 3.0 V
Interface Wireless LAN IEEE 802.11b compliant
Frequency 2.4 GHz band
Add the following.
the model of the Operating Instructions
that should be referred to
CF-R1N62ZVGH
CF-R1R64ZZGH
CF-T1R64ZZDM
CF-T1R64ZZKM
model
CF-R1N62ZWGH
CF-T1R64ZWGH
CF-T1R64ZWDM
CF-T1R64ZWKM
About specifications except described above, refer to the Operating
Instructions of each model.

© 2003 Matsushita Electric Industrial Co., LTD. All Rights Reserved.
Printed in Japan FJ0303-0
DFQX5387ZA