Panasonic of North America DKBDP13 Electronic Pen for Interactive Plasma Display User Manual
Panasonic Corporation of North America Electronic Pen for Interactive Plasma Display
UserManual.wiki
>
Panasonic of North America
>
DKBDP13 User Manual
User Manual
Navigation menu
Upload a User Manual
Namespaces
Wiki Guide
HTML
PDF
Info
Views
User Manual
Discussion / Help
Navigation

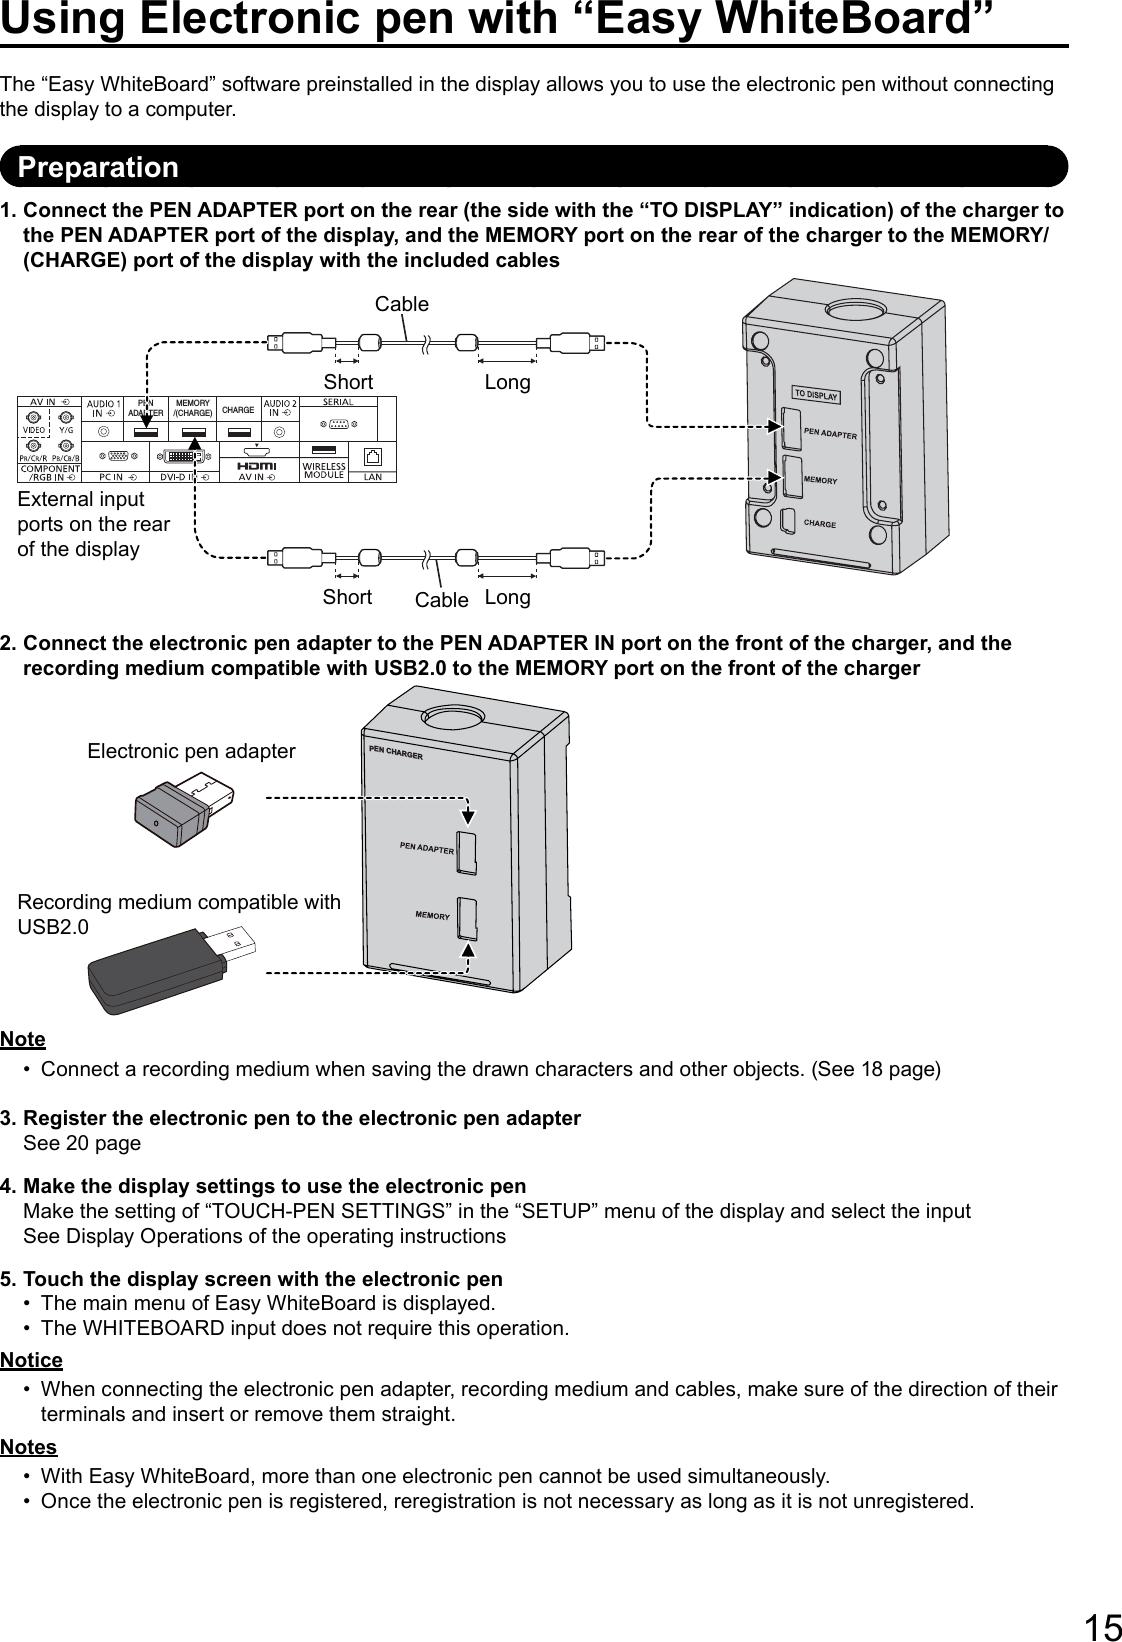
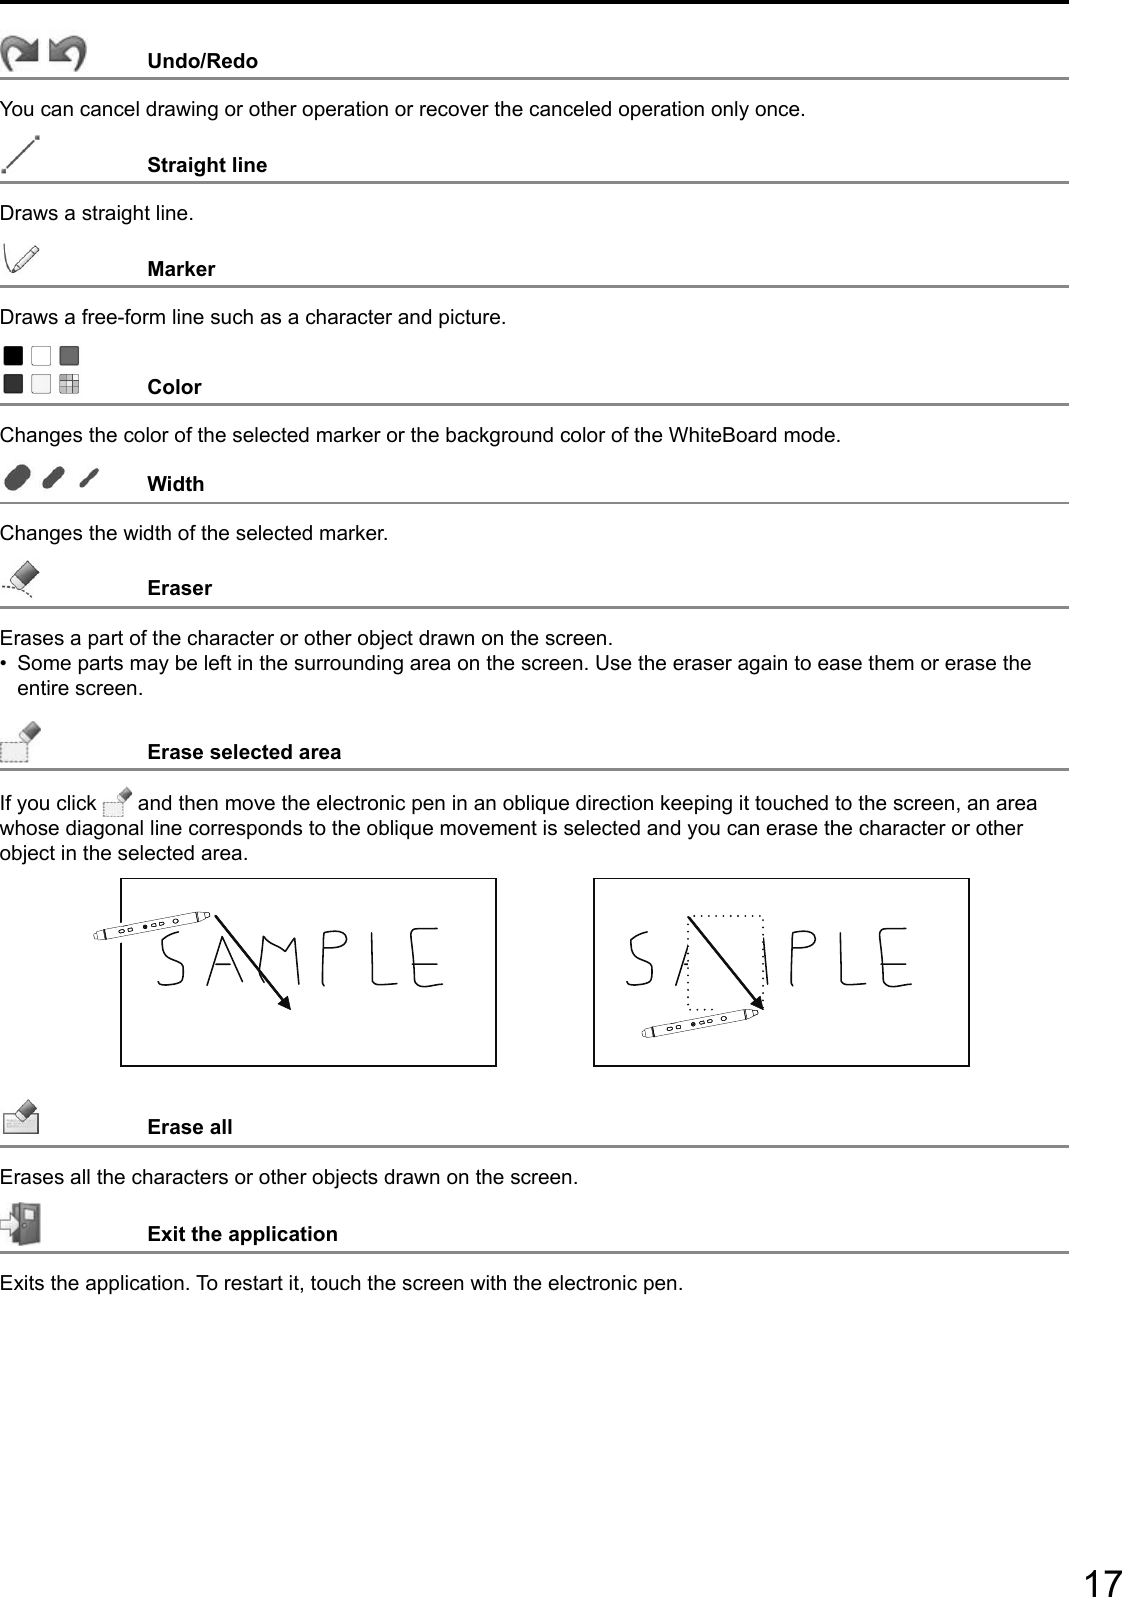
![19Using Electronic Pen with Panasonic WhiteBoard SoftwareThe electronic pen can be used with the included Panasonic WhiteBoard Software. Panasonic WhiteBoard Software provides various functions including object selection and dragging.Preparation1. Connect the display to the computerFor connection of a computer and the display, see Display Operations of the operating instructions.■ Before using the electronic pen, make the settings below on the display. For how to make the settings, see Display Operations of the operating instructions.Adjust “POS./SIZE” so that the screen of the computer can be correctly displayed on the screen of the • display.Set “TOUCH-PEN SETTINGS” in the “SETUP” menu of display.• 2. Connect the included electronic pen adapter to the USB port of computer.Connect to the USB portComputerConnect to the display3. Register the electronic pen to the electronic pen adapter.See 20 page* Once the electronic pen is registered, reregistration is not necessary as long as it is not unregistered.Starting up Panasonic WhiteBoard SoftwareYou do not have to install the Panasonic WhiteBoard Software since the software can be run directly on your computer as an executable fi le.1. Copy “WhiteBoardSoft” folder contained in the supplied CD-ROM to your computer desktop.2. Double-click “WhiteBoard.exe” fi le in the copied “WhiteBoardSoft” folder with the left mouse button.NotesFor more information on how to operate Panasonic WhiteBoard Software, see the instruction manual for • Panasonic WhiteBoard Software. (see below)Before running Panasonic WhiteBoard Software, always make sure that the screen resolution of your computer • falls within the acceptable range set for Panasonic WhiteBoard Software.For display placed in portrait orientation, rotate the computer screen display accordingly.*• 1To exit Panasonic WhiteBoard Software, select • [Exit the application] in the main menu.*1 Panasonic WhiteBoard Software cannot be used upright on Windows XP and Windows Vista.Referring to the instruction manual for Panasonic WhiteBoard SoftwareTo refer to the help information of Panasonic WhiteBoard Software, follow the procedure below.1. Double-click “WhiteBoard.exe” fi le with the left mouse button to run Panasonic WhiteBoard Software.2. Choose “Utility” → “Information” → “Operating Instructions” from the main menu*2.*2 Select Detailed Menu for the main menu.](https://usermanual.wiki/Panasonic-of-North-America/DKBDP13/User-Guide-1924573-Page-19.png)
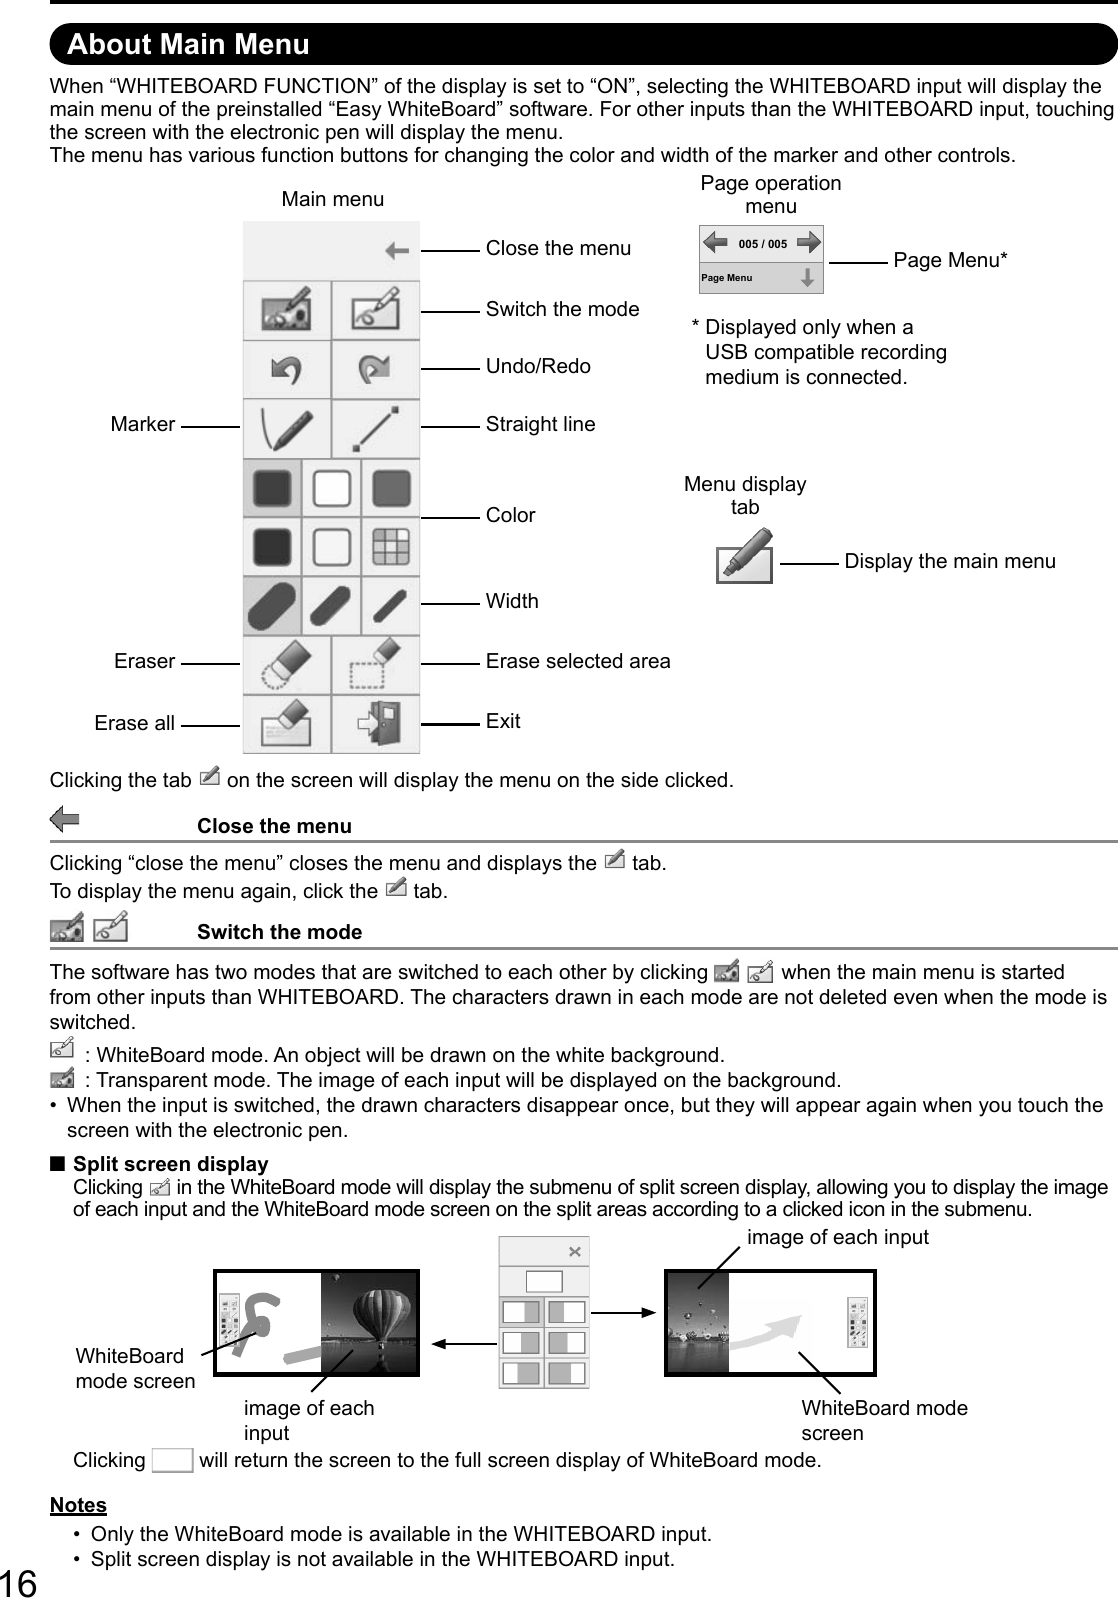
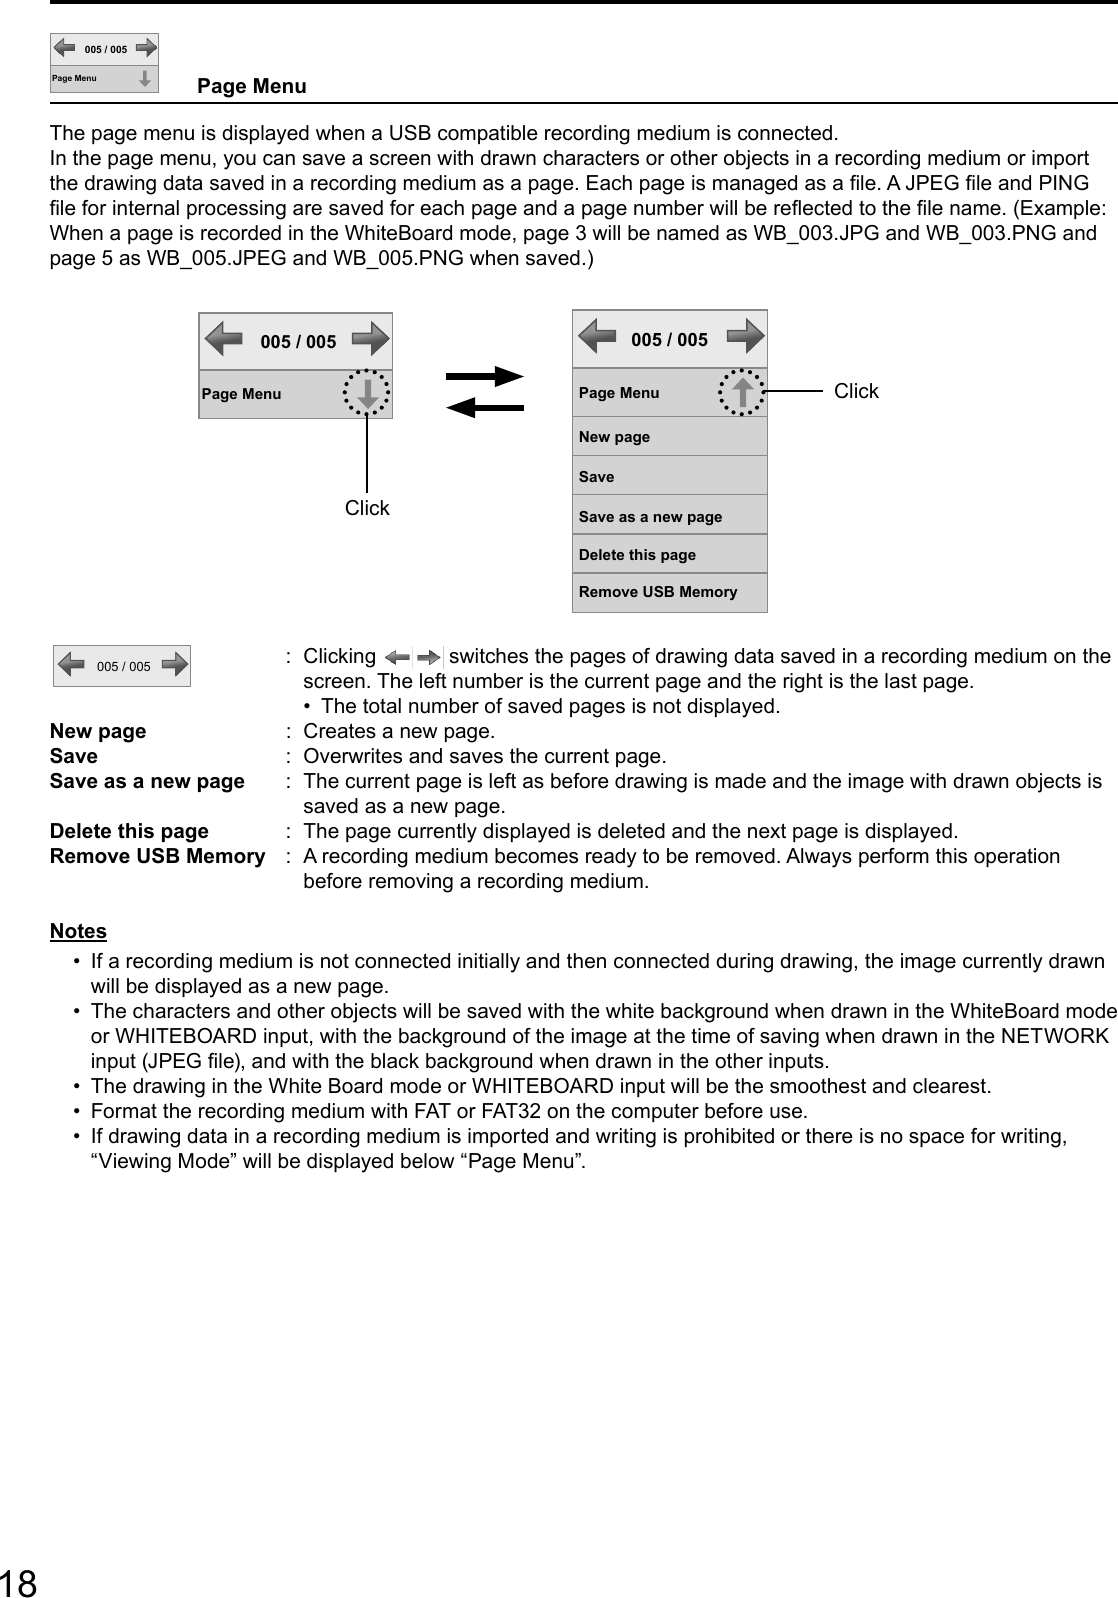
![20Registering Electronic PenTo use the electronic pen, you need to register it to the electronic pen adapter.Pairing Tool is used for the registration of the second and subsequent electronic pens.The pairing tool can be started from “SETUP” of the display or the main menu of Panasonic WhiteBoard Software.Only Step 3 and Step 4 needs to be performed when registering the fi rst electronic pen. Perform Step 1 onward to • register a second, third or fourth electronic pen.1. Select “PAIRING” of “TOUCH-PEN SETTINGS” in the “SETUP” menu of the display, or select [Settings] → [Start Pairing Tool] from the main menu* of Panasonic WhiteBoard SoftwareThe pairing tool will be started. Select [OK] when the confi rmation screen is displayed.• 2. Select [Pairing]To stop registration, select [Close].• 3. Press and hold the remote draw button and remote erase button simultaneously () and press the power button ()The power button blinks green and red alternately.• 4. Bring the electronic pen to within 2 m from the electronic pen adapter (remove any obstacle between them)Registration will be completed in a second. When registration is completed, the power button lights green.• If a registration error has occurred, the power button lights red for approximately one second. Turn off the • electronic pen and perform registration again.5. When registration of the electronic pen is completed, the pairing completion screen will be displayed. Select [OK] or [Back].■ To unregister the electronic penTo unregister the electronic pen, select “PAIRING” of “TOUCH-PEN SETTINGS” in the “SETUP” menu of the display, or select [Settings] → [Start Pairing Tool] from the main menu* of Panasonic WhiteBoard Software and select [Unpairing All].During unregistration, the power button blinks orange and red alternately.• When unregistration of the electronic pen is completed, the power button lights orange and the unpairing all • completion screen is displayed. Select [OK].When an electronic pen is unregistered, all of the registered electronic pens will be unregistered.• ■ Check the number of registered electronic pensTo check the number of current electronic pens registered, click [Settings] → [Start Pairing Tool] in Panasonic WhiteBoard Software’s main menu*, and choose [Check Status].NotesNo more than four electronic pens can be registered for one electronic pen adapter.• The registered electronic pen can only be used on the registered electronic pen adapter.• Electronic pens may malfunction if multiple displays are used close together.• Turn off nearby displays when registering or unregistering electronic pens.• * Select Detailed Menu for the main menu.](https://usermanual.wiki/Panasonic-of-North-America/DKBDP13/User-Guide-1924573-Page-20.png)