Pantech Co P6030 Quad-Band GSM/WCDMA Phone with Bluetooth User Manual users manual
Pantech Co Ltd Quad-Band GSM/WCDMA Phone with Bluetooth users manual
UserManual.wiki
>
Pantech Co
>
P6030 User Manual
>
users manual
Contents
1.
users manual
2.
User manual
users manual
Navigation menu
Upload a User Manual
Namespaces
Wiki Guide
HTML
PDF
Info
Views
User Manual
Discussion / Help
Navigation


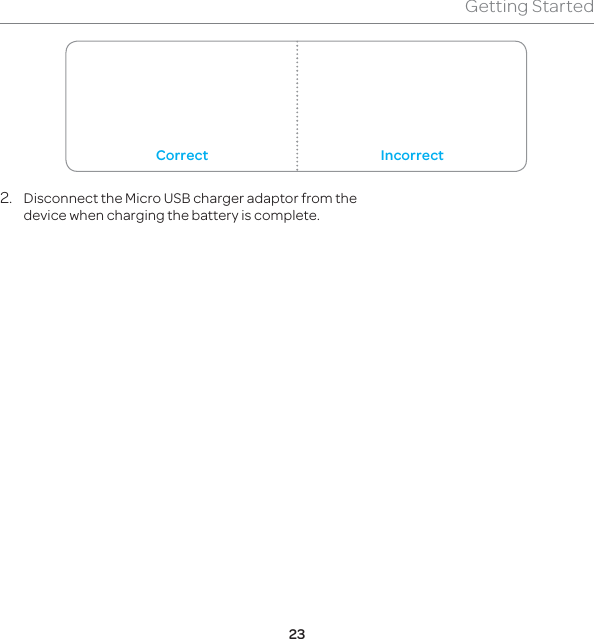


![48Calls and address bookCaller identificationCaller identification1. Tap Menu > Settings > Call > Display My Number.2. Select Network Default, Show or Hide > Save. Using your headsetYou can make or receive a call using a headset.While using the headset, the button on the headset works as follows.Note You must use a headset designed for this device. It is an optional accessory. Not all headsets will have a button.While in standby mode1. Press the button on the headset to view the recent calls list and press the button again to redial the last call.Service numbers and fixed dialingCalling your service numbers6You can see the service number to reach the service provider. 1. Tap Contacts > [XXX Services].2. Tap a number to access the service > Call.](https://usermanual.wiki/Pantech-Co/P6030.users-manual/User-Guide-1689028-Page-48.png)