Pantech Co P8010 Portable Handset with Multi-Band GSM/ WCDMA/ EDGE/ LTE with WLAN and Bluetooth User Manual
Pantech Co Ltd Portable Handset with Multi-Band GSM/ WCDMA/ EDGE/ LTE with WLAN and Bluetooth Users Manual
UserManual.wiki
>
Pantech Co
>
P8010 User Manual
Users Manual
Navigation menu
Upload a User Manual
Namespaces
Wiki Guide
HTML
PDF
Info
Views
User Manual
Discussion / Help
Navigation


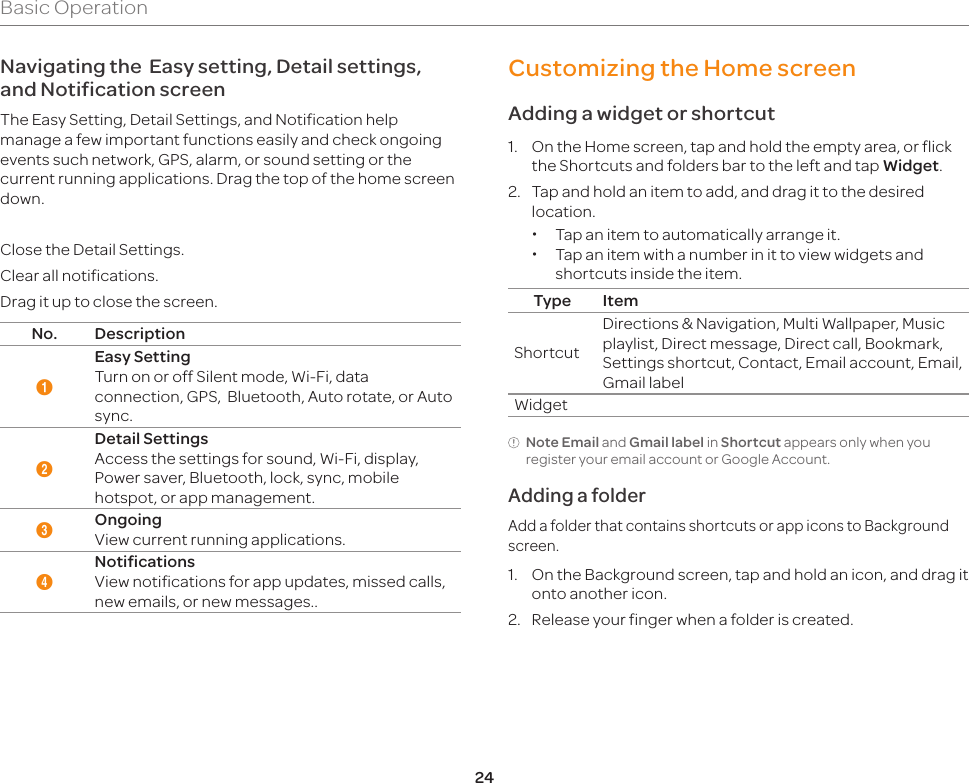
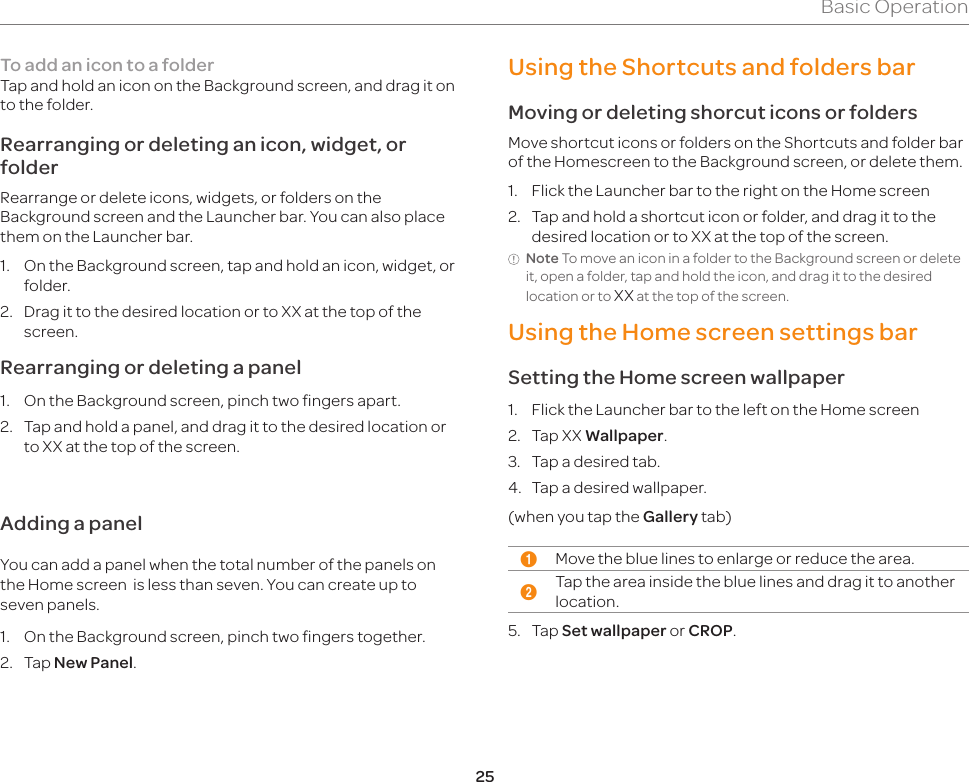
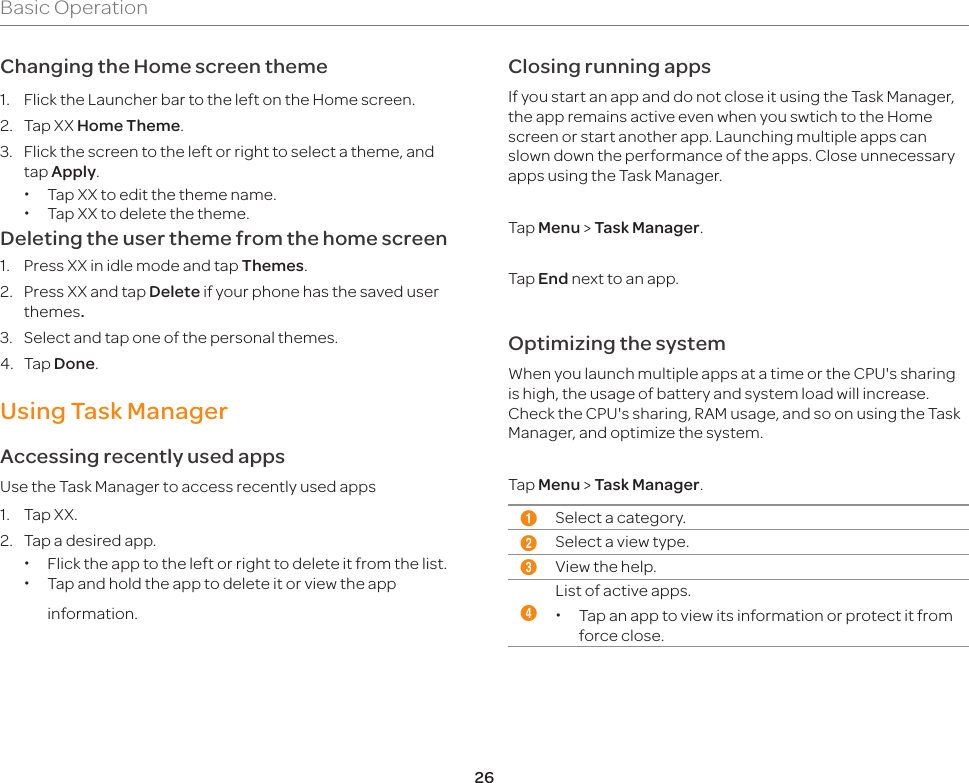
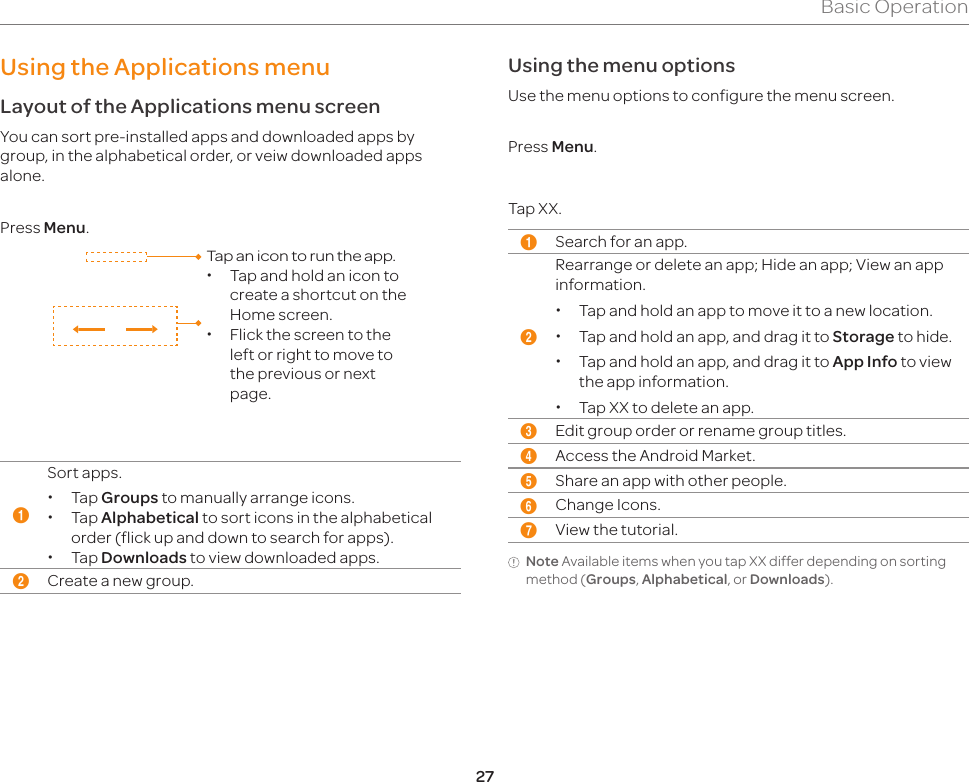


![56Menu FunctionNote ∙You can calculate numbers up to six decimal places.∙Rotate your smartphone horizontally to use the scientific calculator feature.ConverterConverter helps convert values for length, volume, weight, temperature, area and speed.1. Tap Converter from the Applications menu.2. Select a unit type. Length is selected by default. Change the unit type by tapping XX or XX.3. Tap on the box below the unit type and enter a value.4. Select the original unit.5. Select a target unit. The changed value promptly appears below.Key RingKey Ring allows you to collect all your loyalty cards into one application.Adding a card1. Tap Key Ring from the Applications menu.2. Tap *** > ***to add a card.3. Scan the barcode from your loyalty cards with your smart phone’s camera. ∙If you fail to scan the barcode, tap [Won’t Scan]. ∙If you don’t have a barcode, tap [No barcode].4. Fill in the remaining fields and tap Save Card.LatitudeShare your location with your friends or check those of your friends. Make sure to have a Google account to use Latitude.Joining Latitude1. Tap Latitude from the Applications menu.2. Log on to your google account.3. Tap Share location with family or friends.4. Tap Agree and Continue if you allow your location to be informed to your friends. The Latitude screen appears shortly where your personal information is displayed. 5. Tap if you want to see your location in the map.Adding friends from contacts1. Tap Latitude from the Applications menu.2. Tap Share location with family or friends.3. Tap Select from Contacts.4. Select the contact of your choice to add as your friend.5. Tap Yes if you want to send sharing requests.Adding friends from email addresses1. Tap Latitude from the Applications menu.2. Tap Share location with family or friends.3. Tap Add via email address.4. Enter the email address of your friend and tap Send.5. Tap Yes if you want to send sharing requests.](https://usermanual.wiki/Pantech-Co/P8010/User-Guide-1687597-Page-56.png)