Pantech HWP-2150 CDMA WLL Telephone User Manual hwp 2150 8 9
Pantech Co., Ltd. CDMA WLL Telephone hwp 2150 8 9
Pantech >
Contents
- 1. User Manual 1 of 3
- 2. User Manual 2 of 3
- 3. User Manual 3 of 3
User Manual 2 of 3
17
16
2.4 BASIC FUNCTIONS
2.4.1 TO MAKE A CALL
Enter a phone number.
Press [ ].
The indicator, [ ], appears on the display.
Press [ ] to end the call.
Note : To modify the phone number you have entered :
• Press [ ] to erase the entire number and start over.
Note : • Press [ ] and [ ] to redial when “CALL FAILED” appears on the display or
the line is busy.
• If you activate the AUTO RETRY function, a call will be retried automatically the
times you have selected. (refer to page 40)
19
18
2.4.3 TO ANSWER A CALL
When the phone rings, press either send key, digit keys, or soft keys to answer
the call.
Press [ ] to end the call.
2.4.4 CALLER ID FUNCTION
This function allows you to know who is calling by displaying the caller ’s phone
number with name,if available, in the phonebook.
Note : A call is automatically answered after the preset number of ring tones, when Auto
Answer is activated. (Please refer to page 40 for more details)
Note : The caller ID is stored in the call log.
2.4.2 PAUSE FEATURE
You can dial or save a phone number with pauses for use in the automated systems
where you need to enter a creditcard number, a social security number, and so on.
This feature will be convenient when you are linked to ARS (Advanced Record
System)
Enter a phone number, then press [ ].
Select one desired pause.
Press [ ] to dial or [ ] to store.
Note : Pause Definitions :
• To dial or save a phone number with pauses:
When you select Hard Pause,the next numbers are sent by pressing [ ] key.
• Refer to “page 24” for more details.
Note : Please refer to “page 28” for more details about storing a phone number.
2120
2.5 DURING A CALL
2.5.1 SEND PHONE#
This function enables your phone number to be transmitted automatically to a pager
during a call without entering the number.
It depends on a pager service available in your area.
While connected to a pager and asked to enter your phone number,
press [ ][ ].
2.5.2 SCRATCH PAD
This function allows you to store a new phone number during a call while keeping
the calling party from hearing the keypad tone.
While on a call, press [ ][ ].
Enter a phone number, press [ ], then save the phone number in the
phonebook. (refer to page 28)
2.5.3 MUTE
The caller cannot hear you and any noise on your side, while you still hear his or her
voice.
Press [ ][ ].
2.5.4 VIEW PHONE#
This function allows you to view your phone number during a call.
In 5 minutes, it will automatically return to the receiving mode.
2.5.5 VOICE PRIVACY
With this function on, you can enhance voice privacy during a call.
Note : To unmute, press [ ]
2.4.5 CALL WAITING FUNCTION
This function notifies you of another incoming call when you are on a call by
sounding a beep with the caller’s phone number displayed on the screen.
Press [ ] when you have another call, which puts the first caller on hold and
answers the second call.
Press [ ] again to switch back to the first caller.
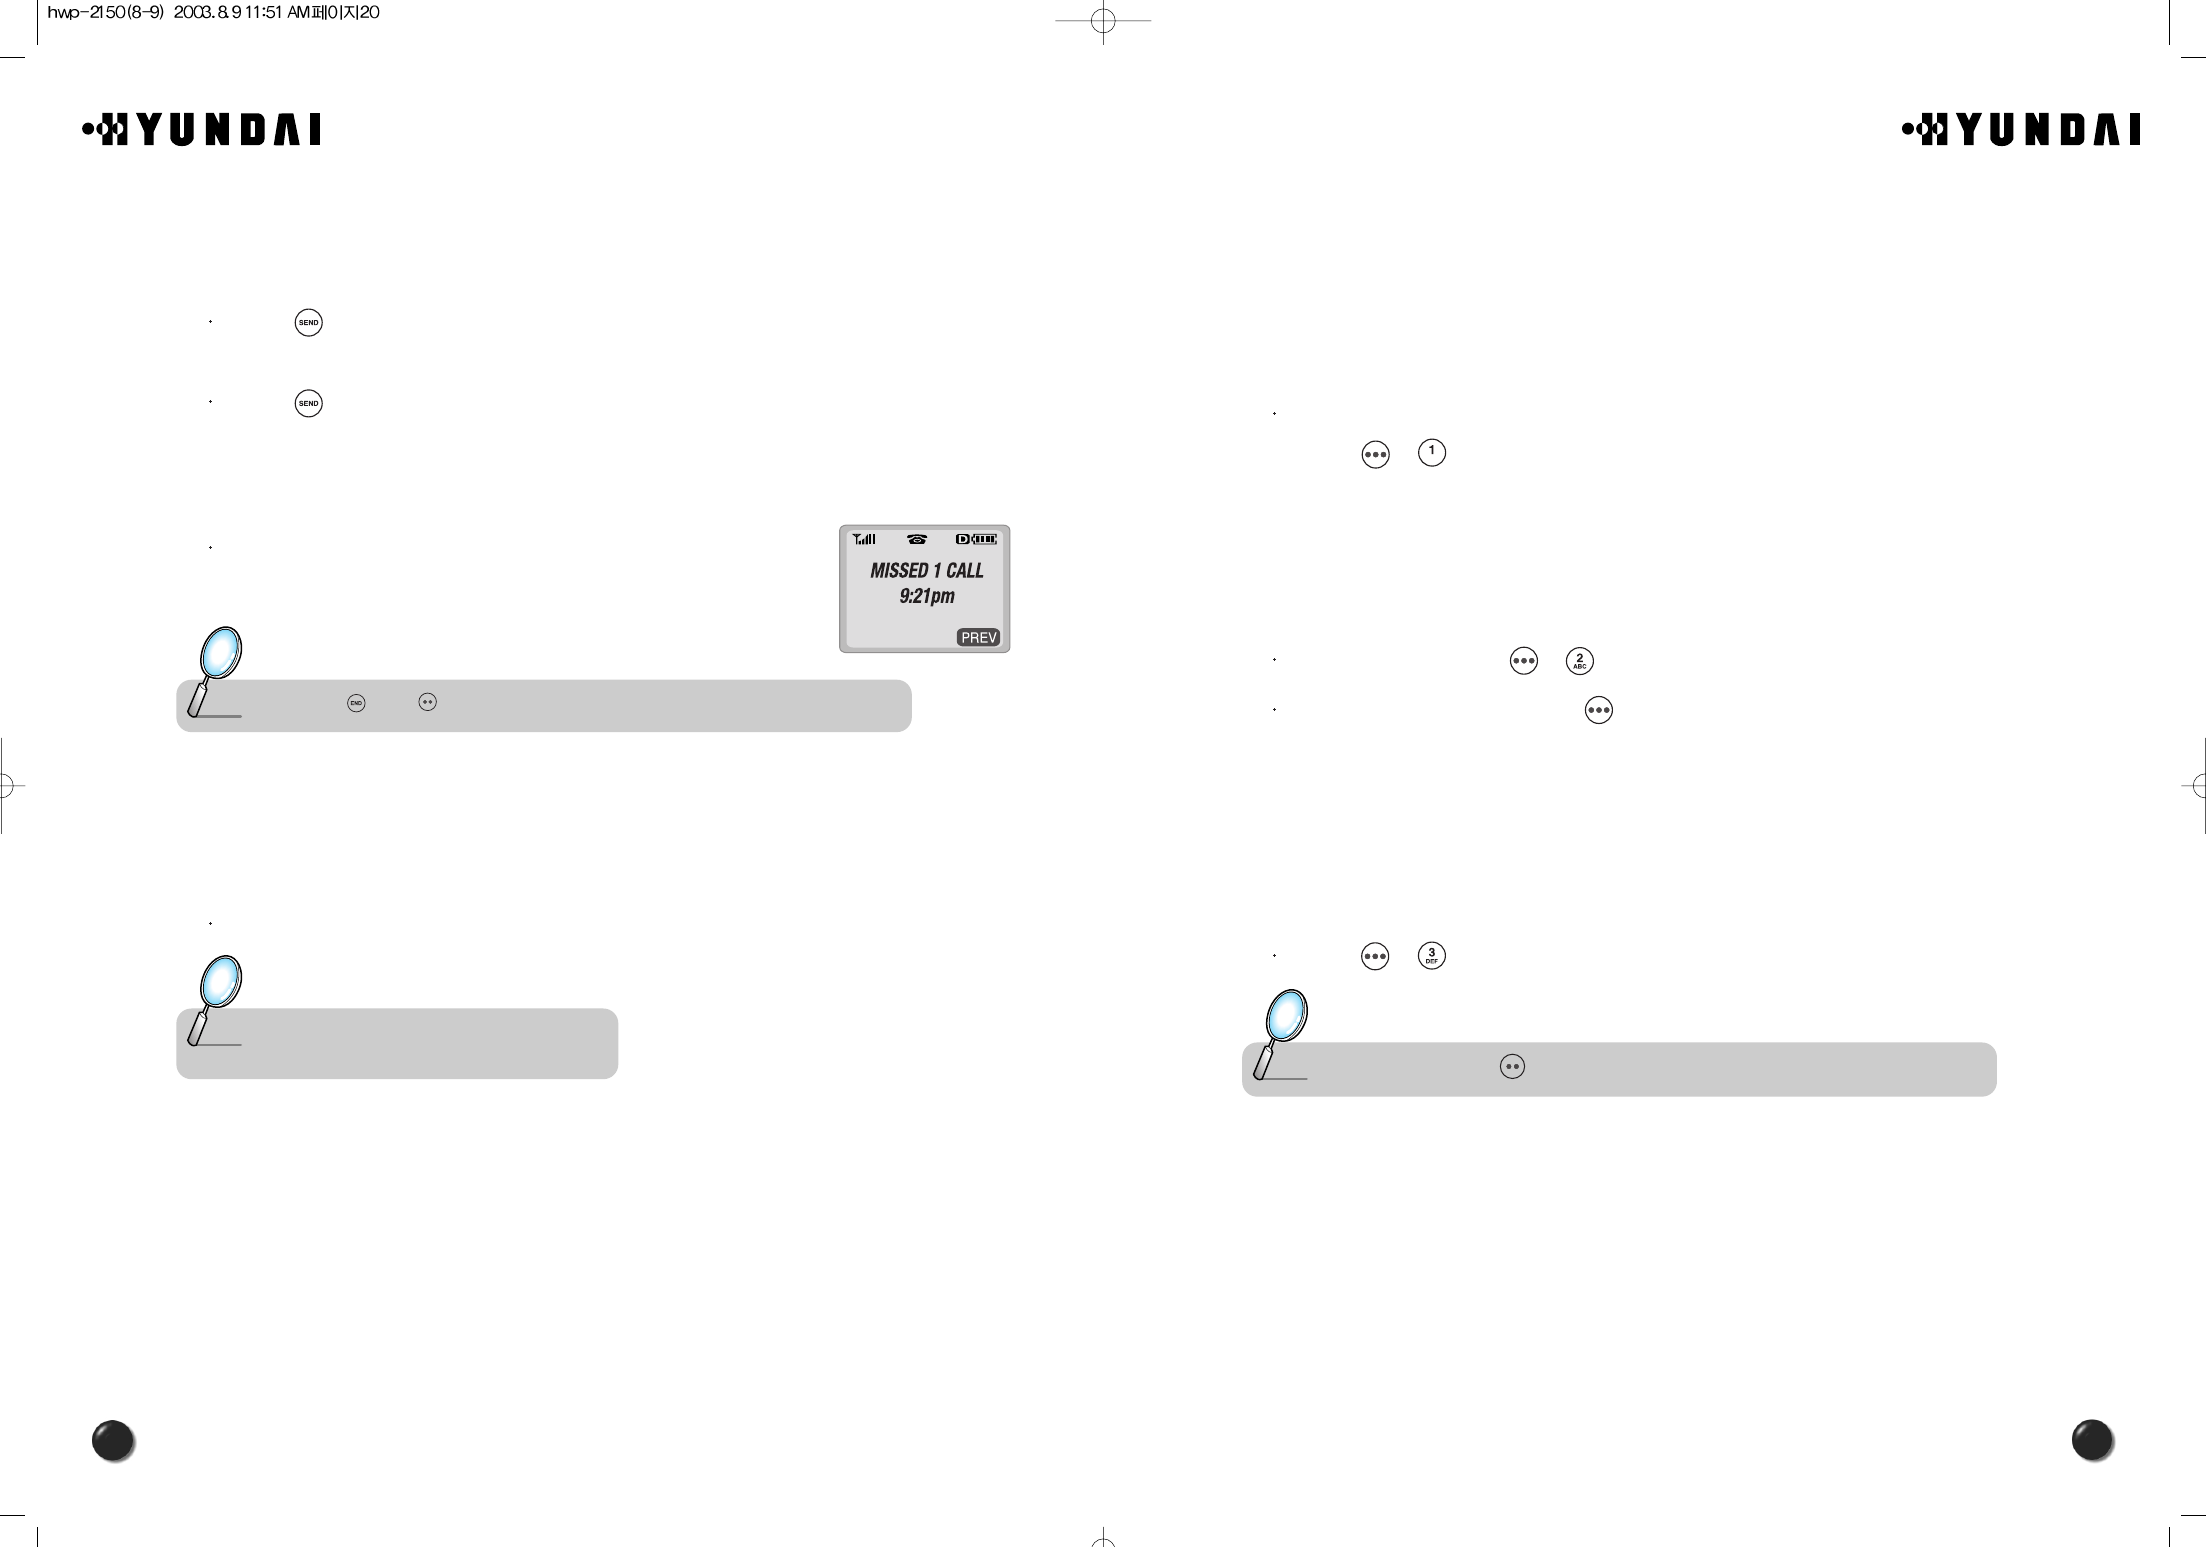
2.4.6 MISSED CALL DISPLAY
Displays the number of missed calls along with the time
of last missed call.
2.4.7 TO ADJUST VOLUME
You can adjust volume in either way, through the menu entry or the navigation
button.
Below follows the volume control in each mode through the navigation buttons.
Note : Press [ ] or [ ] to clear up the missed call display.
Note : • During a call : Earpiece volume.
• When the phone rings : Ringer volume.
23
22
3. MEMORY FUNCTION
The phone has a memory function that enables you to store a large number of phone
numbers, e-mail addresses.
You can, under one name, save up to 3 different numbers, mobile/home/office, and
make them secret for enhanced privacy.
In this chapter, you take a thorough lesson on ways to enter letters, numbers and
symbols, which will make it convenient to use the memory function.
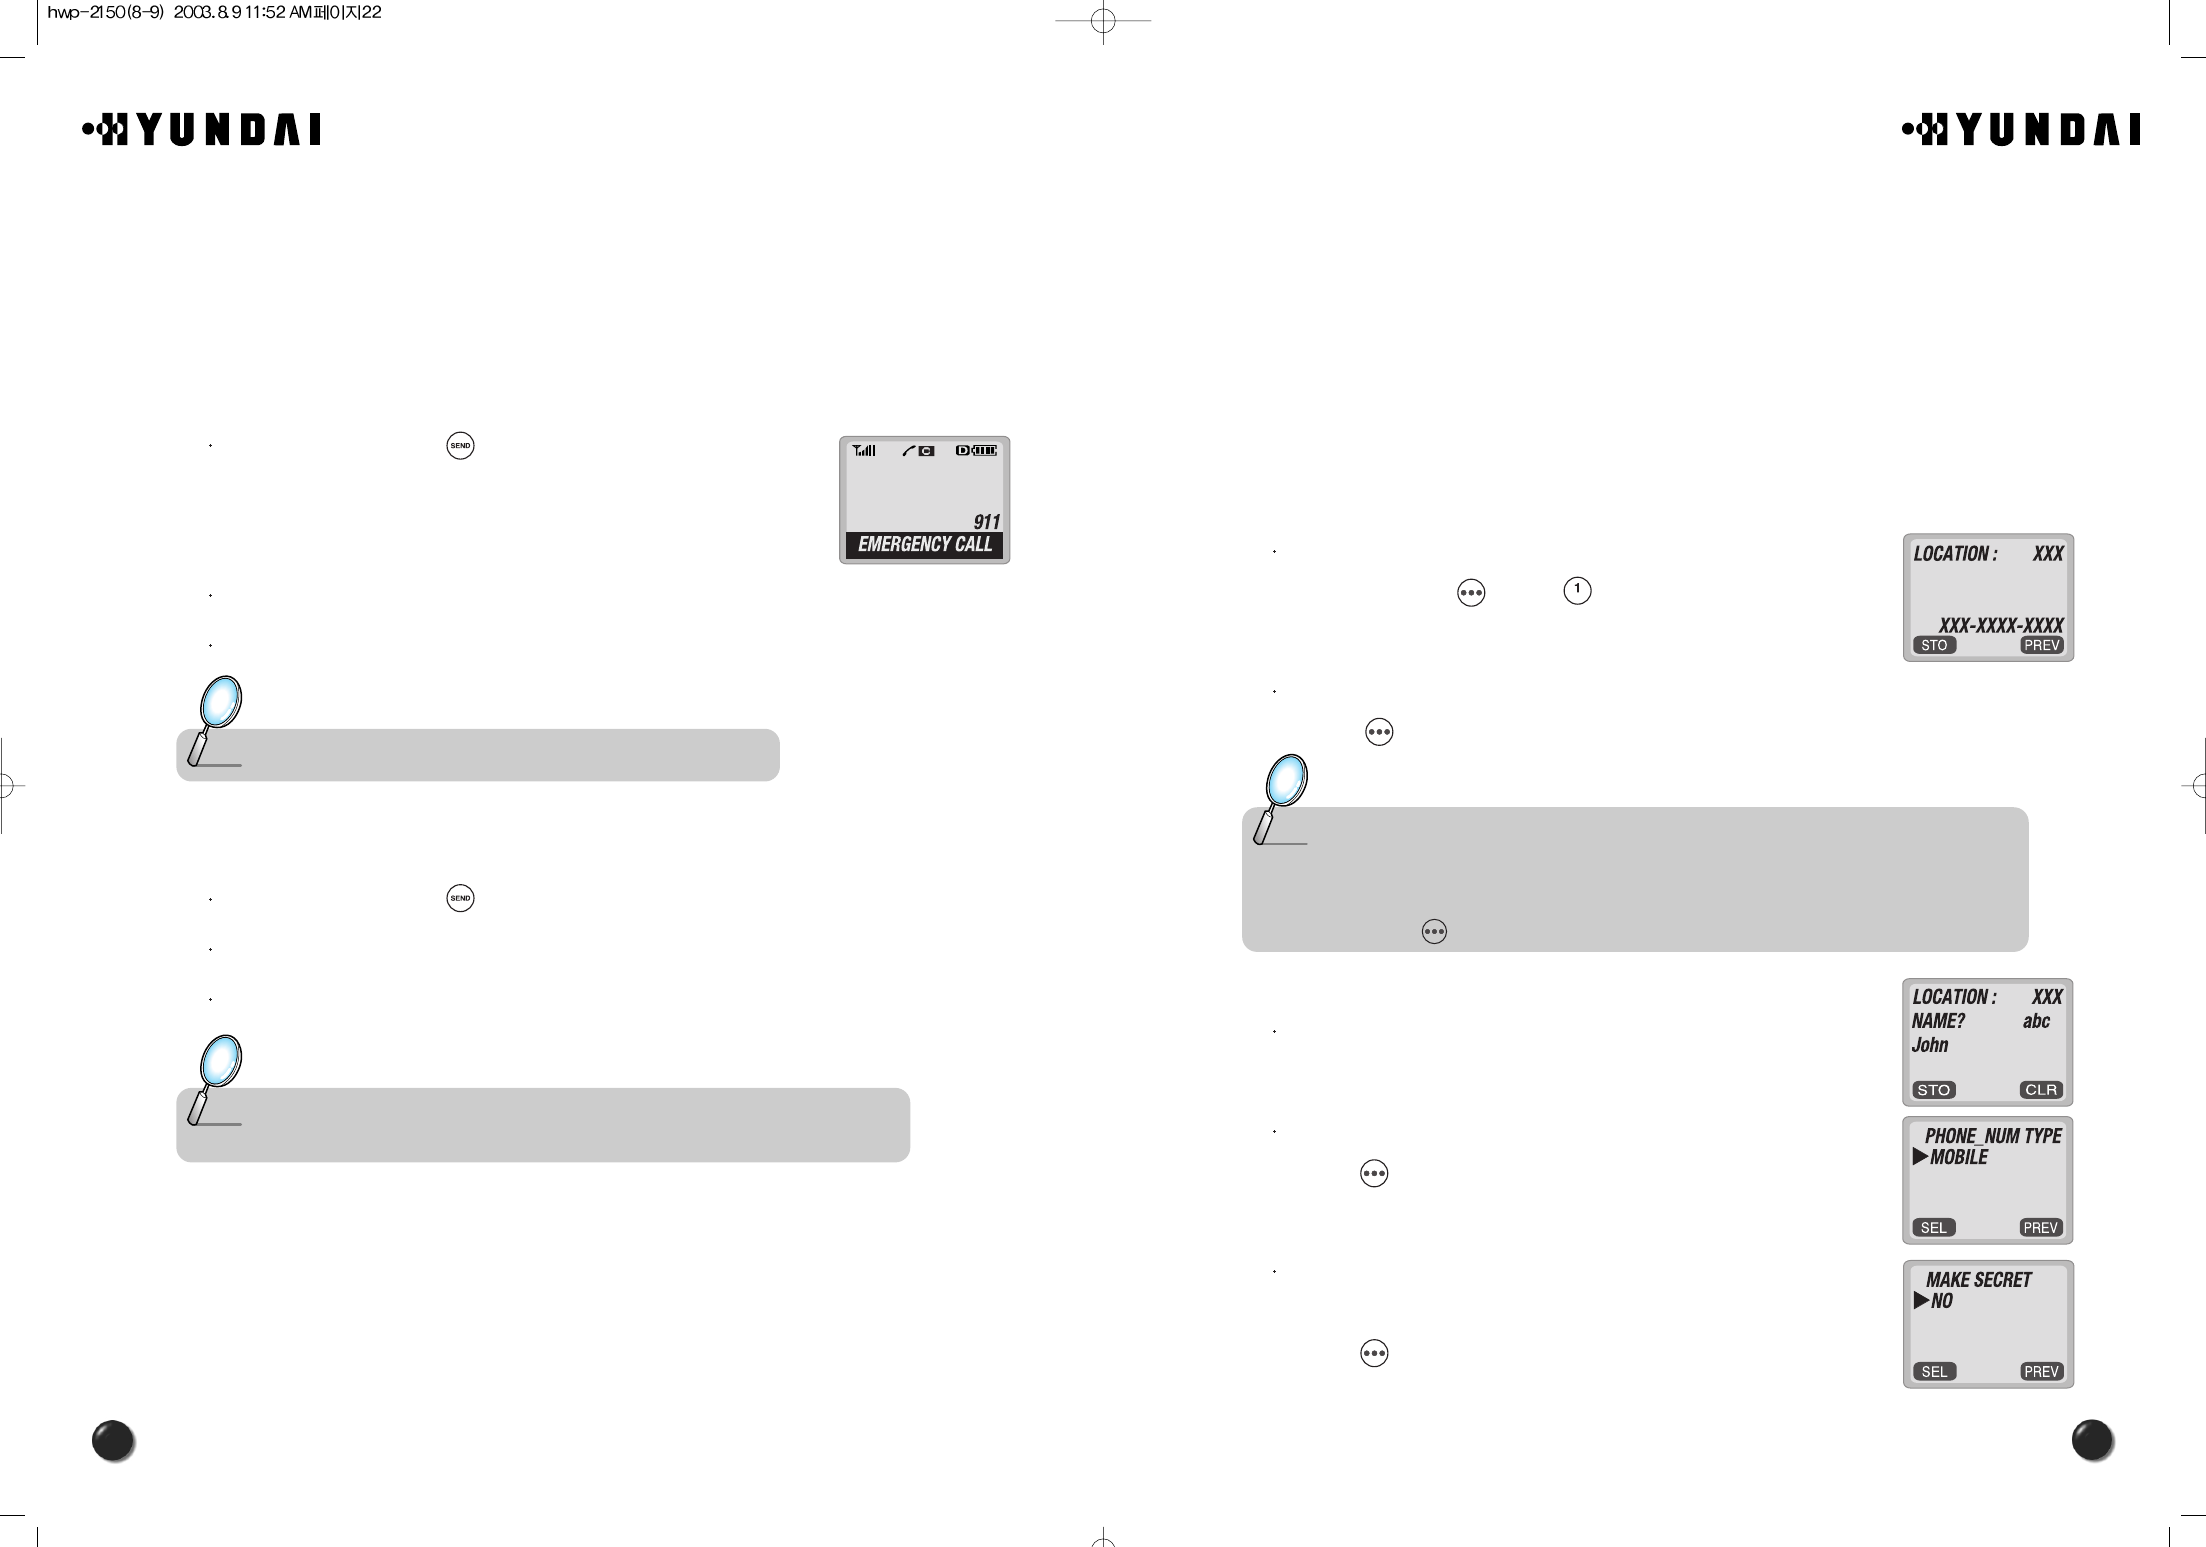
3.1 TO STORE A PHONE NUMBER
You can store up to 200 phone numbers in the phonebook.
Enter a phone number (more than 3 digits) you want to
store and press [ ] and [ ].
The first available location number is displayed.
Press [ ] to store.
Enter a name with digit keys (refer to page 30).
Select one of the phone types; mobile/home/office and
press [ ].
Select “No” unless you want to make it secret and enter
the lock code whenever you need to view the number and
press [ ].
Note : • Enter the location number if you have a specific location number in mind or when you
add another phone number to the location already put to use.
• “XXX LOCATION IS USED ”indicates that the location number already has a stored
phone number.
• Press [ ] to accept the existing name in the location number.
2.6 TO MAKE AN EMERGENCY CALL
This is the enhanced 911 feature that puts your phone on the Emergency Call Mode
when you dial the preprogrammed emergency number, 911. This function is still enabled
even in the lock mode and out of service area.
2.6.1 E911 IN LOCK MODE
The 911 call service is still available even in the lock mode.
Enter “911” and press [ ].
The call connects.
The phone exits the Emergency Mode in 5 minutes.
2.6.2 E911 USING ANY AVAILABLE SYSTEM
Enter “911” and press [ ].
The call connects.
The phone exits the Emergency Mode in 5 minutes.
Note : When the call ends,the phone returns to the Emergency Mode.
Note : • When the call ends,the phone returns to the emergency mode.
• The phone continuously attempts to receive service from any available system.
25
24
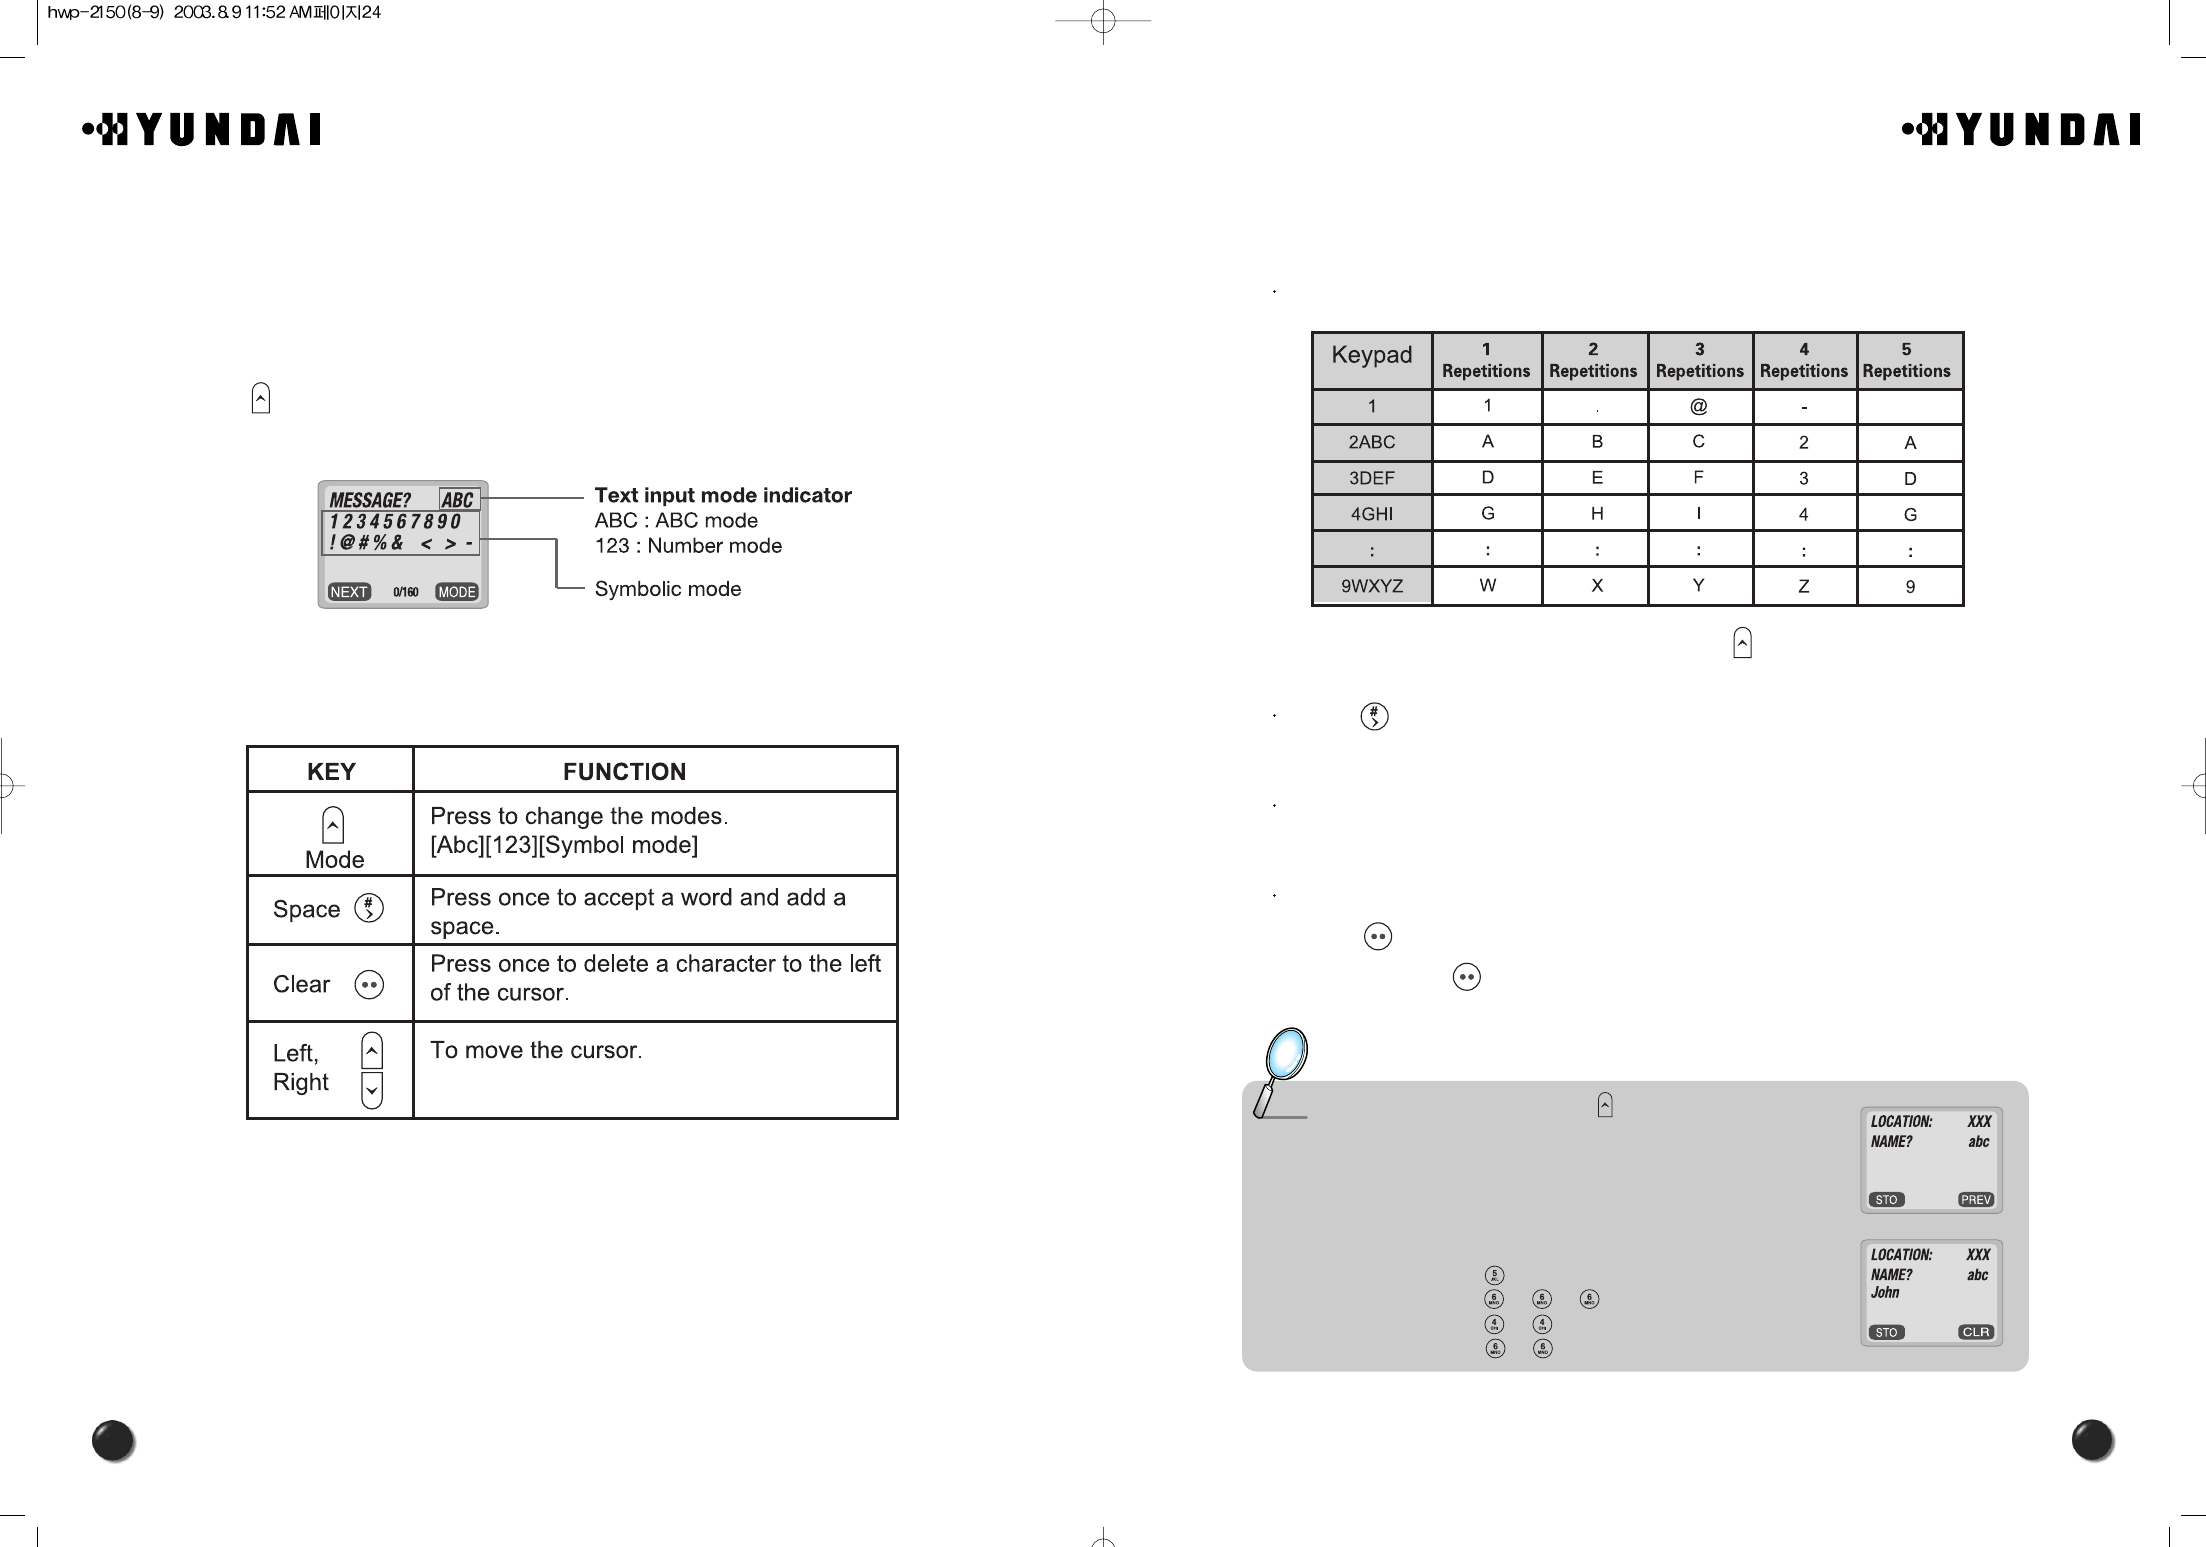
3.2.1 STANDARD INPUT MODE
The standard input mode allows you to enter letters, using a digit keys repeatedly.
Input the letters you want to enter, using the keypad as follows.
You can change the input mode by pressing [ ].
Press [ ] to add a blank.
The cursor automatically moves to the next column in two seconds.
Repeat until you enter all the letters you want.
There is a 16-digit limit in the Name entry of the phonebook.
Erasing letters.
Press [ ] to delete one digit.
Press and hold [ ] to delete the entire number.
Note : Select Abc mode, by pressing [ ].
When you select this mode, the abc icon
appears as a visual confirmation.
- “Find the key that corresponds to the letter you want to enter.”
- Press it as many times as needed for the letter to appear on
the screen.
- To enter the name “John”:
Press [ ] J
Press [ ][ ][ ] o
Press [ ][ ] h
Press [ ][ ] n
3.2 TO ENTER LETTERS, NUMBERS AND SYMBOLS
The input mode will be automatically activated when necessary to enter letters and
numbers. As shown below, there are 4 available modes ; Standard input mode(abc),
Numeric mode(123), and symbol mode.
The input mode indicator will appear on the upper right of the display when you need to
enter letters and numbers.
Press [ ] to select the required input mode among the above 4 different modes, then
enter letters and numbers you want.
The following table shows how you can utilize the available functions with each assigned
key.
27
26
3.3 TO MAKE A CALL THROUGH THE PHONEBOOK
3.3.1 ONE-TOUCH DIALING
The function allows you to dial a phone number (simply) by pressing its location
number in the phonebook.
00~199 :Press and hold a location number of the phonebook number until a call is made
successfully.
Note : • “Empty Location” will be displayed when there is no available phone number in the
location.
• The phone number won’t be displayed when it is made secret.
• You can also make a call by pressing a location number and [ ].
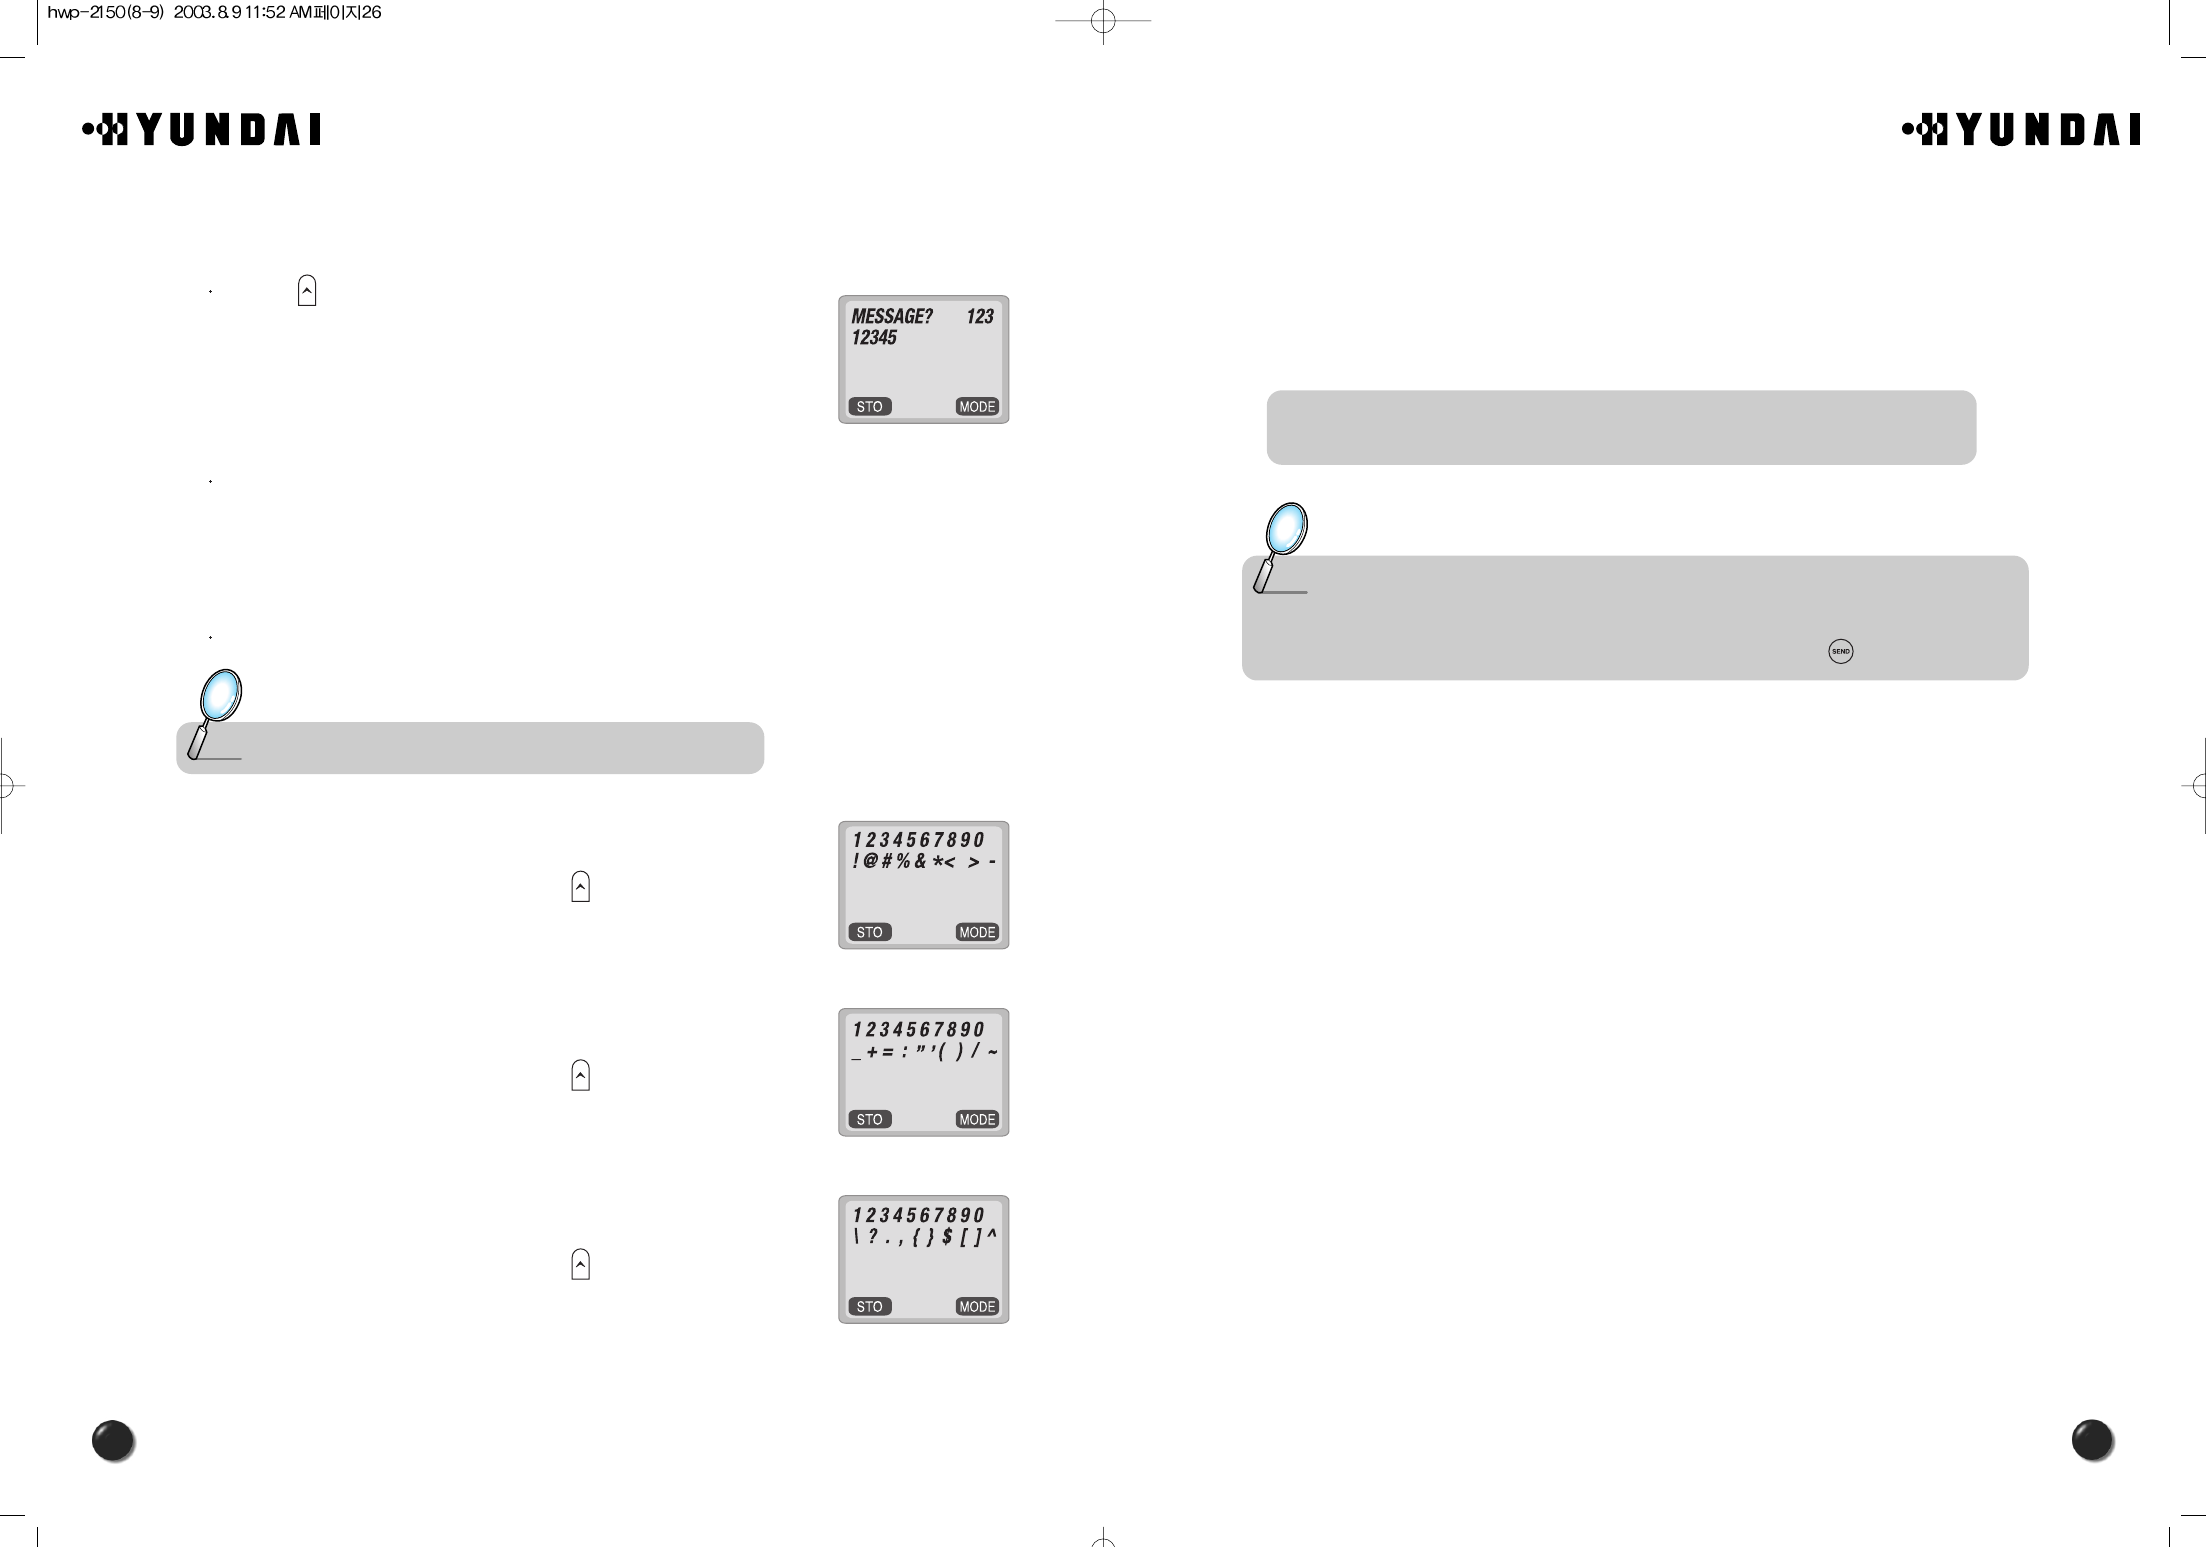
3.2.2 NUMERIC MODE
This mode allows you to enter numbers.
Press [ ] until a current input mode changes to the
Numeric mode.
Press a digit key to enter a number.
3.2.3 SYMBOL MODE
This mode allows you to enter symbols.
Press the number above the symbol you want to enter.
Press [ ],
Press [ ],
Press [ ],
Note : Use the navigation key to view a different line of symbols.
29
28
Use the navigation key to scroll through the 10 missed calls.
Press [ ] to dial the phone number of the missed call when selected.
4.1.1.2. ANSWERED CALLS
Press [ ][ ][ ][ ].
Press [ ] to view the digital of an answered call
when it’s number is highlighted.
Press [ ] to dial the phone number of the answered call
when selected.
4.1.1.3. DIALED CALLS
Press [ ][ ][ ][ ].
Press [ ] to view the digital of a dialed call.
Press [ ] to dial the phone number of the dialed call
when selected.
Note : The detail includes date, time, and phone number of answered calls.
Note : The detail includes date, time, and phone numbers of dialed calls.
4. MENU FUNCTION
In this chapter you will learn how to access the menu and enable each function and
feature to customize your phone. Each function will be accessed through the menu and
described in easy-to-follow instructions. This chapter will guide you to better
understanding of upgraded functions and features, which will maximize the effective use
of the state-of-the-art technologies. Hopefully it will make you feel much closer to this
model.
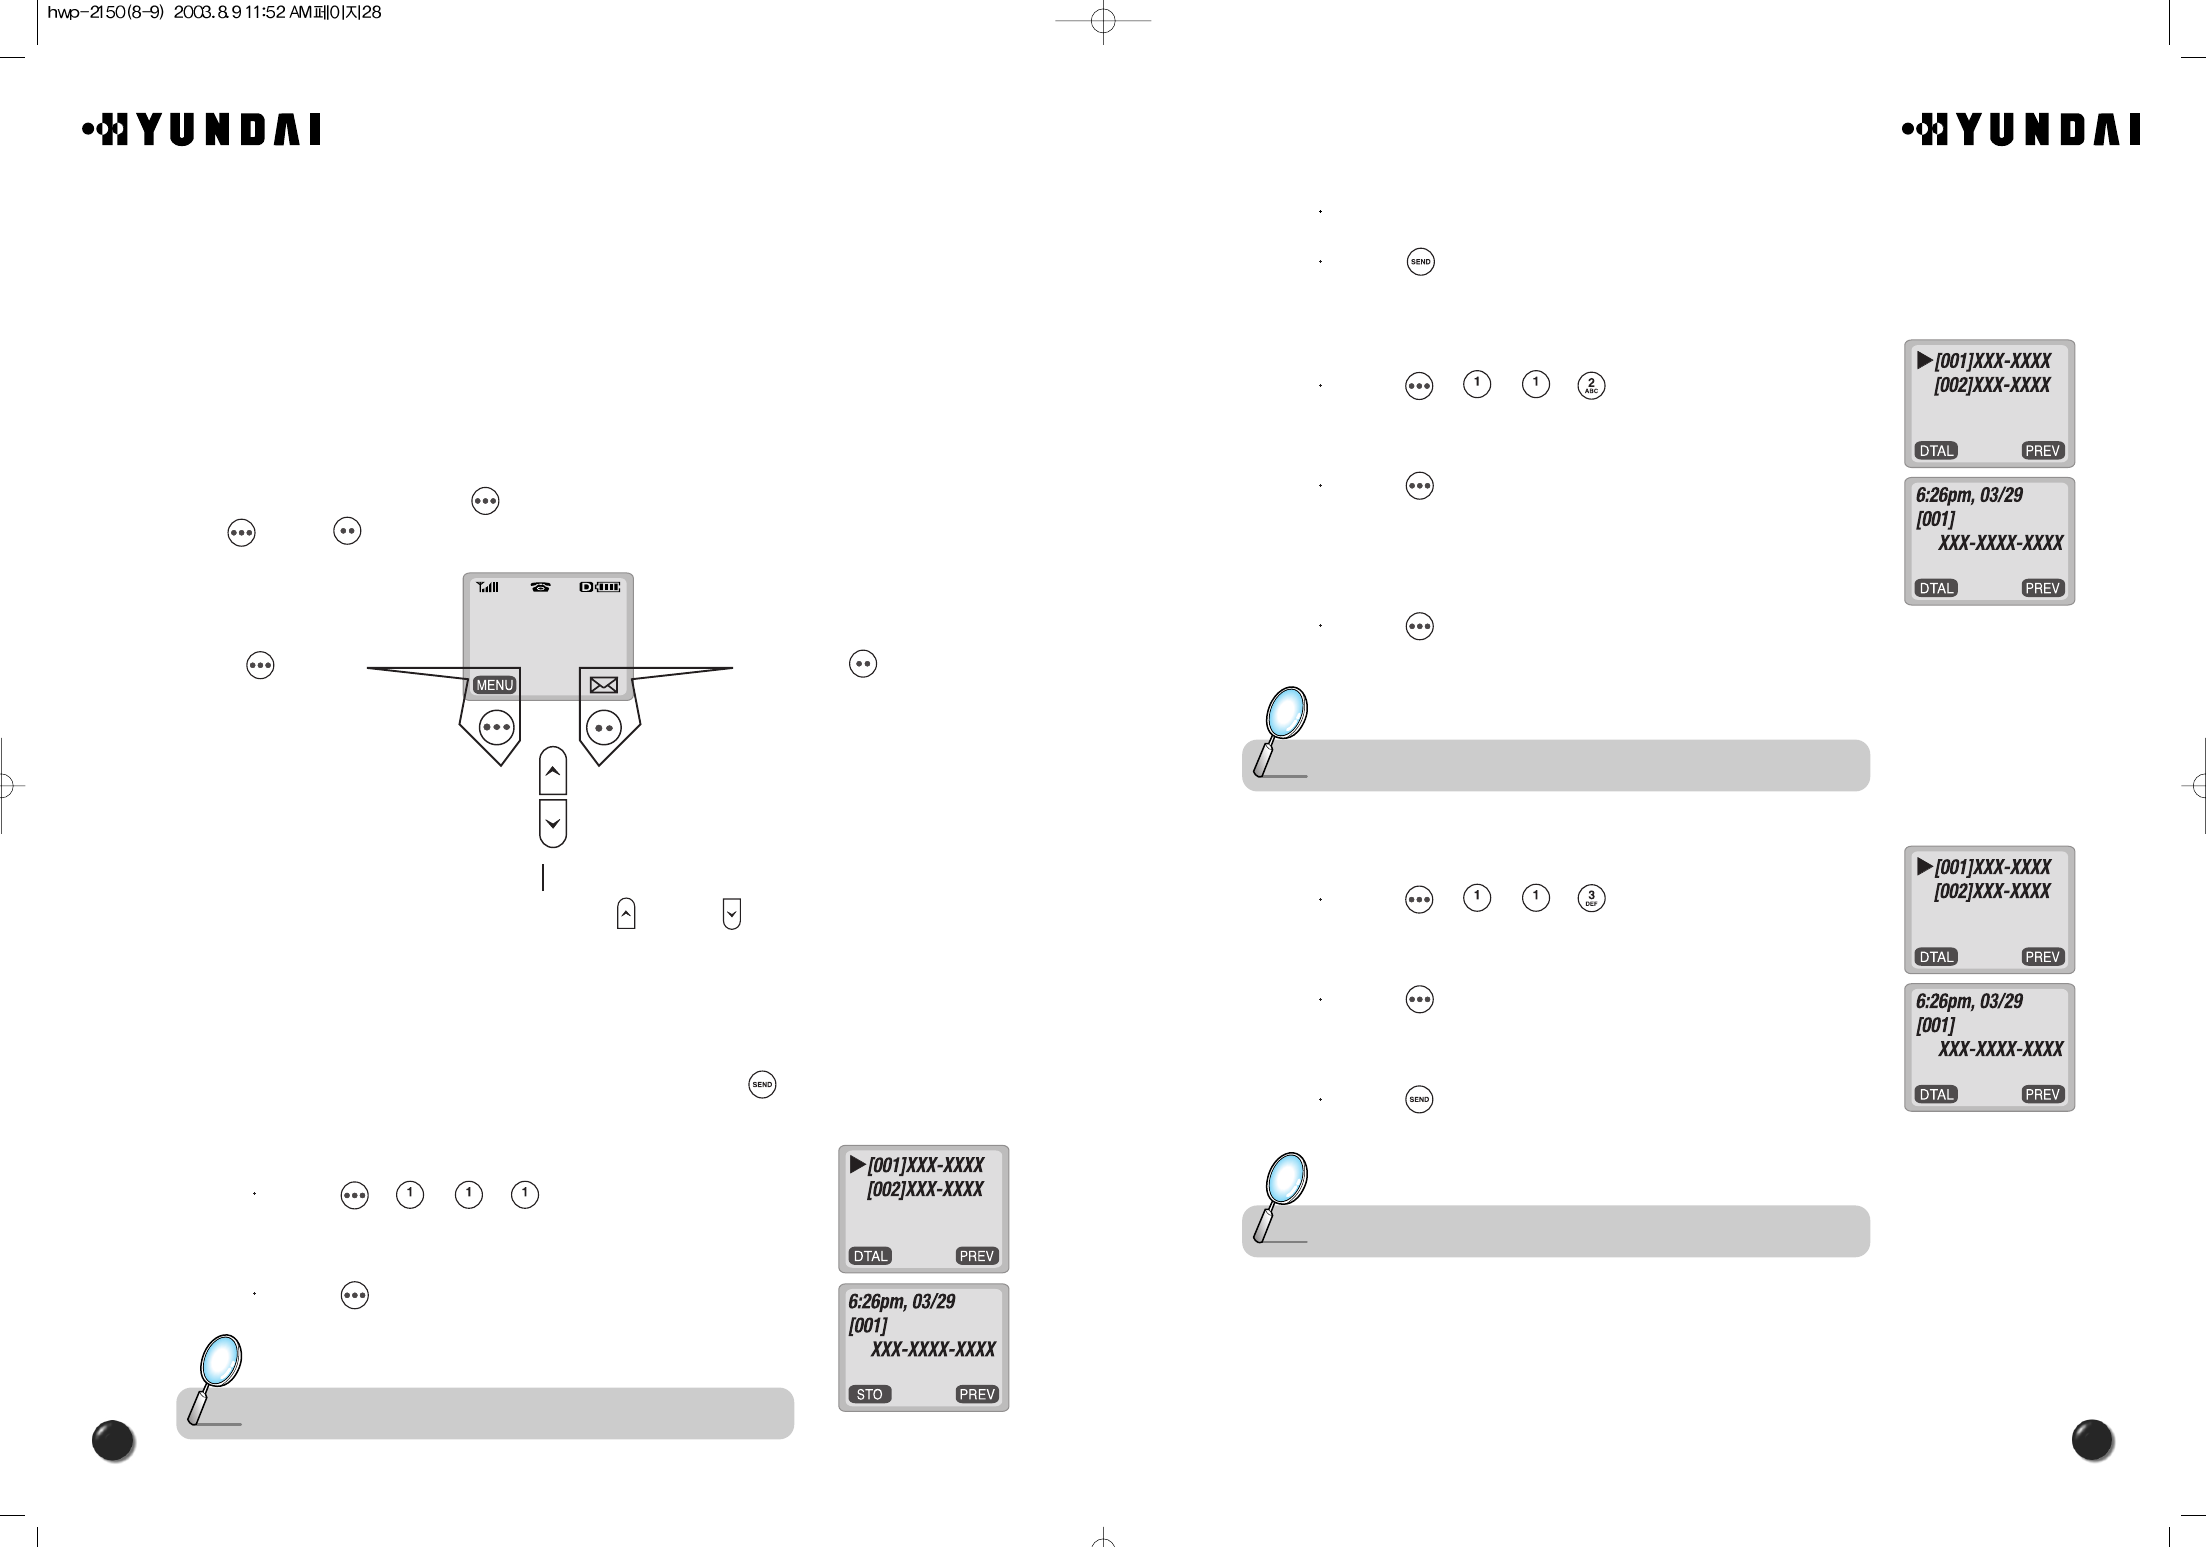
4.1 PHONEBOOK
You can access the menu via [ ] in the standby mode. Once you entered the menu,
both [ ] and [ ] function as shown in the bottom line of the display.
4.1.1 CALL LOGS
The function allows you to review information of the 10 recently missed, answered,
and dialed numbers and place a call simply by pressing [ ].
4.1.1.1. MISSED CALLS
Press [ ][ ][ ][ ].
Press [ ] to view the detail of a missed call when
its number is highlighted.
Press [ ] in
the standby
mode to access
menu function.
Press [ ] in the
standby mode to
access voice and
text messages.
Press [ ] and [ ] to directly
access the phonebook.
Note : The detail includes date, time, and phone number of missed calls.
31
30
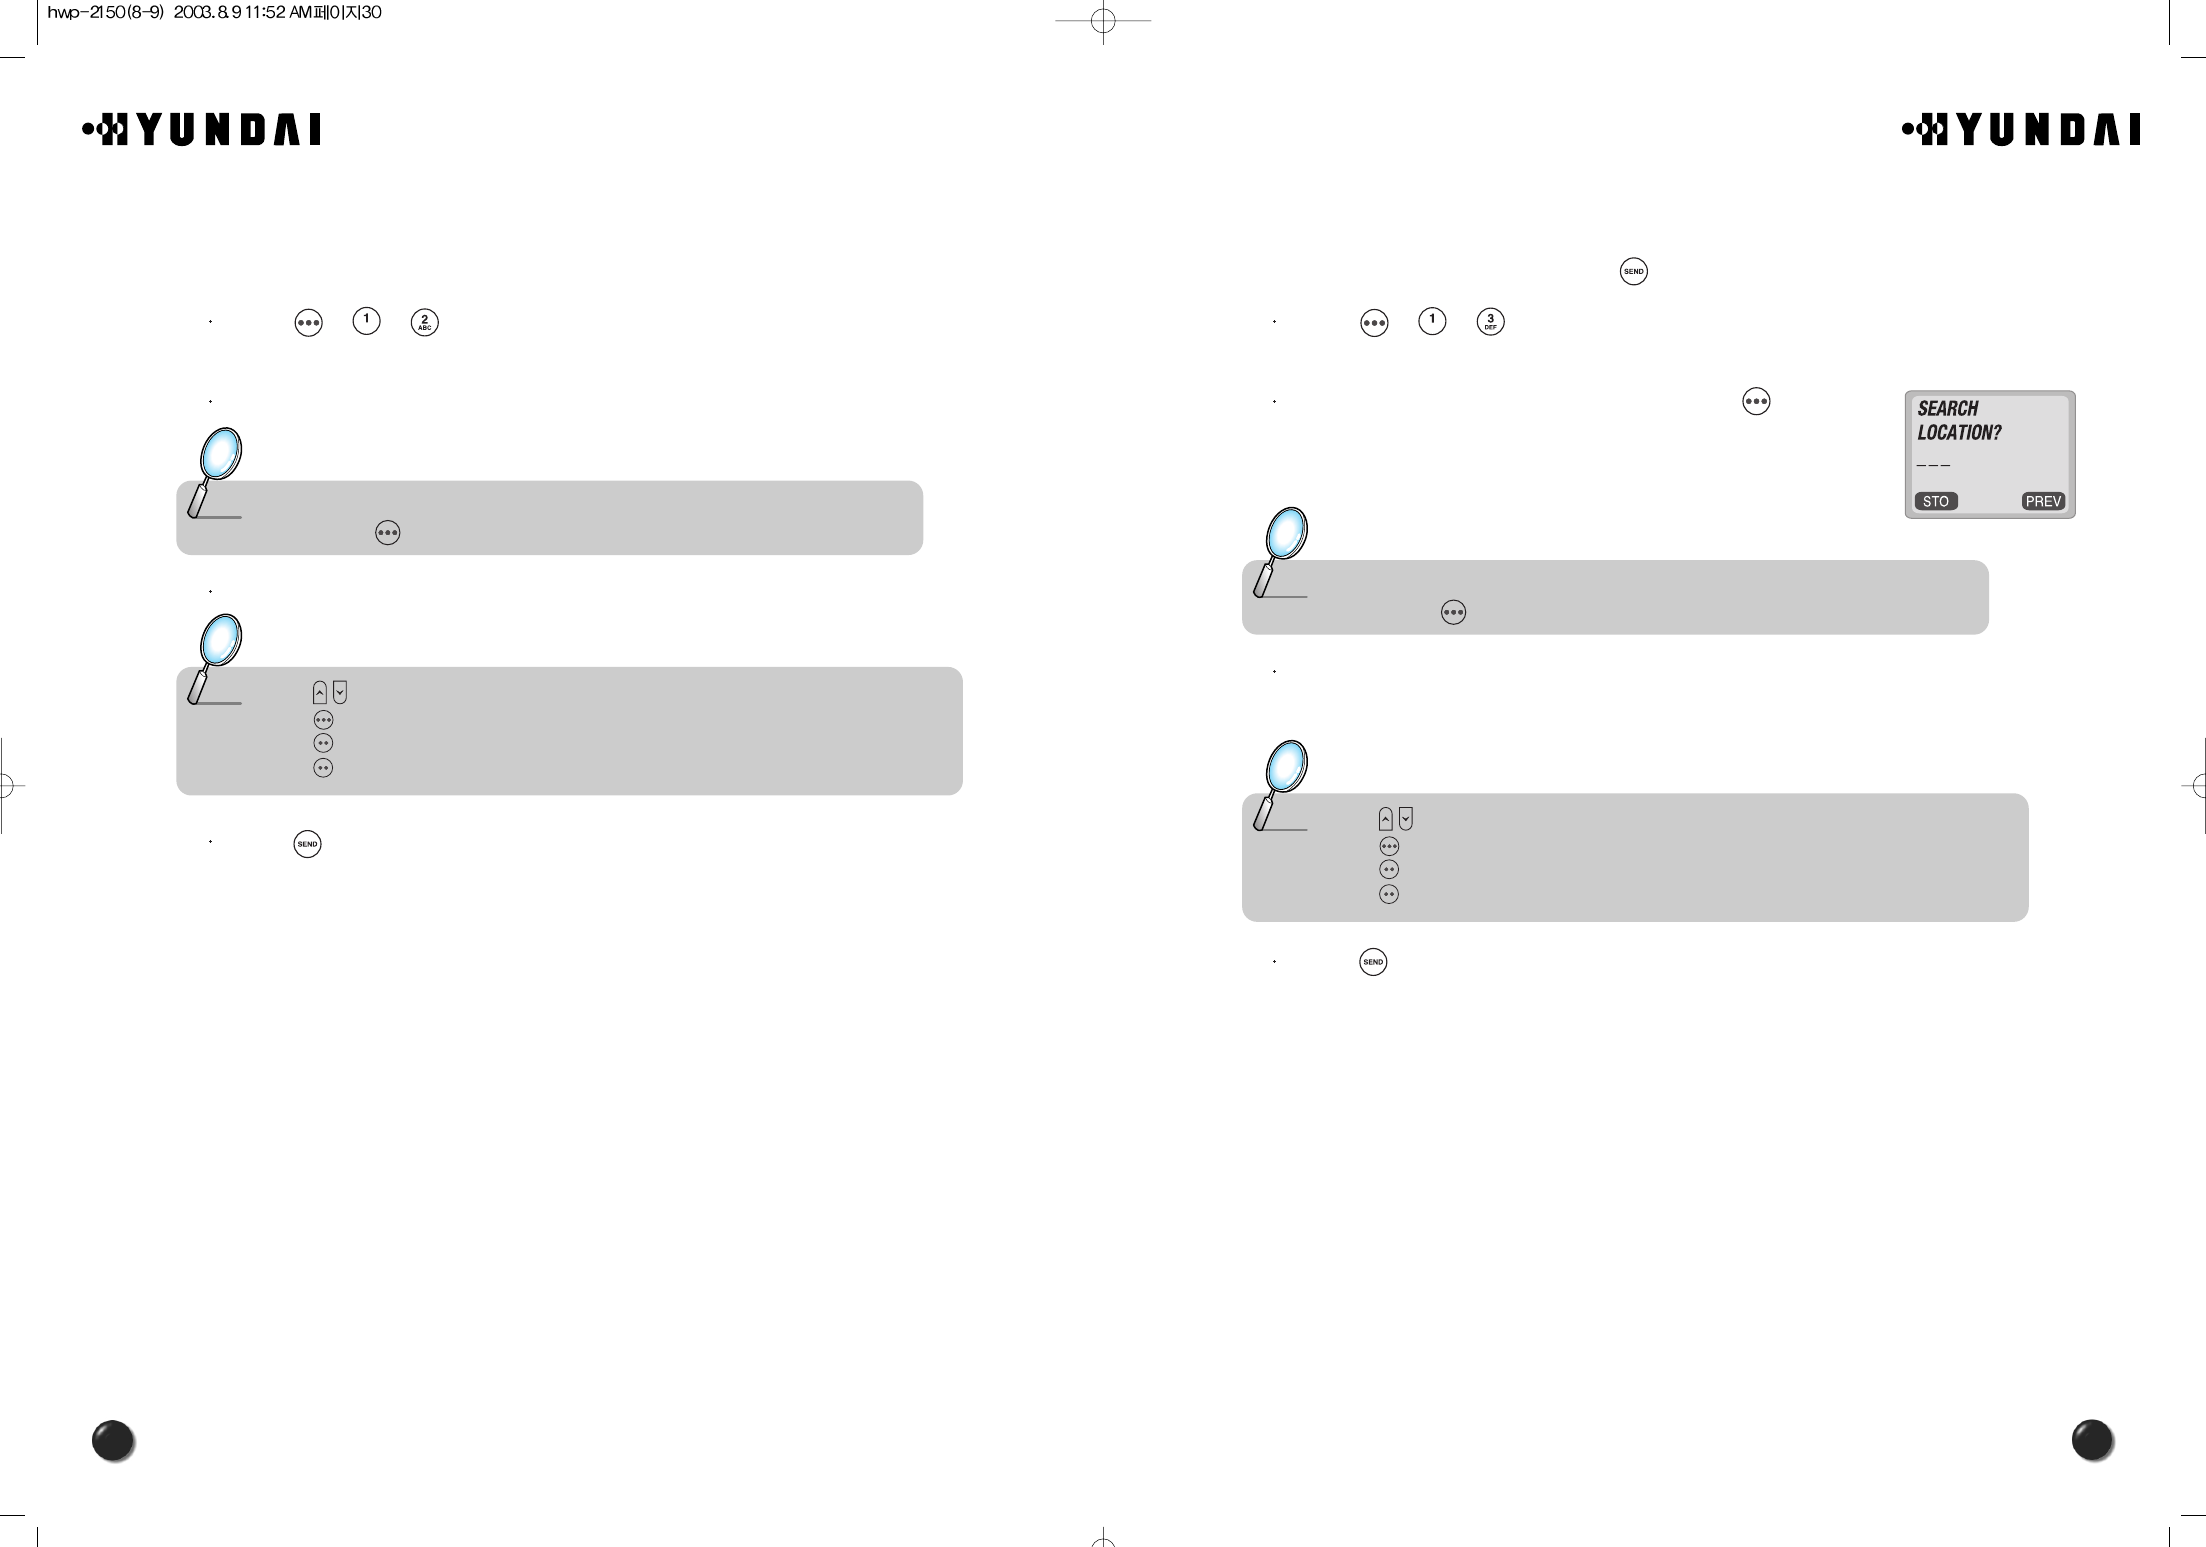
4.1.3 RECALLING BY NAME (ALPHA)
The function allows you to retrieve the phonebook by name or its character string
and simply make a call by pressing [ ].
Press [ ][ ][ ].
Enter a name or its character string and press [ ] to sort
out and display the searched names in an alphabetical order
regardless of letter case.
Search the name you want to make a call to and locate a phone number using the
navigation key.
Press [ ] to dial the number you search.
Note : Use the navigation key instead of entering a location number to search through,
and press [ ] to view the detail.
Note : • [ ] scrolls through the phonebook.
• [ ] edits the phone#.
• [ ] returns to the previous page.
• [ ] erases the number.
4.1.2 RECALLING BY LOCATION
This function allows you to recall a number from the phonebook by pressing its
location number.
Press [ ][ ][ ].
Enter a location number.
Search a phone number with the navigation key.
Press [ ] to dial the phone number when selected.
Note : Use the navigation key instead of entering a location number to search through,
and press [ ] to view the detail.
Note : • [ ] scrolls through the phonebook.
• [ ] edits the phone#.
• [ ] returns to the previous page.
• [ ] erases the number.
33
32
4.2.3 ONE-TOUCH DIALING
This function allows you to dial a phone number with one touch pressing its location
number.
Press [ ][ ][ ].
Select “Yes” or “No” with the navigation key.
Press [ ] to save it.
4.2.4 VOICE PRIVACY
This function allows you to enhance voice privacy and keep from tapping during a
call.
Press [ ][ ][ ].
Select either “Standard mode” or “Enhanced mode”, if available.
Press [ ] to save it.
4.2.5 BACKLIGHT
The display and the keypad can be back lighted for you to view the screen and
recognize the keypad arrangement more easily even in a dark place.
Press [ ][ ][ ].
Select one of the following options ; Off, 10 sec, 20 sec, 30 sec, Off in day.
Press [ ] to save it.
Note : • Off : Turn the backlight off.
• 10 sec,20 sec,30 sec : Backlight on for 10,20,or 30seconds respectively after
a touch on the keypad.
• Off in day : Always off in a daytime.
4.2 SETTING
4.2.1 AUTO RETRY
With this function on, a call is automatically retried either once, 3, or 5 times after a
set time period.
4.2.1.1. INTERVAL
Press [ ][ ][ ][ ].
Select one of the options (Off, 10, 7, 5, 3 seconds) with the navigation key.
And press [ ] to save it.
4.2.1.2. REPEAT
Press [ ][ ][ ][ ].
Select one of the options (1 time, 3 times, 5 times) with the navigation key.
And press [ ] to save it.
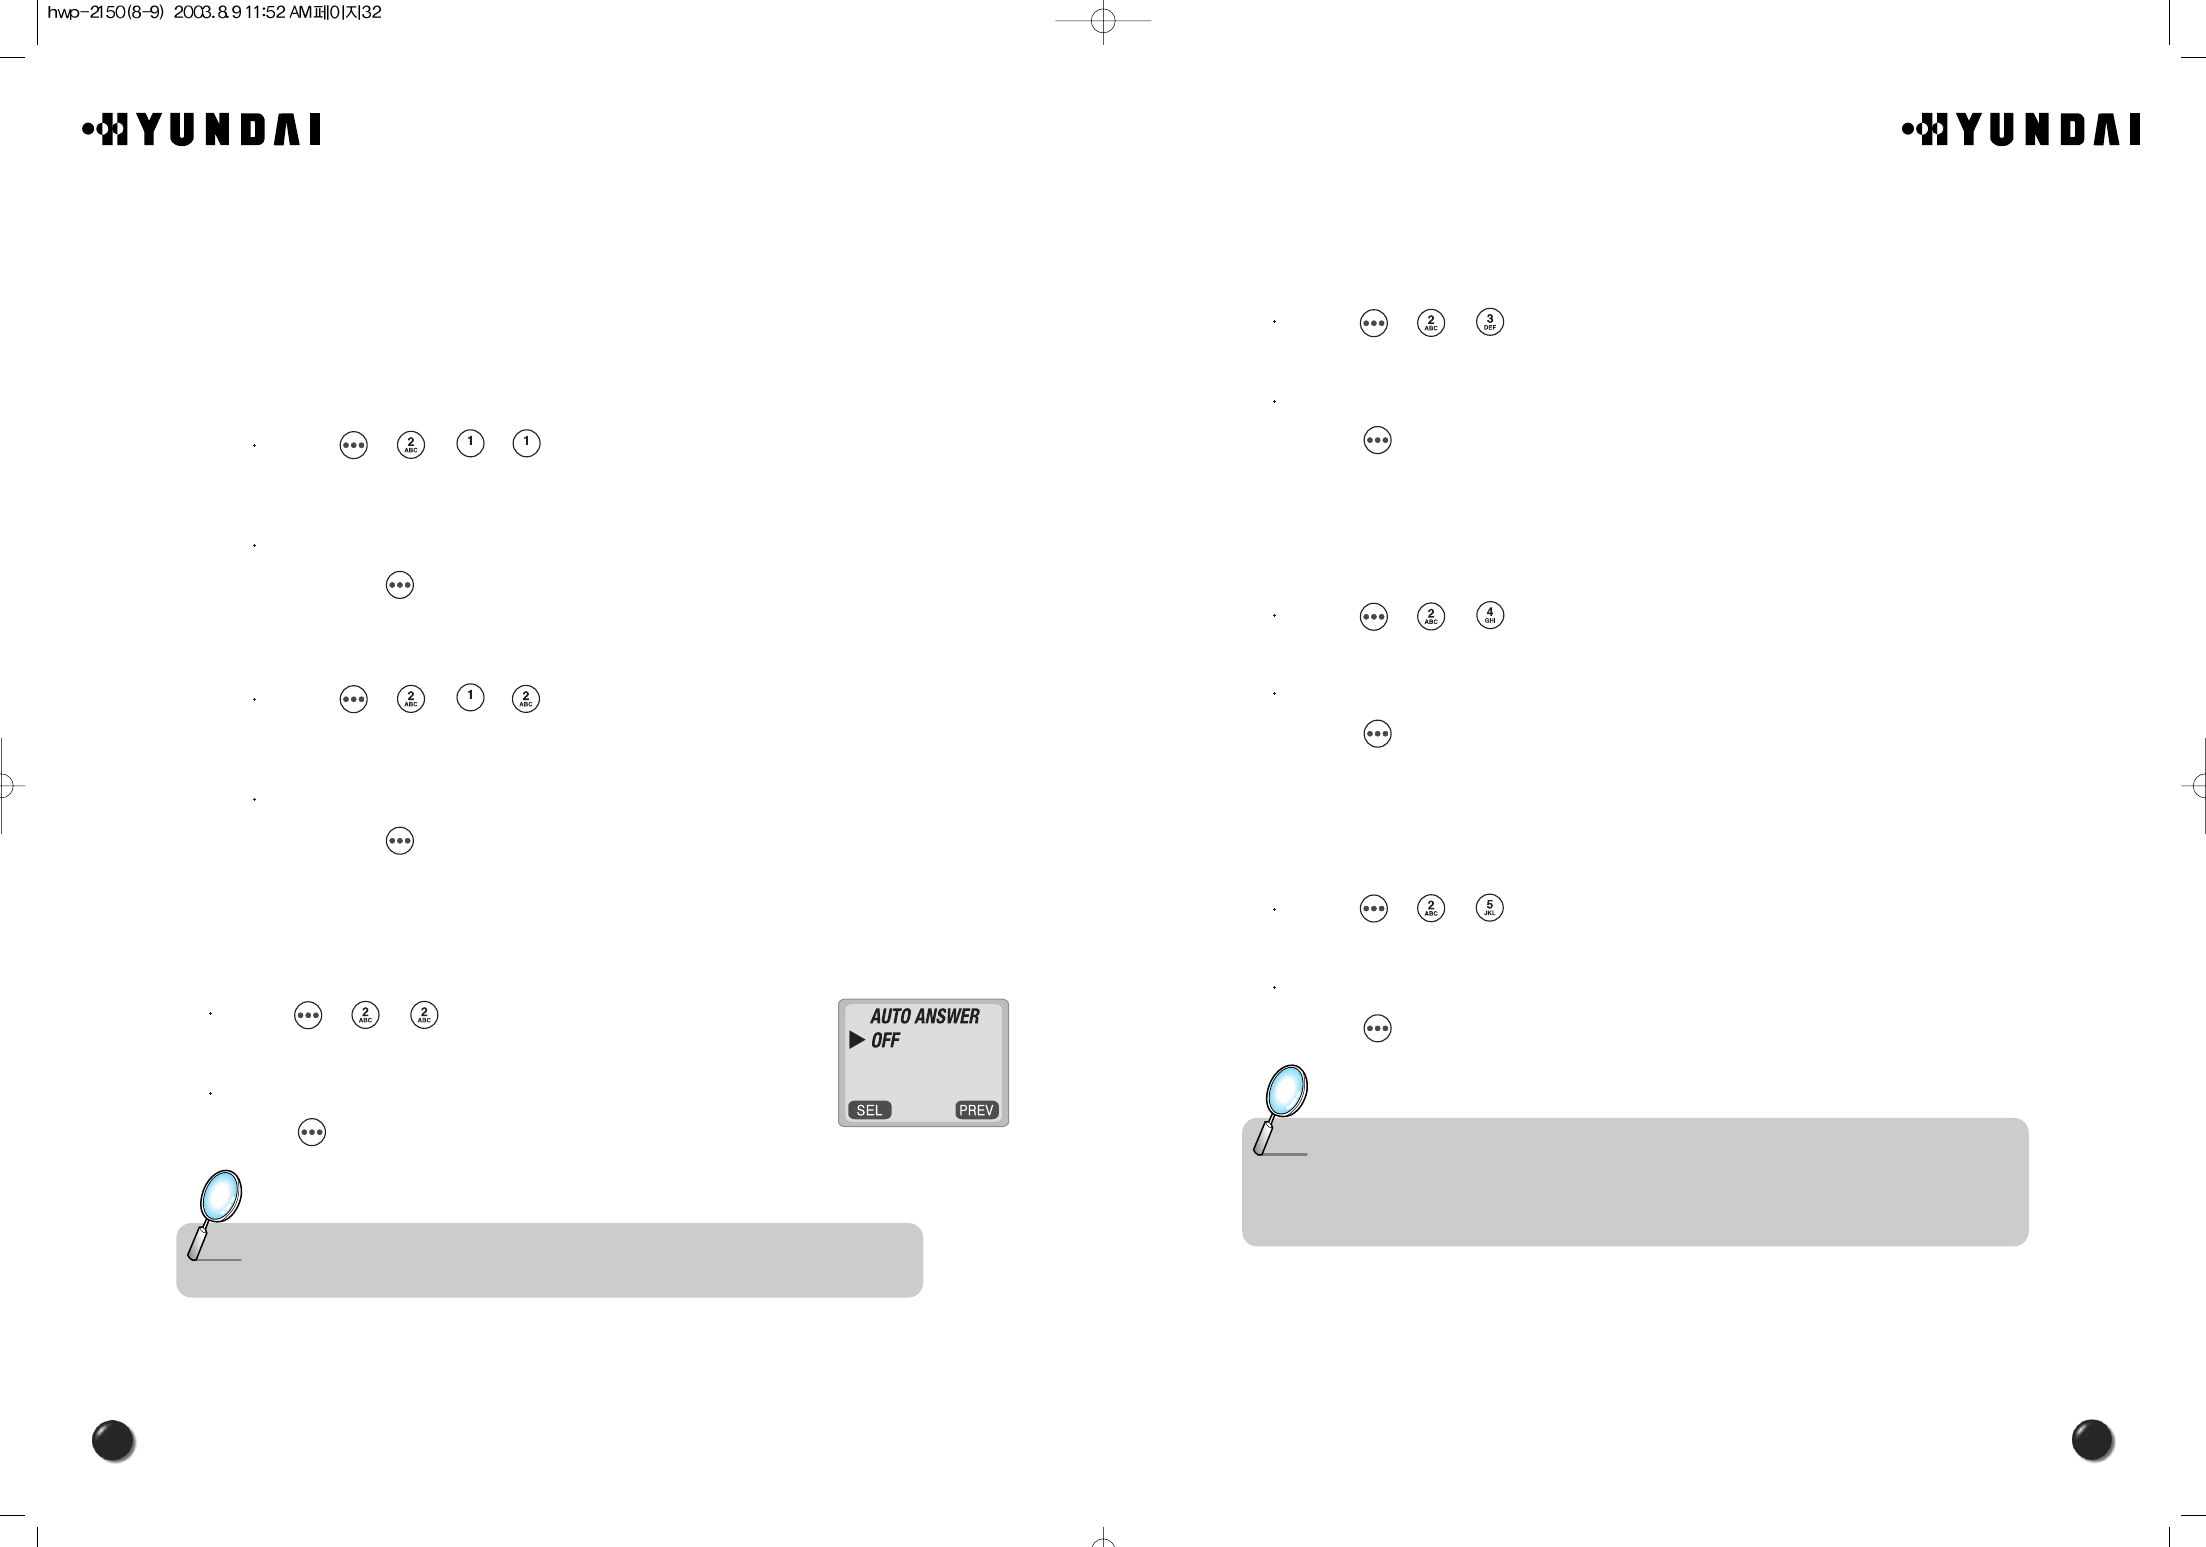
4.2.2 AUTO ANSWER
A call is automatically answered after the certain number of rings you set. It will be
convenient when you have your phone in the hands-free car kit.
Press [ ][ ][ ].
Select one from Off/ 1 ring/ 3 rings with the navigation key.
Press [ ] to save it.
Note : This function won’t be activated when you select Slide bell or Silent as a ring
mode.
34
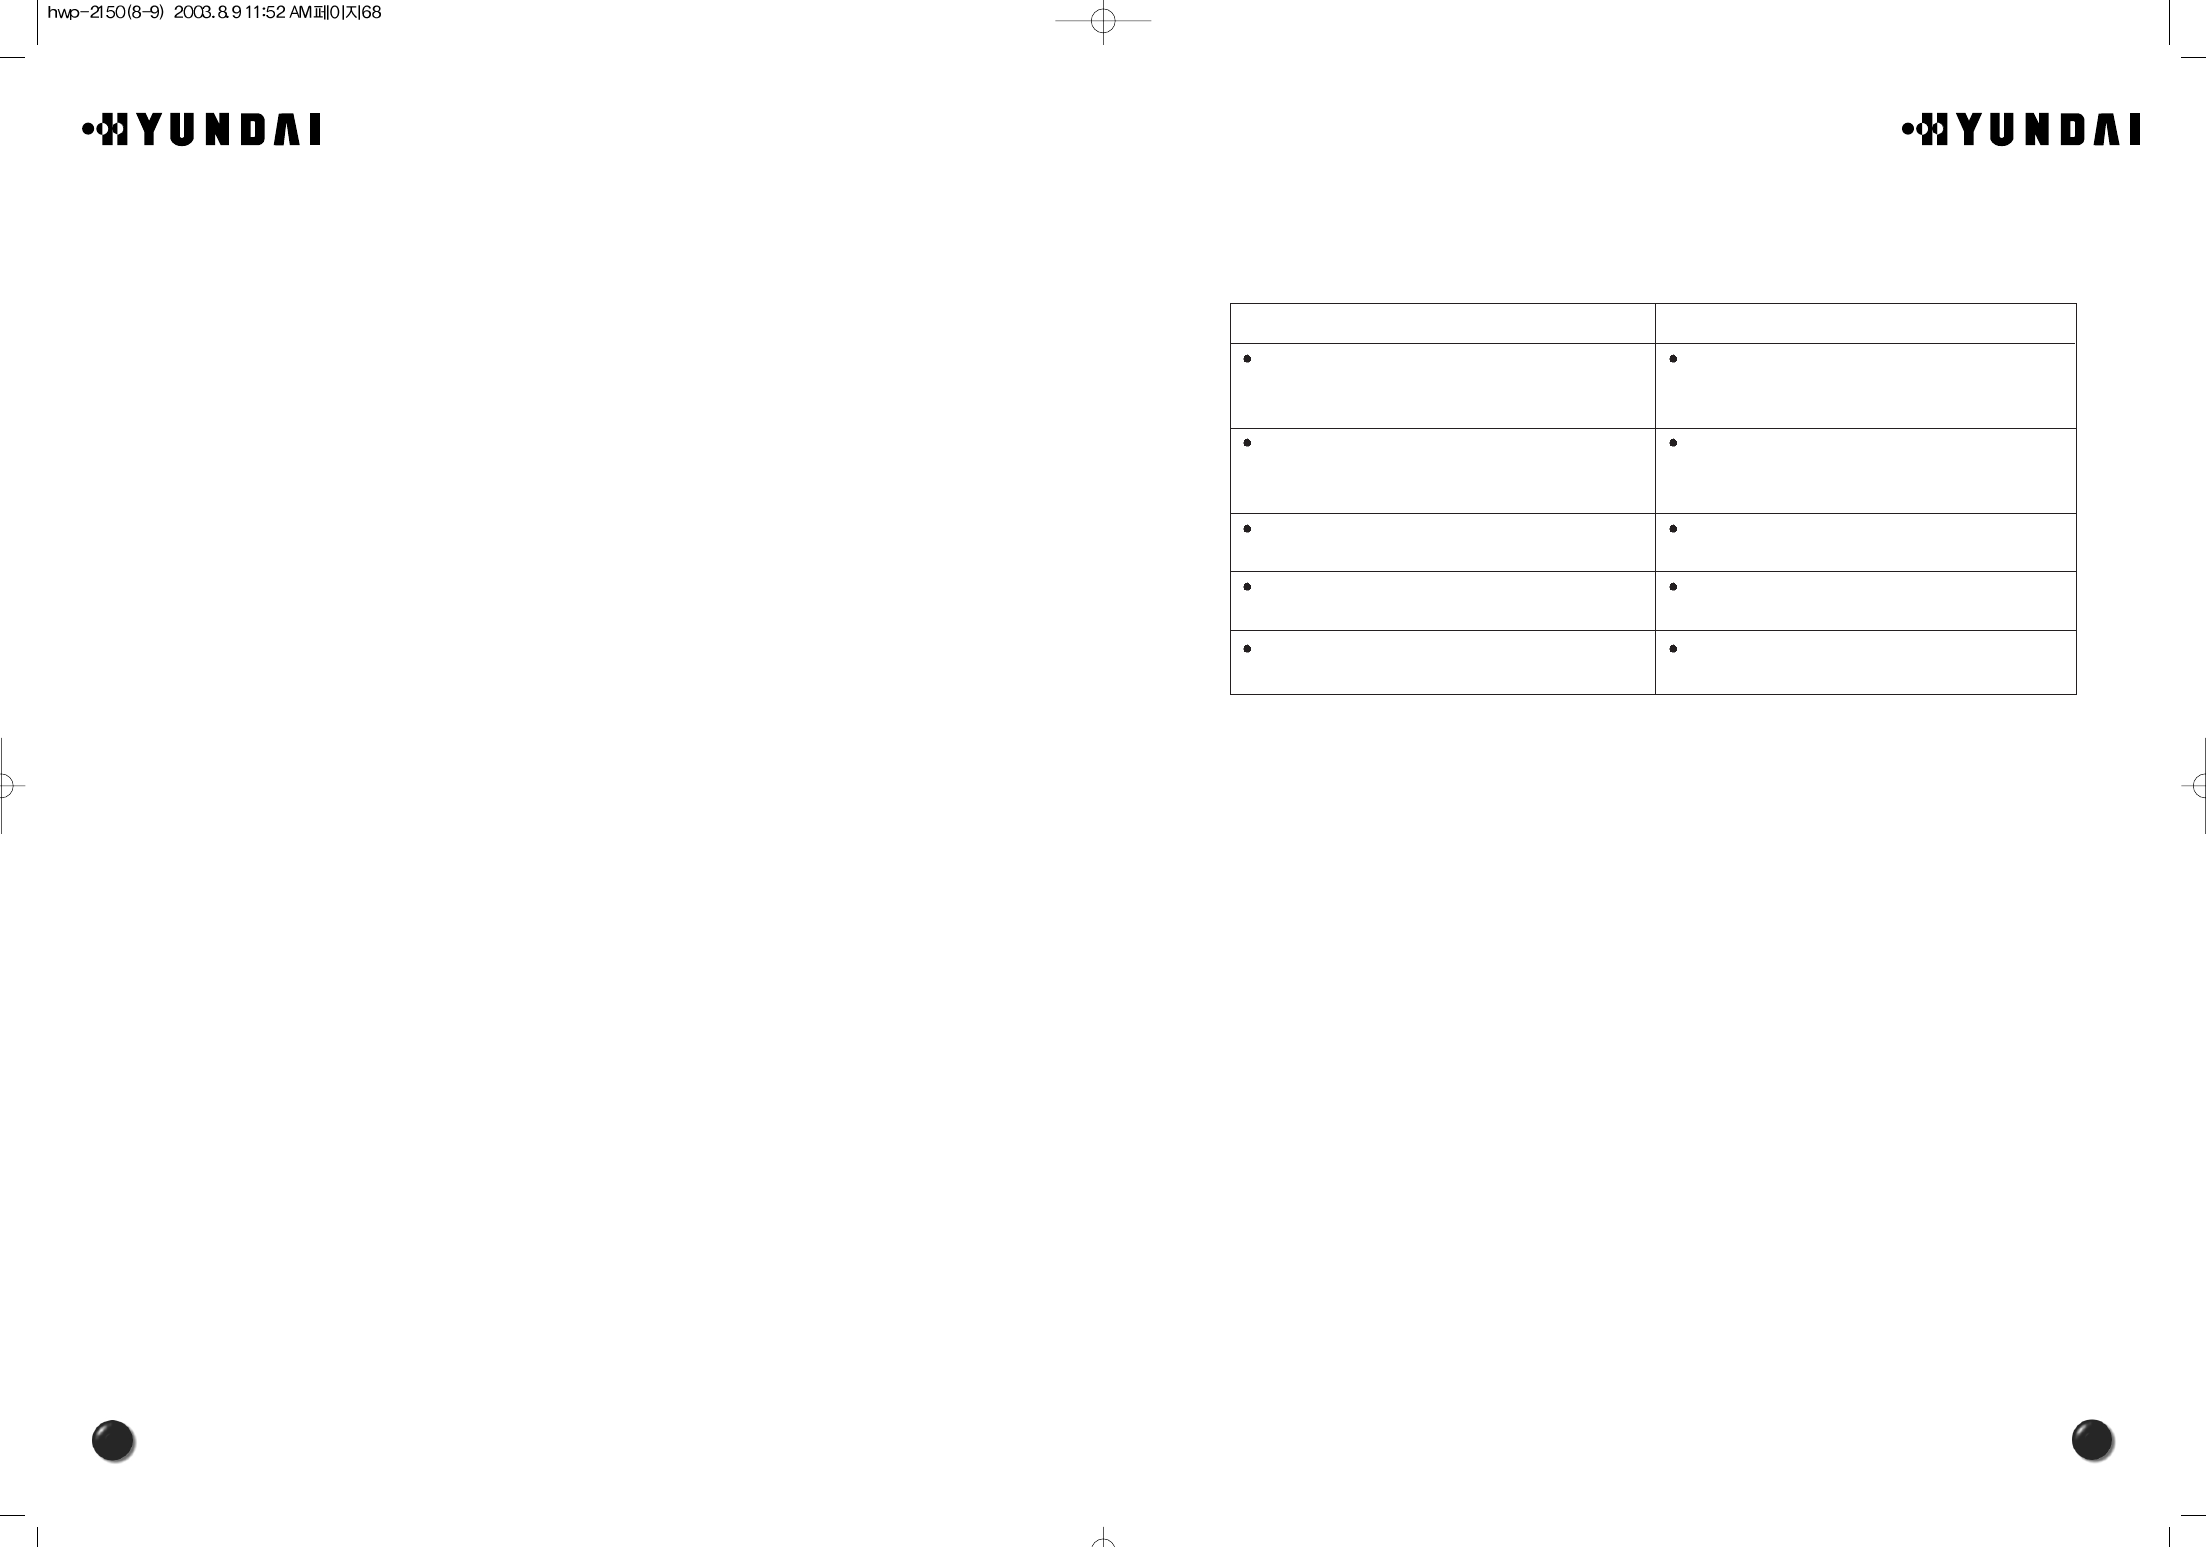
4.3 TONE
4.3.1 RING MODE
This function alerts you of an incoming call in various modes as follows.
Press [ ][ ][ ].
Select one of the following options with the navigation key.
Press [ ].
4.3.2 RING TYPE
You are to choose a ring type to inform yourself of an incoming call.
Press [ ][ ][ ].
Select one ring type that best fits your favor.
There are 13 different types available.
Press [ ].
4.3.3 KEYPAD
This function enables you to control the keypad tone.
Press [ ][ ][ ] to adjust the keypad volume.
Adjust the keypad tone through the navigation key.
Press [ ].
Note : • Ringer
• Silent
Note : • Different tones (1-6).
• Different melodies (7-13).
Note : The keypad tone won’t be heard when you have an alert for low battery.
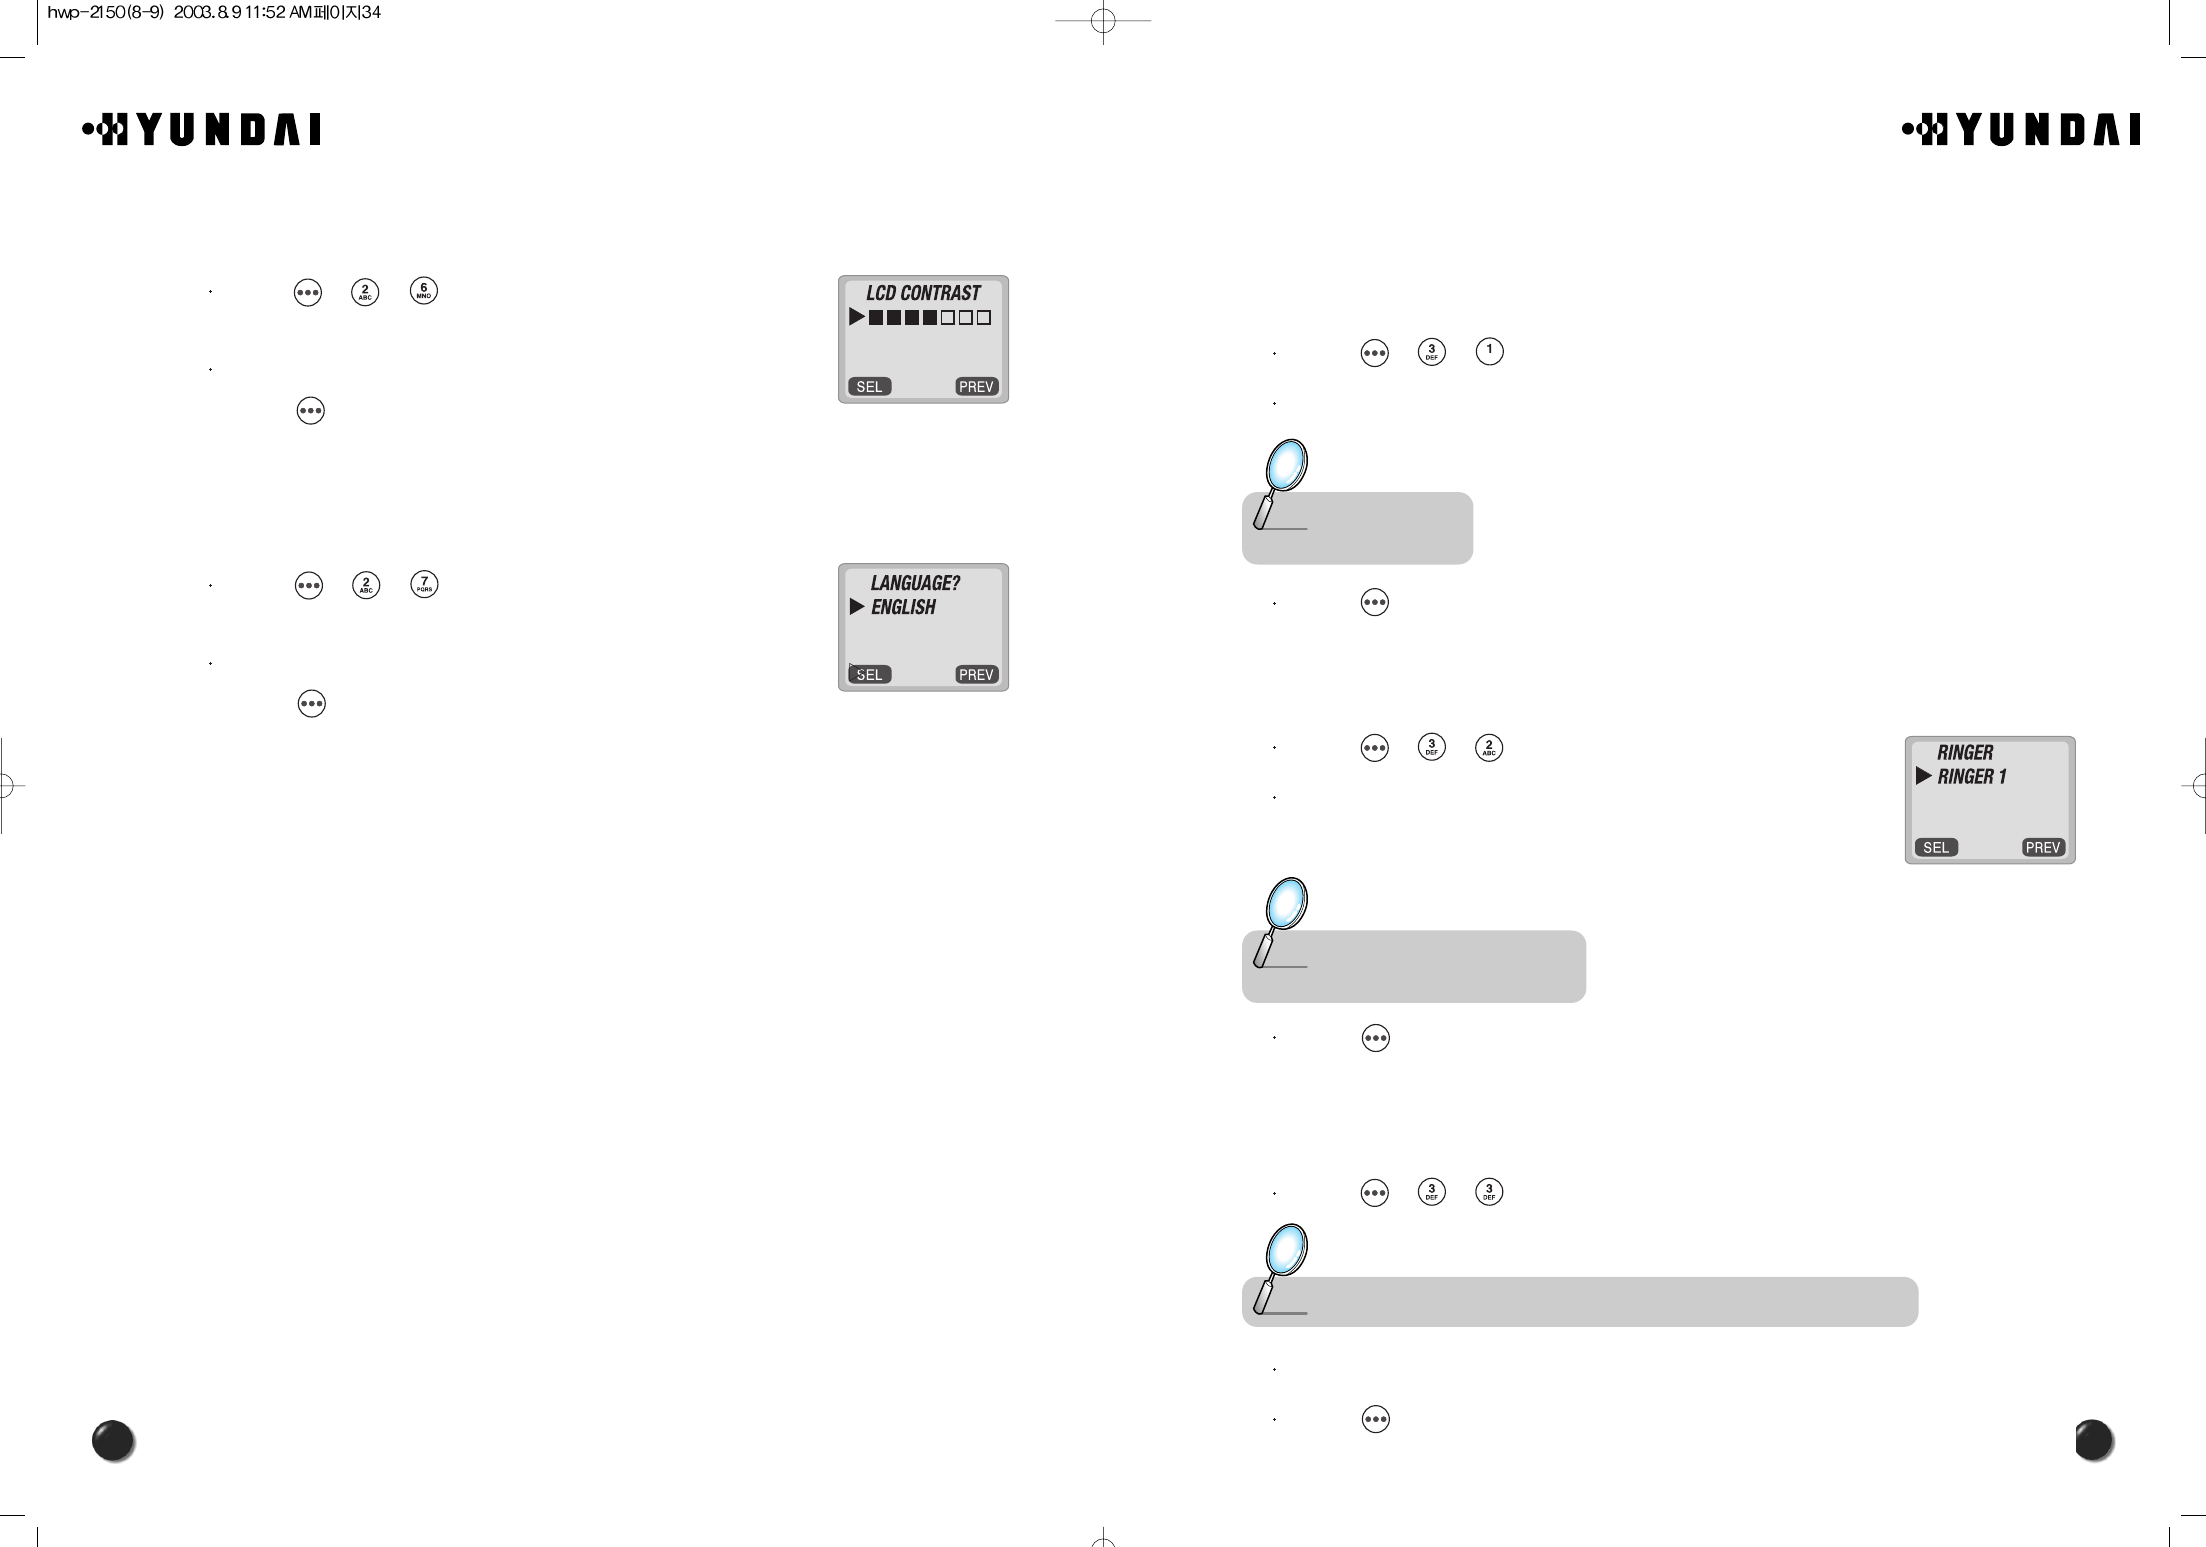
4.2.6 LCD CONTRAST
The LCD display contrast can be controlled in 7 levels.
Press [ ][ ][ ].
Adjust the LCD contrast for your better view and
press [ ] to save it.
4.2.7 LANGUAGE
This function permits you to select a language in which a letter is displayed on the
screen.
Press [ ][ ][ ].
Select either “English” or “Spanish” and then,
press [ ] to save it.
69
68
<Appendix>
1. Troubleshooting
In case that simple remedy steps does not help, contact the local agency from where you have
purchased the product, a service center or a qualified technician to solve the trouble.
Problem What To Do
There is no indication on the LCD screen Make sure the terminal is turned on.
If the switch is on, turn off the terminal and then turn
it on again.
“No Service” message is displayed on the LCD
screen.
The WLL terminal must be placed in the location
where service coverage is available. If necessary,
move the terminal to the serviced location.
Your terminal beeps or you can hear nothing in the
WLL.
Your WLL is not properly placed. Place the WLL
normally.
Battery indication is blinking, and the terminal beeps
periodically.
The backup battery is discharged. Switch to the
external power supply.
There is no ring when a call comes. The ringer is switched off. Press [UP] button several
times to adjust the ringer volume
The FCC has granted an Equipment Authorization for this model phone with all
reported SAR levels evaluated as in compliance with the FCC RF exposure guidelines.
SAR information on this model phone is on file with the FCC and can be found under
the Display Grant section of http://www.fcc.gov/oet/fccid after searching on FCC ID
PP4HWP-2150.
Additional information on Specific Absorption Rates (SAR) can be found on the Cellular
Telecommunications & Internet Association (CTIA) web-site at http://phonefacts.net. *In
the United States and Canada, the SAR limit for mobile phones used by the public is
1.6 watts/kg (W/kg) averaged over one gram of tissue. The standard incorporates a
substantial margin of safety to give additional protection for the public and to account
for any variations in measurements.
70
2. FWT Technical Specifications
Classification
Air interface
Battery backup
Physical
Environmental
Power supply
Etc
Common air interface standard IS-2000 (IS-95B, TSB-74)
Frequency TX: 824 ~ 849MHz
RX: 869 ~ 894MHz
Frequency accuracy Fo 300Hz
TX output power Typical 24dBm (23~25dBm)
RX sensitivity - 104dBm below (at FER = 0.5%), Typical -106dBm
Vocoder 8K/13K QCELP
8K EVRC
Channel bandwidth CDMA 1.25Mhz
MOD/DEMOD O QPSK/QPSK
Type Ni-MH
Capacity 3.6V @ 1.4A
Conversation time Minimum 2.5 hours
Standby time Minimum 140 hours
Serial port Data service purpose (Internet, Modem , PC fax)
Maintenance purpose
Dimension (D WH) 197 172 62.5(mm)
Weight (including backup battery) 792g
Operating temperature -10 ~ +50
Input power 100~240V 10%, 48~62Hz
Output power 5.5V 1.2A
Accessories Internal antenna : Dipole antenna
Power supply (SMPS)
HWP-2160