Pantech HWP-2150 CDMA WLL Telephone User Manual hwp 2150 8 9
Pantech Co., Ltd. CDMA WLL Telephone hwp 2150 8 9
Pantech >
Contents
- 1. User Manual 1 of 3
- 2. User Manual 2 of 3
- 3. User Manual 3 of 3
User Manual 3 of 3
37
36
4.5 SPECIAL
4.5.1 SCHEDULE
This function helps organize your schedule and remind you of each schedule when it
is due.
4.5.1.1. LIST ALL
The function enables you to list and view all the schedules you input.
Press [ ][ ][ ][ ].
By pressing [ ], you can view more details about each schedule.
4.5.1.2. INPUT SCHEDULE
The function allows you to input your schedule and set up its alarm.
Press [ ][ ][ ][ ].
Select a date in the calendar and press [ ].
Select one of the following options.
Then press [ ].
4.5.1.3. PAUSE ALL SCHEDULE
The function puts all your schedules on hold.
Press [ ][ ][ ][ ].
Select “Yes” or “No” with the navigation key and press [ ].
Note : • [ ] / [ ] - month input.
• [ ] / [ ],numeric key - day input.
Note : • Alarm type : Press [ ] and select “one time” or “daily”.
• Schedule title : Press [ ] and input a schedule title.
• Phone number : Press [ ] input a phone number and reserve a call.
4.3.4 RINGER VOL
This function alerts you of an incoming call in various modes as follows.
Press [ ][ ][ ].
Setting ringer volume with the navigation key.
Press [ ].
4.4 TIMER
This function helps you to check the talk time and manage your calling within your
financial limit. There are 4 timers available in the phone.
4.4.1 LAST CALL
The talk time of last call is displayed.
Press [ ][ ][ ].
4.4.2 ALL CALLS
The talk time of all incoming and outgoing calls is displayed, web access calls
excluded.
Press [ ][ ][ ].
4.4.3 HOME CALLS
The talk time of all calls made within Home area is displayed.
Press [ ][ ][ ].
4.4.4 ROAM CALLS
The talk time of roaming calls is displayed.
Press [ ][ ][ ].
39
38
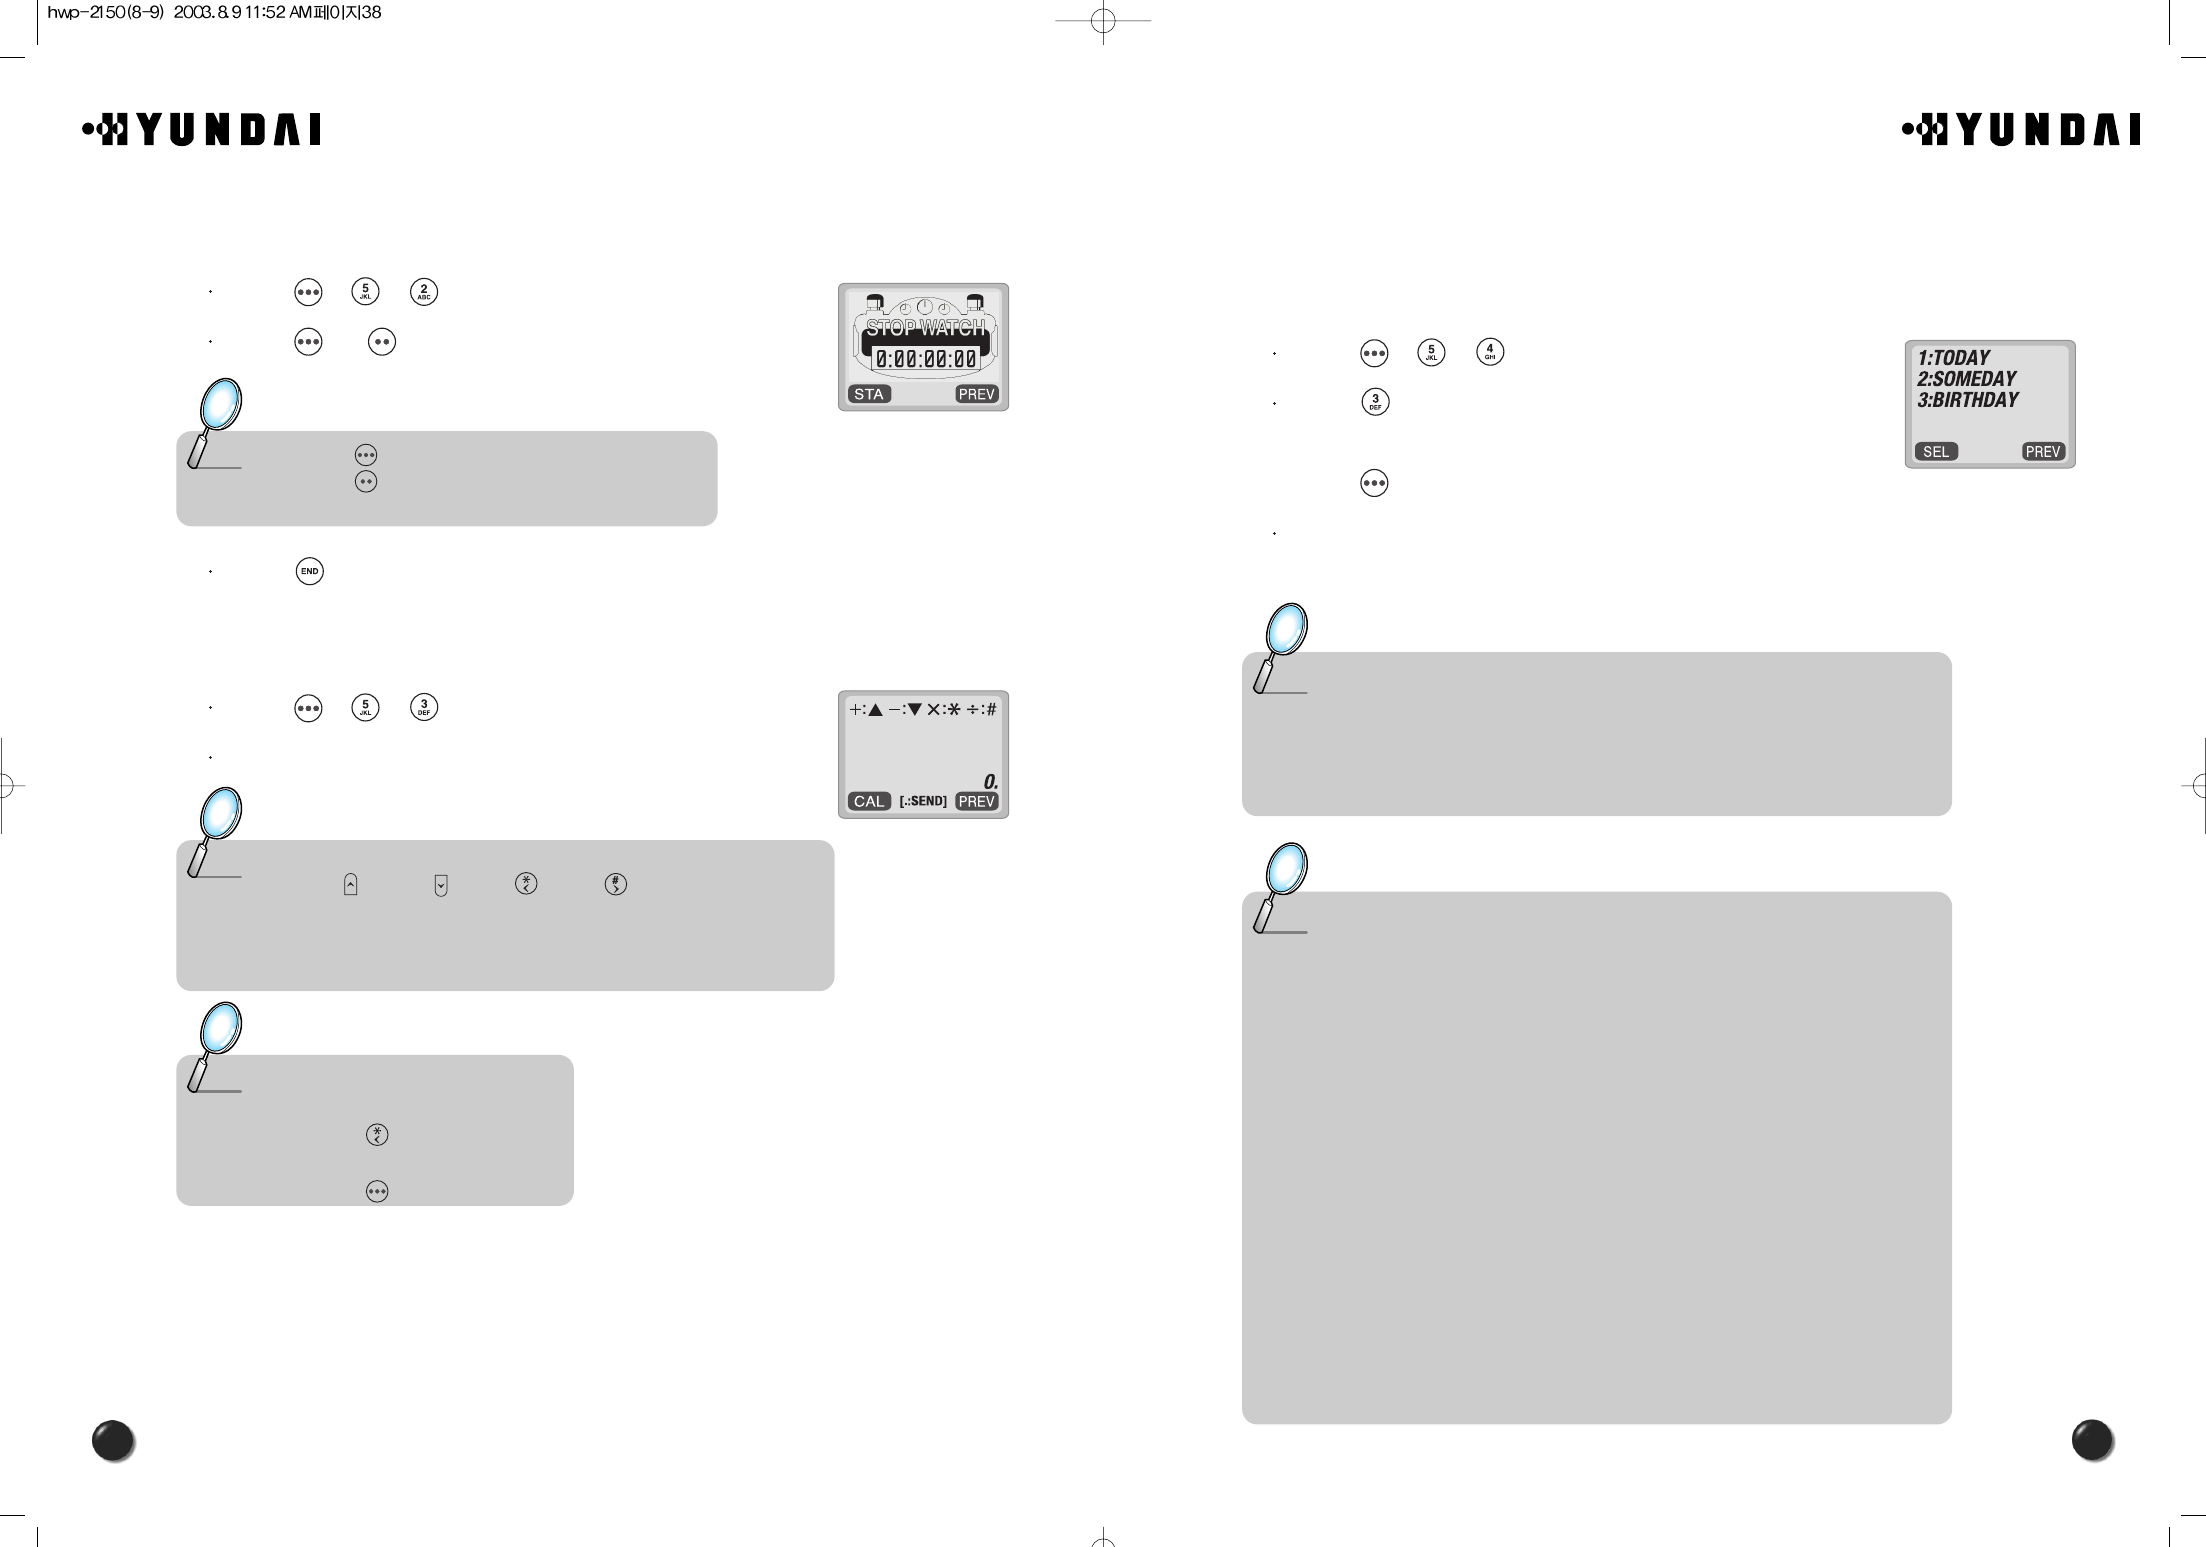
4.5.4 BIO-RHYTHM
This function informs you of your physical, emotional and intelligent condition for
today or some day. Please make sure to input your birthday before you use this
function.
Press [ ][ ][ ].
Press [ ].
Enter your birthday in year/month/day and then,
press [ ].
Select “Today” to check out your biorhythm for today or
“Someday” to check out your biorhythm for a specific day.
Note : • The biorhythm functions only when the phone can synchronize with the
network system.
• You cannot enter a date ealier than your birthday to check out the biorhythm
for the specific date.
• You cannot enter your birthday later than today, either.
Note : • What is the biorhythm?
Biorhythm is a life rhythm that consists of three rhythm curves, each of
which is a physical, emotional and intelligent one. The rhythm will
match up to your condition from birth to death.
• How does it work?
You will see a physical,emotional,and intelligent quotient with a number
indicating how many days have passed from birth to date.
The biorhythm is displayed on the upper portion of the screen.
1. Physical rhythm
The physical rhythm controls your physical condition in a cycle of 23
days, such as resistance to diseases, muscle strength, agility, speed,
physiology, and so on.
2. Emotional rhythm.
The emotional rhythm manages creativity, sensitivity, recognition and
human nature in a cycle of 28 days.
3. Intelligent rhythm.
The intelligent rhythm affects our susceptibility to fright, acceptance of
knowledge, logical and analytic power, and memory in a cycle of 33.
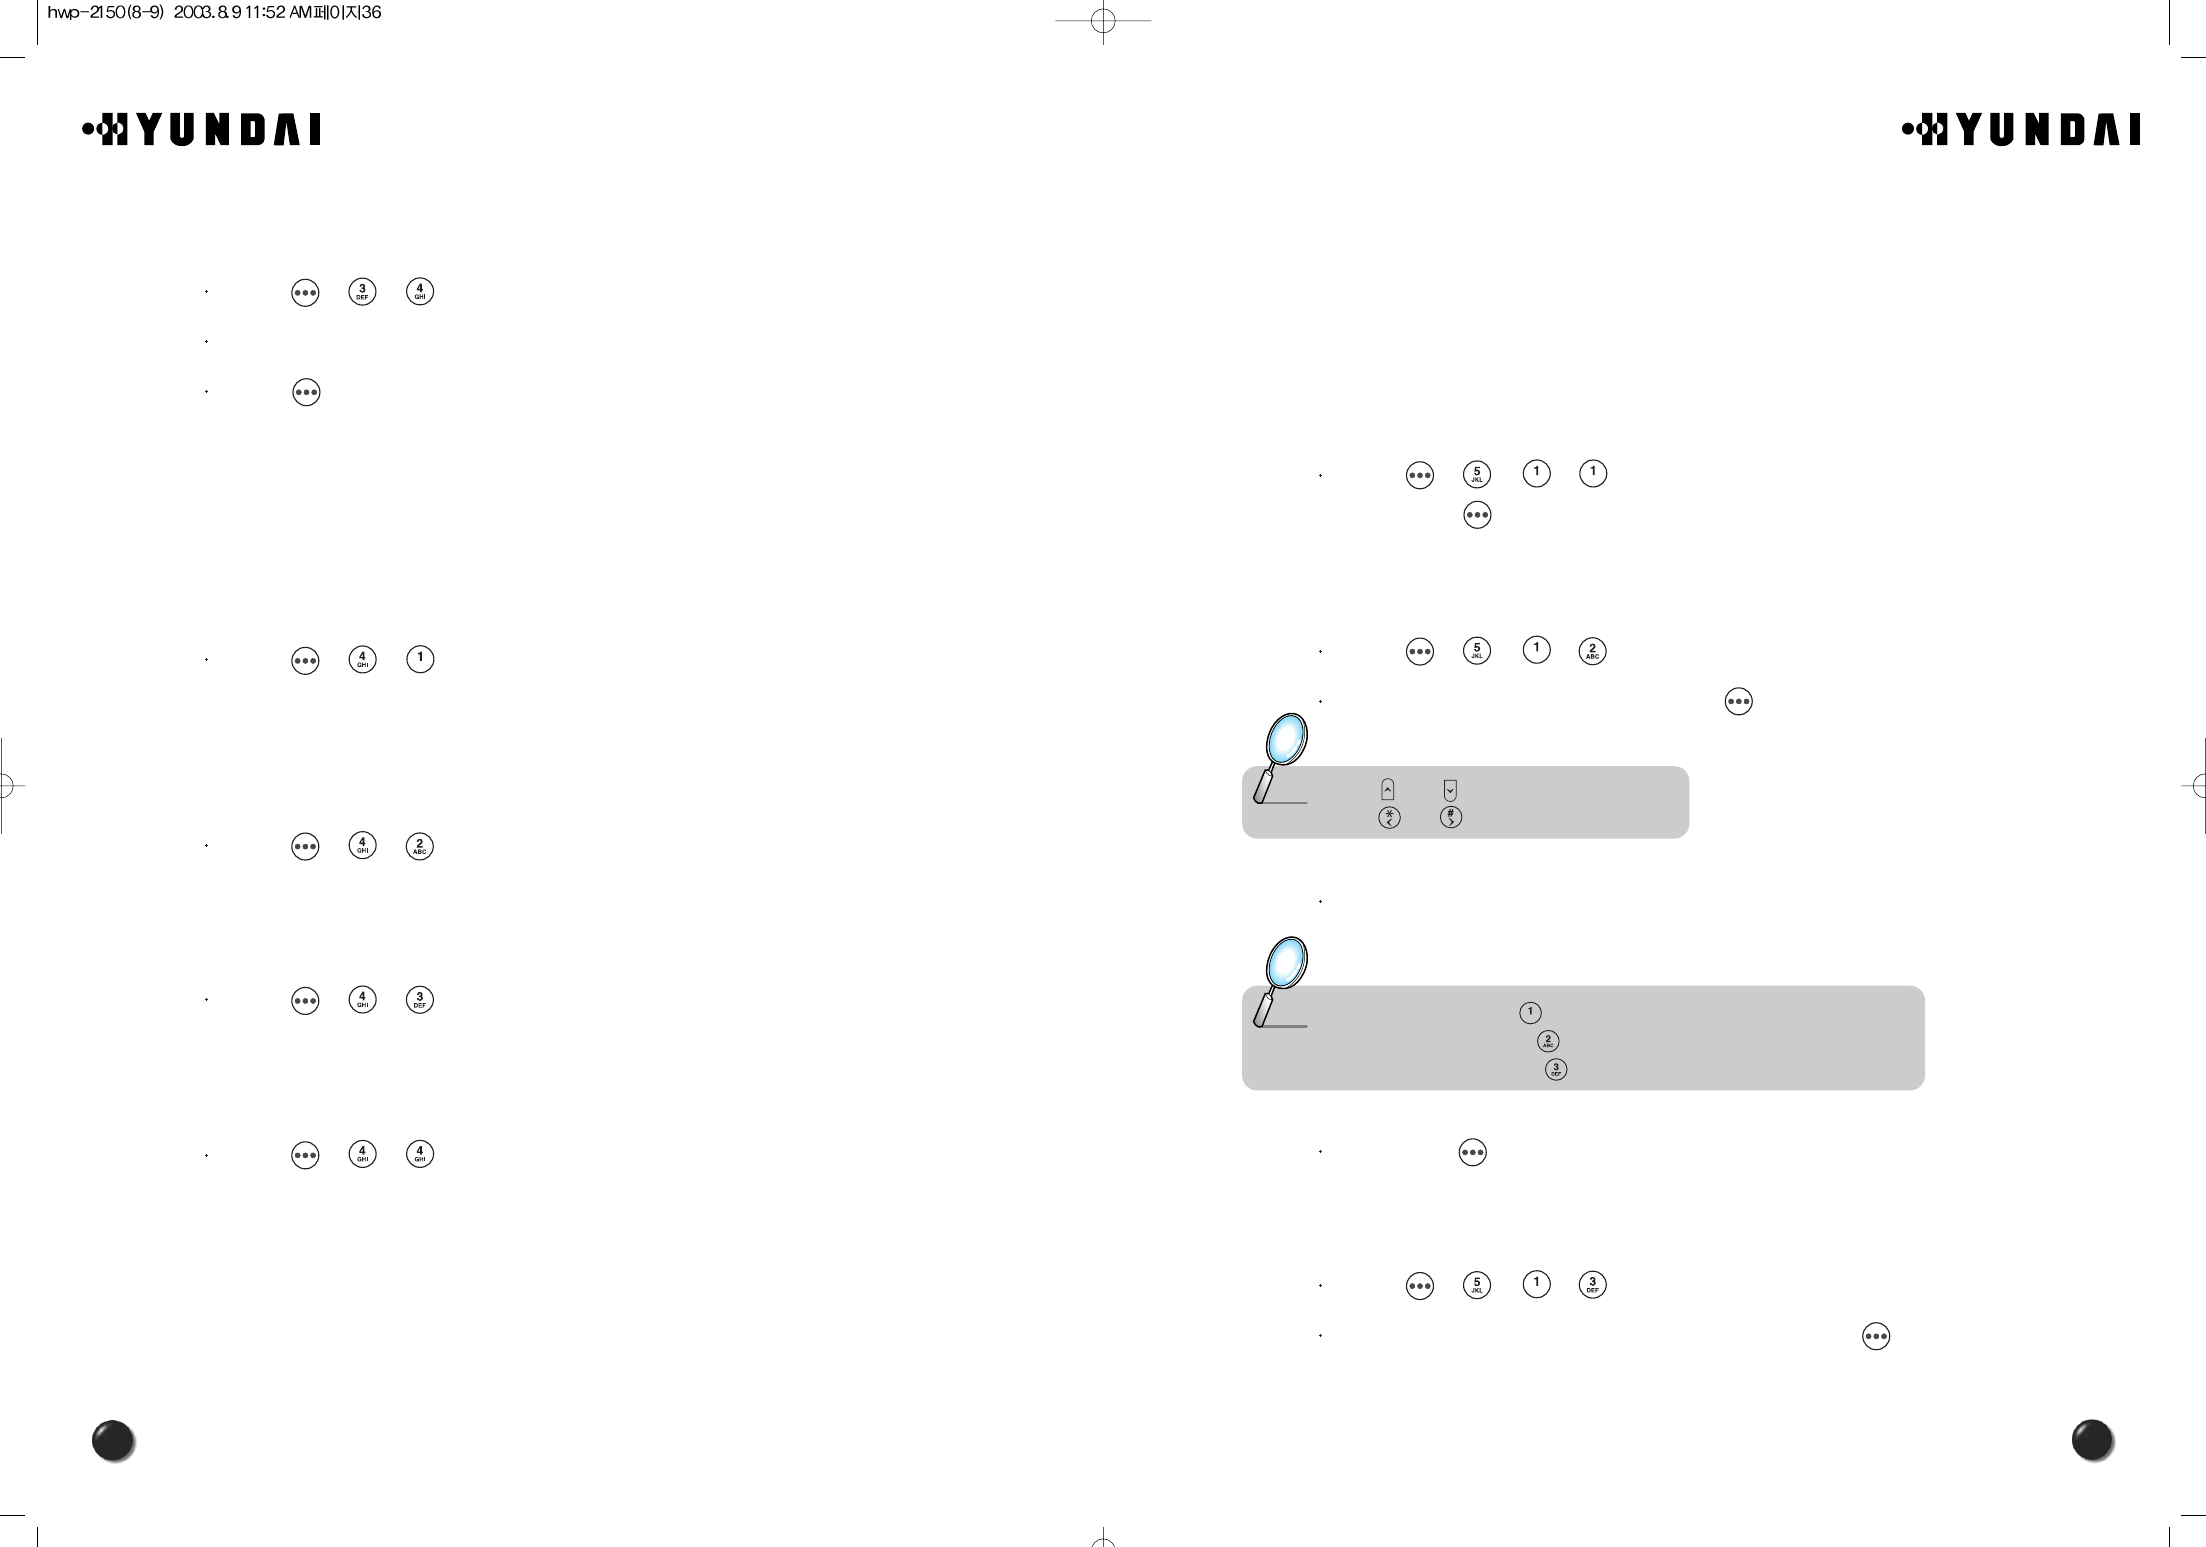
4.5.2 STOPWATCH
This function enables you to measure a time period.
Press [ ][ ][ ].
Press [ ] / [ ] to use the stopwatch.
Press [ ] to exit and return to the initial display.
4.5.3 CALCULATOR
This function enables you to add, subtract, multiply and divide.
Press [ ][ ][ ].
Using the calculator.
Note : • Press [ ] to start or stop.
• Press [ ] for Split/Release/Initial/Previous.
• The time unit is displayed in a 100th of a second.
Note : • Definitions
ם: [ ], מ: [ ], ן: [ ], נ: [ ]
• You can enter up to 8 integer digits.
• There is no way to enter a decimal point.
• To express a negative number,you subtract its absolute value from 0.
To calculate 128 X32 =
1. Enter 128
2. Press [ ]
3. Enter 32
4. Press [ ] to calculate it.
41
40
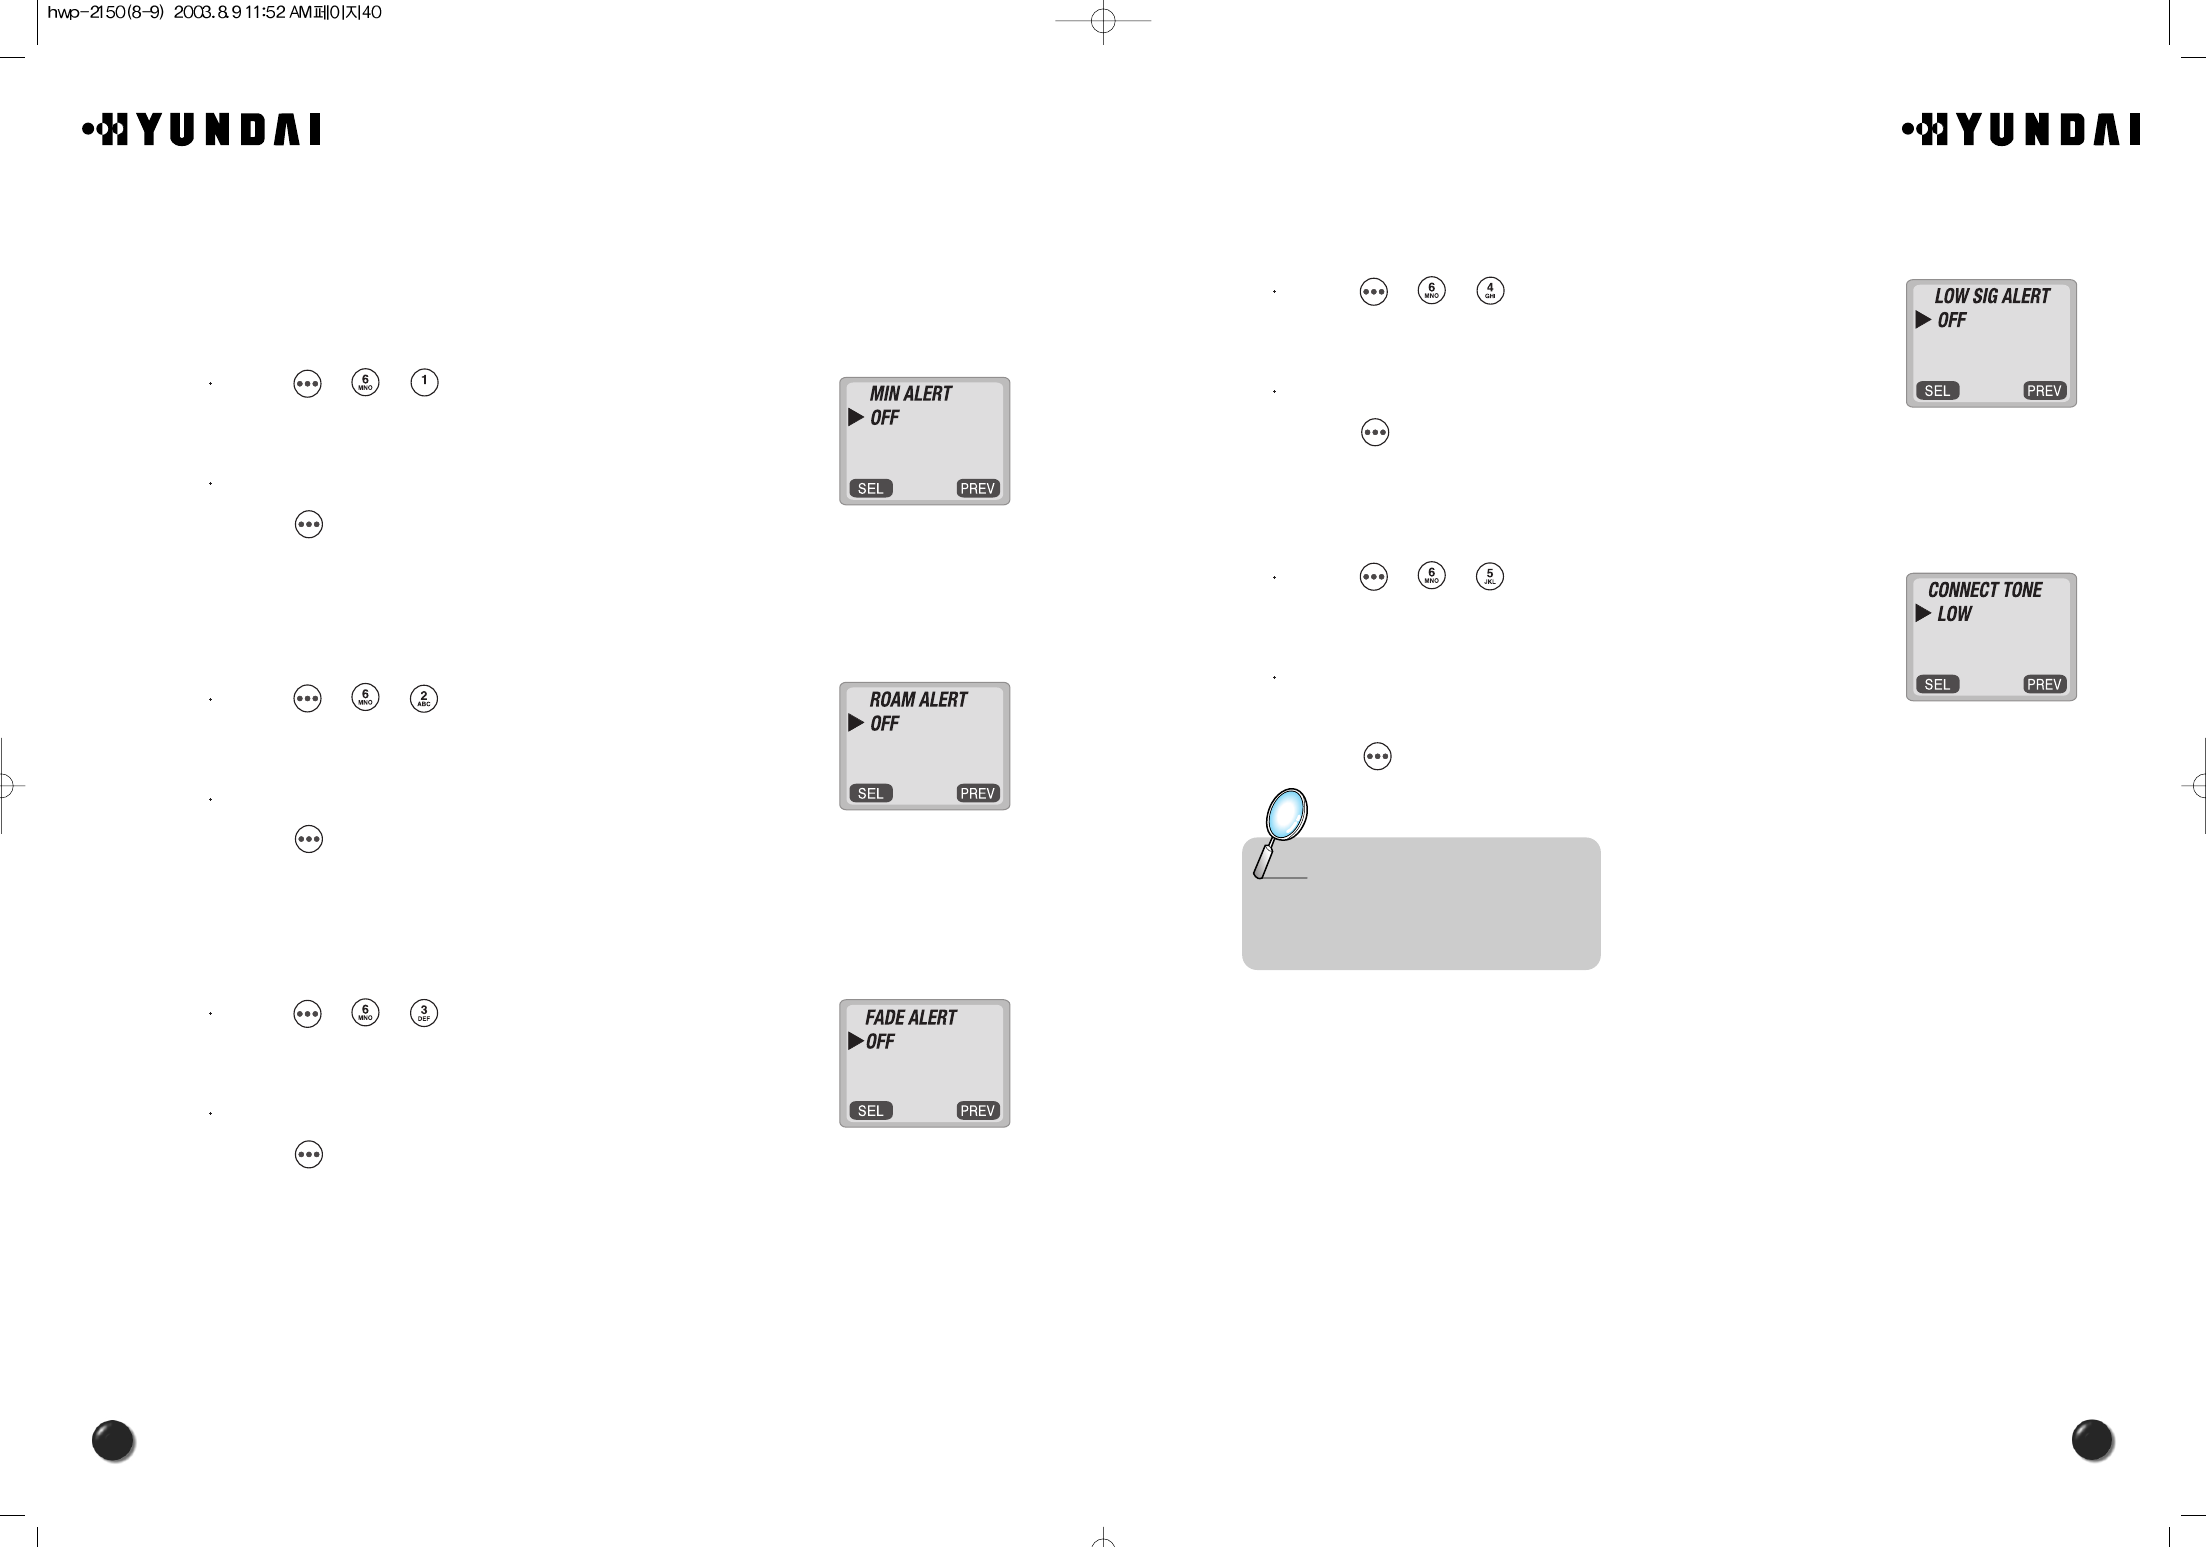
4.6.4 LOW SIGNAL ALERT
This function sounds an alert when you have weak signal strength during a call.
Press [ ][ ][ ].
Select “OFF” or “ON” with the navigation key and
press [ ] to save it.
4.6.5 CONNECT ALERT
This function notifies you in different types that you have made a call successfully.
Press [ ][ ][ ].
Select one of the following options (OFF, LOW, MID,
HIGH) with the navigation key.
Press [ ] to save it.
Note : • OFF : Alert Off
• LOW : Calm Alert
• MID : Moderate Alert
• HIGH : Loud Alert
4.6 ALERTS
4.6.1 MIN ALERT
With this function on, the phone sounds an alert every minute to keep you aware of
the time passage while you are on a call.
Press [ ][ ][ ].
Select “OFF” or “ON” with the navigation key and
press [ ] to save it.
4.6.2 ROAM ALERT
This function alerts you when you go in and out of a service area and enter a
roaming service area.
Press [ ][ ][ ].
Select “OFF” or “ON” with the navigation key and
press [ ] to save it.
4.6.3 FADE ALERT
This function sounds an alert when you enter an area in which you cannot make a
call due to poor signal strength. The alert sounds in standby mode.
Press [ ][ ][ ].
Select “OFF” or “ON” with the navigation key and
press [ ] to save it.
42
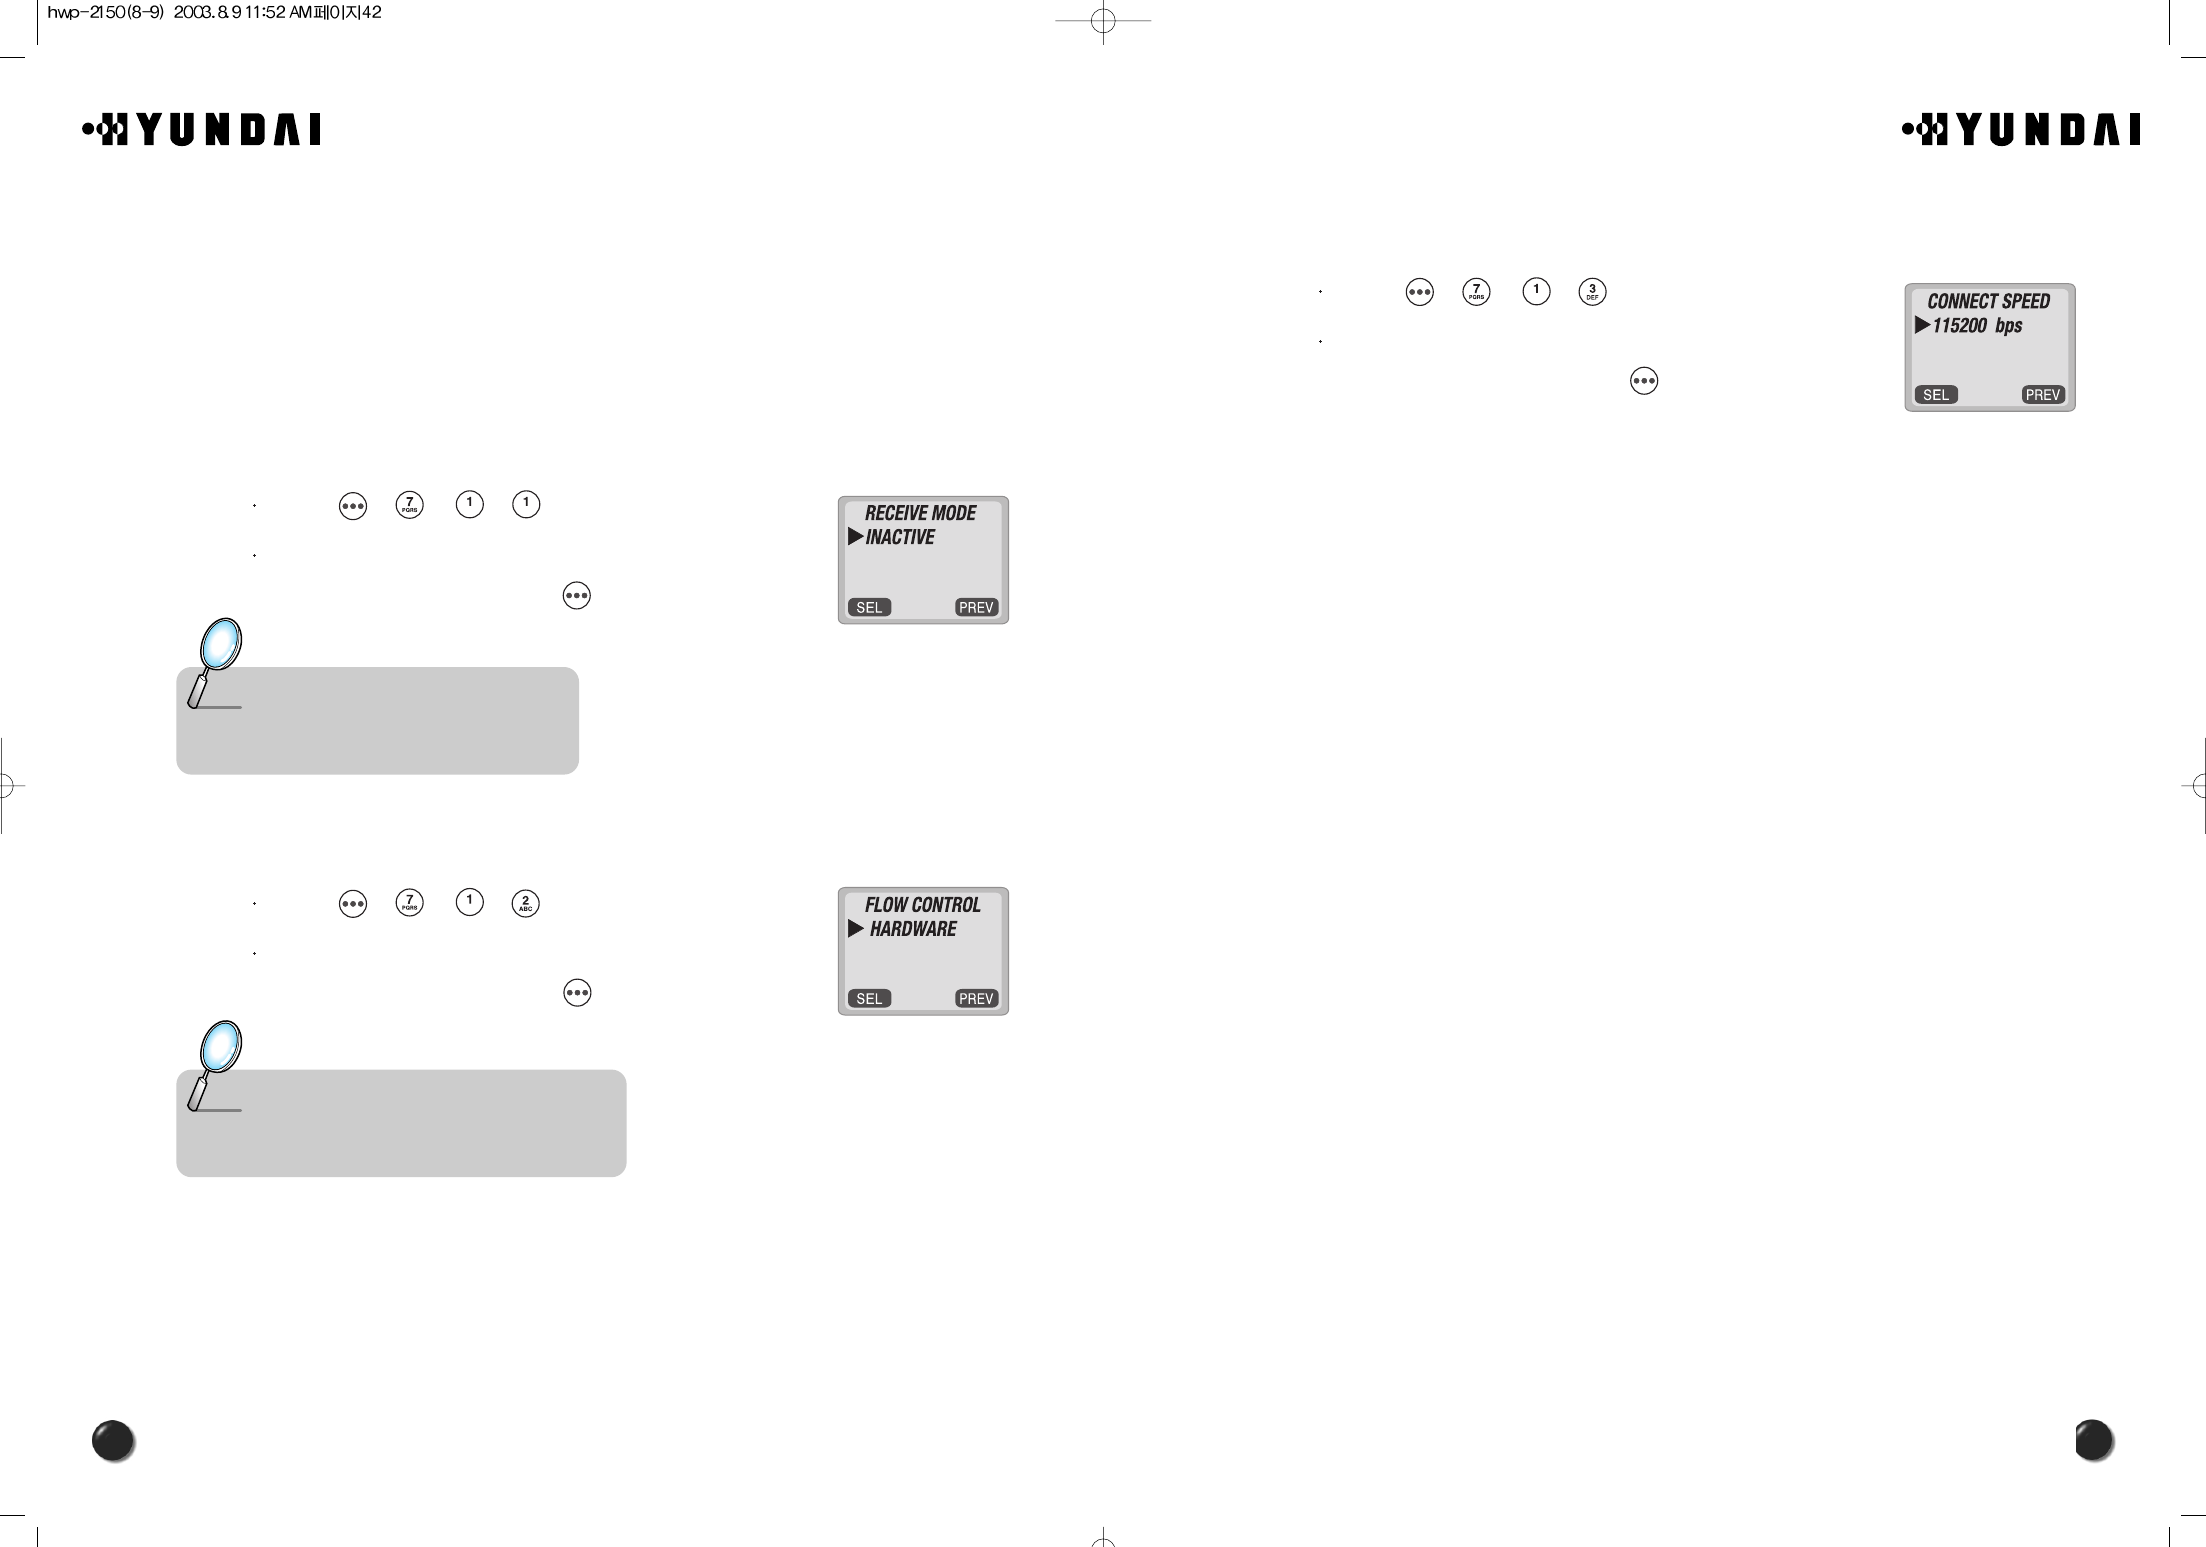
4.7.1.3. CONNECT SPEED
This function controls the transmission speed between a phone and a PC.
Press [ ][ ][ ][ ].
Select one from 19200/ 115200/ 230400 bps with
the navigation key and press [ ] to save it.
4.7 DATA SERVICE
The phone, HWP-2150 allows for data service and voice recognition with various
enhanced features.
4.7.1 DATA SERVICE
4.7.1.1. RECEIVE MODE
You are to set the receive mode lest the phone should function as a wireless
modem or fax improperly when connected to a PC.
Press [ ][ ][ ][ ].
Select one from INACTIVE/ DATA/ FAX with
the navigation key and press [ ].
4.7.1.2. FLOW CONTROL
This function allows you to control data flow when you receive data service.
Press [ ][ ][ ][ ].
Select either “HARDWARE” or “SOFTWARE” with
the navigation key and press [ ] to save it.
Note : • INACTIVE : In use of the phone
• DATA : For use of data
• FAX : In use of a fax
Note : • HARDWARE : Hardware flow control
• SOFTWARE : Software flow control
(Recommend : Hardware flow control)
45
44
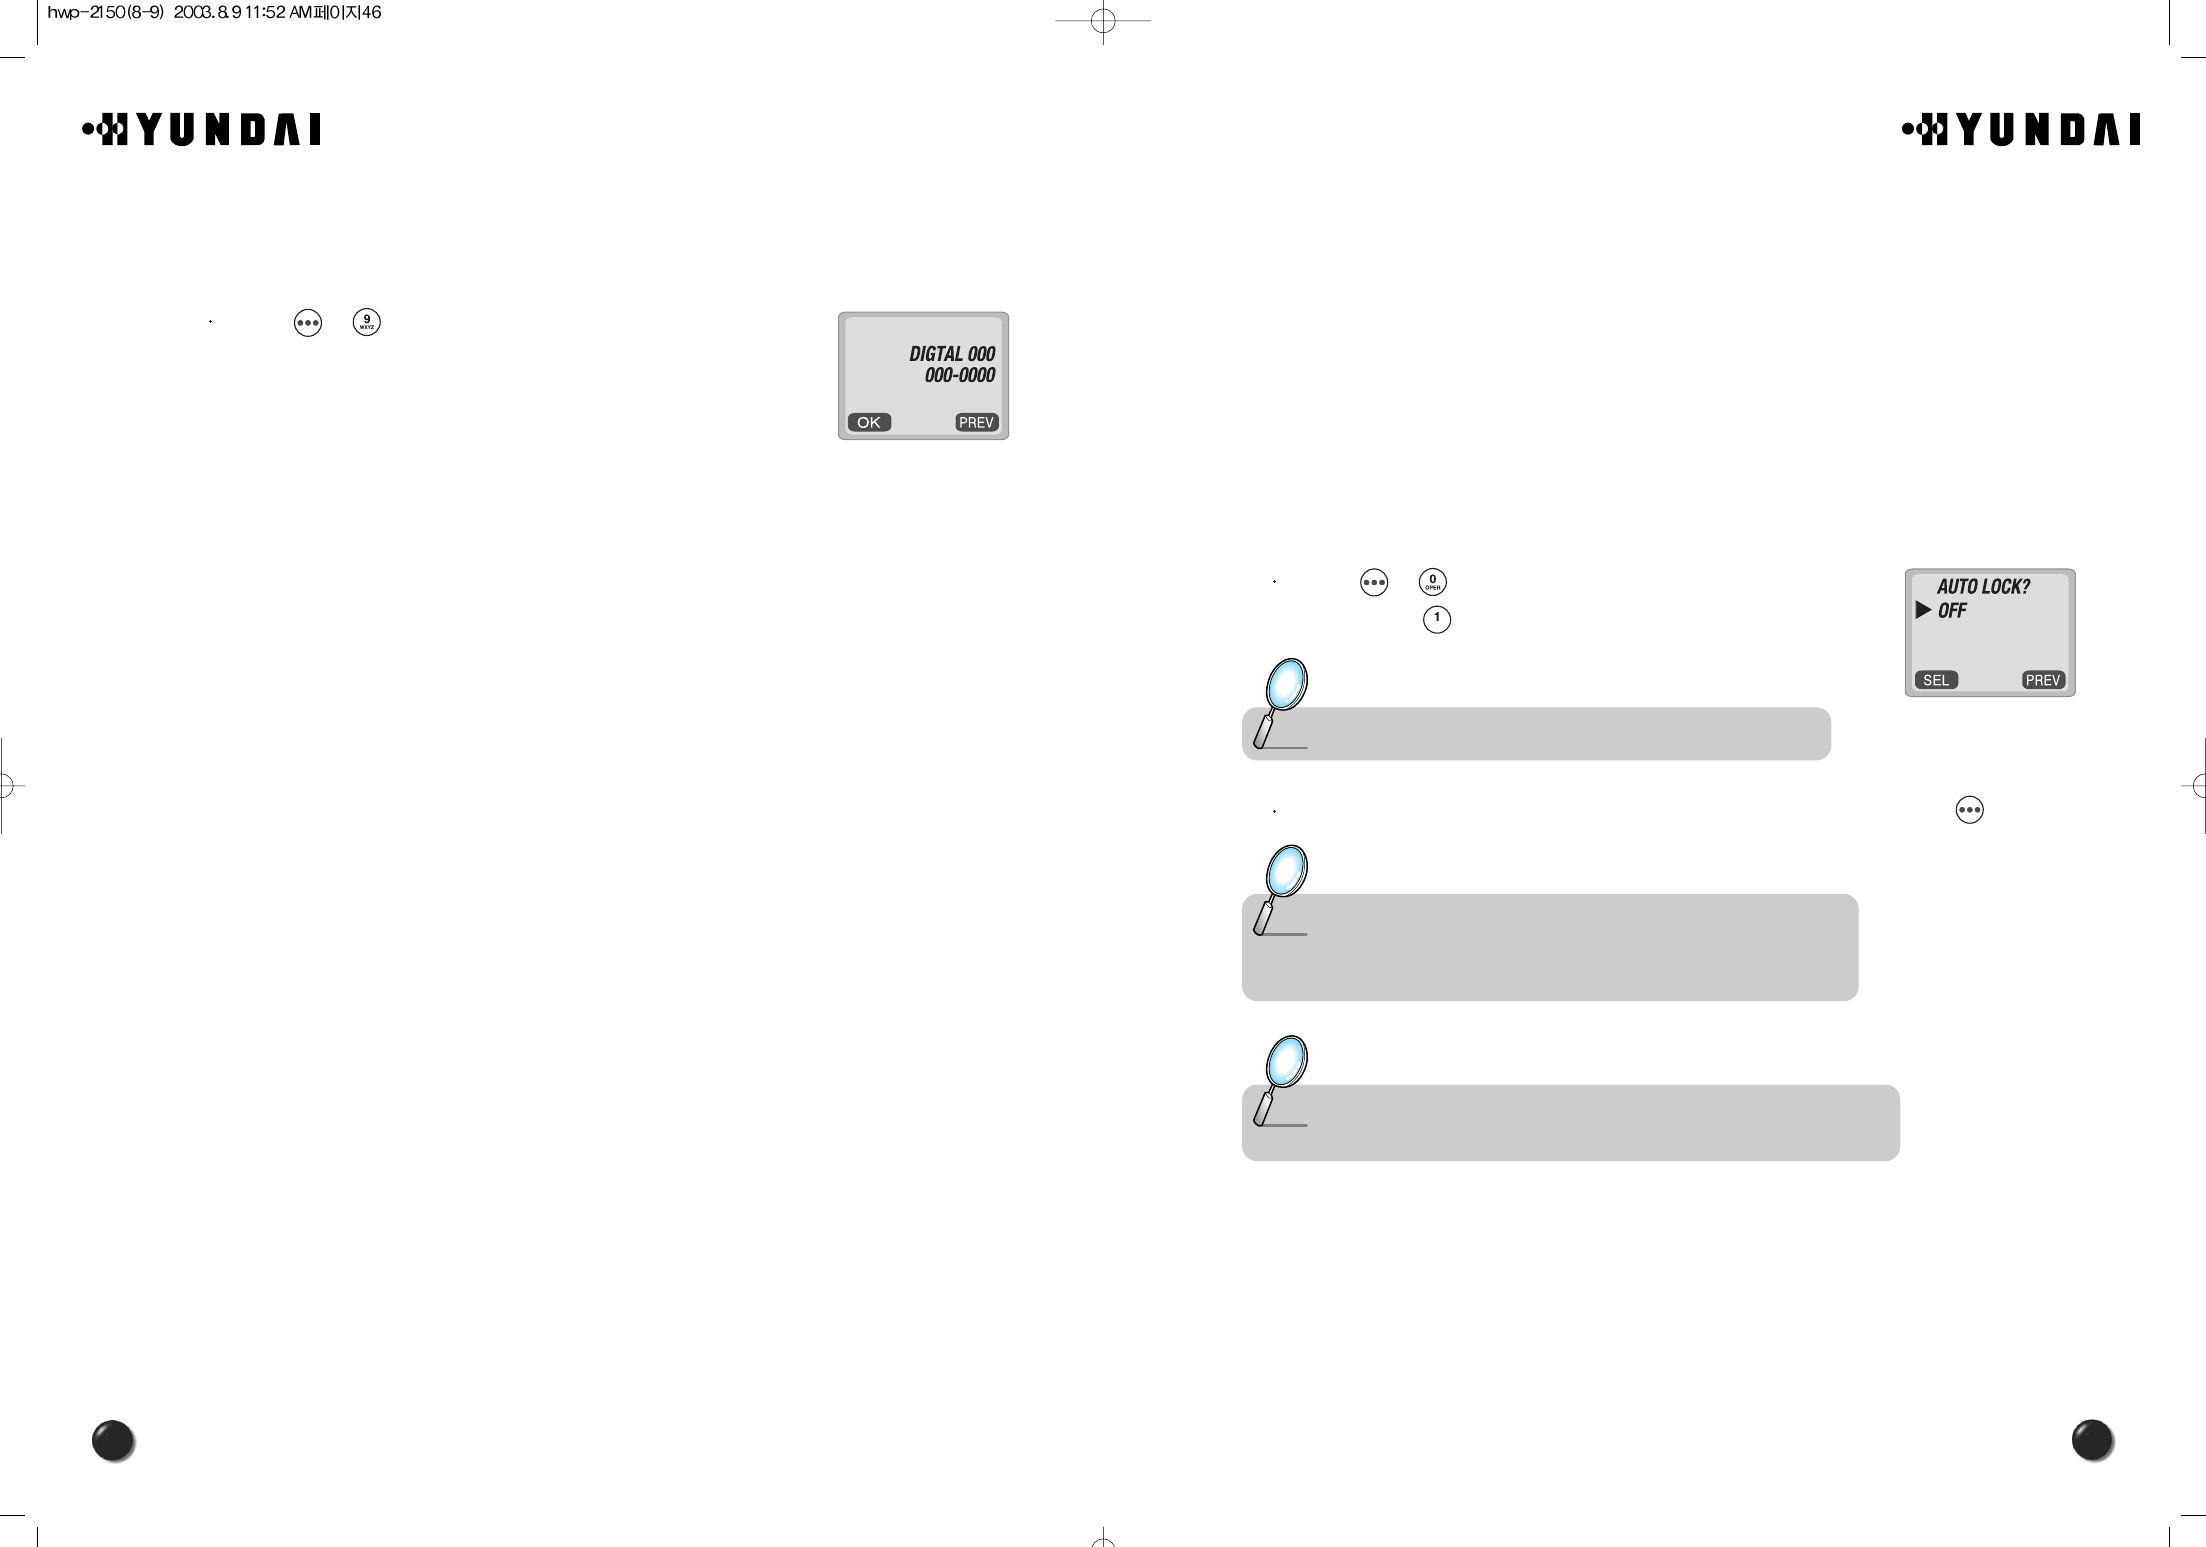
4.8.3 AUTO NAM
The function allows your phone switch to the proper NAM for the area where you
are, when you have multiple NAM registrations.
Press [ ][ ][ ].
Select “YES” or “NO” with the navigation key and
press [ ] to save it.
4.8.4 PRL ID
The function permits you to view the PRL (Preferred Roaming List) version that is
programmed in your phone.
Press [ ][ ][ ].
4.8 CHANGE SYSTEM
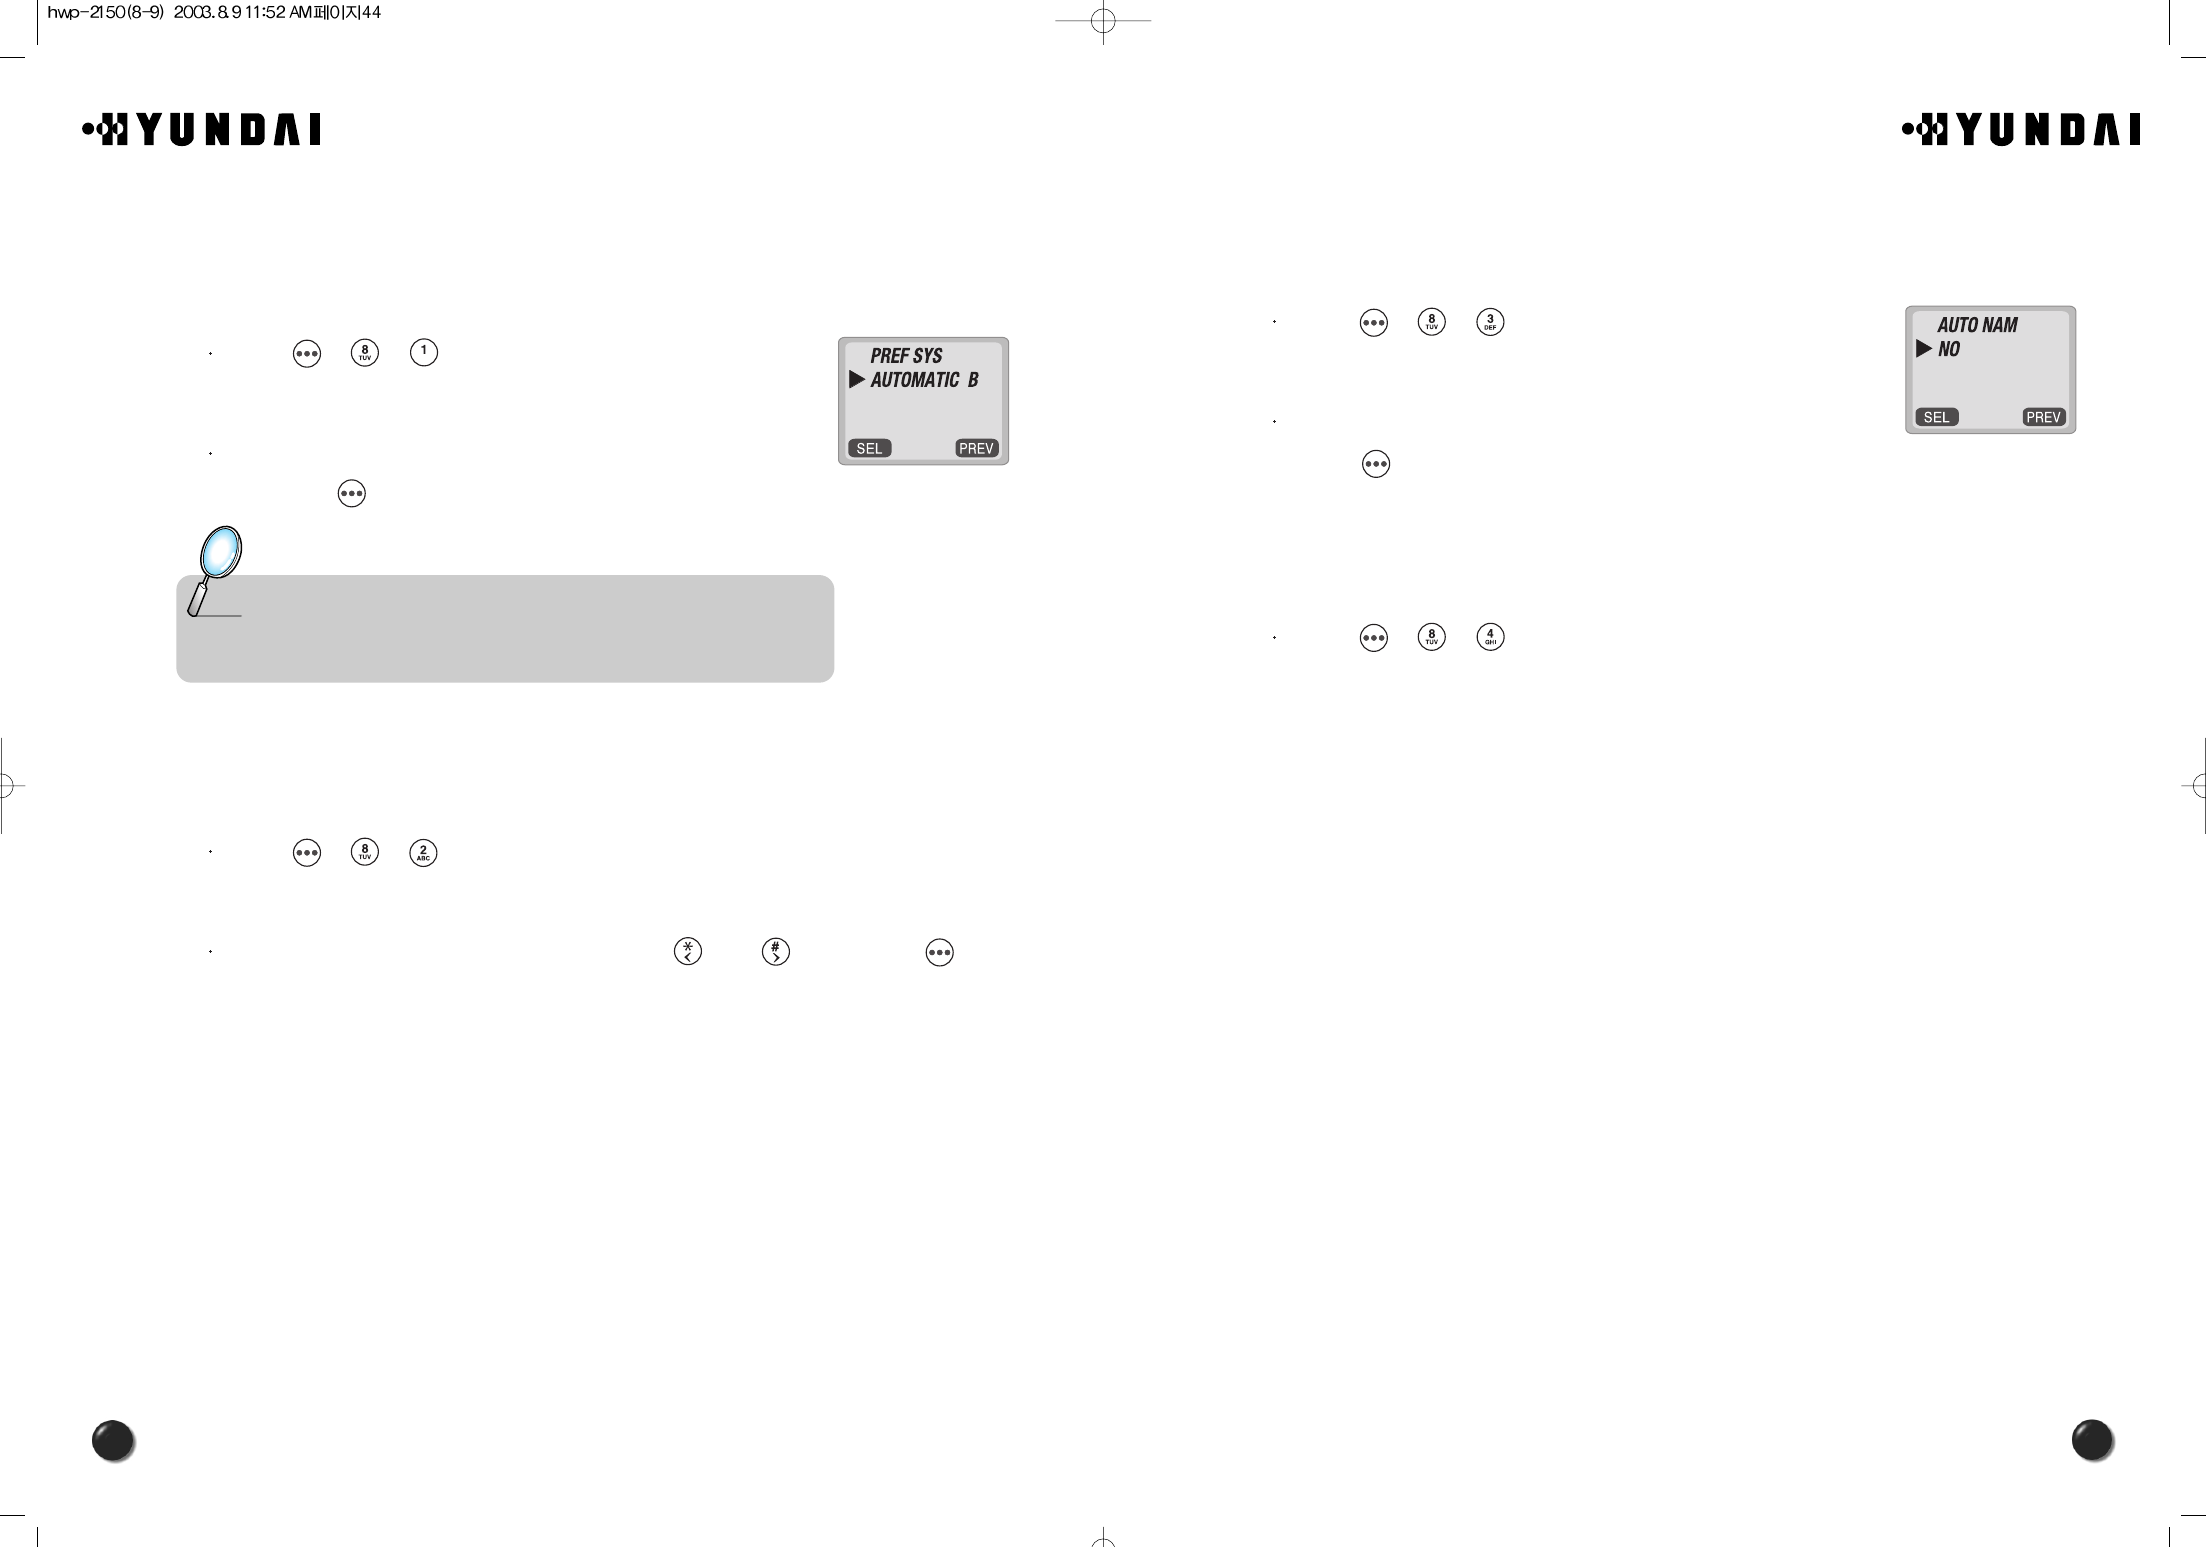
4.8.1 PREF SYSTEM
This is a function to select the Preferred System.
Press [ ][ ][ ].
Select one of the following options with the navigation key
and press [ ].
4.8.2 CHANGE NAM
The function enables you to change the NAM (Number Assignment Modules) being
used by your phone when you have multiple registrations.
Press [ ][ ][ ].
Select a NAM (NAM1/NAM2) with the keys of [ ] or [ ] and press [ ].
Note : • Auto A :Scan the radio channels based on the Automatic A setting.
• Auto B :Scan the radio channels based on the Automatic B setting.
• Home only :Only within your home area or home affiliated area.
47
46
5. SECURITY FEATURES
The chapter will show you the ways to impose various kinds of restrictions on outgoing
calls to keep from unintended use by others.You will also learn to put restrictions on the
features.The inadvertent use could result in much loss of data in your phonebook and
give rise to unwanted changes to your customized features.
5.1 TO LOCK YOUR PHONE
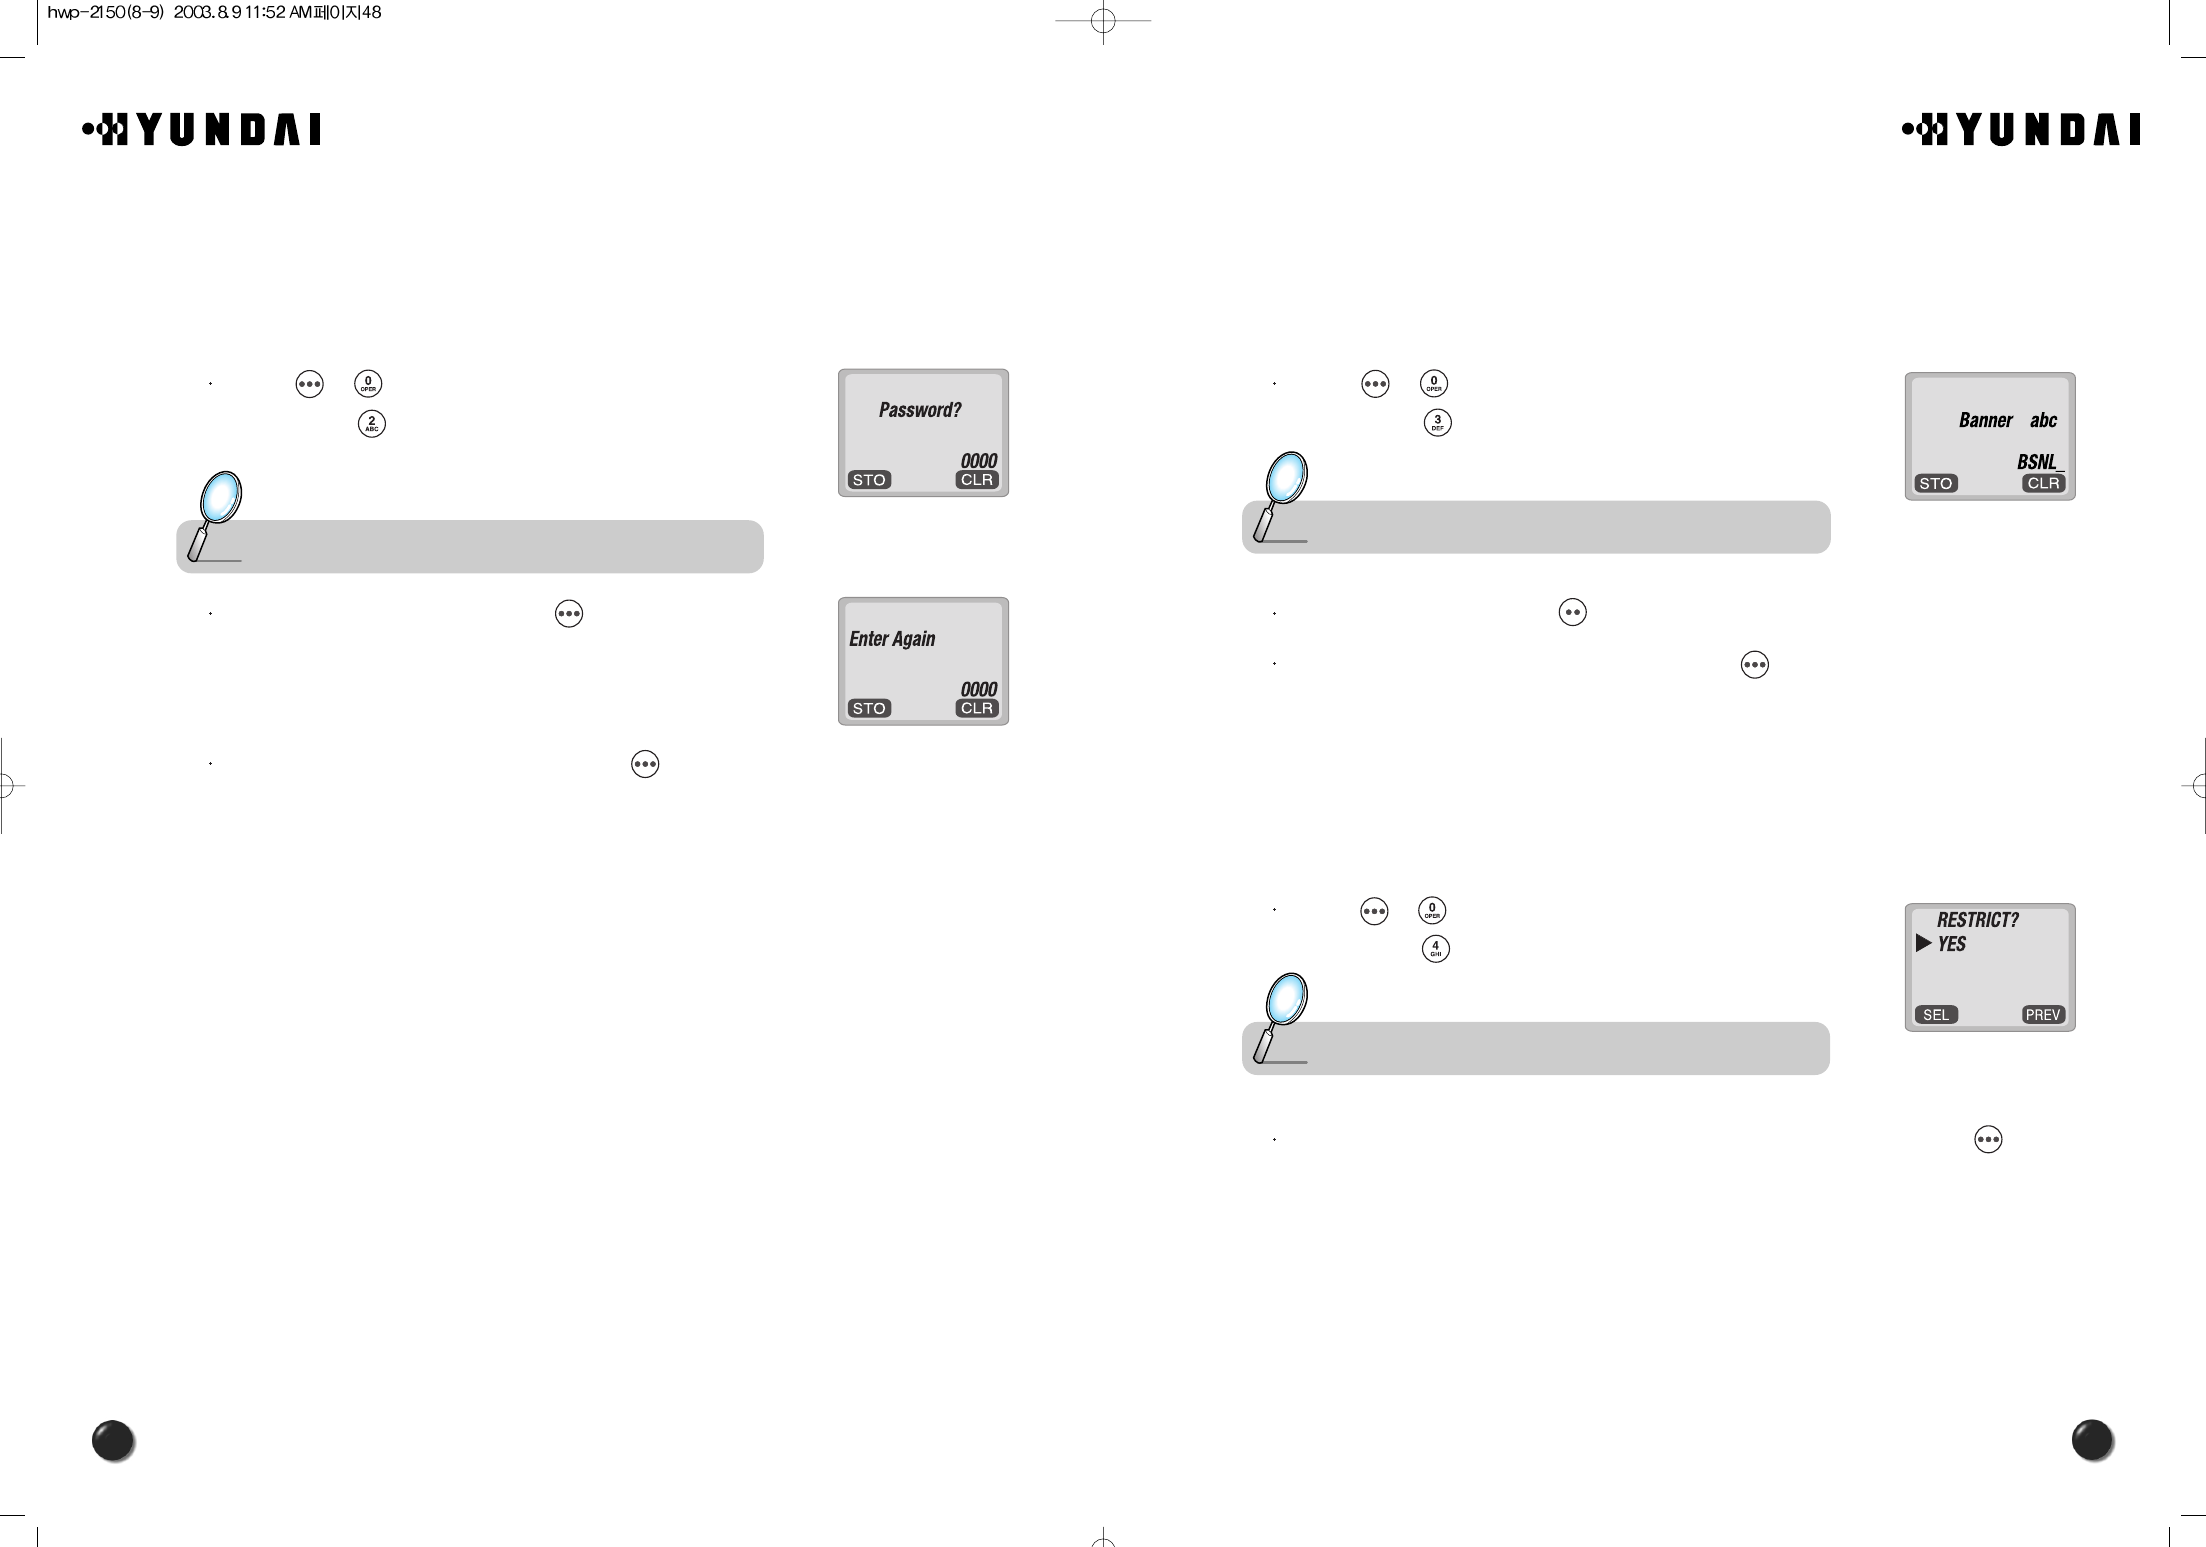
5.1.1 AUTO LOCK
The function prevents others from using your phone without permission. You can not
dial a number and access the menu when it is locked.
Press [ ][ ] and enter “password”.
Then, press [ ].
Select one of the following options with the navigation key and press [ ].
Note : The default password is the last 4 digit of your phone number.
Note : You can place an emergency call, receive an incoming call and enable
an alarm even when your phone is locked.
Note : • “POWER ON” : Lock your phone whenever it is turned on.
• “OFF” : Unlock your phone and leave it unlocked.
• “ON” : Lock your phone as it is.
4.9 MY NUMBER
4.9.1 CHECKING MY NUMBER
This function shows you the phone number of your phone.
Press [ ][ ].
48
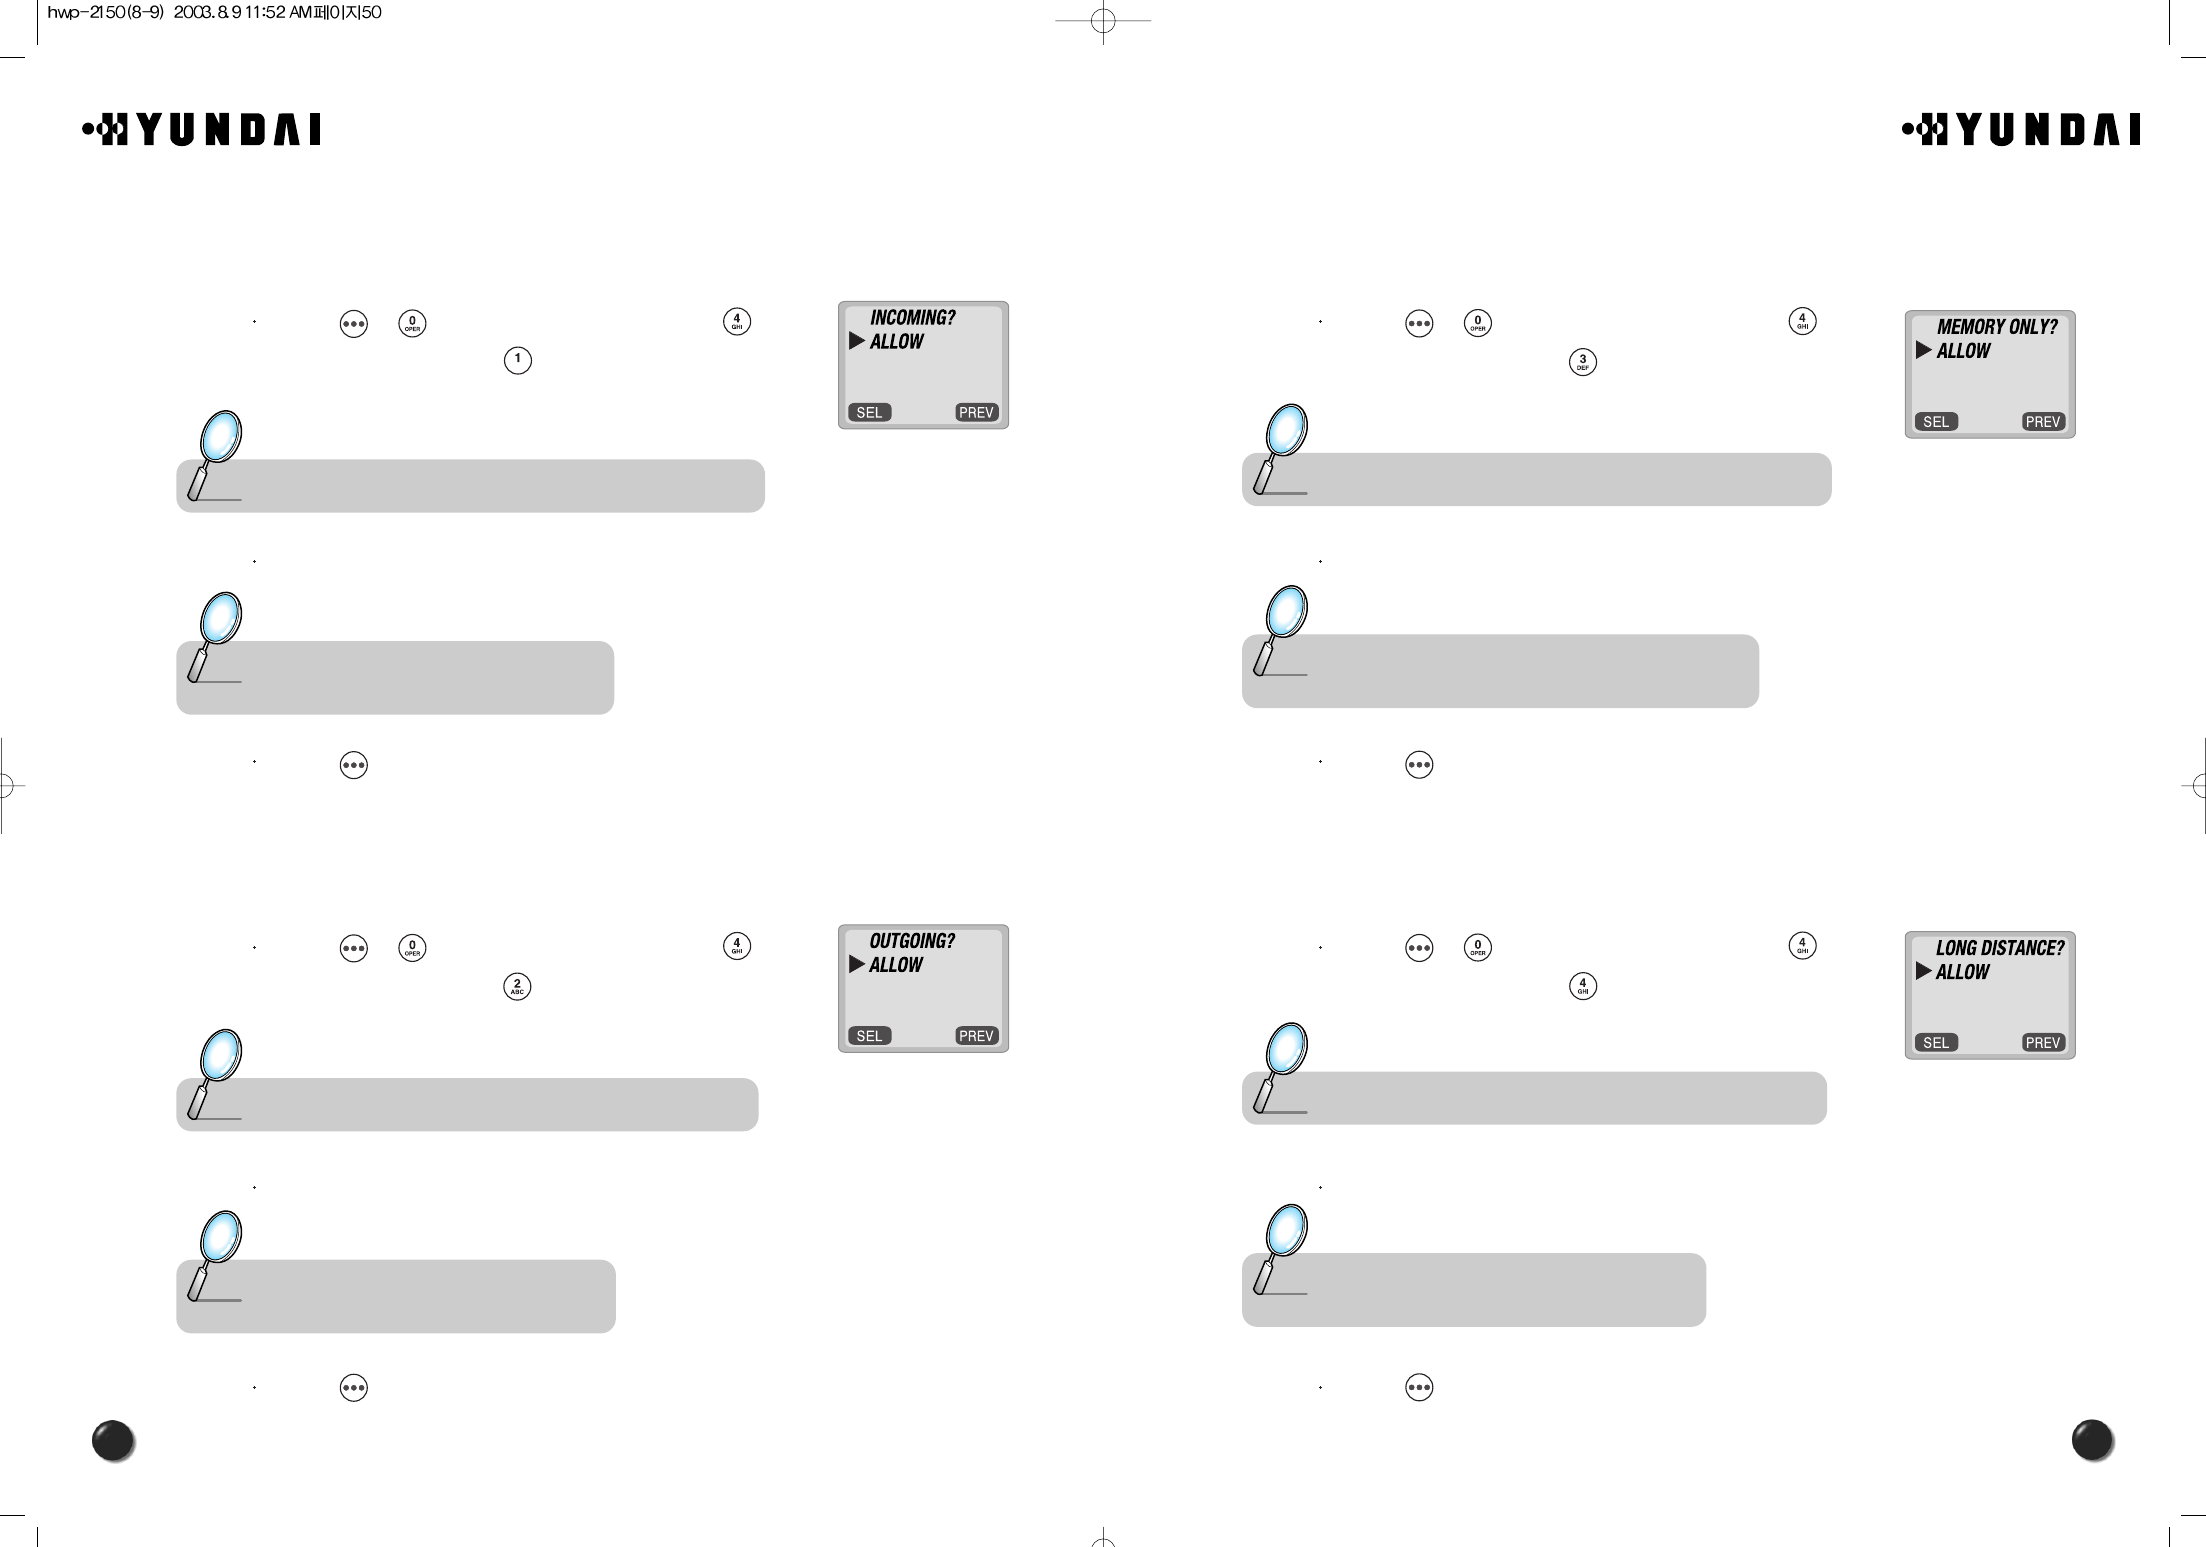
5.3 TO CHANGE YOUR BANNER
5.3.1 CHANGE BANNER
The function allows you to change the banner on the screen.
The banner can be 16 digits long or less.
Press [ ][ ] and enter “password”.
Then, press [ ].
Select a input mode, using [ ].
Enter a new banner to fit your taste and press [ ].
5.4 TO RESTRICT YOUR PHONE
5.4.1 RESTRICT
The function enables you to keep from unauthorized use of the phone and change of
its setting. There are 5 different restriction modes as follows.
Press [ ][ ] and enter “password”.
Then, press [ ].
Select “Yes” to enable the restriction with the navigation key and press [ ].
Note : The default password is the last 4 digit of your phone number.
Note : The default password is the last 4 digit of your phone number.
5.2 TO CHANGE YOUR CODE
5.2.1 CHANGE CODE
This function is used to change the 4-digit lock code.
The lock code enables you to have access to various features.
Press [ ][ ] and enter “password”.
Then, press [ ].
Enter a new password and press [ ].
Enter the new password again and press [ ].
Note : The default password is the last 4 digit of your phone number.
51
50
5.4.1.3. MEMORY
This function keeps from accessing your phonebook and adding changes to
your phonebook.
Press [ ][ ] and enter “password”, then [ ].
Select “Yes” and press [ ].
Select “Allow” or “Restrict” with the navigation key.
Press [ ].
5.4.1.4. LONG DISTANCE CALLS
This function restricts use of long distance calls so, the phone is limited to the
use of callings within an area.
Press [ ][ ] and enter “password”, then [ ].
Select “Yes” and press [ ].
Select “Allow” or “Restrict” with the navigation key.
Press [ ].
Note : The default password is the last 4 digit of your phone number.
Note : • RESTRICT : Restrict an access to the phonebook.
• ALLOW : Allow an access to the phonebook.
Note : The default password is the last 4 digit of your phone number.
Note : • RESTRICT : Restrict a long distance call.
• ALLOW : Allow a long distance call.
5.4.1.1. INCOMING CALLS
With this function on, your phone cannot receive an incoming call while an
outgoing call can still be made.
Press [ ][ ] and enter “password”, then [ ].
Select “Yes” and press [ ].
Select “Allow” or “Restrict” with the navigation key.
Press [ ].
5.4.1.2. OUTGOING CALLS
With this function on,you cannot make any outgoing calls except an
emergency call while you still can answer incoming calls.
Press [ ][ ] and enter “password”, then [ ].
Select “Yes” and press [ ].
Select “Allow” or “Restrict” with the navigation key.
Press [ ].
Note : The default password is the last 4 digit of your phone number.
Note : • RESTRICT : Restrict an incoming call.
• ALLOW : Allow an incoming call.
Note : The default password is the last 4 digit of your phone number.
Note : • RESTRICT : Restrict an outgoing call.
• ALLOW : Allow an outgoing call.
53
52
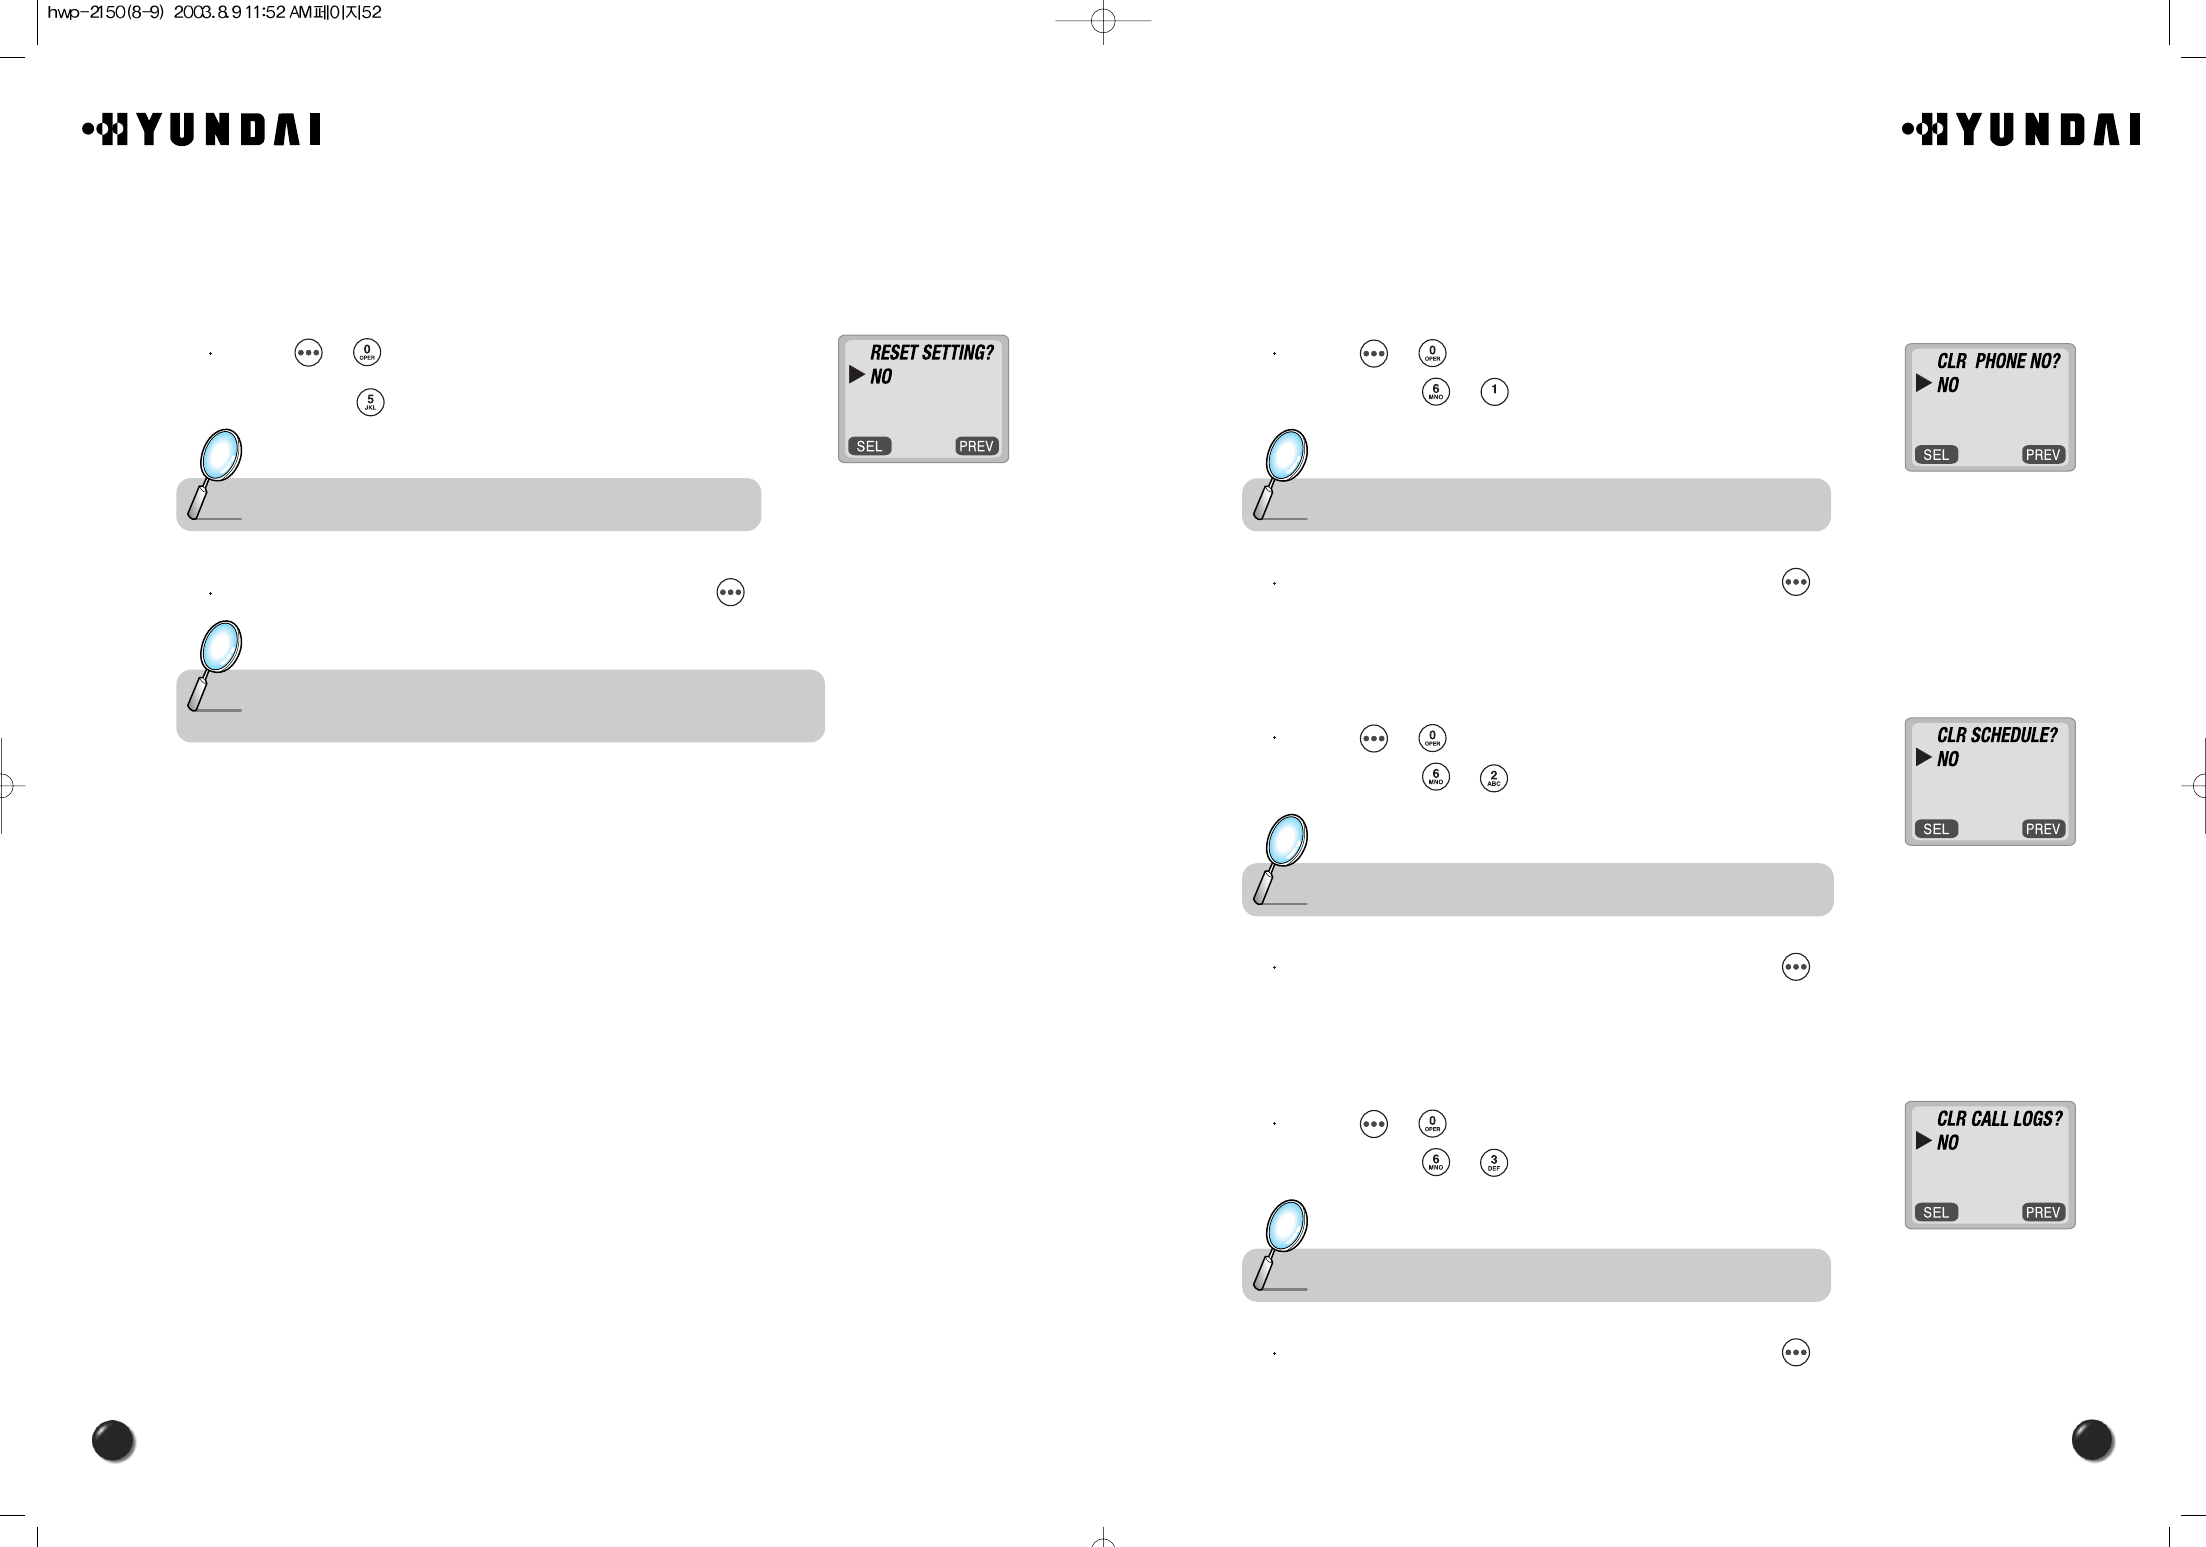
5.6 TO CLEAR YOUR MEMORY
5.6.1 CLEARING THE PHONEBOOK
This function clears up all the phonebook entries.
Press [ ][ ] and enter “password”.
Then, press [ ][ ].
Select “Yes” or “No” with the navigation key. Press [ ].
5.6.2 CLEARING SCHEDULES
This function clears the schedules.
Press [ ][ ] and enter “password”.
Then, press [ ][ ].
Select “Yes” or “No” with the navigation key. Press [ ].
5.6.3 CLEARING CALL LOGS
This function clears up all the dialed numbers in the call logs.
Press [ ][ ] and enter “password”.
Then, press [ ][ ].
Select “Yes” or “No” with the navigation key. Press [ ].
Note : The default password is the last 4 digit of your phone number.
Note : The default password is the last 4 digit of your phone number.
Note : The default password is the last 4 digit of your phone number.
5.5 TO RESET YOUR PHONE
5.5.1 RESET
This function allows you to reset your phone to the default.
Press [ ][ ] and enter “password”.
Then, press [ ].
Select “Yes” or “No” with the navigation key. Press [ ].
Note : The default password is the last 4 digit of your phone number.
Note : When you select “Yes ”,you will see “Reset ” on the display and your
phone turning to the standby mode.
55
54
6. VOICE MAIL AND TEXT MESSAGE
This chapter describes a function that sends and receives text messages and supports
voice mail notification.
The function is helping you stay connected all the time even when you are not available.
You will go through all the messaging features available on your phone.
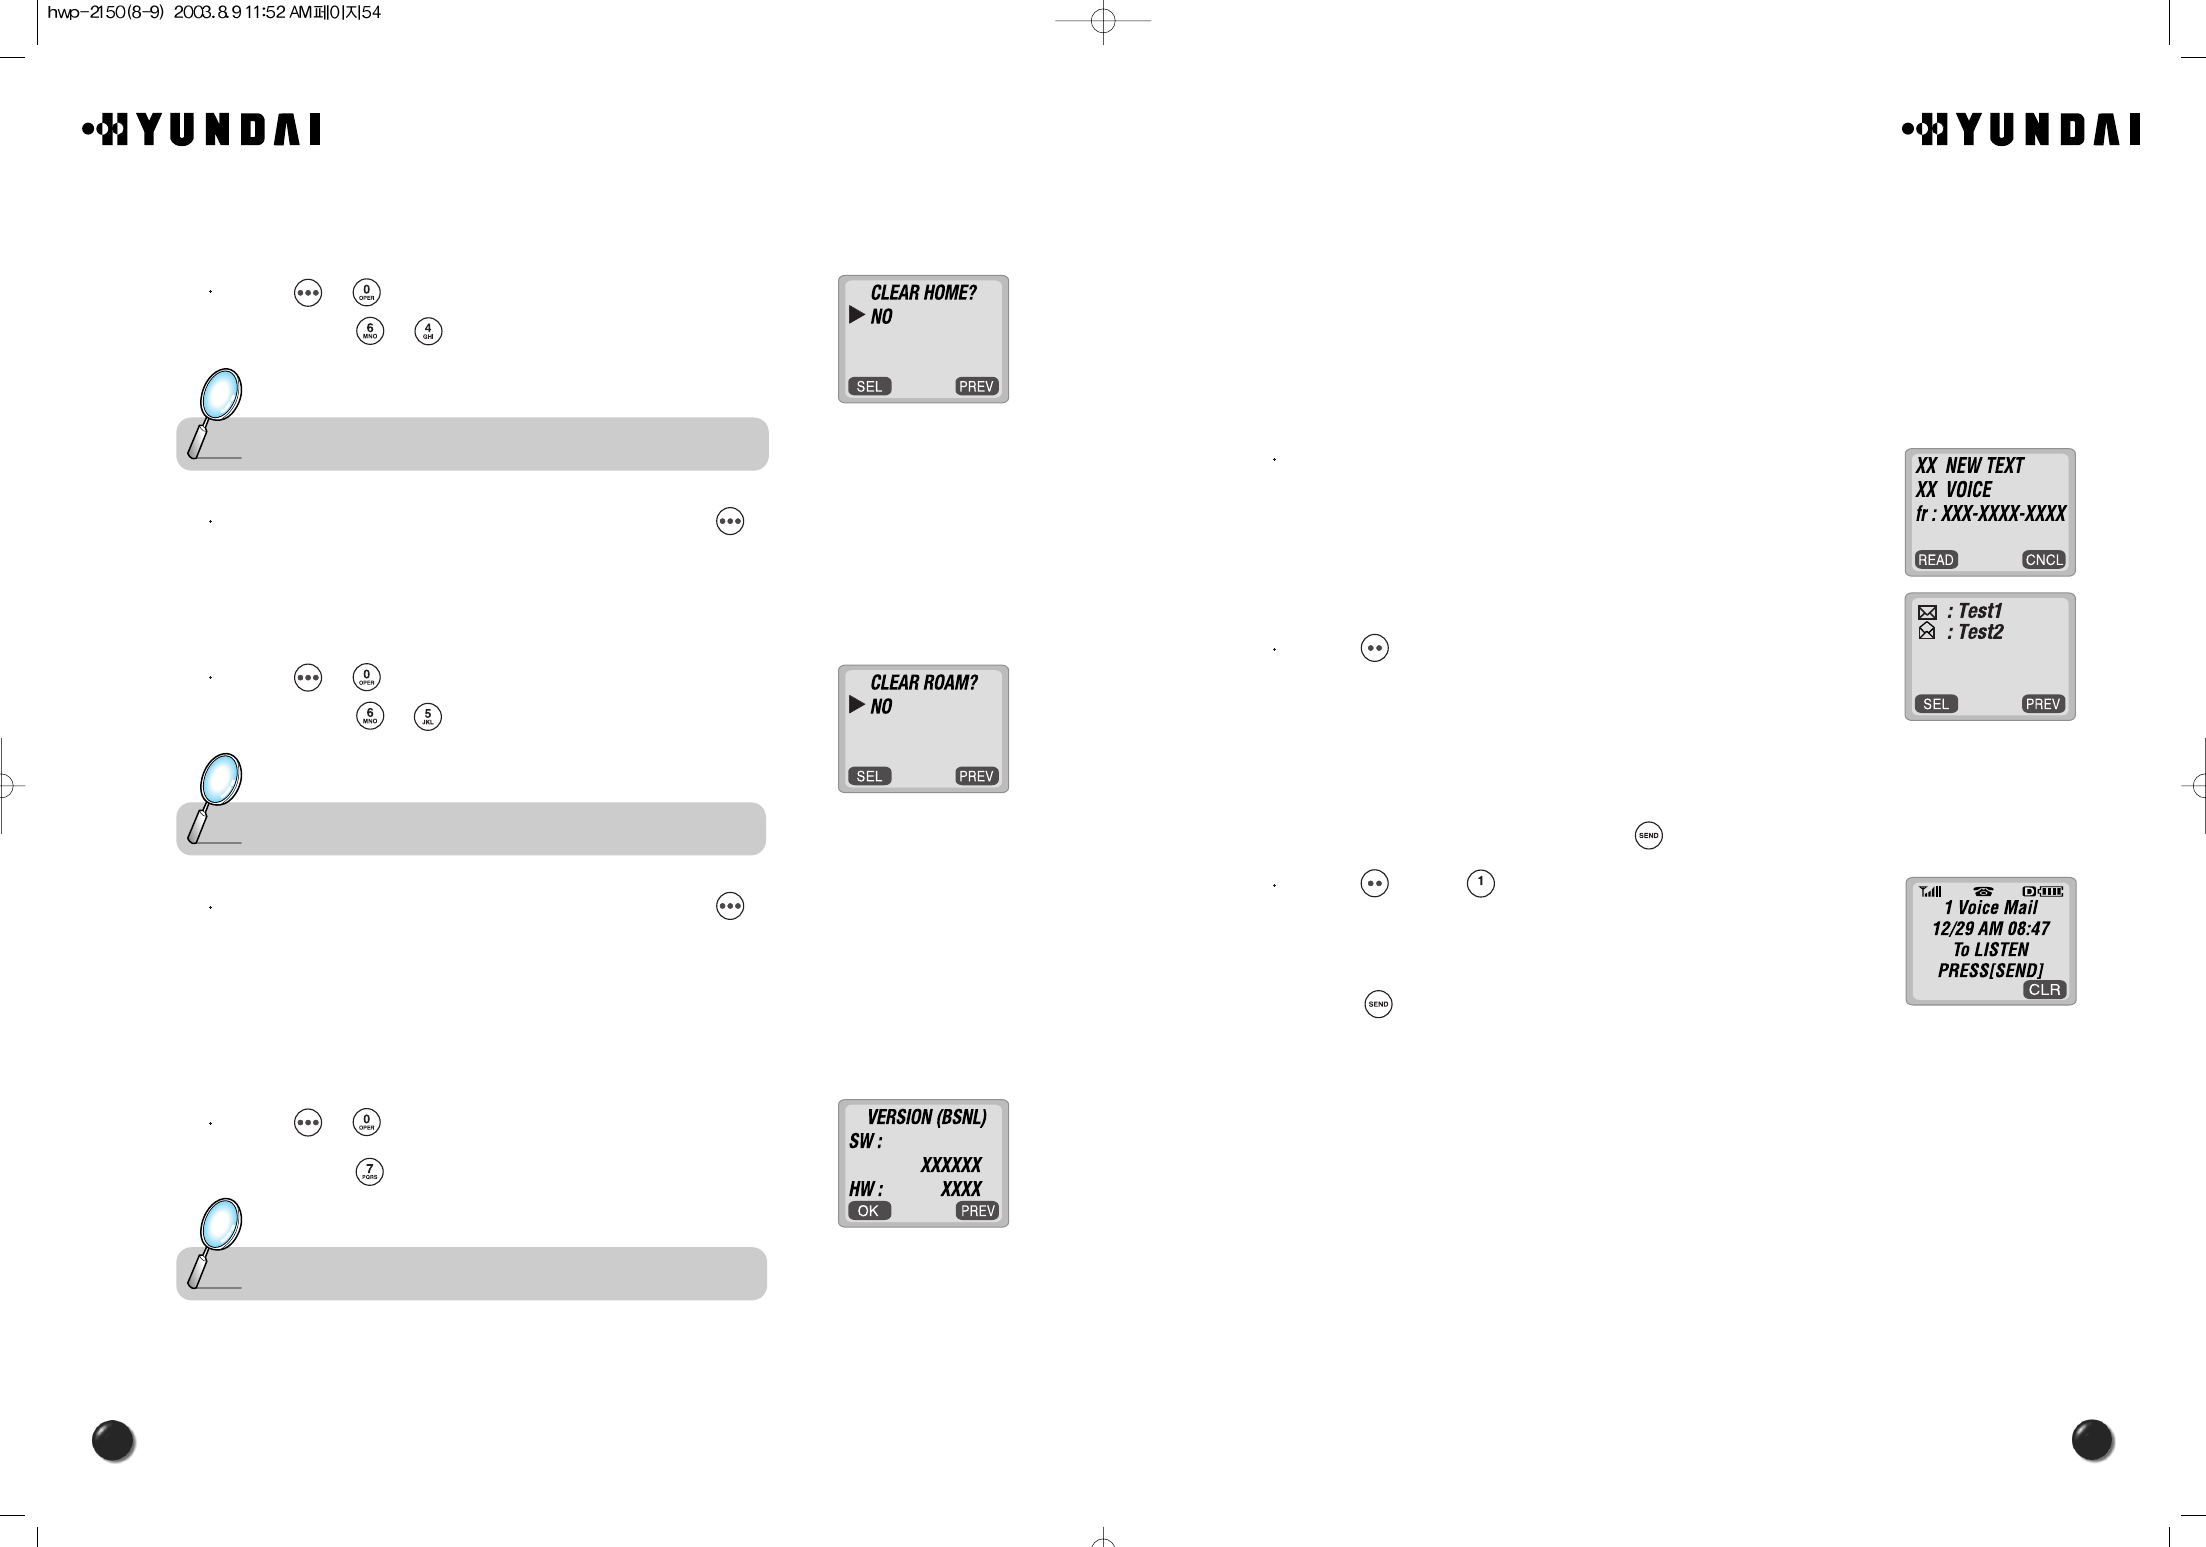
6.1 WHEN A NEW MESSAGE ARRIVES
The following display appears when a new
message arrives.
Press [ ] to display the received message.
6.2 VOICE MAIL
This function allows you to view how many voice mails you’ve got and listen to each
of the voice mails simply by pressing [ ].
Press [ ] and [ ].
The screen displays the number of new voice mails
in your voice mailbox.
Press [ ] to access your voice mailbox.
5.6.4 CLEARING HOME CALLS
This function clears up the airtime used for home calls.
Press [ ][ ] and enter “password”.
Then, press [ ][ ].
Select “Yes” or “No” with the navigation key. Press [ ].
5.6.5 CLEARING ROAM CALLS
This function clears up the airtime used for roaming calls.
Press [ ][ ] and enter “password”.
Then, press [ ][ ].
Select “Yes” or “No” with the navigation key. Press [ ].
5.7 VERSION
5.7.1 VERSION
This function permits you to view the version of your phone.
Press [ ][ ] and enter “password”.
Then, press [ ].
Note : The default password is the last 4 digit of your phone number.
Note : The default password is the last 4 digit of your phone number.
Note : The default password is the last 4 digit of your phone number.

57
56
6.3.1.4. PRIORITY
When you send an urgent message, please use this to notify the recipient of
an urgency of your message.
Press [ ] to send an urgent message.
And select “Normal” or “Urgent” with the navigation key
and press [ ].
6.3.1.5. CALL BACK
Please edit the call back number when you want the recipient to call you back
at a specific number. The default is the phone number your phone uses now.
Press [ ] to change the call back number.
Input a call back number and press [ ].
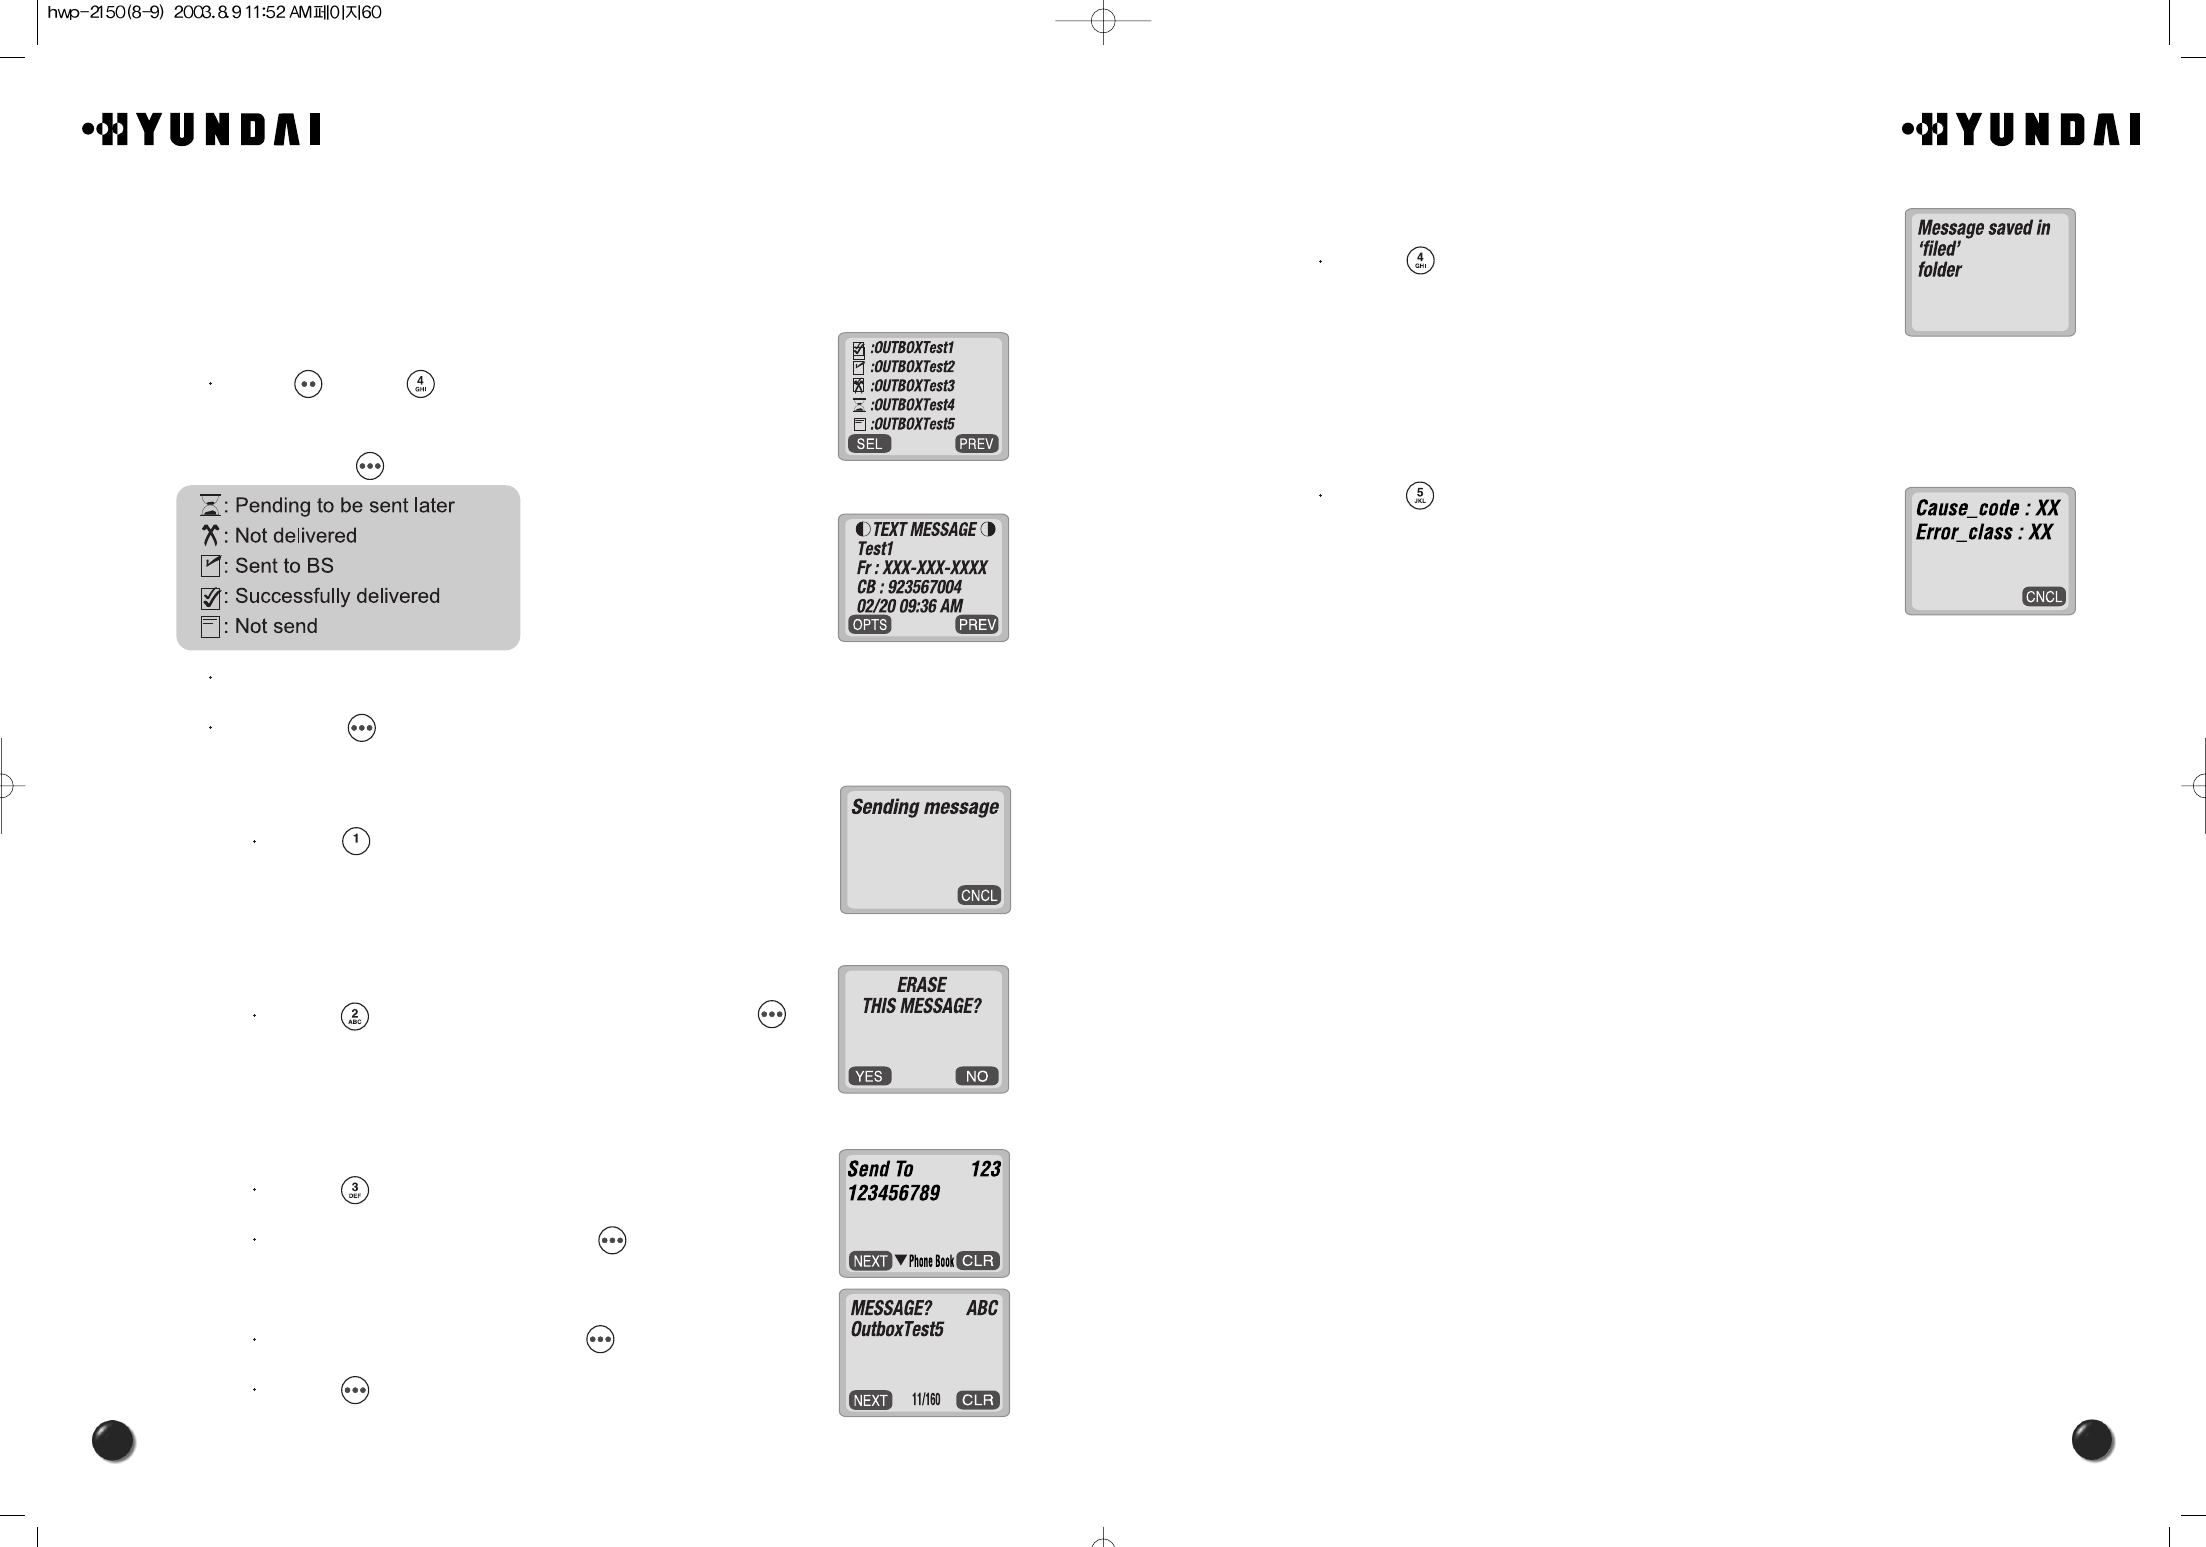
6.3.1.6. SAVE
This allows you to save the message for you to send later on.
Press [ ] to save the text message.
6.3.1.7. DELIVERY ACK
With this feature on, you could confirm whether your message is delivered
successfully or not.
Press [ ] to confirm that your message is delivered.
Select “Yes” or “No” with the navigation key.
Press [ ].
56
6.3 SEND NEW
This allows you to manage received text messages; Reply, Erase, Forward, Save
address, and Lock.
Press [ ] and [ ].
Input a phone number and press [ ].
Input a text message and press [ ].
(Please refer to page 31 for more details on entering
letters and numbers.)
6.3.1.1. SEND
This helps you to send the message you just writes.
Press [ ] to send the text message.
6.3.1.2. EDIT RECIPIENT
This helps you to edit the recipient.
Please select this in case you input a wrong number.
Press [ ] to change the recipient.
Input a new phone number, and press [ ].
Input a new text message, and press [ ].
Then, press [ ] to send the message.
6.3.1.3. EDIT MESSAGE
This permits you to edit the message ; change, add and delete.
Press [ ] to change the text message.
Input a new text message, and press [ ].

59
58
6.4.1.4. SAVE
Press [ ] to save the received text message
in the “Filed” Folder.
6.4.1.5. SAVE ADDRESS
Press [ ] to save the call back number of the message into the
phonebook.
6.4.1.6. LOCK & UNLOCK
This allows you to save the message for you to send later on.
Press [ ] to lock or unlock the text message.
Select “Lock” or “Unlock” with the navigation key.
Then, press [ ].
6.4 INBOX
This allows you to manage received text messages; Reply, Erase, Forward, Save
address, and Lock.
Press [ ] and [ ].
Select a message and press [ ].
The message is displayed.
Then press [ ].
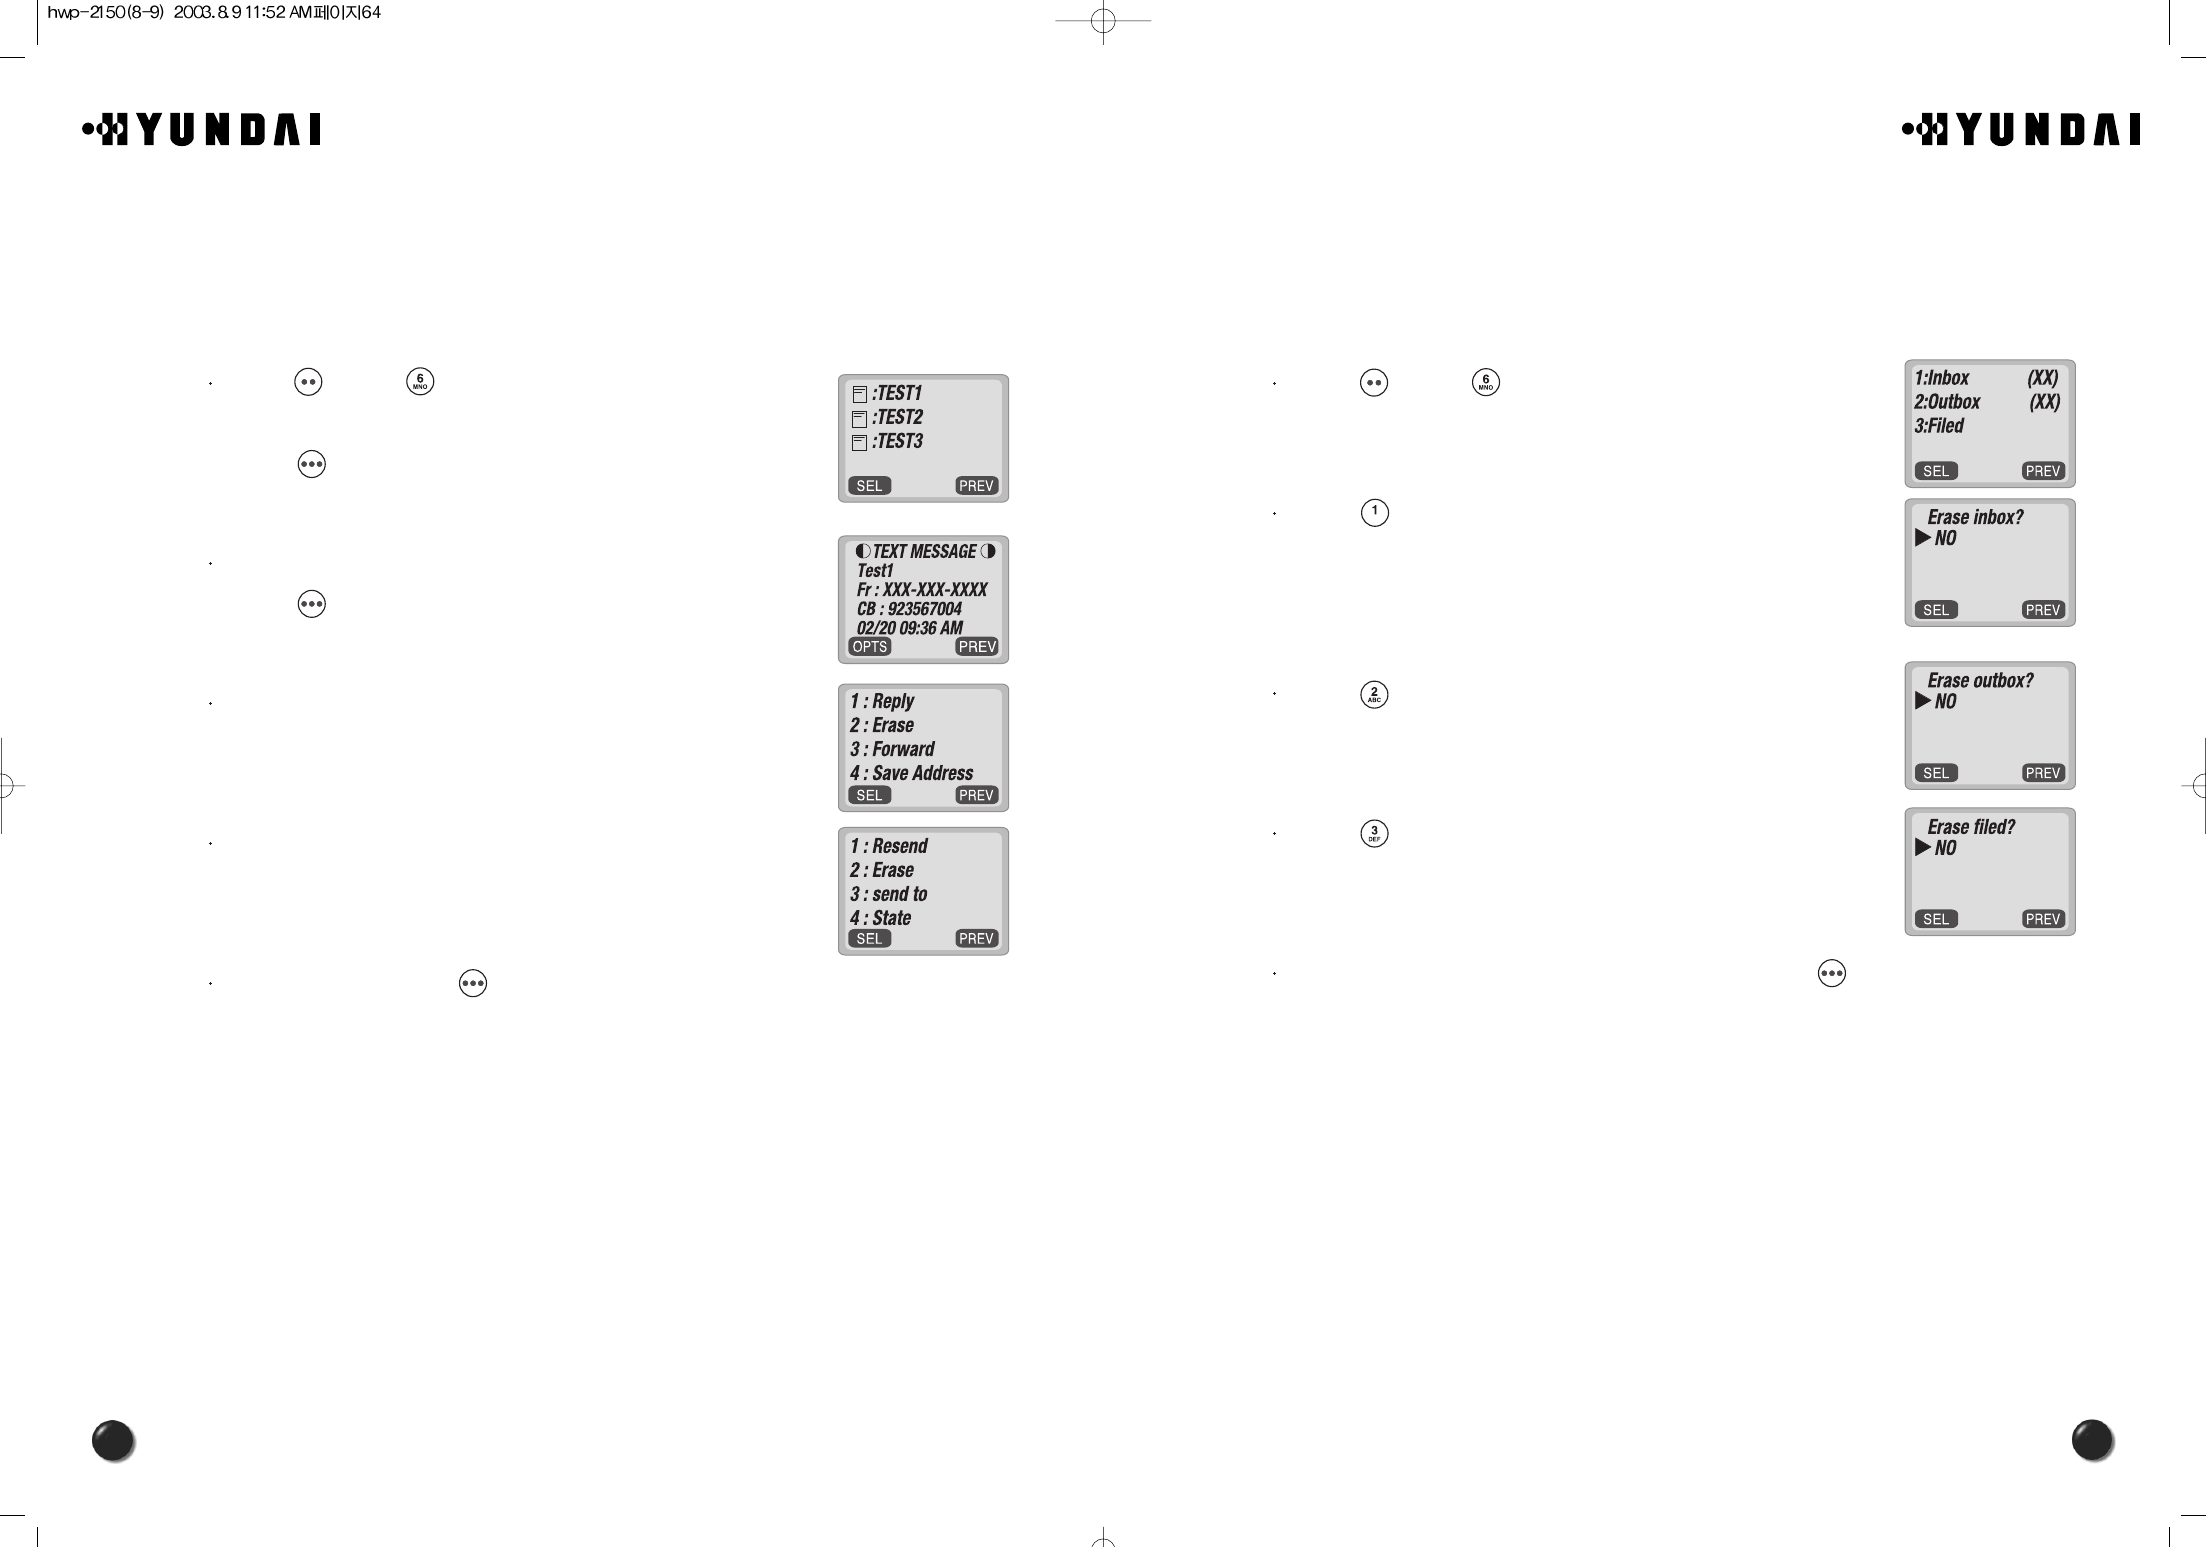
6.4.1.1. REPLY
Press [ ] to reply to the text message.
Write your reply and press [ ].
6.4.1.2. ERASE
Press [ ] to erase the text message.
Press [ ] when you see “Erase This Message?”.
6.4.1.3. FORWARD
This permits you to edit the message ; change, add and delete.
Press [ ] to forward the text message.
Input a phone number and a text message.
61
60
6.5.1.4. SAVE
Press [ ] to save the sent text message
in the “Filed” Folder.
6.5.1.5. STATE
Press [ ] to display the state of the sent message.
6.5 OUTBOX
This allows you to manage sent text messages; Resend, Erase, Send to, Save, and
State.
6.5.1 CHECKING SENT TEXT MESSAGES
Press [ ], and [ ].
Select a message with the navigation key.
Then, press [ ].
The text message is displayed.
Then press [ ].
6.5.1.1. RESEND
Press [ ] to resend the text message.
6.5.1.2. ERASE
Press [ ] to erase the text message and press [ ] .
6.5.1.3. SEND TO
Press [ ] to send the message to another person.
Input a phone number and press [ ].
Input a text message and press [ ].
Press [ ].
63
62
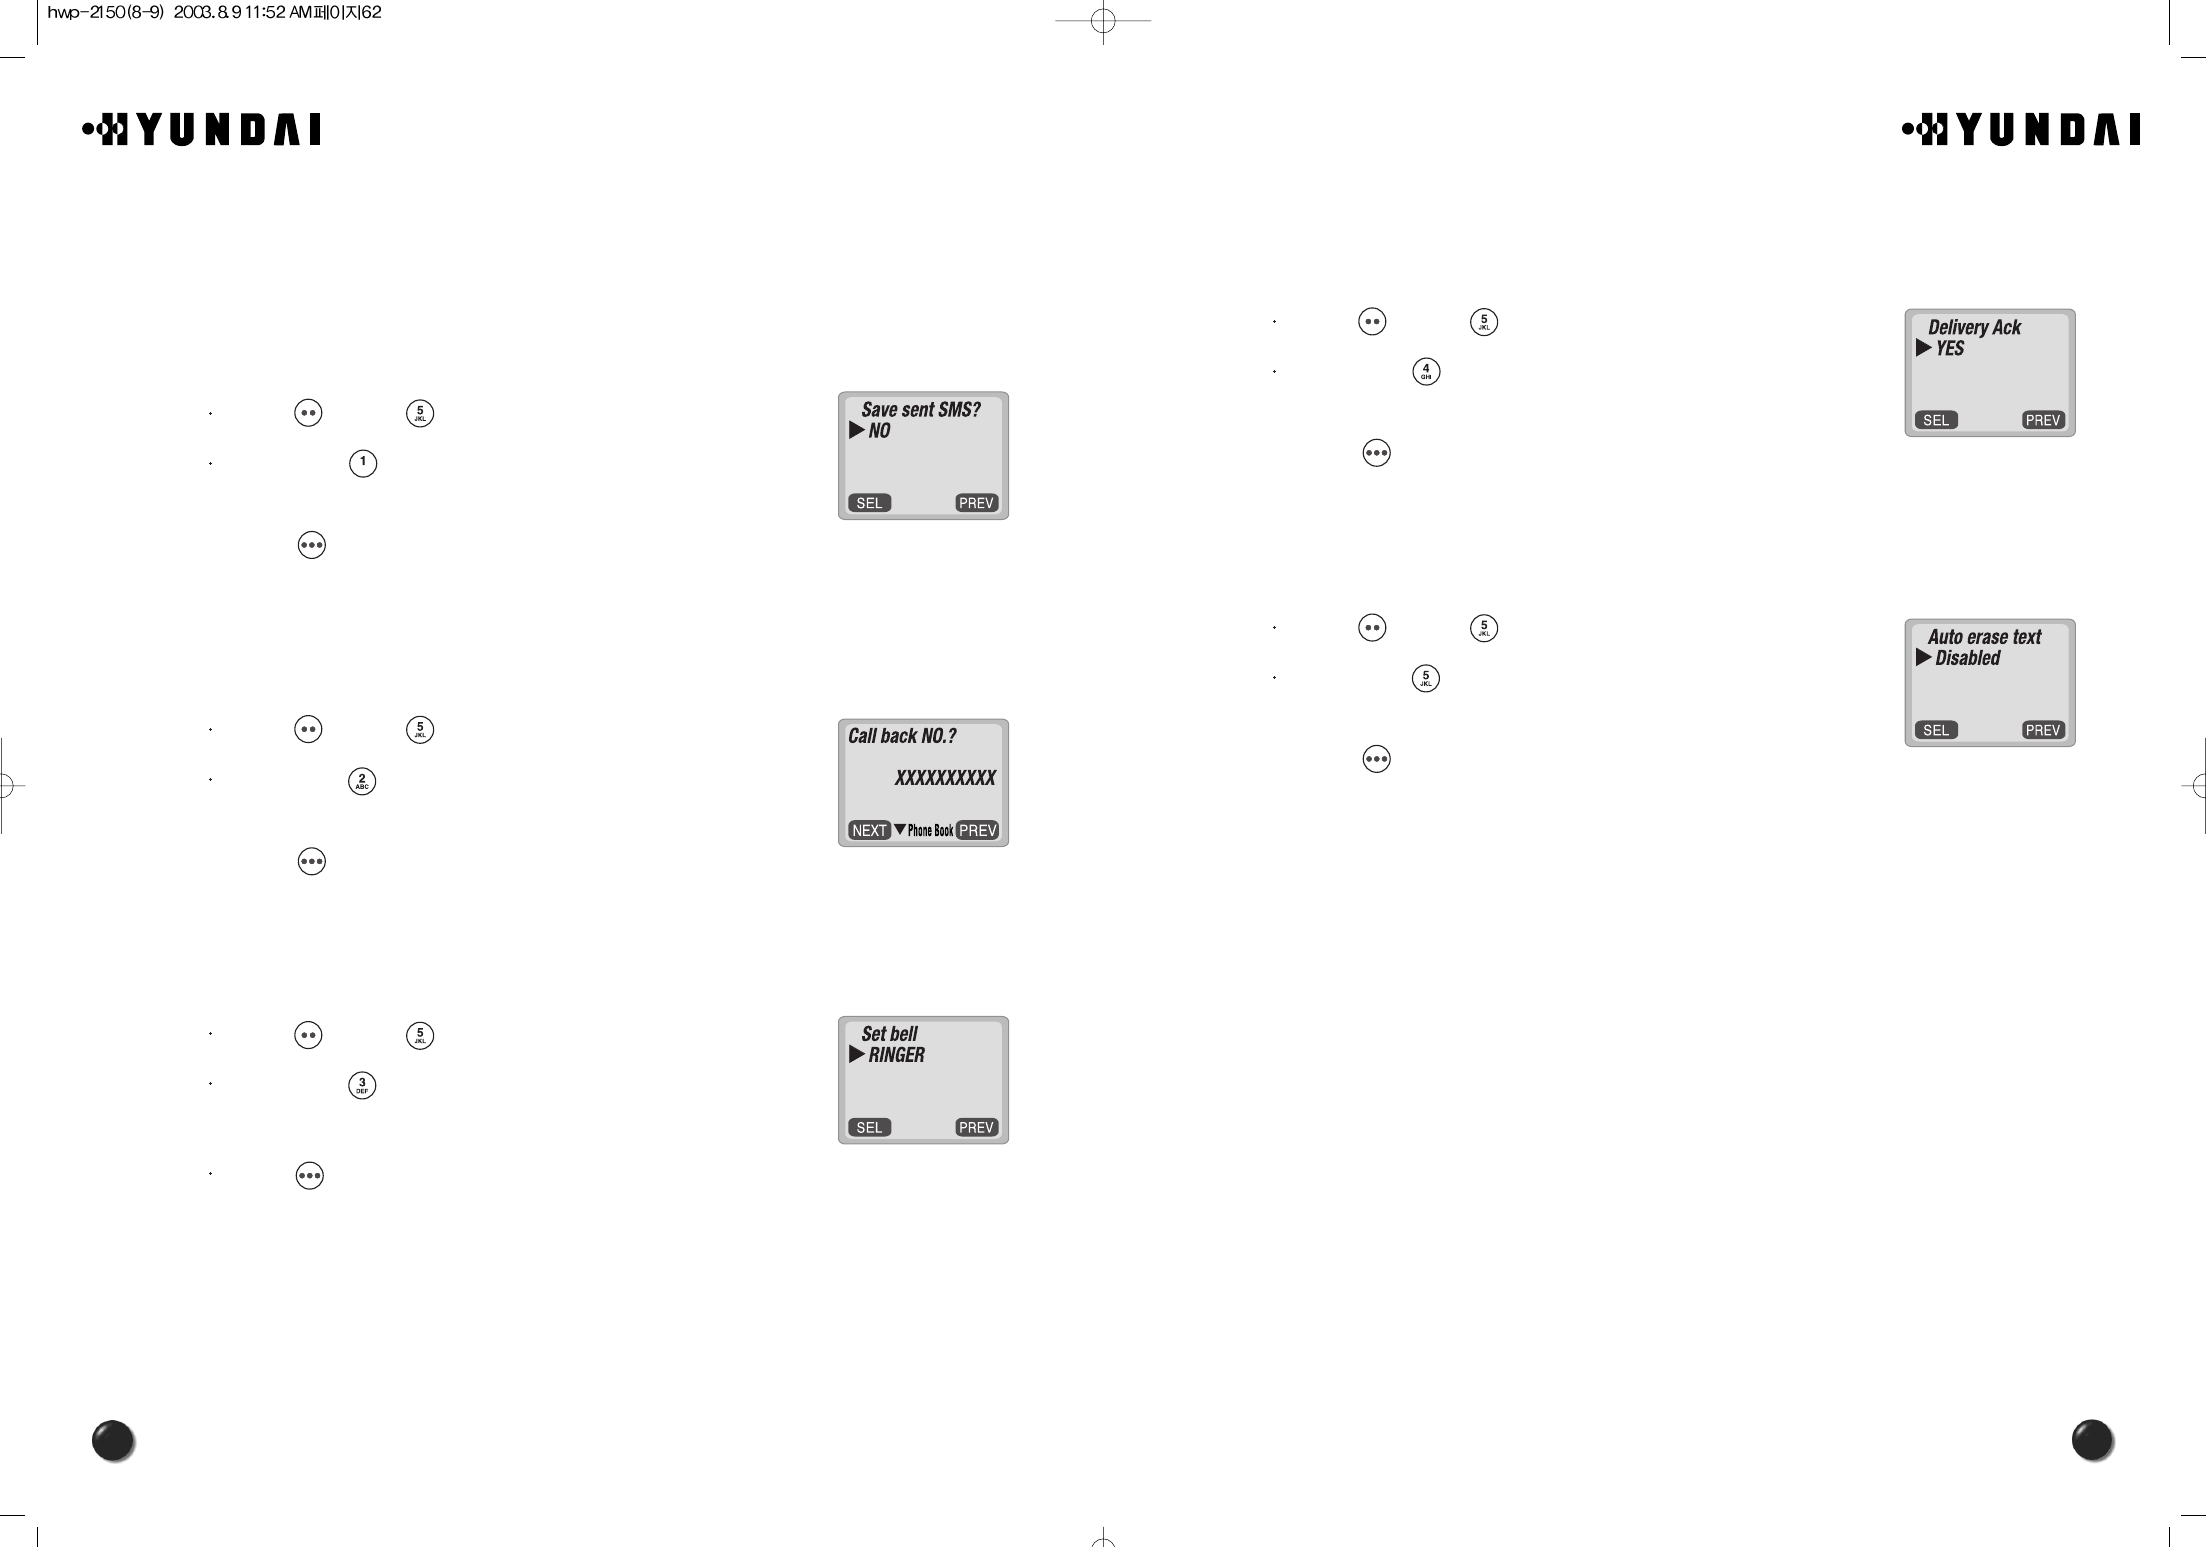
6.6.4 DELIVERY ACK
This feature enables you to activate Delivery Acknowledgement so that you can
confirm the delivery of mails.
Press [ ], and [ ].
Then press [ ].
Select “Yes” or “No” with the navigation key.
Press [ ].
6.6.5 AUTO ERASE
With this feature activated, you can have “inbox” or “outbox” messages
automaticallly erased as new messages arrive.
Press [ ], and [ ].
Then press [ ].
Select “Disabled” or “Old Inbox” with the navigation key.
Press [ ].
6.6 SETTINGS
This enables you to set up several items that help manage your messaging features
as described below.
6.6.1 SAVE SENT MESSAGES ?
This feature enables you to save every sent message.
Press [ ], and [ ].
Then press [ ].
Select one from No/ Yes/ Prompt with the navigation key.
Press [ ].
6.6.2 DEFAULT CALL BACK NUMBER
This feature enables you to edit a default call back number, so that the recipient can
call back or reply to the call back number.
Press [ ], and [ ].
Then press [ ].
Input a call back number.
Press [ ].
6.6.3 MESSAGE ALERT
This feature enables the phone to alert you of an incoming message in two different
types; Ringer, Silent.
Press [ ], and [ ].
Then press [ ].
Select one from the Ringer/ Silent with the navigation key.
Press [ ].
65
64
6.8 ERASE MESSAGES
This feature allows you to erase all the messages from the Inbox, Outbox, or filed
folder.
6.8.1 ERASE MESSAGES
Press [ ], and [ ].
Press [ ] to erase the inbox messages.
Select “No”, “Old Inbox” or “Entire Inbox”
with the navigation key.
Press [ ] to erase the outbox messages.
Select “No” or “Yes” with the navigation key.
Press [ ] to erase the filed messages.
Select “No” or “Yes” with the navigation key.
Select “Yes” or “No” with the navigation key and press [ ].
6.7 FILED
6.7.1 FILED
This function enable you to review and manage the saved messages from the
Inbox/Outbox.
Press [ ], and [ ].
Select a text message with the navigation key.
Press [ ].
The text message is displayed.
Press [ ].
If the text message is saved from “Inbox” menu,
this screen will be displayed.
If the text message is saved from “Outbox” menu,
this screen will be displayed.
Select one by pressing [ ].

67
66
7.2 SAR INFORMATION
THIS MODEL PHONE MEETS THE GOVERNMENT’S REQUIREMENTS FOR
EXPOSURE TO RADIO WAVES.
Your wireless phone is a radio transmitter and receiver. It is designed and
manufactured not to exceed the emission limits for exposure to radio frequency
(RF)energy set by the Federal Communications Commission of the U.S. Government.
These limits are part of comprehensive guidelines and establish permitted levels of RF
energy for the general population. The guidelines are based on standards that were
developed by independent scientific organizations through periodic and thorough
evaluation of scientific studies.
The standards include a substantial safety margin designed to assure the safety of all
persons, regardless of age and health.
The exposure standard for wireless mobile phones employs a unit of measurement
known as the Specific Absorption Rate, or SAR. The SAR limit set by the FCC is 1.6
W/kg. *Tests for SAR are conducted with the phone transmitting at its highest certified
power level in all tested frequency bands. Although the SAR is determined at the
highest certified power level, the actual SAR level of the phone while operating can be
well below the maximum value. This is because the phone is designed to operate at
multiple power levels so as to use only the power required to reach the network. In
general, the closer you are to a wireless base station antenna,the lower the power
output.
Before a phone model is available for sale to the public, it must be tested and certified
to the FCC that it does not exceed the limit established by the government-adopted
requirement for safe exposure. The tests are performed in positions and locations (e.g.,
at the ear and worn on the body) as required by the FCC for each model. The highest
SAR value for this model phone when worn on the body, as described in this user
guide, is 0.846 W/kg. (Body worn measurements differ among phone models,
depending upon available accessories and FCC requirements). While there may be
differences between the SAR levels of various phones and at various positions, they all
meet the government requirement for safe exposure.
7. SAFETY INFORMATION
This chapter outlines the guidelines and precautions for the safety that comes before the
optimum use of your cellular phone.
Please make sure to be aware of all the details about the safety to operate your phone
in the way that you are supposed to.
This chapter contains the terms and conditions of services and the warranty for your
phone.Please review them thoroughly.
7.1 SAFETY INFORMATION FOR FIXED WIRELESS TERMINALS
7.1.1 POTENTIALLY EXPLOSIVE ATMOSPHERES
Turn your phone OFF when in any area with a potentially explosive atmosphere and
obey all signs and instructions.
Sparks in such areas could cause an explosion or fire resulting in bodily injury or
even death.
7.1.2 INTERFERENCE TO MEDICAL DEVICES
Certain electronic equipment may be shielded against RF signal from you wireless
phone. (Pacemakers, Hearing Aids, and so on).
Turn your phone OFF in health care facilities when any regulations posted in these
areas instruct you to do so.
RF signals may affect improperly installed or inadequately shielded electronic
system in motor vehicles.
7.1.3 EXPOSURE TO RF ENERGY
Use only the supplied or an approved replacement antenna.
Do not touch the antenna unnecessarily when the phone is in use.
Do not move the antenna close to, or touching any exposed part of the body when
making a call.
69
68
<Appendix>
1. Troubleshooting
In case that simple remedy steps does not help, contact the local agency from where you have
purchased the product, a service center or a qualified technician to solve the trouble.
Problem What To Do
There is no indication on the LCD screen Make sure the terminal is turned on.
If the switch is on, turn off the terminal and then turn
it on again.
“No Service” message is displayed on the LCD
screen.
The WLL terminal must be placed in the location
where service coverage is available. If necessary,
move the terminal to the serviced location.
Your terminal beeps or you can hear nothing in the
WLL.
Your WLL is not properly placed. Place the WLL
normally.
Battery indication is blinking, and the terminal beeps
periodically.
The backup battery is discharged. Switch to the
external power supply.
There is no ring when a call comes. The ringer is switched off. Press [UP] button several
times to adjust the ringer volume
The FCC has granted an Equipment Authorization for this model phone with all
reported SAR levels evaluated as in compliance with the FCC RF exposure guidelines.
SAR information on this model phone is on file with the FCC and can be found under
the Display Grant section of http://www.fcc.gov/oet/fccid after searching on FCC ID
PP4HWP-2150.
Additional information on Specific Absorption Rates (SAR) can be found on the Cellular
Telecommunications & Internet Association (CTIA) web-site at http://phonefacts.net. *In
the United States and Canada, the SAR limit for mobile phones used by the public is
1.6 watts/kg (W/kg) averaged over one gram of tissue. The standard incorporates a
substantial margin of safety to give additional protection for the public and to account
for any variations in measurements.
70
2. FWT Technical Specifications
Classification
Air interface
Battery backup
Physical
Environmental
Power supply
Etc
Common air interface standard IS-2000 (IS-95B, TSB-74)
Frequency TX: 824 ~ 849MHz
RX: 869 ~ 894MHz
Frequency accuracy Fo 300Hz
TX output power Typical 24dBm (23~25dBm)
RX sensitivity - 104dBm below (at FER = 0.5%), Typical -106dBm
Vocoder 8K/13K QCELP
8K EVRC
Channel bandwidth CDMA 1.25Mhz
MOD/DEMOD O QPSK/QPSK
Type Ni-MH
Capacity 3.6V @ 1.4A
Conversation time Minimum 2.5 hours
Standby time Minimum 140 hours
Serial port Data service purpose (Internet, Modem , PC fax)
Maintenance purpose
Dimension (D WH) 197 172 62.5(mm)
Weight (including backup battery) 792g
Operating temperature -10 ~ +50
Input power 100~240V 10%, 48~62Hz
Output power 5.5V 1.2A
Accessories Internal antenna : Dipole antenna
Power supply (SMPS)
HWP-2160