Win Situ 5 And Mobile Quick Start Guide
User Manual: Pdf Win-Situ Quick Start Guide
Open the PDF directly: View PDF ![]() .
.
Page Count: 2
- Win-Situ® 5 Quick Start Guide
- Install Win-Situ 5
- Connect an In-Situ Instrument to the Computer
- Selecting the Correct COM Port
- Set up a Data Site
- Set up a Data Log
- Real-Time Data Readings
- Connect an In-Situ Instrument to the RuggedReader Serial Port
- Connect to the Software
- Set up a Data Site
- Set up a Data Log
- View or Download the Log
- Stop a Log
- Drop the Connection and Exit Win-Situ Mobile Software
0055650 rev. 007 02/12
Win-Situ® 5 Quick Start Guide
Use Win-Situ 5 with a laptop or a PC and the Aqua
TROLL®, Level TROLL® and Rugged TROLL®
Instruments. To learn more about Win-Situ 5, refer to
the Help menu. Training videos are available on the
In-Situ® Inc. website www.in-situ.com under Tech
Resources.
__________________________________________
Install Win-Situ 5
Insert the software CD that came with your product or
download Win-Situ 5 from the In-Situ website at
www.in-situ.com/software. Follow the on-screen
prompts of the Installation Wizard to complete
installation.
IMPORTANT: Install COM drivers when
prompted.
__________________________________________
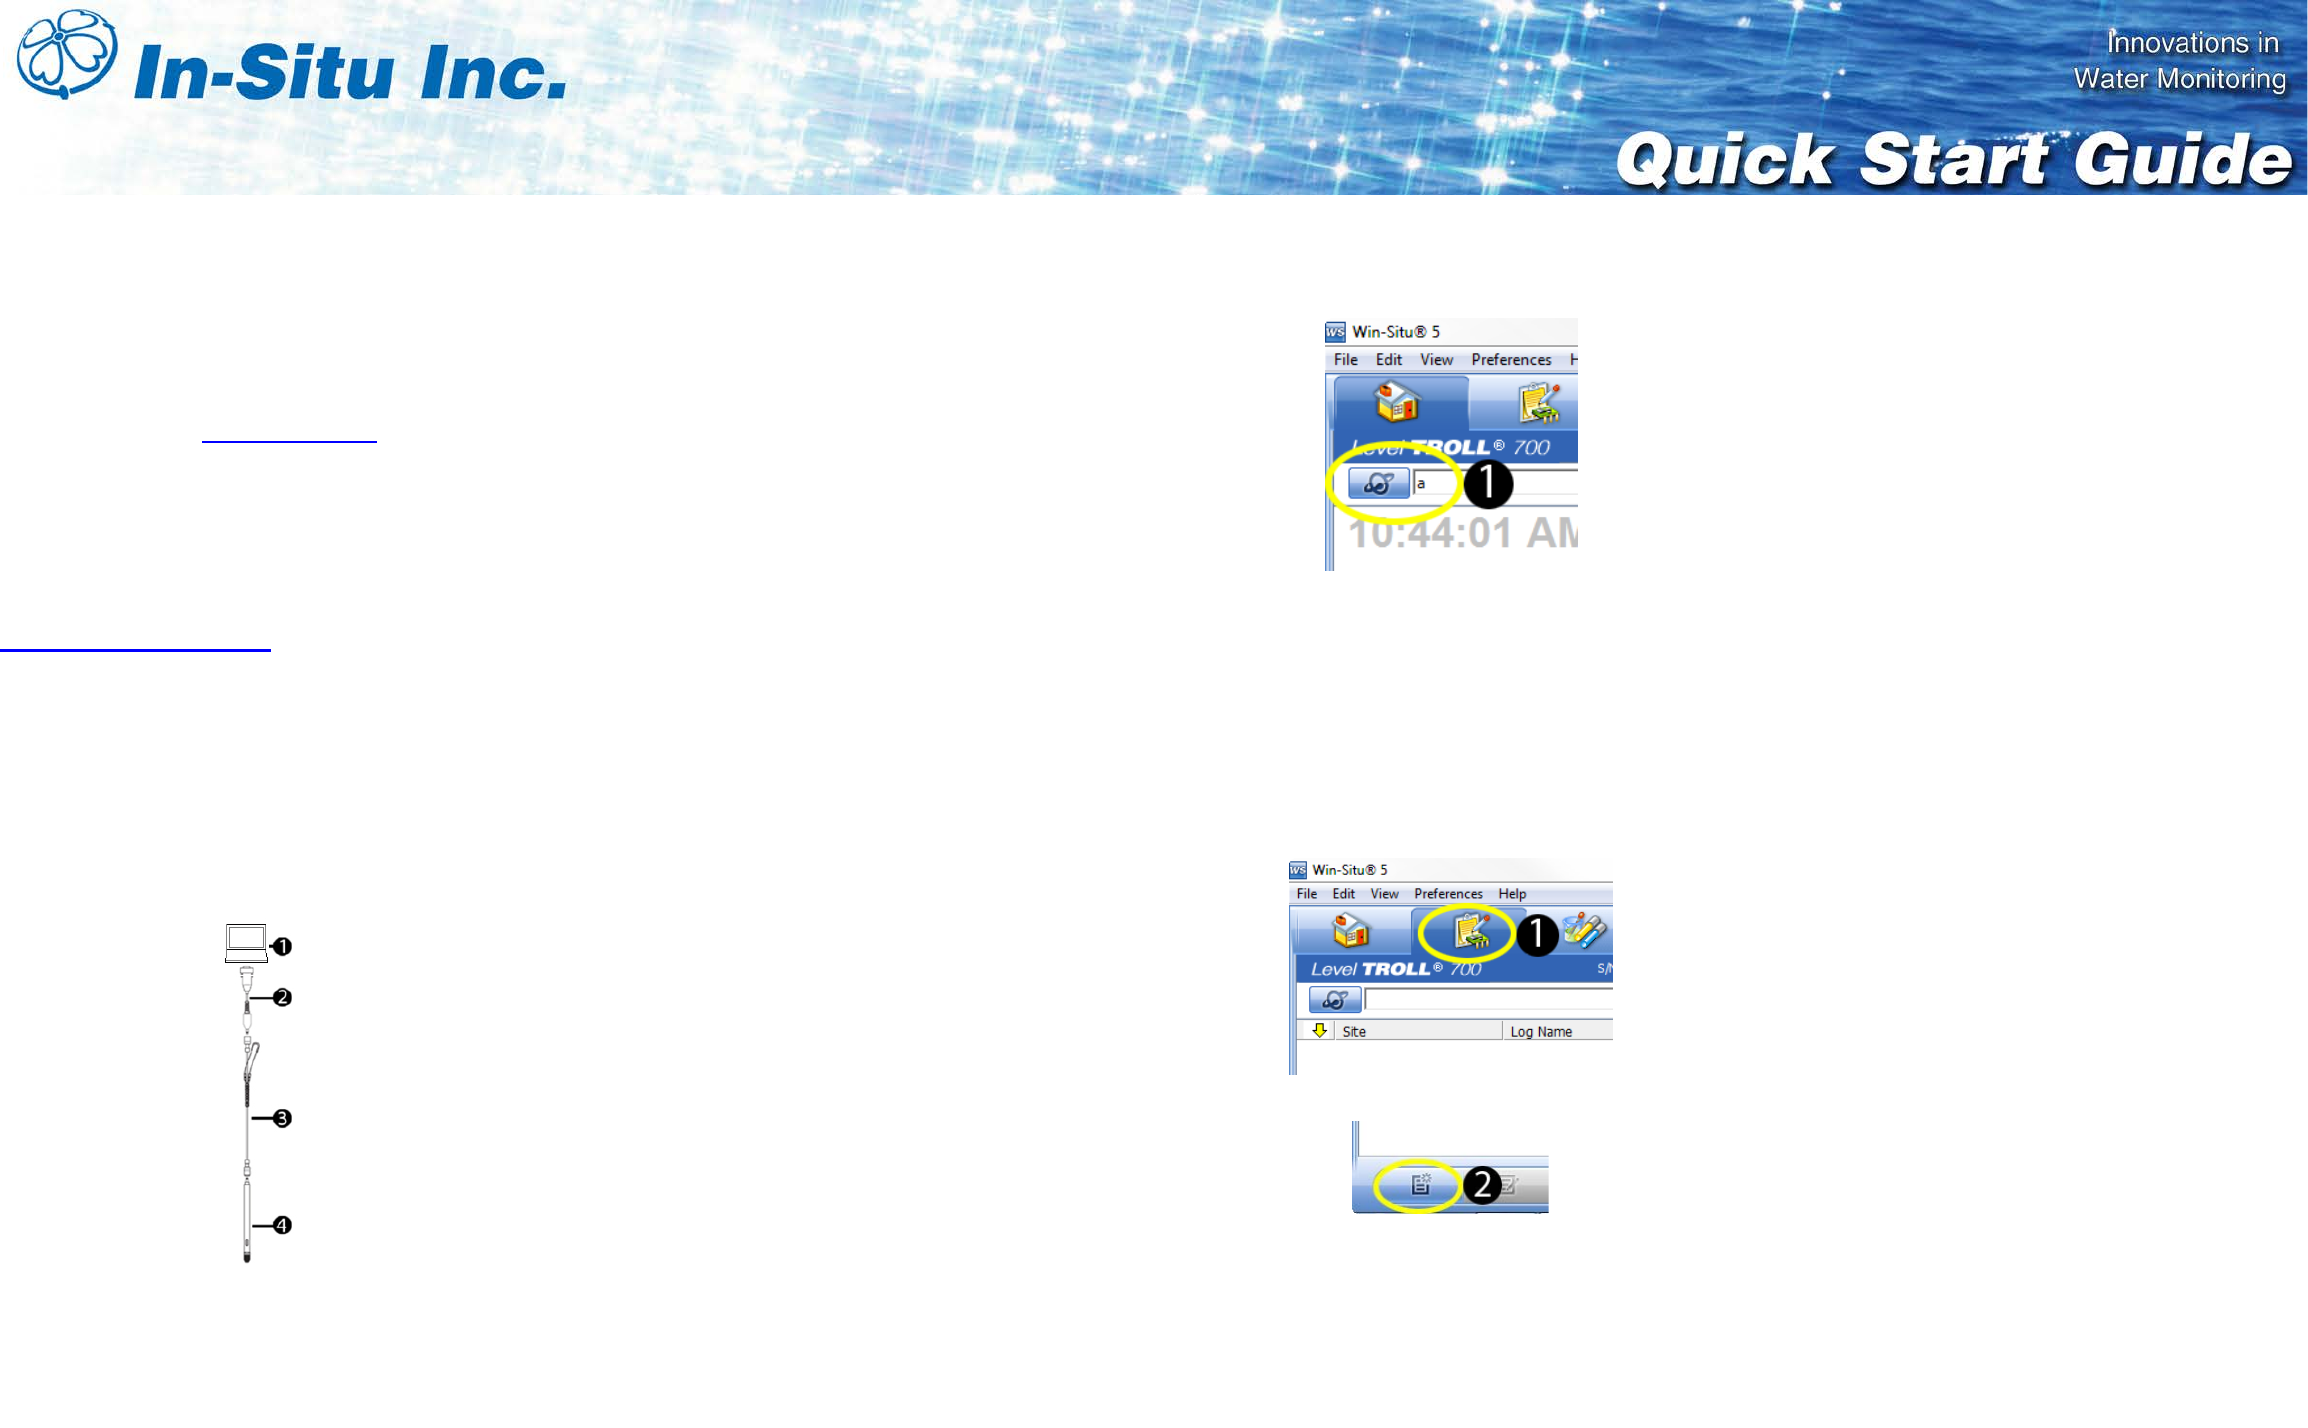
Connect an In-Situ Instrument to the
Computer
1. Laptop or PC 2. TROLL Com
3. RuggedCable 4. In-Situ
Instrument
__________________________________________
Selecting the Correct COM Port
When you open Win-Situ 5, you are asked if you
want to establish a connection to your instrument. If
you are using a USB TROLL Com, select the correct
COM port by following the steps below. If you are
using a serial TROLL Com, the Win-Situ Software
should default to the correct COM port, which is
usually COM 1.
Computers Using Windows® 7
a. Minimize the Win-Situ Software.
b. Click the Windows Start button, and open the
Control Panel.
c. Click Hardware and Sound, and open the
Device Manager.
d. Click the arrow next to Ports (COM and LPT),
and locate the USB Serial Port listing. The
number listed next to this entry is your COM
port address.
Computers Using Windows® XP
a. Minimize the Win-Situ Software.
b. Click the Windows Start button, and open the
Control Panel.
c. Double-click the system icon. Click the
Hardware tab, and open the Device Manager.
d. Click the plus sign next to Ports (COM and
LPT), and locate the USB Serial Port listing.
The number listed next to this entry is your
COM port address.
Once you have determined the correct Com port
address, reopen Win-Situ 5 and click on Preferences.
Click on Comm Settings, and then click the Port
Number menu. Scroll down to find the correct Com
port address. Click the Check mark button to accept
the changes. Click on the yellow Connect button in
the lower right corner to establish a connection to the
instrument.
__________________________________________
Set up a Data Site
1. Click the Site button.
2. Select either Default Site or click the New
button to set up a custom site.
3. Enter a Site name. Entering coordinates and
uploading a picture are optional.
4. Click the check mark to save the data site.
__________________________________________
Set up a Data Log
1. Click the Logging tab.
2. Click the New button.
3. Select your site, and name the new log.
4. Select the parameters you intend to monitor.
You can rearrange their order and select
different units.
5. Select a logging method appropriate for your
deployment.
6. Configure the logging method.
7. Select a start condition.
NOTE: When an instrument is deployed on
a wire, rather than a cable, you will not be
able to communicate with it after
installation. Select a Scheduled start if you
are deploying an instrument on a wire.
8. Select a level reference type.
9. Configure the level reference.
IMPORTANT: Your instrument MUST be
installed in its final location to set the level
reference correctly. If you are setting up a
data log before installing your instrument in
its final location, you will need to select
either “Set First Logged Reading To” or
“Remind Me to Set Reference Later.”
Select “Set First Logged Reading To” if you
are using a scheduled start, or “Remind Me
to Set Reference Later” if you are using a
manual start and are NOT deploying the
instrument on a wire.
10. Enter a specific gravity value for the
deployment.
11. The software displays a summary. Review
your selections carefully before clicking the
check mark.
12. Start the log. A Scheduled Start log will start
automatically at its programmed time. To start
a Manual log, go to the Logging tab, highlight
the log name, and tap the Start button.
__________________________________________
Real-Time Data Readings
To see real-time data readings, click the Play button
on the Home screen. The parameter readings will
turn black and update periodically. Click the Play
button again to stop reading in real time.
IMPORTANT: You cannot create a new log if
you have real time readings enabled.
For Sales & Service Contact
2650 E. 40th Ave. • Denver, CO 80205
Phone 303-320-4764 • Fax 303-322-7242
1-800-833-7958
www.geotechenv.com
Win-Situ® Mobile Quick Start Guide
Use Win-Situ Mobile with a RuggedReader®
Handheld PC and Aqua TROLL®, Level TROLL® and
Rugged TROLL® Instruments. To learn more about
Win-Situ Mobile, refer to the Help menu. Training
videos are available on the In-Situ Inc. website
www.in-situ.com under Tech Resources.
__________________________________________
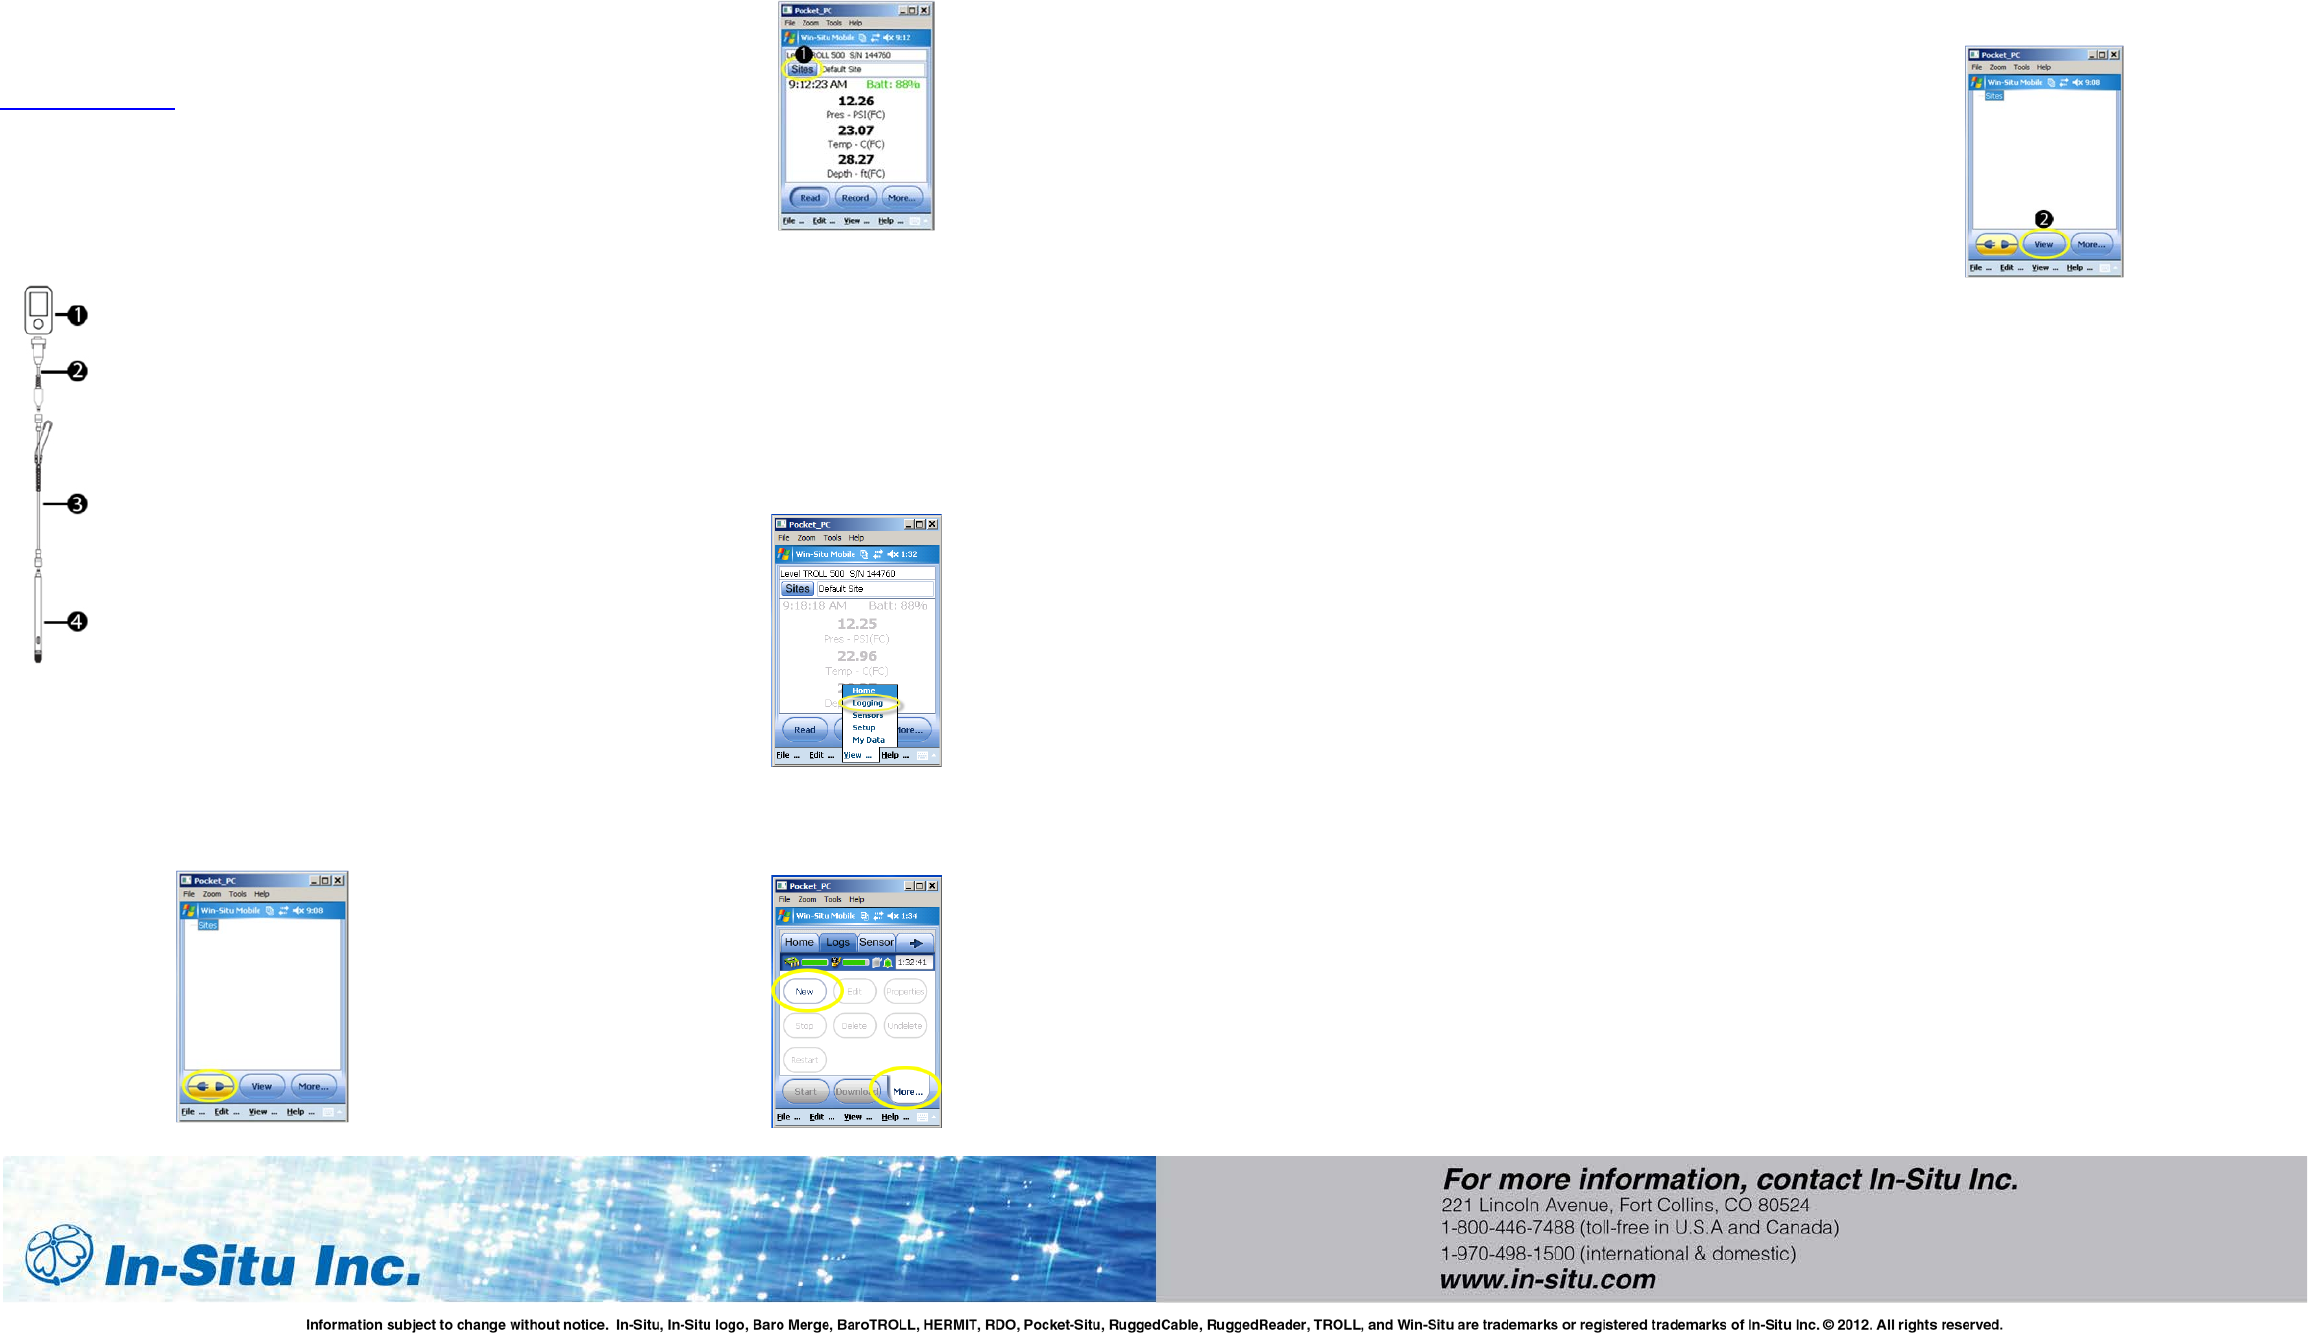
Connect an In-Situ Instrument to the
RuggedReader Serial Port
1. RuggedReader
2. TROLL Com Cable Connect
3. RuggedCable
4. In-Situ Instrument
_________________________________________
Connect to the Software
With an instrument connected, tap the Start button on
the RuggedReader. Tap Win-Situ Mobile. Tap the
Connect button, and tap the check mark.
________________________________________
Set up a Data Site
1. Tap the Sites button. Select an existing site or
tap the New button to create a new site.
2. Enter information on the subsequent screens
and continue by tapping the right arrow
button. Tap the check mark button when
finished.
__________________________________________
Set up a Data Log
1. Tap the View menu and select logging.
2. Tap the More button, and then tap the New
button.
3. Add the log name and tap the right arrow
button.
4. Select the parameters you want.
5. Rearrange parameter order. Tap Edit to
change units.
6. Select a logging method appropriate for your
deployment.
7. Configure the logging method.
8. Select a start condition.
NOTE: When an instrument is deployed on
a wire, rather than a cable, you will not be
able to communicate with it after
installation. Select a Scheduled start if you
are deploying the instrument on a wire.
9. Select log wrap condition.
10. Select a level reference type.
11. Enter a specific gravity value for the
deployment.
12. Configure the level reference.
IMPORTANT: Your instrument MUST be
installed in its final location to set the level
reference correctly. If you are setting up a
data log before installing your instrument in
its final location, you will need to select
either “Set First Logged Reading To” or
“Remind Me to Set Reference Later.”
Select “Set First Logged Reading To” if you
are using a scheduled start, or “Remind Me
to Set Reference Later” if you are using a
manual start and are NOT deploying the
instrument on a wire.
13. The software displays a summary. Look over
your selections carefully before clicking the
check mark.
14. Start the log. A Scheduled Start log will start
automatically at its programmed time. To start
a Manual log, go to the Logging tab, highlight
the log name, and tap the Start button.
__________________________________________
View or Download the Log
1. To download data, tap the Logging tab, and
tap the Download button. Select the desired
download options and tap the check mark
when finished.
2. To view the data, tap the View button. Use
the View drop-down menu to select the data
channel you want to view. Select the date and
time interval you want and tap the check
mark.
__________________________________________
Stop a Log
After you stop a log you cannot restart it.
1. To permanently stop a log that has no
scheduled stop, go to the Logging tab, and
select the log.
2. Tap the More button, and then tap the Stop
button.
3. Make sure that you download the data after
you stop a log.
__________________________________________
Drop the Connection and Exit Win-Situ
Mobile Software
Prior to physically disconnecting the RuggedReader
from the communication cable, tap the Connect
button. The button changes from blue to yellow and
appears disconnected.
To exit Win-Situ Mobile Software, tap the File menu
and select Exit.
For Sales & Service Contact
2650 E. 40th Ave. • Denver, CO 80205
Phone 303-320-4764 • Fax 303-322-7242
1-800-833-7958
www.geotechenv.com
