Penclic K2 PENCLIC WIRELESS KEYBOARD User Manual MIN K wireless PRINTx
Penclic AB PENCLIC WIRELESS KEYBOARD MIN K wireless PRINTx
Penclic >
USERS MANUAL

www.penclic.se
1 2

Penclic wireless Keyboard Quick guide
EN
Quick guide
2
Smile.


EN
Penclic wireless Keyboard setup
Fn + Function
F2 Mute
F3 Lower volume
F4 Higher volume
F9 Pause/Break
F10 Scroll Lock
F11 Num Lock
F12 Print Screen
Delete Insert
Up arrow Page Up
Left arrow Home
Down Arrow Page Down
Right Arrow End
LED behavior Indication
1 red flash The keyboard on/
off switch was set
to on.
LED flashes red
repeatedly
Recharge your
battery. (NOTE:Do
not recharge
non-rechargeable
batteries.)
LED flashes
green repeatedly
Battery is currently
being recharged.
LED is
constantly green
Battery is currently
being recharged.
2
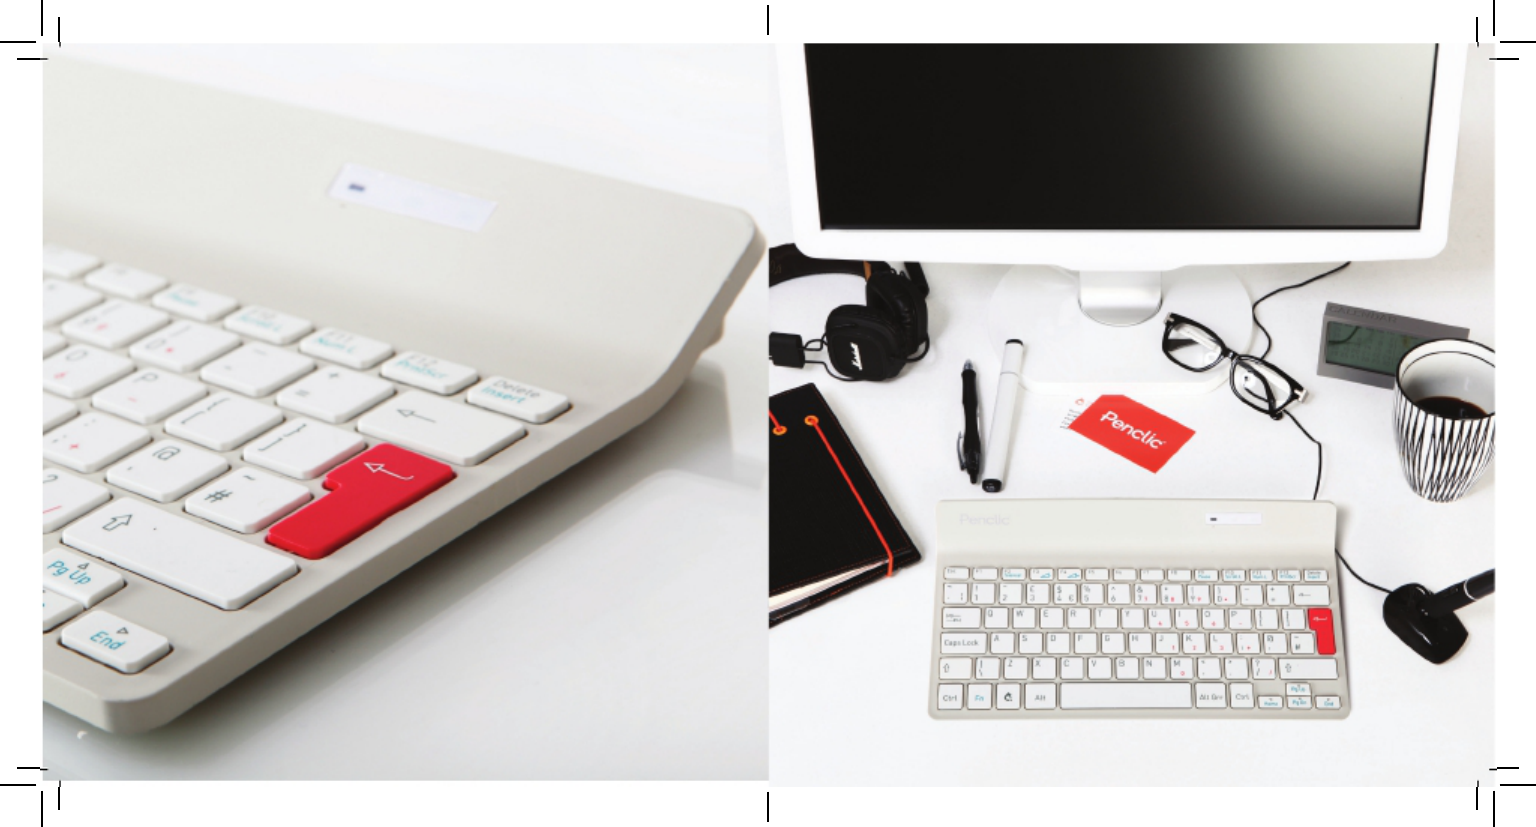
Welcome to the quick guide.
Penclic wireless Keyboard combines ergonomically
sound design with modern keyboard technology
to bring you comfort and efficiency.
Insert the rechargeable batteries and start
charging with the included USB charging
cable, the USB port supports only charging function.
then set the keyboard power switch on the bottom
of the keyboard to ON.
Driver installation starts automatically.
The wireless connection activates automatically.
How to use your Penclic wirelessss
Keyboard
Penclic wireless Keyboard K2 (wireless) has 1 LED
indicating battery status.
Num Lock actives the numpad functions which
is the smaller orange numbers.
Special functions (blue text) activated by holding
the Fn key and then pressing:
3

Technical specifications
·
·
·
The supported platforms for Penclic wireless
Keyboard are all operating systems that
support HID 1.1. These include Windows XP or
later, Mac OSX version 10.1 or later and most
Linux/BSD flavors. No extra software/driver
installation is needed.
Connection USB.
AAA 1.2V NiMH Recharging battery (Everyday
use last approximately 2 months before
charging is needed).
-Charging via USB .
Troubleshooting
· Make sure the Penclic wireless Keyboard USB
connector is firmly attached to the computer’s
USB port.
· Un-plug and re-plug the USB receiver.
· Connect to another USB port.
· LR 03/AAA/1.5V Alkaline None rechargeable
battery can be used. NOTE: DO NOT
RECHARGE.
·
·
Connect to another computer.
Check the battery.
· USB-receiver 2,4GHz.
-Wireless reach, minimum 5 metres
-Connection via USB .
Technical support
· Energy saving mode starts after 10 min, press
a button to start.
· MAC operating systems do not support all the
special functions.
Measurements
· Height: 6 mm (21 mm at top),
Base: 285 x 162 mm.
· Weight: 381g including 1.4m cable.
Should you require additional technical support
with your Penclic®, please use our Web site
(www.penclic.se) for further information or contact
our support group through e-mail. Call Technical
Support during business hours, Central European
time (UTC+1).
Contact
+ 46 8 544 98 995
contact@penclic.se
5
6
FCC Warning
This device complies with Part 15 of the FCC Rules. Operation is subject to the following two
conditions:
(1) this device may not cause harmful interference, and (2) this device must accept any
interference received, including interference that may cause undesired operation.
NOTE 1: This equipment has been tested and found to comply with the limits for a Class B digital
device, pursuant to part 15 of the FCC Rules. These limits are designed to provide reasonable
protection against harmful interference in a residential installation. This equipment generates, uses
and can radiate radio frequency energy and, if not installed and used in accordance with the
instructions, may cause harmful interference to radio communications. However, there is no
guarantee that interference will not occur in a particular installation. If this equipment does cause
harmful interference to radio or television reception, which can be determined by turning the
equipment off and on, the user is encouraged to try to correct the interference by one or more of
the following measures:
- Reorient or relocate the receiving antenna.
- Increase the separation between the equipment and receiver.
-Connect the equipment into an outlet on a circuit different from that to which the receiver is
connected.
-Consult the dealer or an experienced radio/TV technician for help.
NOTE 2: Any changes or modifications to this unit not expressly approved by the party
responsible for compliance could void the user's authority to operate the equipment.