Philips Consumer Lifestyle RC9500 Entertainment system remote control User Manual RC9500 1st 040604b
Philips Consumer Lifestyle Entertainment system remote control RC9500 1st 040604b
UserManual.wiki
>
Philips Consumer Lifestyle
>
RC9500 User Manual
users manual
Navigation menu
Upload a User Manual
Namespaces
Wiki Guide
HTML
PDF
Info
Views
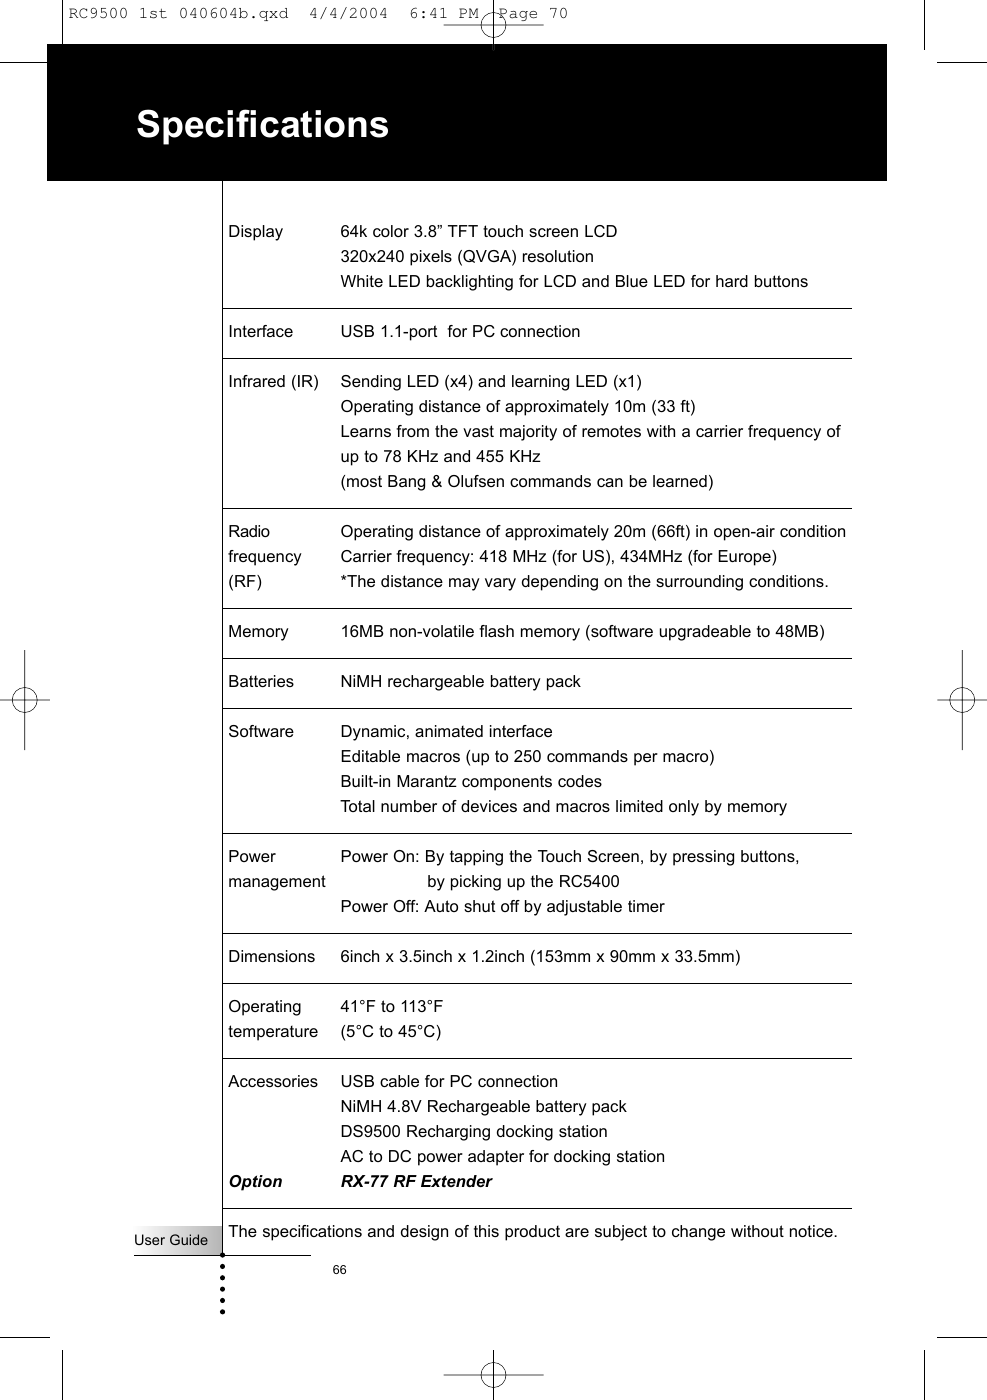
User Manual
Discussion / Help
Navigation