Philips Electronics Singapore DSS1005 2 way RF Docking Station User Manual SJM3152 manual GM singles 20081010
Philips Electronics Singapore Pte Ltd 2 way RF Docking Station SJM3152 manual GM singles 20081010
UserManual.wiki
>
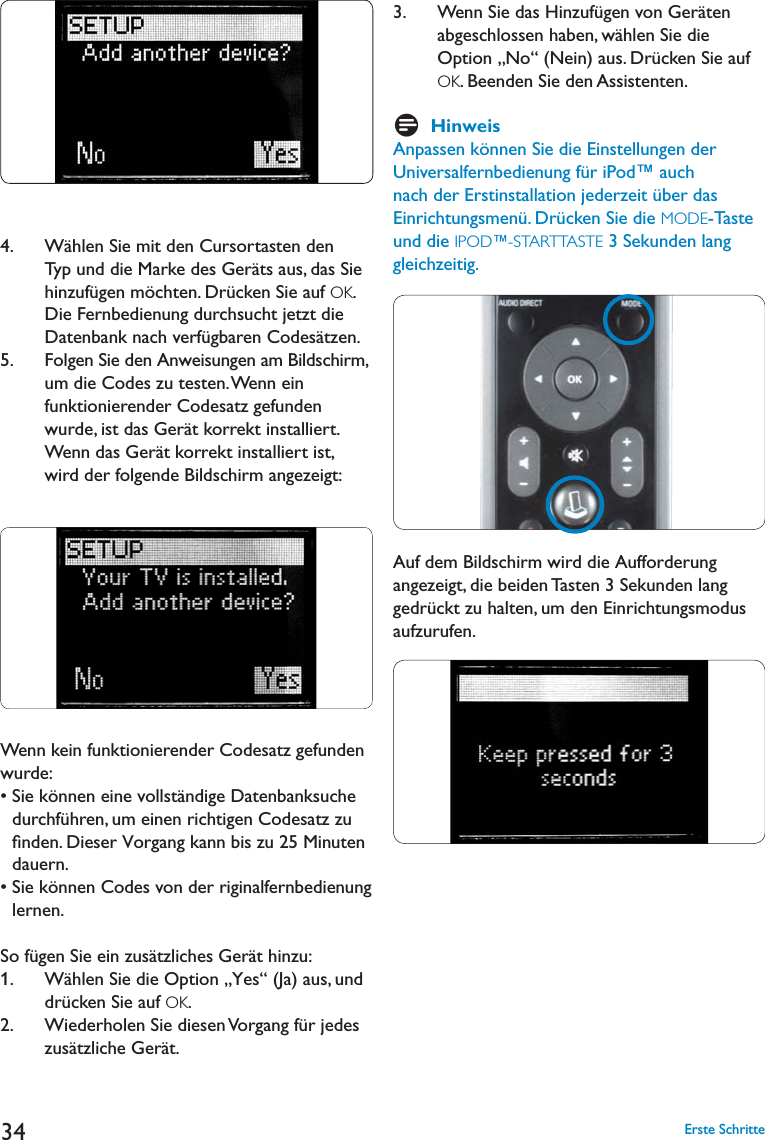
Philips Electronics Singapore
>
DSS1005 User Manual
User manual
Navigation menu
Upload a User Manual
Namespaces
Wiki Guide
HTML
PDF
Info
Views
User Manual
Discussion / Help
Navigation
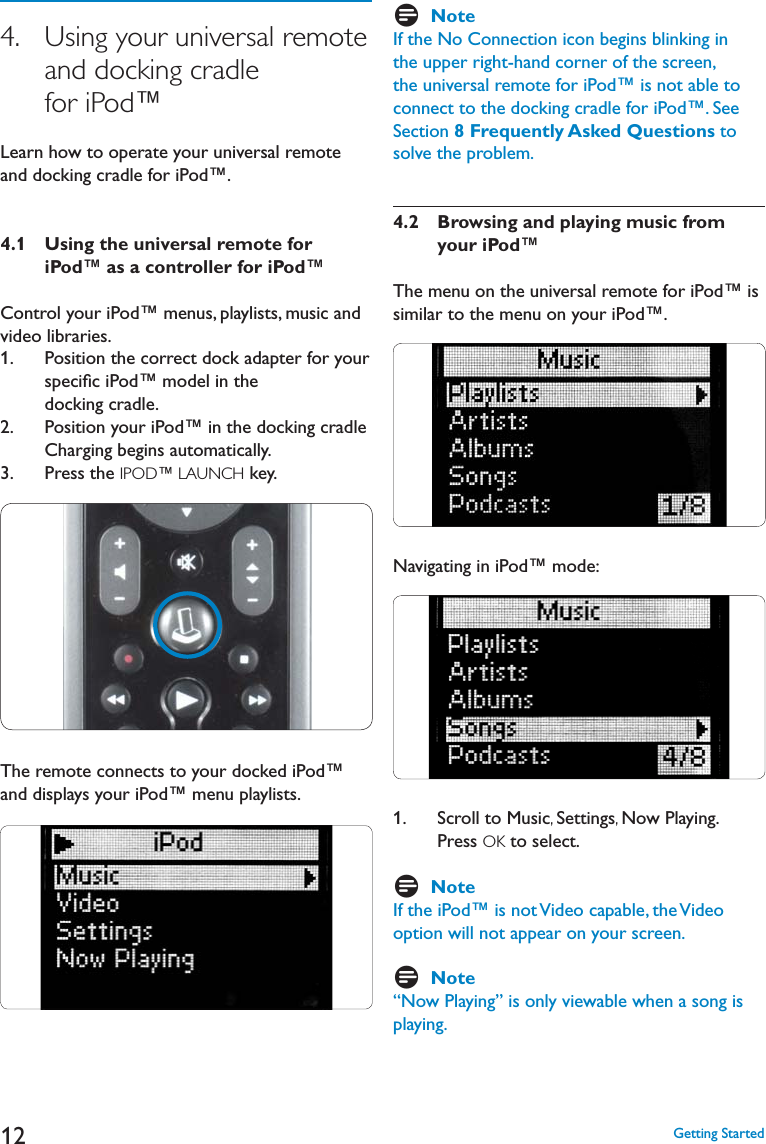
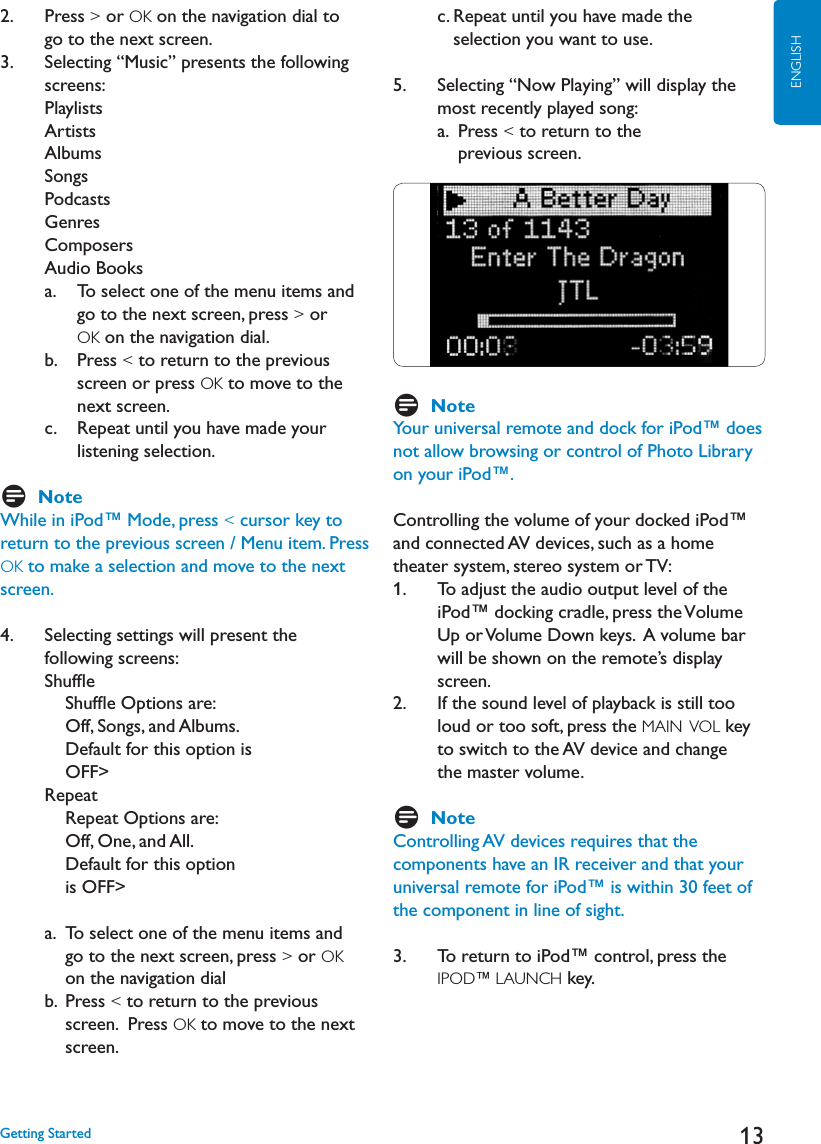
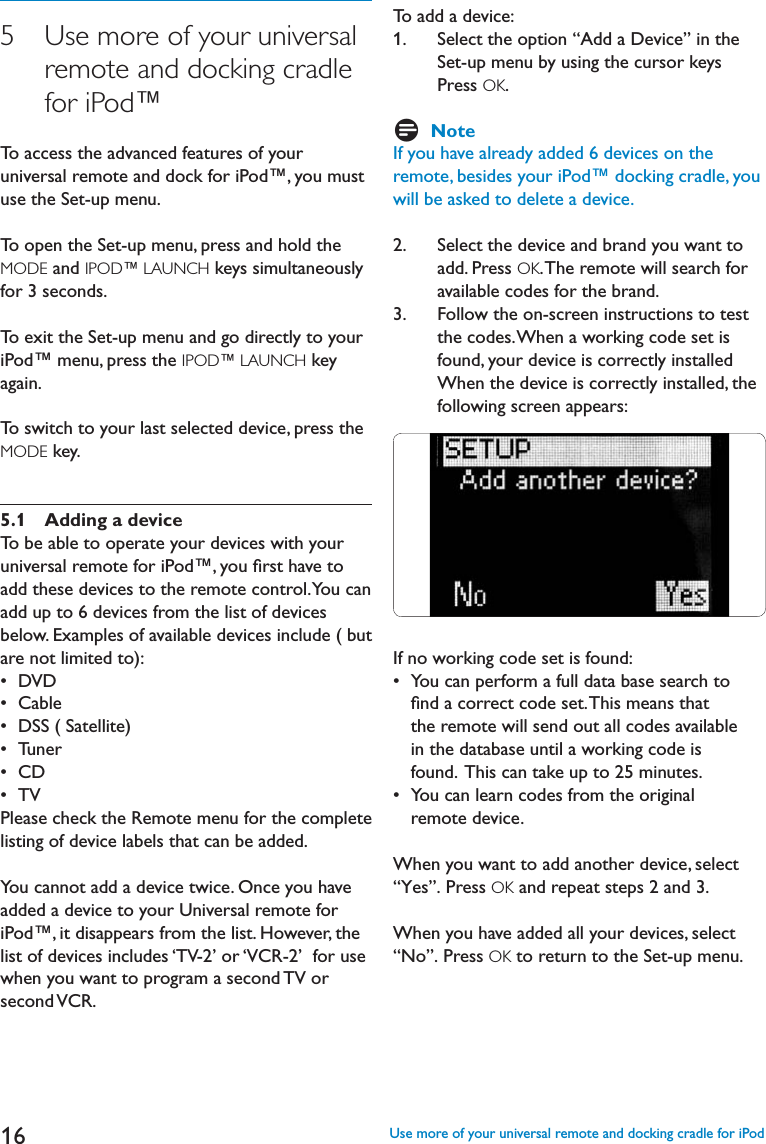
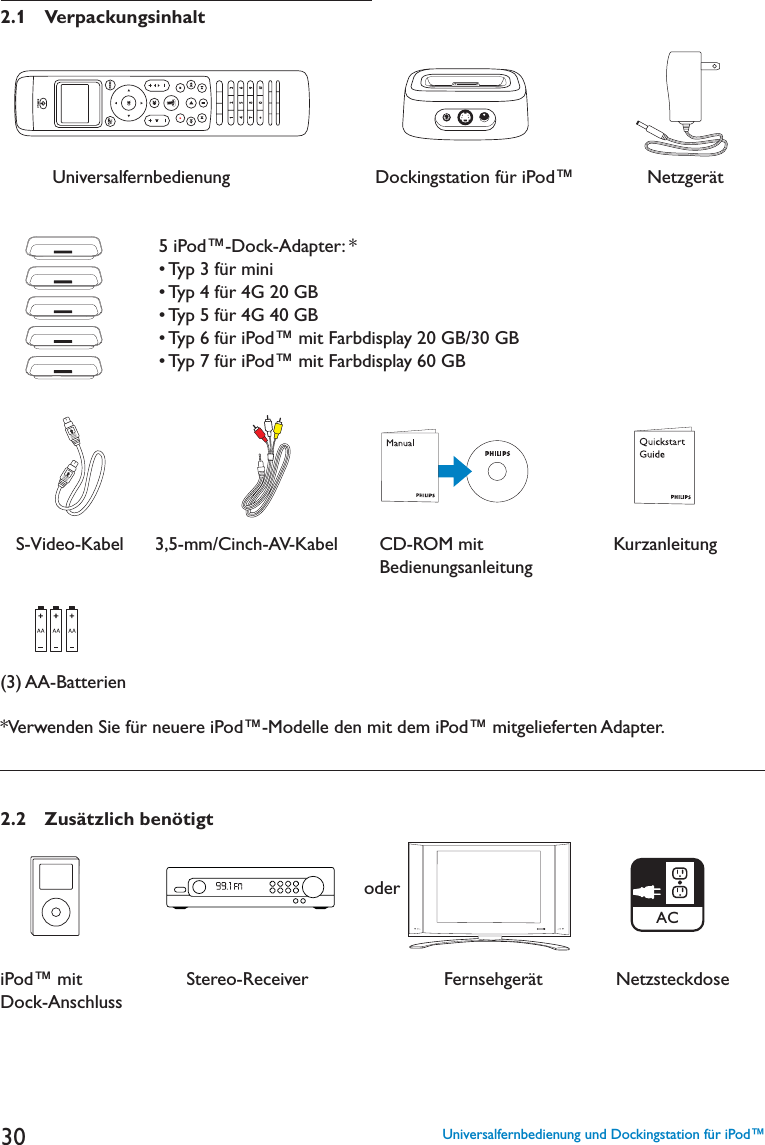
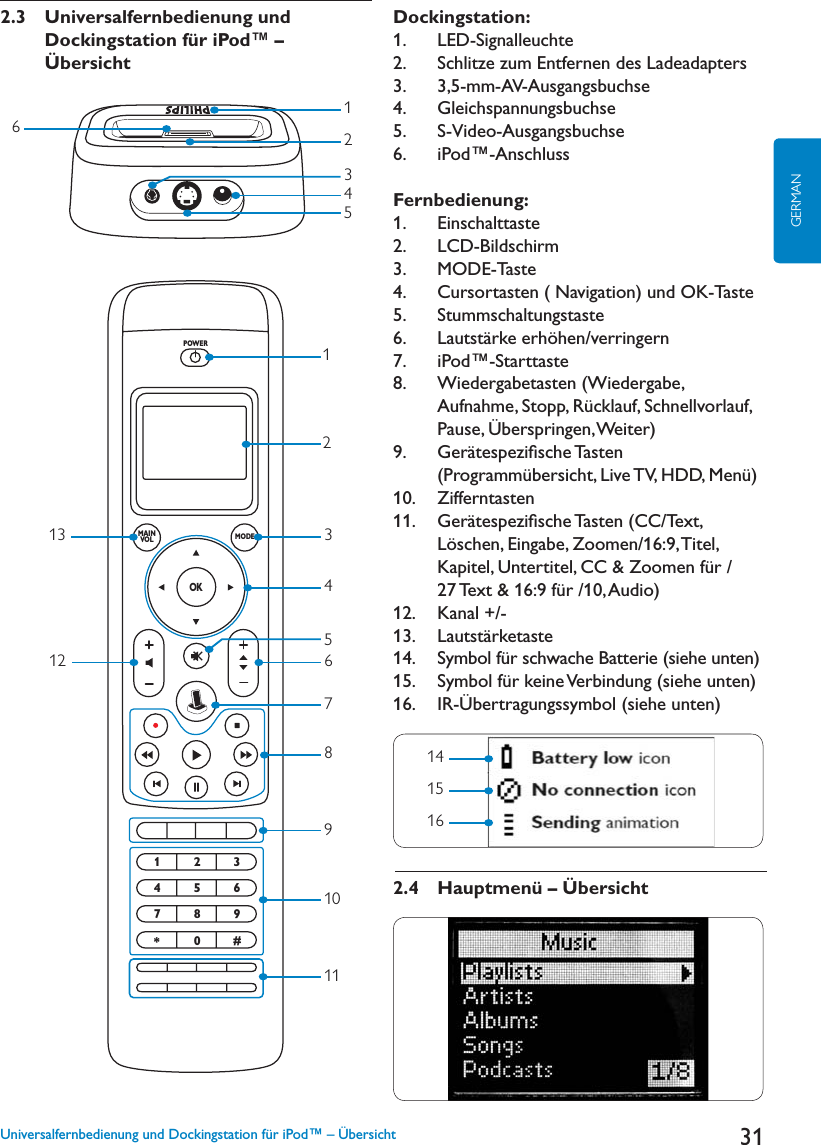
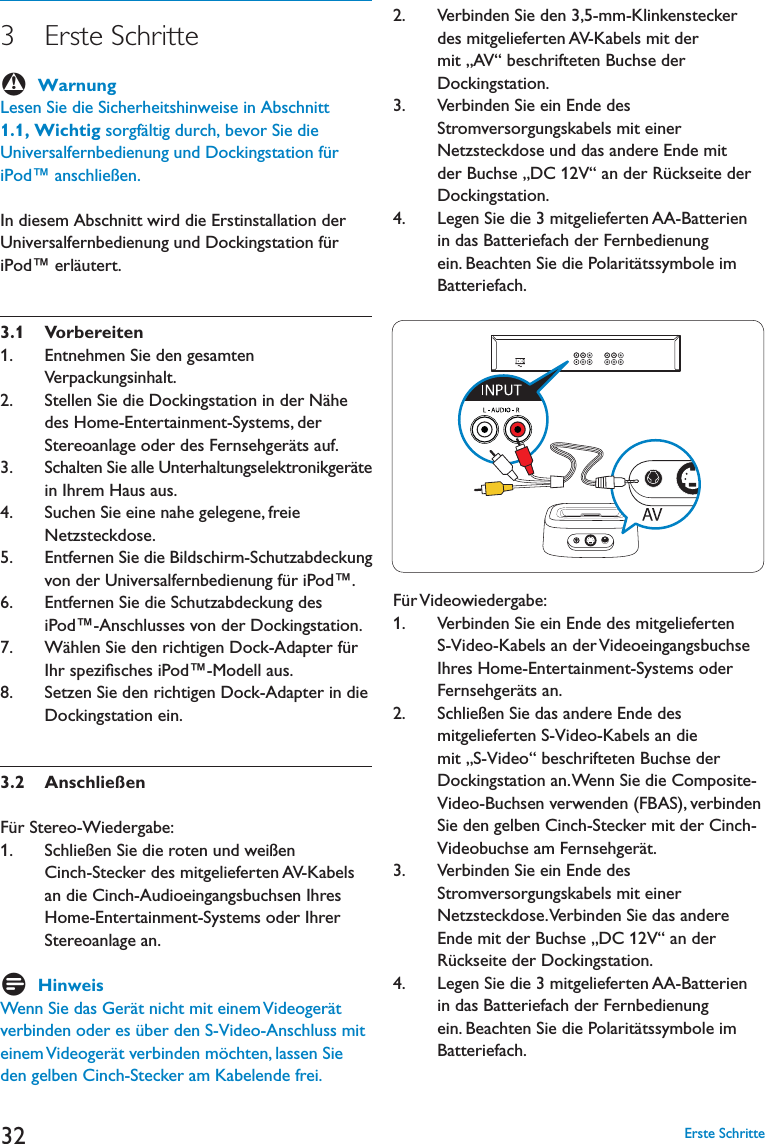
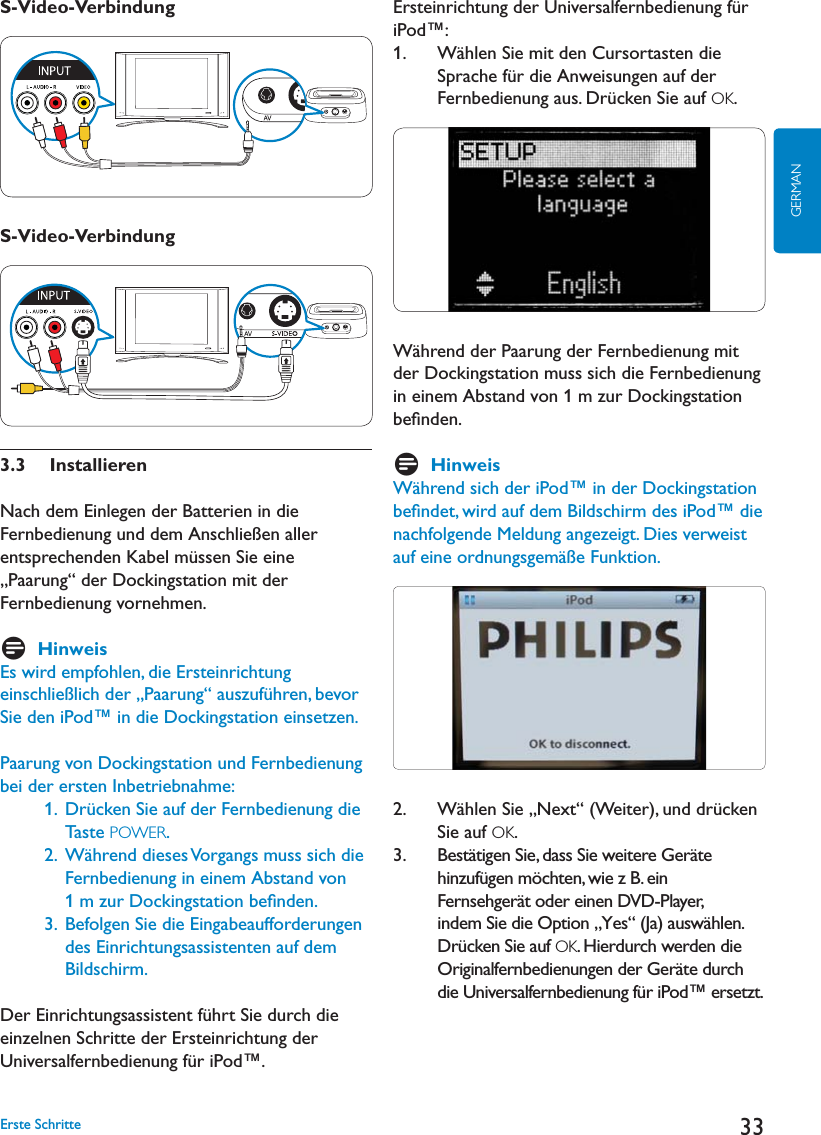
![SJM3152DSS1005/01EN Universal remote and docking cradle for iPod™ 3DE Universalfernbedienung und Dockingstation für iPod™ 26FR Télécommande universelle et station d’accueil pour iPod™ 49NL Universele afstandsbediening en basisstation voor de iPod™ 72ES Mando a distancia universal y estación base para iPod™ 95IT Telecomando universal e basede suporte para iPod™ 118PT Universal remote and docking cradle for iPod™ 141www.philips.com/welcomeSV Universalfjärrkontroll och dockningsstation för iPod™ 164ELƔƧƫƥƷƥƩƱƩƳƴƞƱƩƯƣƥƭƩƪƞƲƷƱƞƳƧƲƪơƩƢƜƳƧƳƽƭƤƥƳƧƲƣƩơL3RG 187PLPilot uniwersalny i podstawka GRNXMĀFDdo odtwarzacza iPod™210ǠǺǵǯDzǽǾǭǸȉǺȈǶǼȀǸȉǿRU DZǵǾǿǭǺȃǵǻǺǺǻǰǻȀǼǽǭǯǸDzǺǵȌ ǵDZǻǷȀǾǿǽǻǶǾǿǯǻDZǸȌL3RG 2338QLYHU]iOQtGiONRYîRYODGDĈDCS GRNRYDFtNROpENDSUR]Dŏt]HQtiPod™ 256HU Univerzális távirányító és dokkoló az iPod™ használatához 279TR iPod™ için evrensel uzaktan NXPDQGDYHEDĚODQW×FLKD]× 302](https://usermanual.wiki/Philips-Electronics-Singapore/DSS1005/User-Guide-1019564-Page-1.png)