Qisda PD060B00 E-Book User Manual Pandigital Novel User Guide
Qisda Corporation E-Book Pandigital Novel User Guide
UserManual.wiki
>
Qisda
>
PD060B00 User Manual
User Manual
Navigation menu
Upload a User Manual
Namespaces
Wiki Guide
HTML
PDF
Info
Views
User Manual
Discussion / Help
Navigation


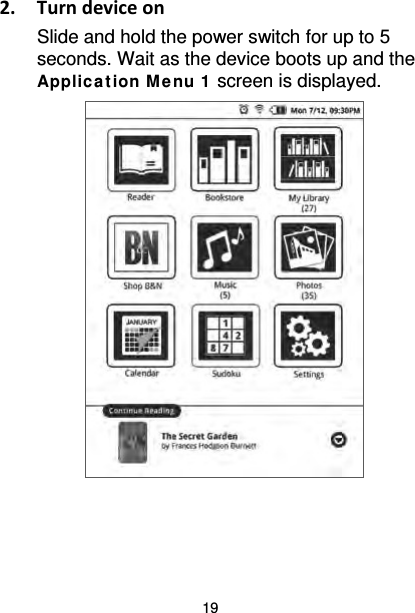

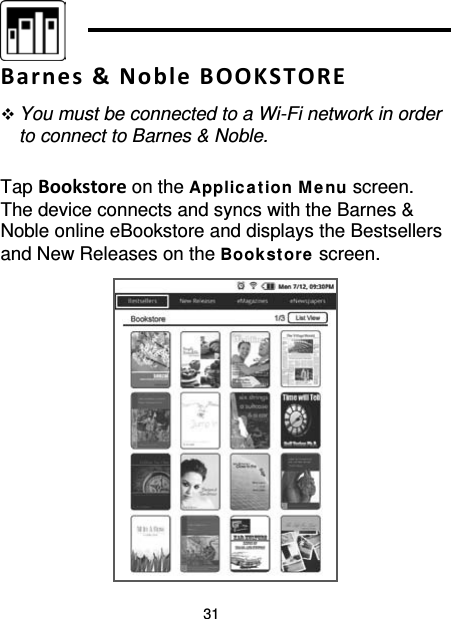
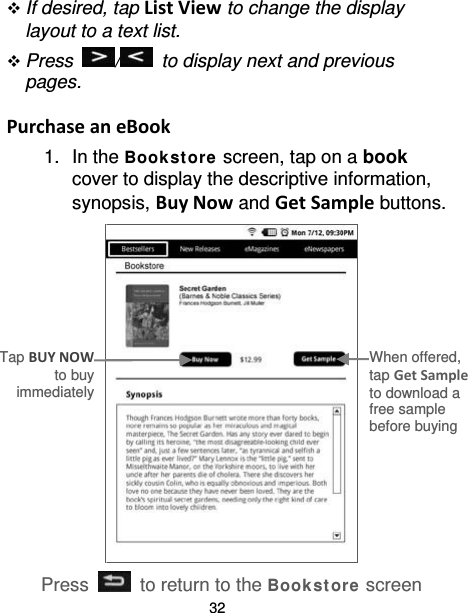
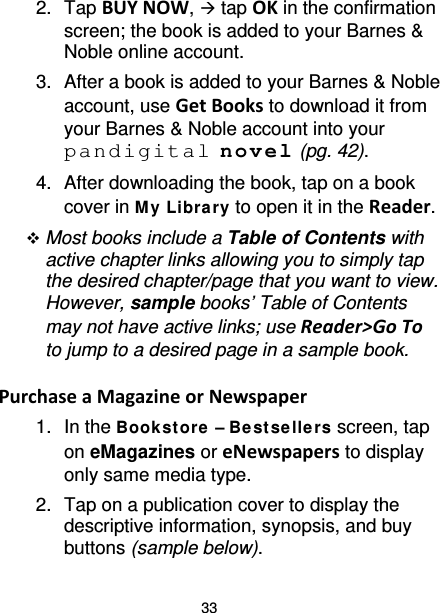
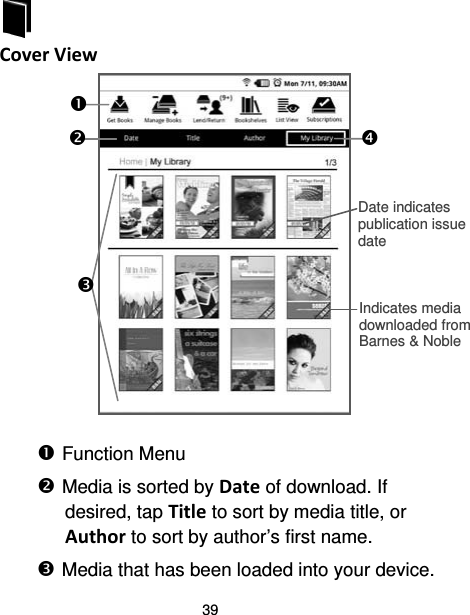
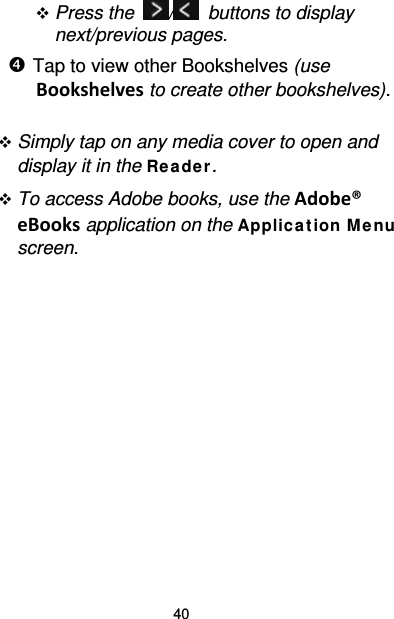
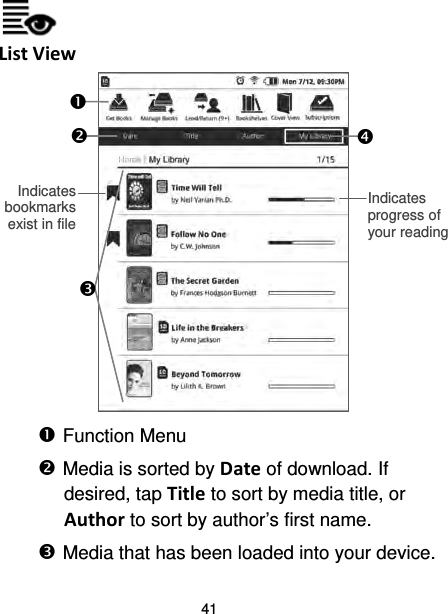

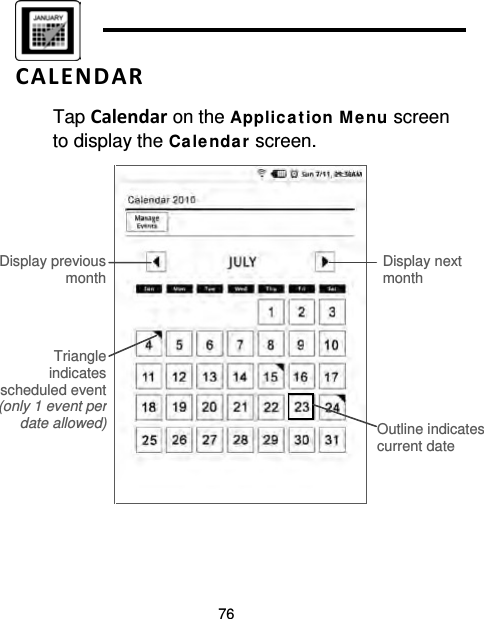
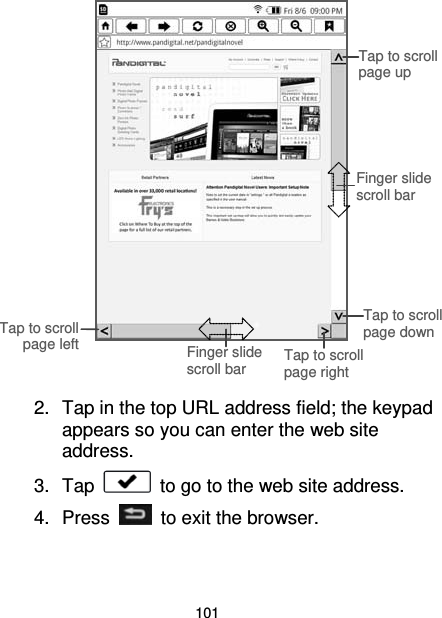
![73 Photo Gallery 1. Tap Photos on the Applic at ion M enu screen. 2. The Phot o Ga llery screen is displayed with photos arranged alphabetically in ascending order. You can tap View [ASC] to change the display to descending order [DSC]. You can set the photos to display by date added to the device through Settings>Photos (pg. 84). 3. To view individual photos, tap on a photo. 4. When a photo is displayed in full-screen mode, a Phot o Func t ion M enu appears at the top of the screen with the following options: Back Return to Photo Gallery screen. Zoom In Enlarges the photo view; tap multiple times until desired view is achieved. Tap to pan the viewable section of the photo.](https://usermanual.wiki/Qisda/PD060B00/User-Guide-1353428-Page-73.png)