Quail QP7HS Dect Wireless Communication User Manual Layout 1
Quail Ltd. Dect Wireless Communication Layout 1
Quail >
15_Q-P7HS UserMan

User guide
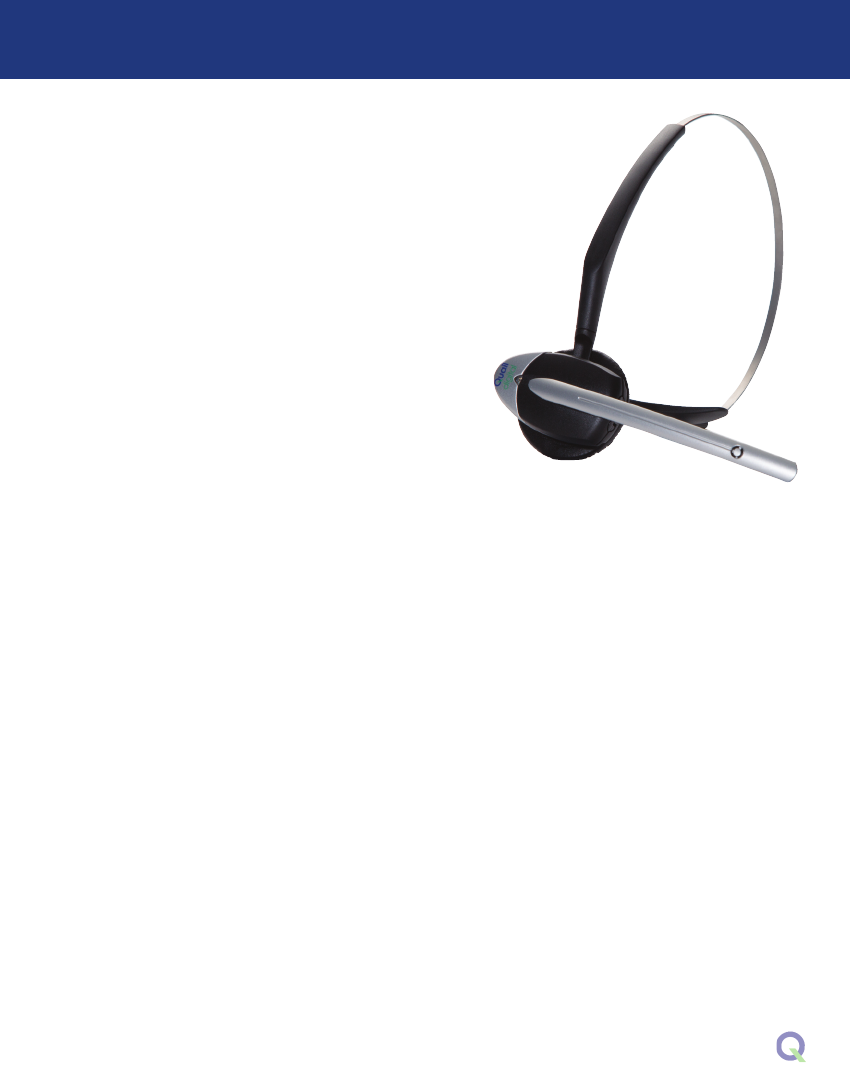
PRO7 HEADSET SYSTEM

If your installation requires more than one Base you will require Cat5
cable, two or more RJ45 plugs and crimping tool - and a LAN + RJ45
network cable tester.
These installation instructions are aimed at a person with a reasonable
level of technical competence and familiar with the safety precautions
relevant to the use of electrical and electronic equipment. You should
not attempt to install this system without the relevant level of expertise.
This system operates with a 48v DC power supply. To maintain
warranty, only Quail Digital approved parts should be used.
PRO7 HEADSET SYSTEM

3
Installing the system 4
Positioning the charger 8
Registering and using headsets 9
Frequently asked questions 11
Product specification 12
Troubleshooter 14
Contents
The Base Station (Base) is a license-free DECT wireless transceiver using
a 48v DC external power supply. The system can be expanded with
multiple Bases, up to a maximum of 20, in a closed communications
network linked by Cat5 cable.
The typical range of the Base is up to 50 metres internally and up to 100
metres in open spaces. Internal walls, stairwells, partitions, building fabrics
and room height can affect range.
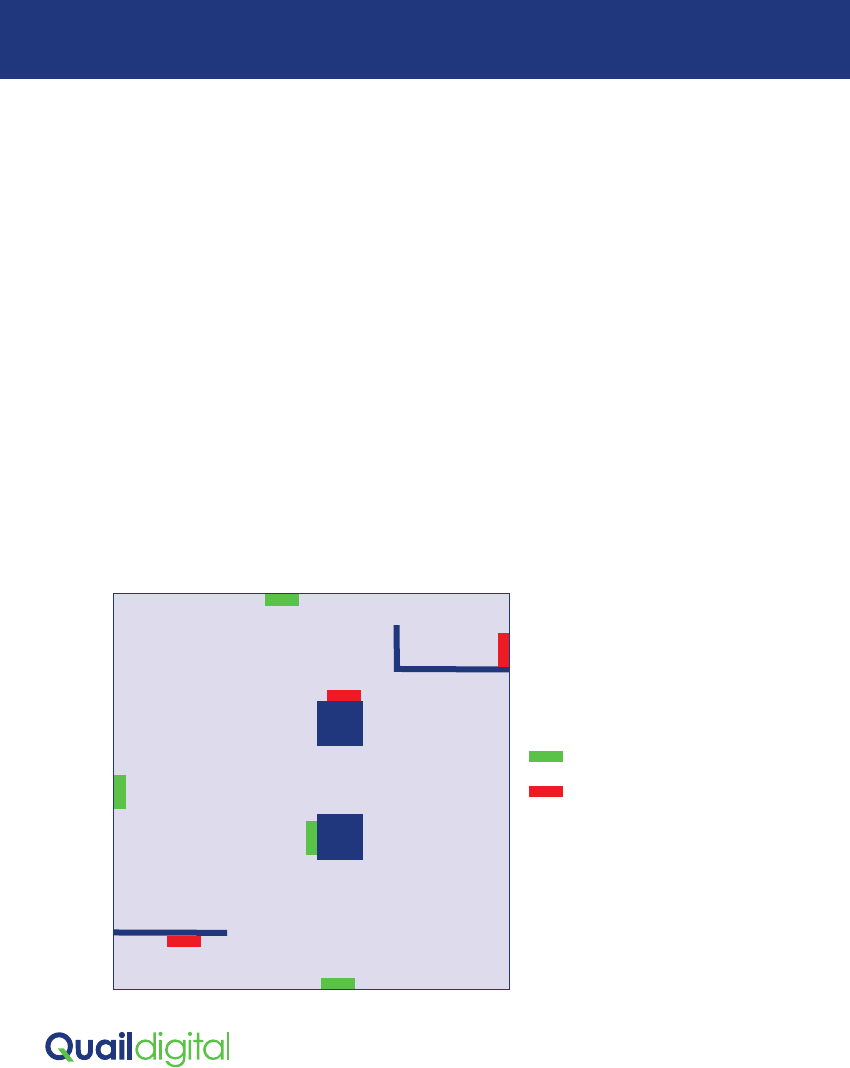
Installing single or multiple Bases
The diagram below illustrates possible locations to mount your Base. As a
tip always locate a Base where it has maximum direct sight of the area
you want to cover. Before fixing your installation permanently, you could
also place the Base in temporary locations around the premises to test
and optimize coverage. You should also identify the location of power
sockets and routes for Cat5 cables if you intend to use multiple Bases.
Installing the system
Locating your Base
3Good location
7 Bad location
partition
pillar
PRO7 HEADSET SYSTEM
5
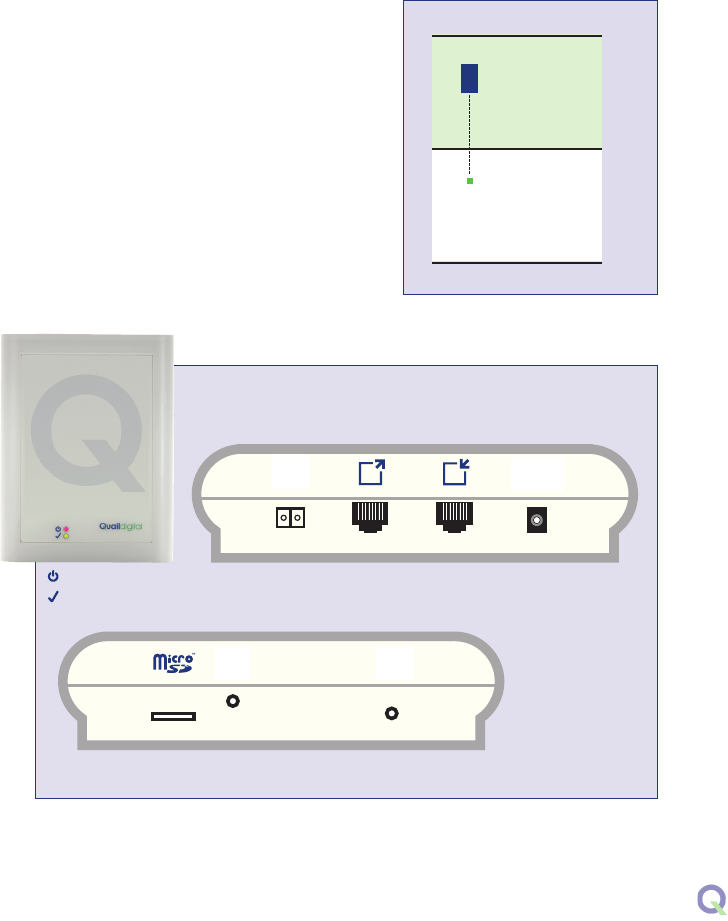
If you plan to mount the Base higher than
2m above floor level consider installing a
Registration Button - it should be wall-
mounted underneath the Base so you
can see the Base LEDs during the
registration process.
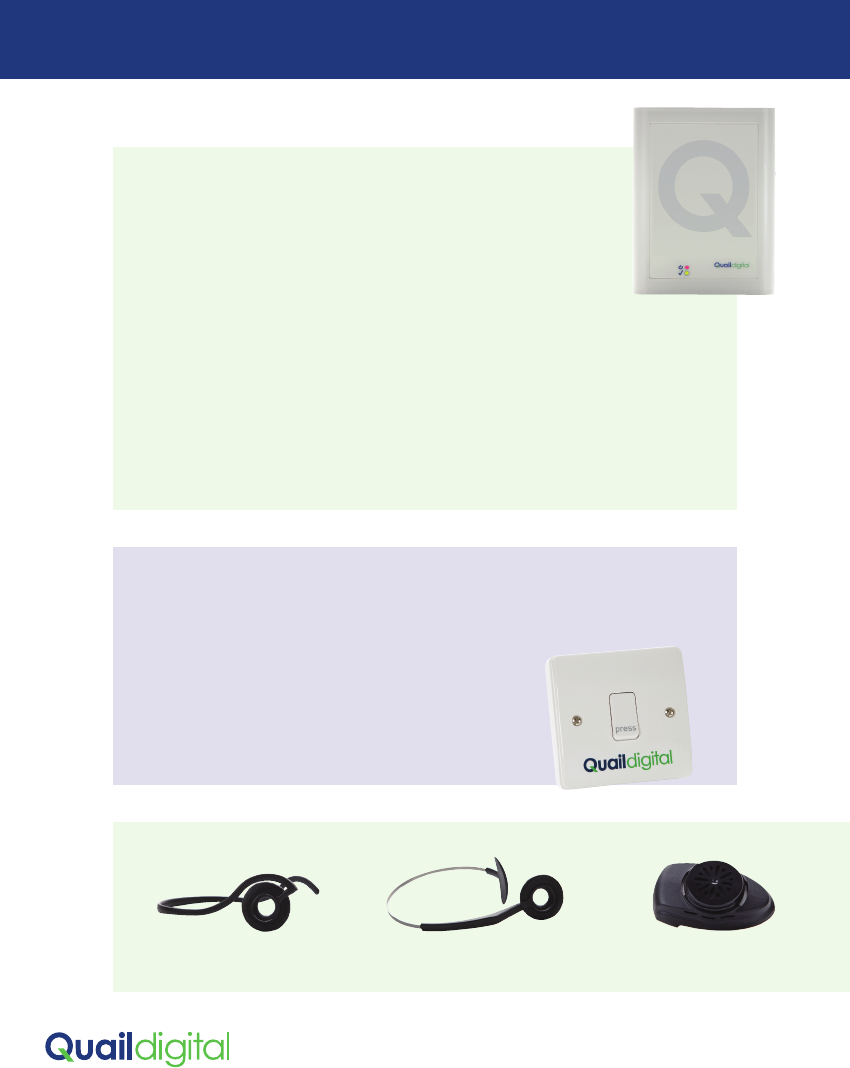
The Registration Button is used to activate
the registration process (press for 5
seconds) and to reset the entire network
(press for 15 seconds).
Registration
Button
Cat5
Out
Cat5
In
Power
adaptor
Micro
SD card
Message
volume
Registration: press for 5 secs
Reset: press for 15 secs
4m
2m
0m
Base
Registration
Button
Power
Status
Base Station
Bottom
Top
REGISTRATION
POWER
48v DC
MESSAGE
VOLUME
REGISTRATION/
RESET
Useful Tip Power to the Bases should use a constant 24hr power outlet.
If one or more mains circuits is switched off, it may affect the operation
of the entire Base network.
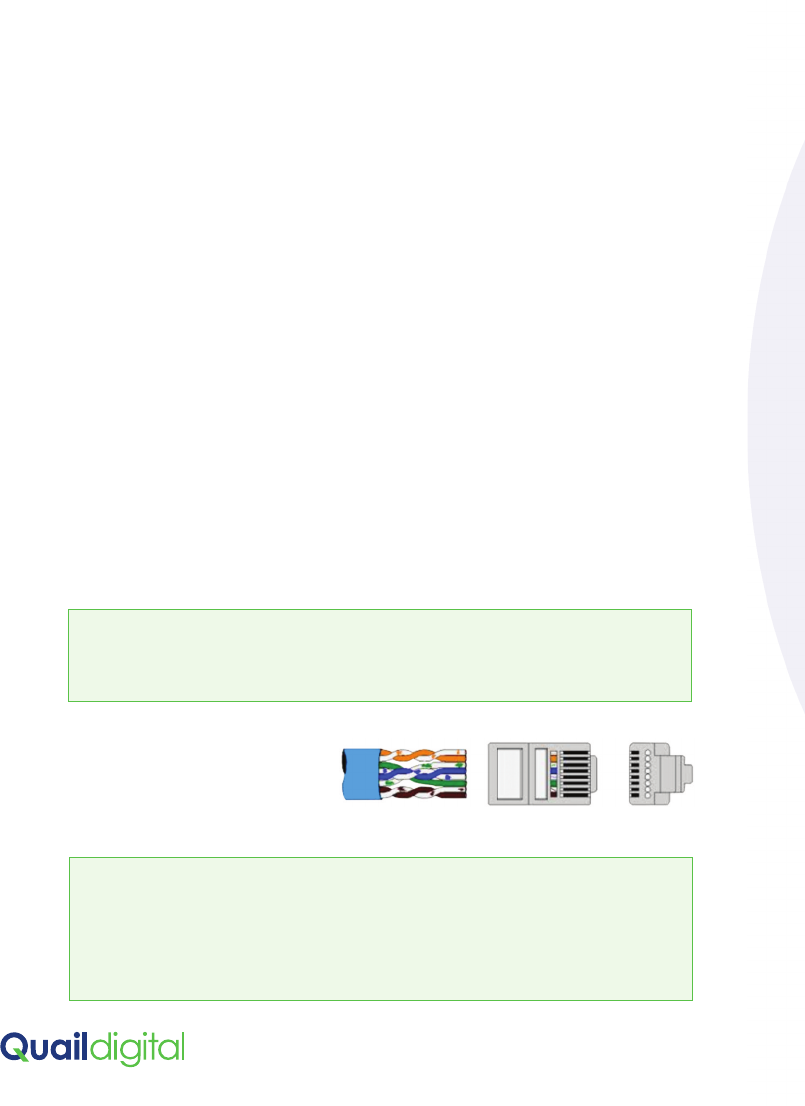
Follow the Type B wiring
protocol for all RJ45 plugs
Colour code as shown right.
Rules when installing multiple Bases on the same network
•Ideal height for Bases is between 2 and 4 metres above floor level.
•The maximum cable length between any two Bases should not
exceed 100m.
•The maximum cable length between two power sources should not
exceed 200m.
•The maximum number of Bases a single power supply should support
is four.
•When ‘mapping’ the premises, as a general rule place the next Base
10m beyond the point where the headset loses range from the
previous Base.
•It is good practice to label the Cat5 cables that go into the top of the
Base IN and OUT respectively to avoid mis-connection at a later date.
PRO7 HEADSET SYSTEM
Important If you add one or more bases to a system that’s already
been used, always RESET the system by pressing the RESET button for
15 seconds. This will align the registration data on all bases. Failure to
RESET the system will result in the bases failing to communicate with
each other.
7
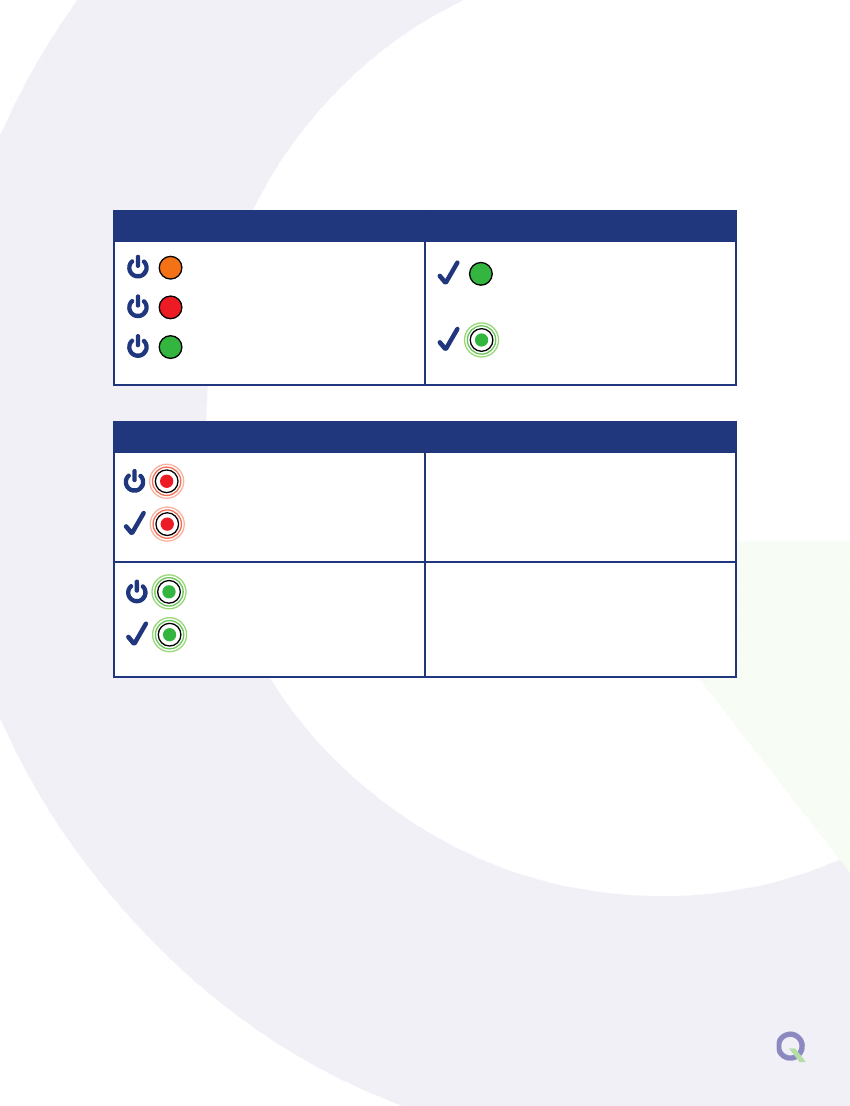
The two LEDs on the front of the Base indicate its status, as below:
POWER LED STATUS LED
Booting up
Base is master and ready
Base is slave and ready
Synchronization signal
receiving OK
Active call or calls on this
Base
BOTH LEDs FLASHING CORRECTIVE ACTION
Power too low to boot up Check the individual power supplies
on the network for possible failure; or
being switched off; or consider adding
an extra power supply to the network
Base in registration mode The system will time-out of this mode in
10 minutes but you can press the
registration switch to exit the
registration mode manually
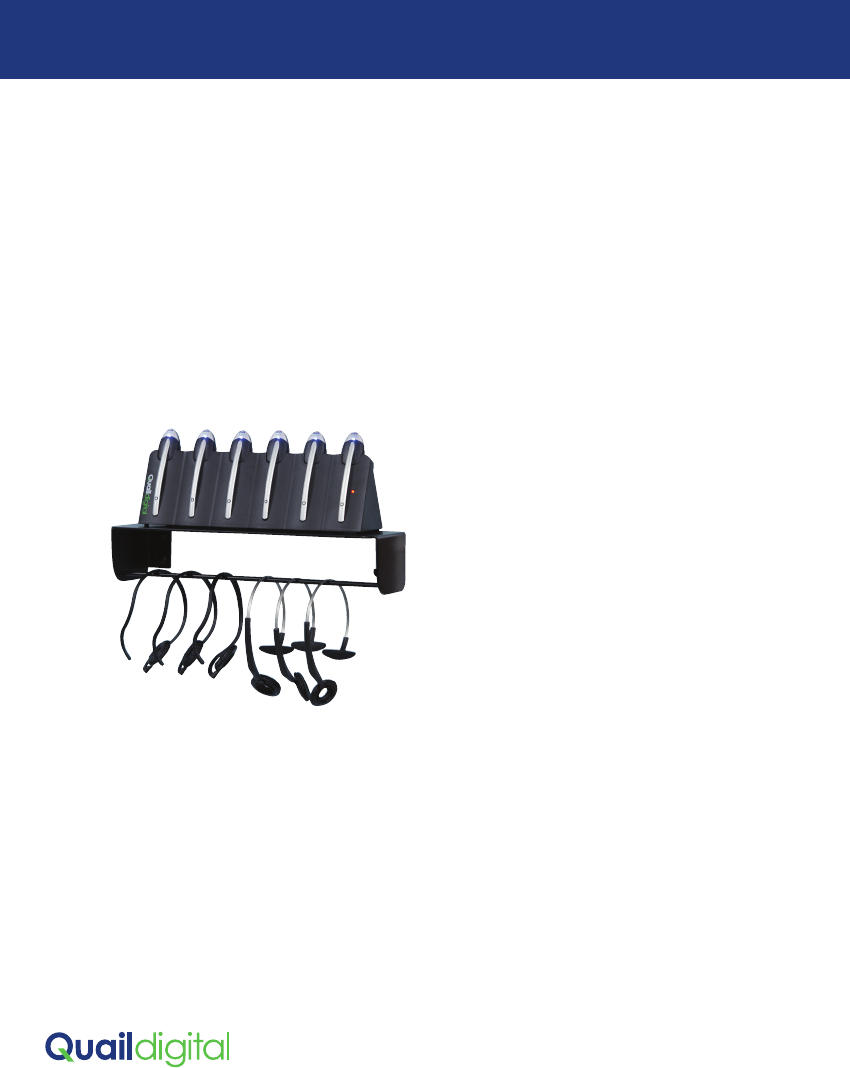
The Headset Charger should be positioned on a worktop or wall-mounted
Headset Charger Shelf (Q-P7SHELF) and plugged into a socket that is a
constant 24hr power outlet. The charger should be located within range
of a Base so that headsets remain active at all times.
Return headsets to the charger when not in use. Charge time is
approximately 2.5 hours. When charging, the blue LED on the headset
will flash every 5 seconds. When fully charged the blue LED is constant.
Headsets will last up to 9 hours between charges in standby/PTT mode,
and 6.5 hours in TalkLock mode. 3 beeps every 60 seconds indicate the
battery is getting low.
Headbands and neckbands can
be stored neatly on the hanging
bar of the Headset Charger Shelf.
Positioning the charger
PRO7 HEADSET SYSTEM
9
Each headset needs to be registered to the system for the
first time before use. The system has the capacity for 30
headsets. To register one or more headsets, follow this
procedure:
1Make sure the new headset has a charged
battery (blue LED flashes every 5 seconds).
2Make sure all the headsets in use with the
system are in range of the Base. If a
headset isn’t in range of the Base during the
registration process it will be deleted from the
system.
3Put the Base in ‘registration mode’ by pressing the Registration Button
on the Base, or by pressing the wall-mounted Registration Button, for
5 seconds. On the Base both LEDs should be flashing green.
4Place the new headset to your right ear, press the large silver button
and volume toggle down for 3 seconds. Wait for the bleeps to
change their frequency and tone to one bleep every second.
5A 3 second long bleep signifies successful registration. You may also
hear a double bleep tone that will indicate it is ready to use.
6Once headsets have successfully registered to the Base, the system
as a whole goes through an internal process of alignment with all the
headsets and Base(s). This process can take up to 10 minutes. After 10
minutes the headsets will be fully operational with the Base(s).
7The registration process will time-out after 10 minutes, no further action
required.
8The system is now ready to use.
Registering and using headsets
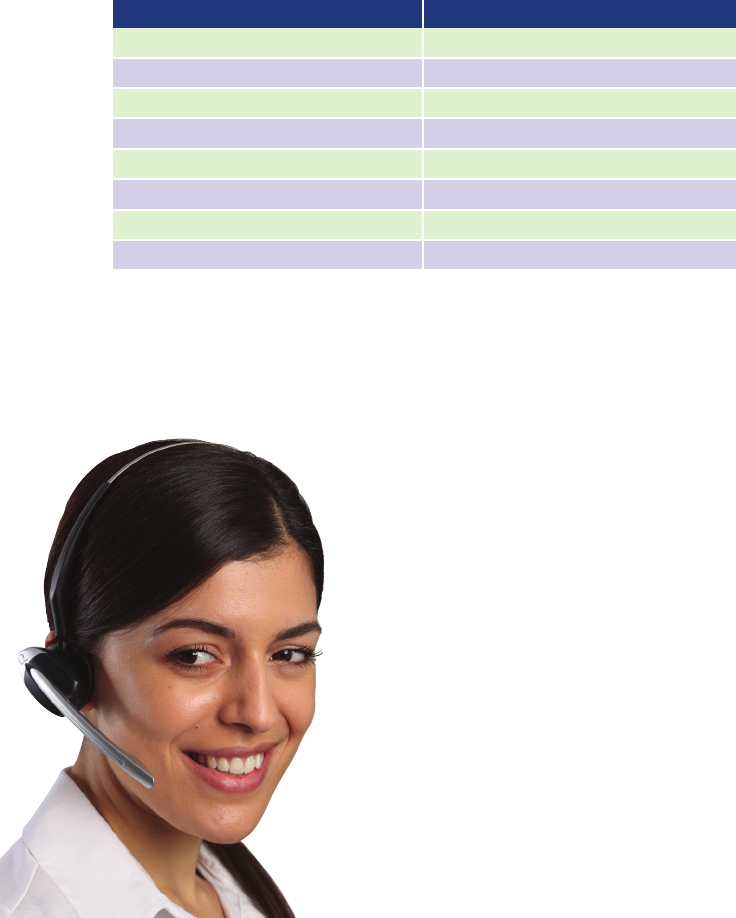
Volume There are 5 volume settings. Use the toggle at the rear of the
headset to adjust volume by pressing upwards for each step.
Speech The headset can be used in 2 speech modes:
- TalkLock This mode is hands-free. To activate, press the silver button
for less than 1 second - the headset is then hands-free.
To de-activate it, press the silver button again. This
will shut off the microphone.
-PTT Press the silver button while you are talking,
then release when finished.
Up to 6 users can speak at any one time. All
headsets hear all the time.
Best practice: only use TalkLock if you need to be
hands-free. Use PTT for routine communication.
Audible tones for different headset status and functions:
STATUS TONE
Registration mode 1 beep every second
Out of range 2 beeps every 10 seconds
Battery low 3 beeps every 60 seconds
Registration complete 1 long beep (3 seconds)
Busy tone 3 long beeps
Headset not registered 1 beep every 3 seconds
Base capacity full As per busy tone
Call drop Bloop-bleep tone

11
Up to 6 people can use
TalkLock at one time. If 6
people are using
TalkLock, can anyone
else speak on the
system?
No. Anyone else pressing their talk-button will
hear an engaged tone and cannot enter the
call.
How are the 6 speech
channels freed up?
As soon as the 6th user engages TalkLock they
effectively block anyone else entering the call.
At this point the system hunts randomly for any
of the other 5 users that aren’t speaking at that
moment and cancels TalkLock on one of them.
This frees a channel. The system only attempts
to free one channel.
Will the system throw off
more than just the 6th
user?
No. Up to 5 users can remain in TalkLock mode
continuously without concern that their TalkLock
will be cancelled by the system.
What happens if TalkLock
is left on when the
headset has finished
being used? Is the
TalkLock cancelled?
No, TalkLock isn’t cancelled just because the
headset isn’t on someone’s head. TalkLock will
be cancelled if: a) the battery goes flat; b)
headset taken out of range; c) placed in
charger; d) becomes one of the randomly
selected 5 headsets to have the channel
cancelled because a 6th hands-free user has
joined.
If the registration button is
pressed, do the headsets
currently registered to the
system need re-
registering.
No, they don’t. Provided headsets are in range
of the base station, whether in or out of the
battery charger, they remain registered and do
not need re-registration.
Frequently asked questions
PRO7 HEADSET SYSTEM
Product specifications
BASE STATION Q-P7BS
Operating frequency 1.88-1.90 GHz EMEA, Asia,
1.910-1.930 GHz North America
DECT transmission power 250 mW EMEA, Asia
125 mW North America
Headset capacity Up to 30 headsets all listening with a
max of 6 simultaneous participants
Multiple Bases (max) Network via Cat5 cable, up to 20 Bases
Expansion with Cat5 cable max 100m cable length between Bases
Power requirements 100-240v AC voltage sensing
Dimensions HxWxD 170 x 130 x 35 mm
Weight 200g
REGISTRATION BUTTON Q-P7RS
Function Activates registration and reboot functions
on sites where Base is out of reach
Cable requirements 2 core cable
Dimensions HxWxD 80 x 80 x 30mm
Weight 90g
ACCESSORIES
NECKBAND Q-RH7NB HEADBAND Q-RH7HB BATTERY Q-RH7BAT
13
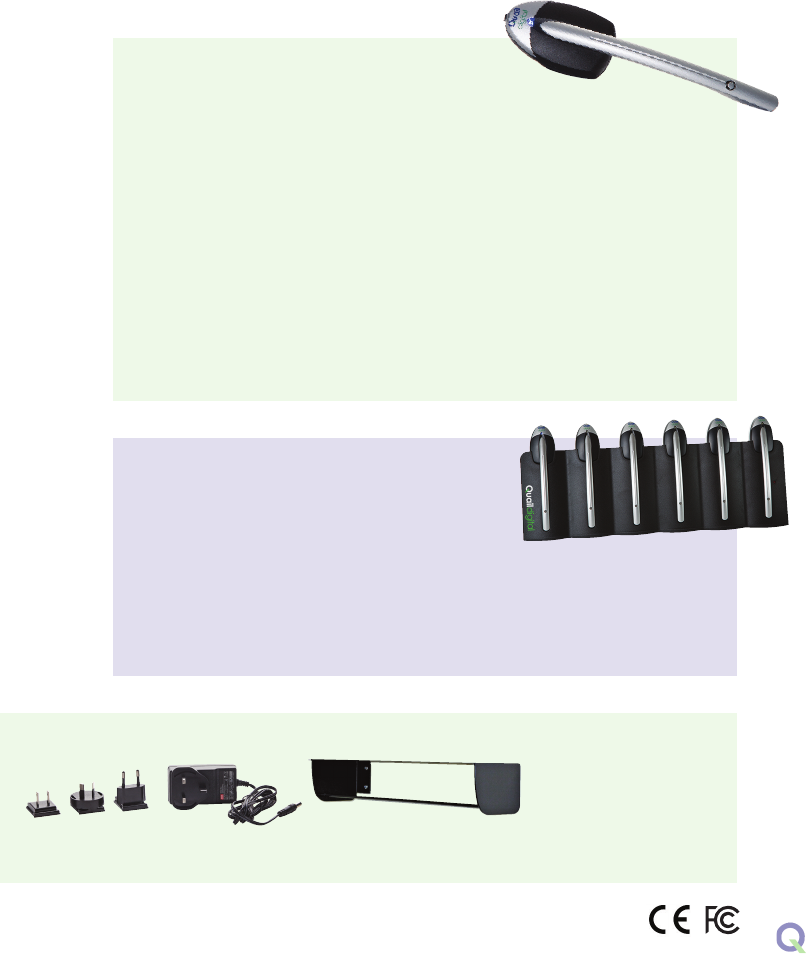
HEADSET Q-P7HS
Operating frequency 1.88-1.90 GHz EMEA, Asia,
1.910-1.930 GHz North America
Operating modes TalkLock and PTT as standard
Microphone Noise cancelling, electric mic
Battery capacity 9 hours PTT, up to 6.5 hours TalkLock,
Charge time 2.5 hours to full re-charge
Volume control 5-stage, slide button up/down
Battery (part number) Lithium Ion 3.7v (Q-RH7BAT)
Weight 23g
CHARGER Q-P7CH
Capacity for headsets 6 port
Power indicator Red LED
Mounting Shelf / desktop
Power requirements 100-240v AC voltage sensing
Dimensions HxWxD 110 x 330 x 96 mm
Weight 680g
POWER ADAPTER Q-48V HEADSET CHARGER SHELF
Q-P7SHELF
HYGIENE COVERS
Q-RH7HC
Box of 100
PRO7 HEADSET SYSTEM
FAU LT ACT ION
None of the headsets
are working
Always check the headsets are registered.
Check the Base power LED is illuminated. If not,
check the mains power is on. If yes, power
supply or Base may be faulty. Contact your
service company.
The system is working
but the range is short
Is your Base positioned on a wall as per
specification on page 3? If in doubt, move it to
another location, and see if range improves. If
it doesn’t, contact your service provider.
One or more headsets
isn’t working
Is the battery charger LED light illuminated RED?
If not, check the power to that socket is on. If it
is, check the power supply is connected. If it is
connected and the power light doesn’t
illuminate , contact your service provider.
Headset(s) LED is flashing,
but not working
Put the headset to your ear, stand near to the
Base: are you hearing 1 beep every 3 seconds?
If so, headset isn’t registered. Follow registration
procedure. Are you hearing 2 beeps every 10
seconds? If so, you’re out of range of Base. Move
closer. Once in range you’ll hear 1 long beep.
Headset has been in
charger but LED light
isn’t flashing
Swap the battery with another headset which
you know is working. If the headset works with
the alternative battery, discard the failed
battery and contact your service provider for a
replacement battery.
Headset LED is on but the
headset has ‘locked up’
Remove battery for 5 seconds then replace back
onto the headset. This should clear the lock-up.
Headsets are picking up
audio from more than
one system.
Your headset is registered to more than one
Base, and needs removing from the one you
don’t want it used with. See page 7 for
procedure.
How do I order
accessories?
Contact your service provider or email
sales@quaildigital.com
Troubleshooter

15
www.quaildigital.com
11.07.16
IC: 6402A-QP7HS
This device complies with Industry Canada licence-exempt RSS standard(s). Operation is
subject to the following two conditions: (1) this device may not cause interference, and (2)
this device must accept any interference, including interference that may cause undesired
operation of the device.
Le présent appareil est conforme aux CNR d'Industrie Canada applicables aux appareils radio
exempts de licence. L'exploitation est autorisée aux deux conditions suivantes : (1) l'appareil
ne doit pas produire de brouillage, et (2) l'appareil doit accepter tout brouillage
radioélectrique subi, même si le brouillage est susceptible d'en compromettre le
fonctionnement.
FCC ID: UDDQP7HS
This device complies with Part 15 of the FCC Rules. Operation is subject to the following two
conditions: (1) this device may not cause harmful interference, and (2) this device must
accept any interference received, including interference that may cause undesired
operation.