Quanta Computer IL Notebook Computer User Manual
Quanta Computer Inc Notebook Computer Users Manual
UserManual.wiki
>
Quanta Computer
>
IL User Manual
Users Manual
Navigation menu
Upload a User Manual
Namespaces
Wiki Guide
HTML
PDF
Info
Views
User Manual
Discussion / Help
Navigation
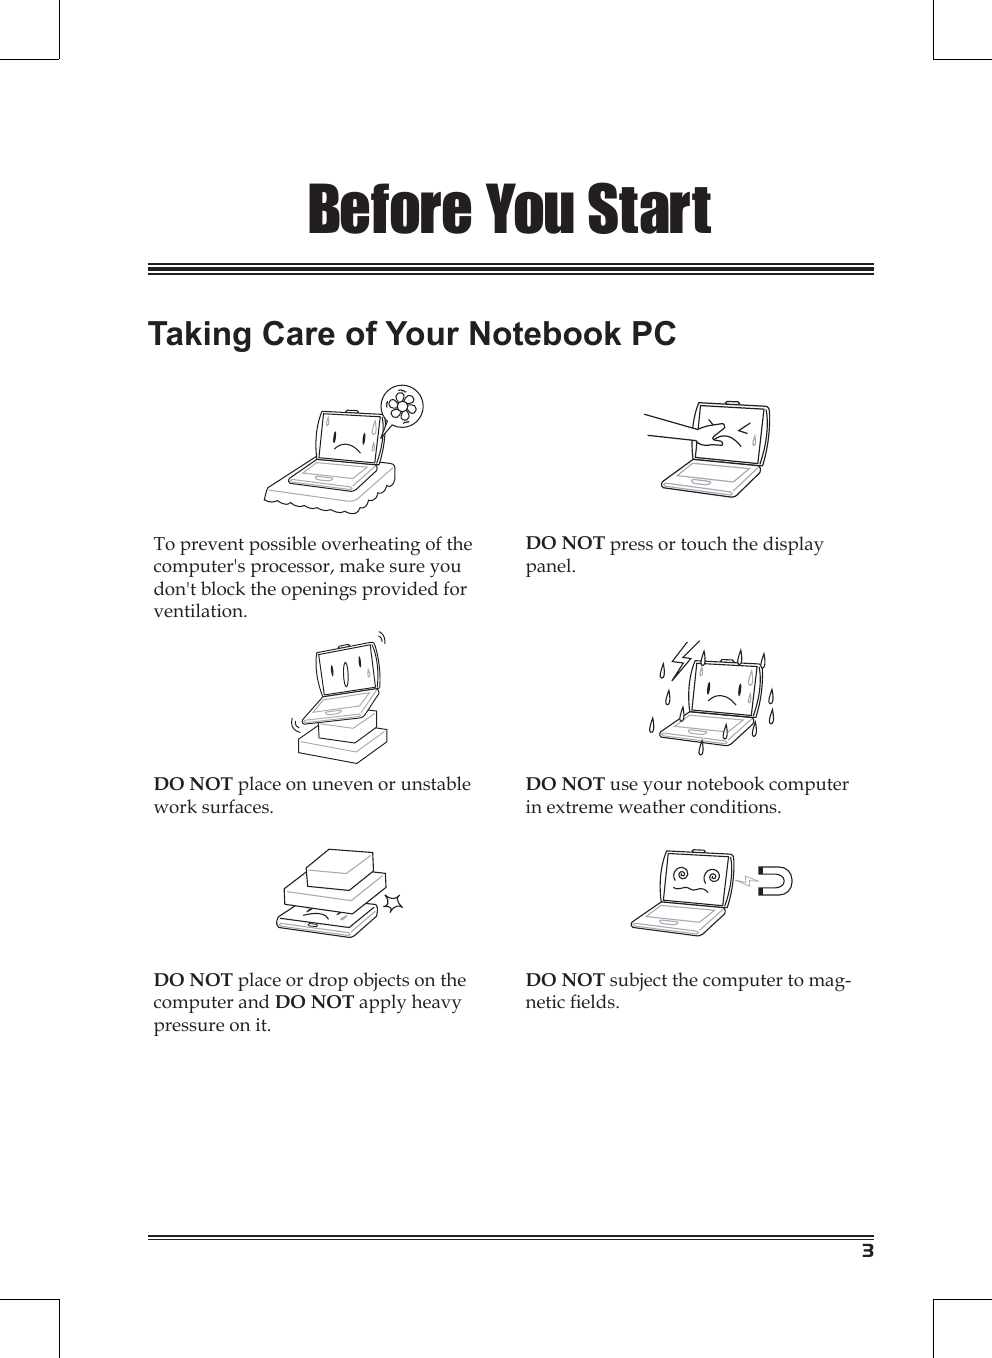


![13Getting StartedUsing the KeyboardFunction KeysThe [FN] key provides extended functions for the notebook and is always used in conjunction with another key.[FN+F1]: Places the notebook in Suspend mode. Pressing the Power button returns it to active mode.[FN+F2]: Enables or disables the wireless network connection.[FN+F3]: This is used when the computer is connected to an external monitor. It controls where the video signal is displayed. The settings are: built-in display panel only, both built-in display panel and external monitor, and external monitor only. Each time you press this key combination you step to the next setting.[FN+F4]: Increases the screen brightness.[FN+F5]: Decreases the screen brightness.[FN+F6]: Mutes the audio volume.[FN+F7]: Decreases the audio volume.[FN+F8]: Increases the audio volume.[FN+F11]: Switches the computer into Num Lock mode, enabling the numeric key-pad overlay.[FN+F12]: Switches the computer into Scroll Lock mode. This is used in some appli-cations.[FN+INS]: This functions as the Print Screen (PRT SCN) key. It copies the current screen to the clipboard.[FN+DEL]: This functions as the System Request (SYS RQ) key, which may be used by some operating systems or applications.Fn+UP ARROW This functions as the PAGE UP key.Fn+DOWN ARROW This functions as the PAGE DOWN key.Fn+LEFT ARROW This functions as the HOME key.Fn+RIGHT ARROW This functions as the END key.](https://usermanual.wiki/Quanta-Computer/IL/User-Guide-899027-Page-13.png)
![14Getting StartedKeypad OverlayAlthough the keyboard does not have a separate numeric keypad, the keypad over-lay provides the same function. To turn numeric mode on, press [FN+F11]. The Num Lock LED lights. You can now use the keypad overlay: the keys with blue numbers and symbols (7, 8, 9, 0, U, I, O, P, J, K, L, M, PERIOD, FORWARD SLASH). To turn numeric mode off, press [FN+F11] again.Using the Touch PadA Touch Pad pointing device comes built into your computer. It is used to control the movement of the pointer to select items on your display panel. The Touch Pad consists of a cursor control, a left and right button, and two scroll buttons.• The cursor control works the same way a mouse does, and moves the cursor around the display. It only requires light pressure from the tip of your nger.• The left and right buttons function as mouse buttons. The actual functionality of the buttons may vary depending on the application that is being used.• The scroll buttons allow you to navigate quickly through pages, without having to use the on-screen cursor to manipulate the up and down scroll bars. ClickingClicking means pushing and releasing a button. • To left-click, move the cursor to the item you wish to select, press the left button once, and then immediately release it.• To right click, move the mouse cursor to the item you wish to select, press the right button once, and then immediately release it. You can also click by tapping lightly on the Touch Pad once.](https://usermanual.wiki/Quanta-Computer/IL/User-Guide-899027-Page-14.png)