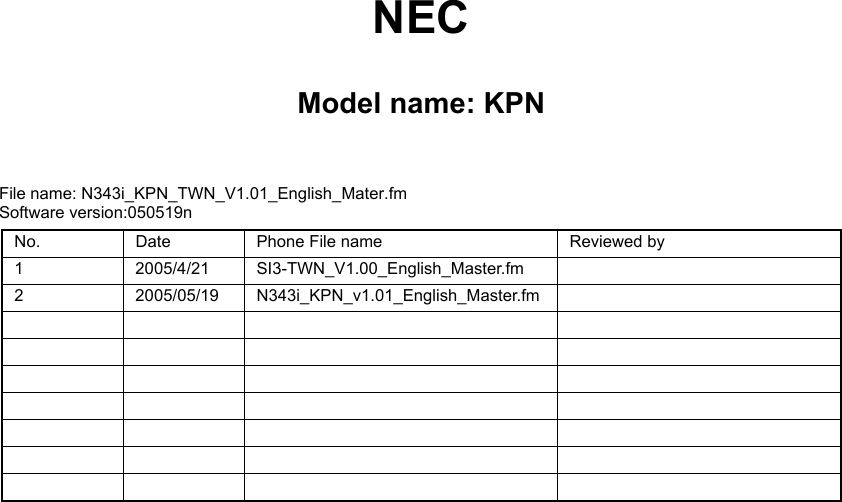
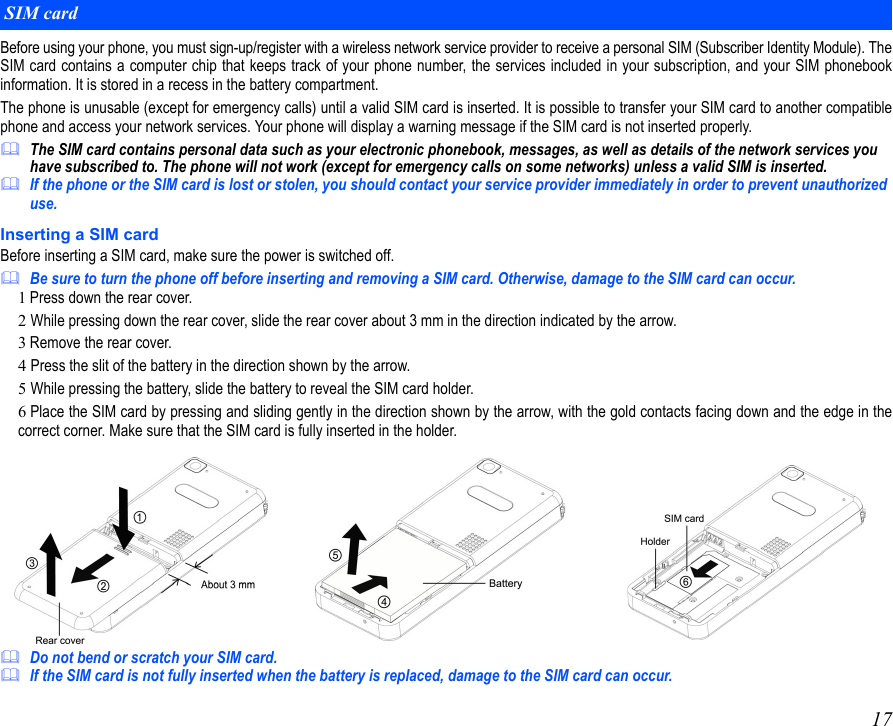
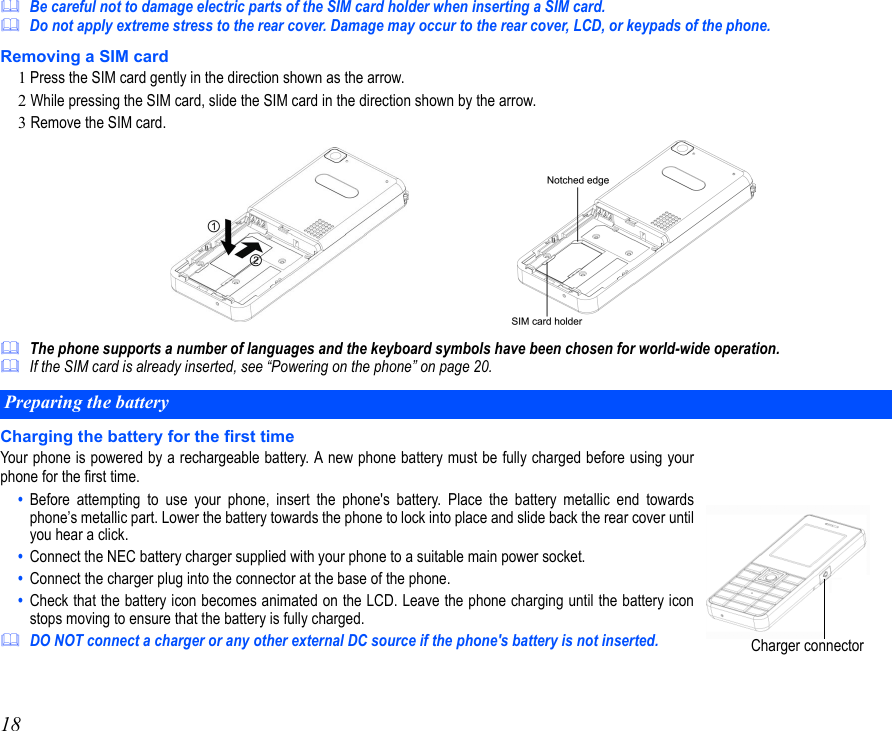
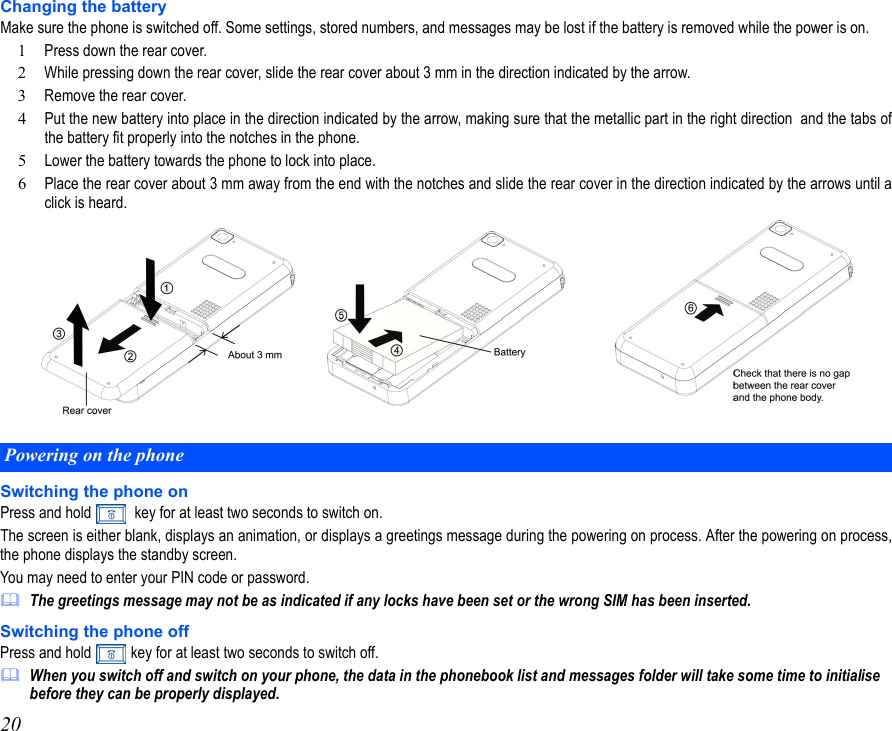
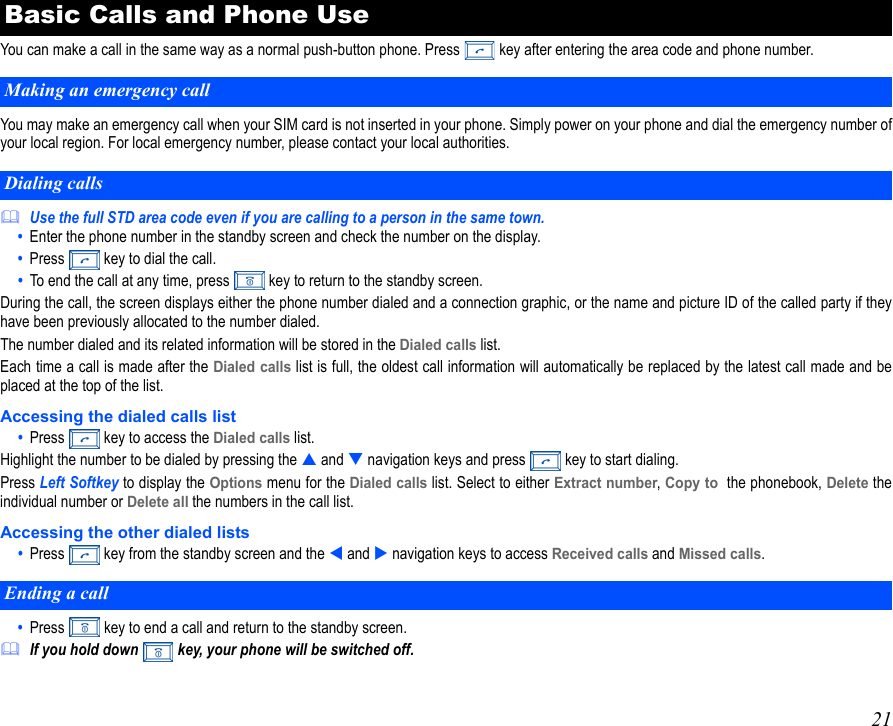
Quanta Computer KMP6J1BH1 GSM Tri-Band Cellphone User Manual N343i KPN v1 01 English Master
Quanta Computer Inc GSM Tri-Band Cellphone N343i KPN v1 01 English Master
UserManual.wiki
>
Quanta Computer
>
KMP6J1BH1 User Manual
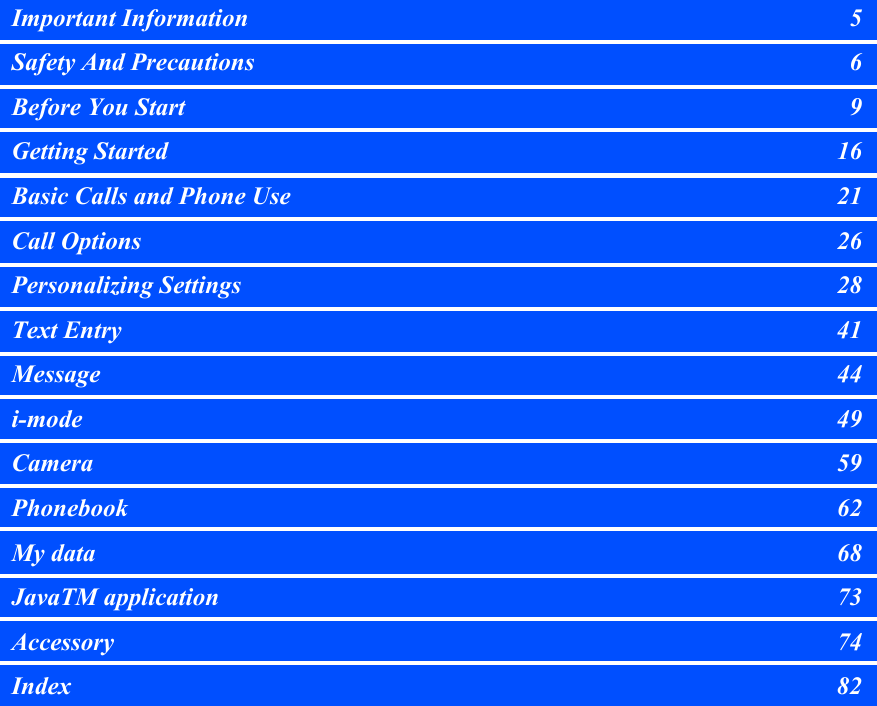
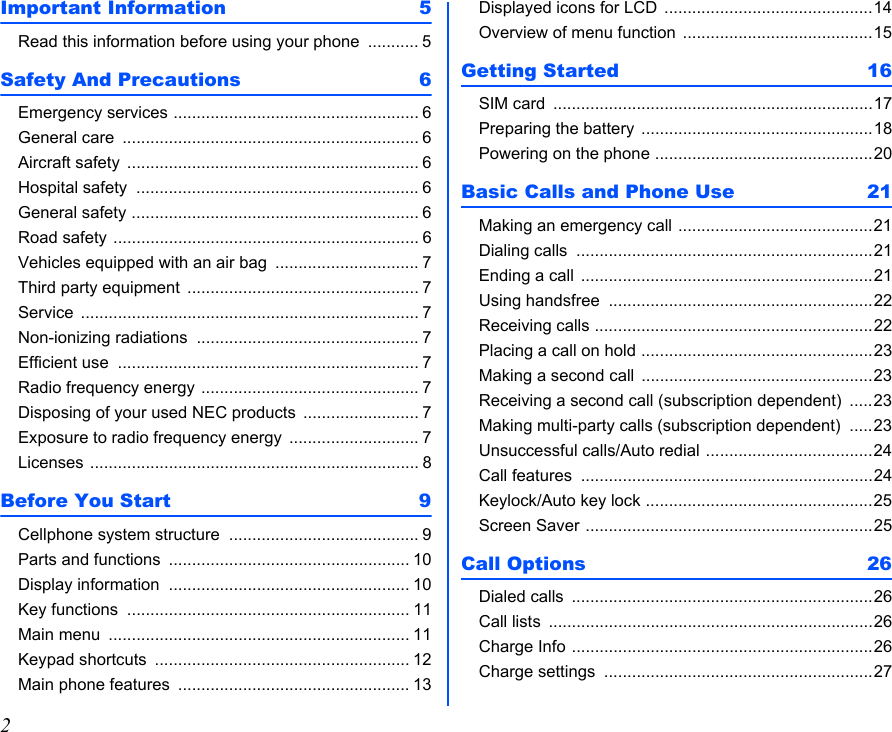
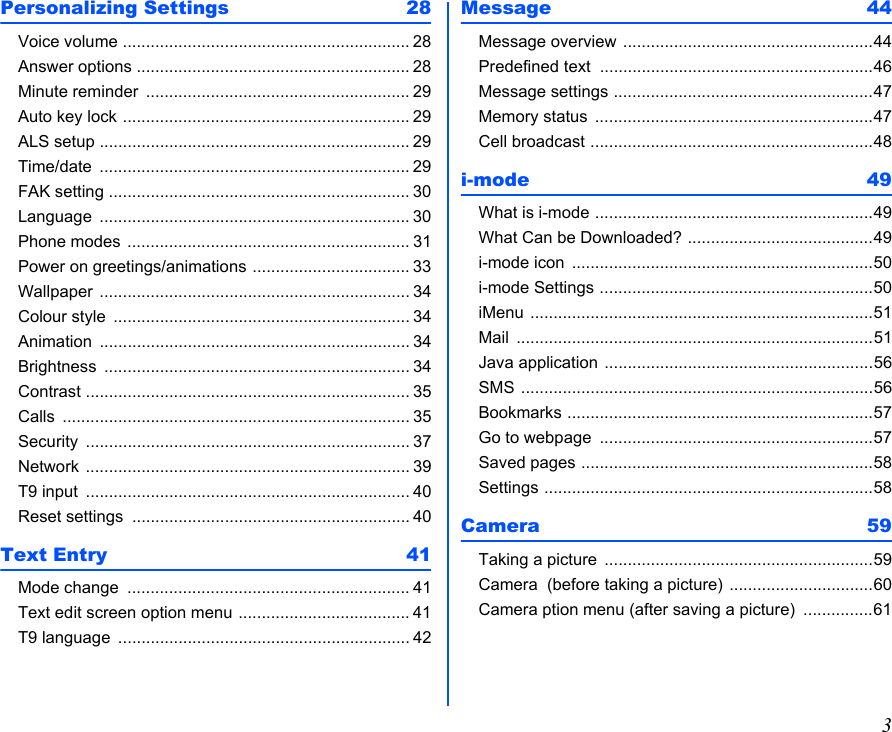
Users Manual
Navigation menu
Upload a User Manual
Namespaces
Wiki Guide
HTML
PDF
Info
Views
User Manual
Discussion / Help
Navigation