Quectel Wireless Solutions 16182010001 GPS Tracking Phone User Manual GS200 080807
Quectel Wireless Solutions Company Limited GPS Tracking Phone GS200 080807
UserManual.wiki
>
Quectel Wireless Solutions
>
16182010001 User Manual
User Manual
Navigation menu
Upload a User Manual
Namespaces
Wiki Guide
HTML
PDF
Info
Views
User Manual
Discussion / Help
Navigation
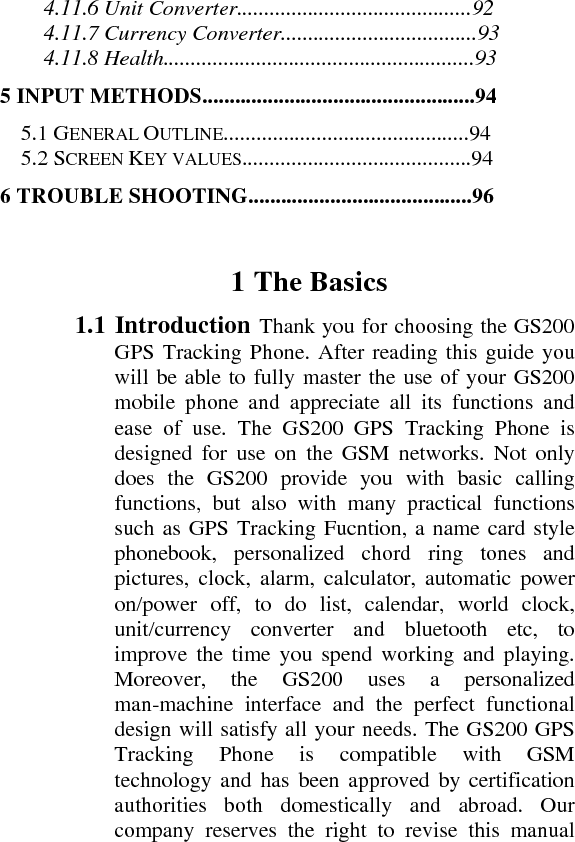

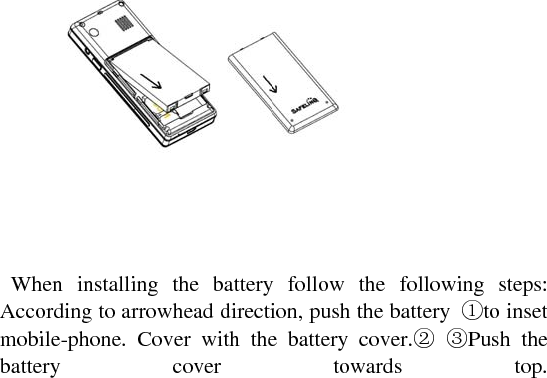

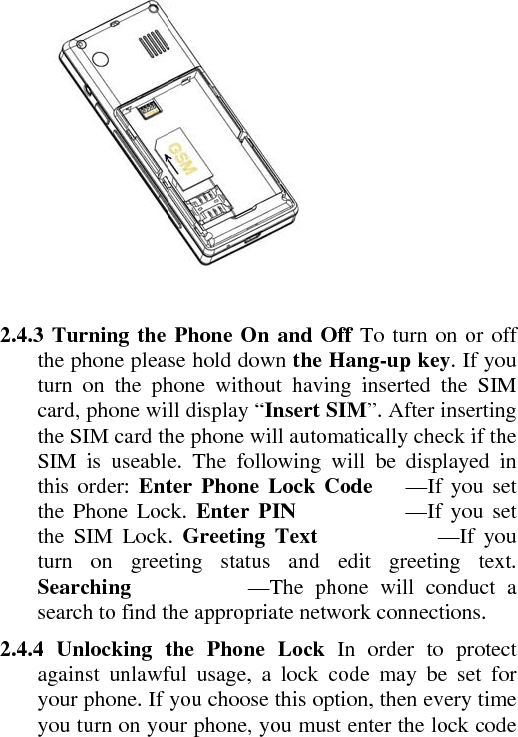


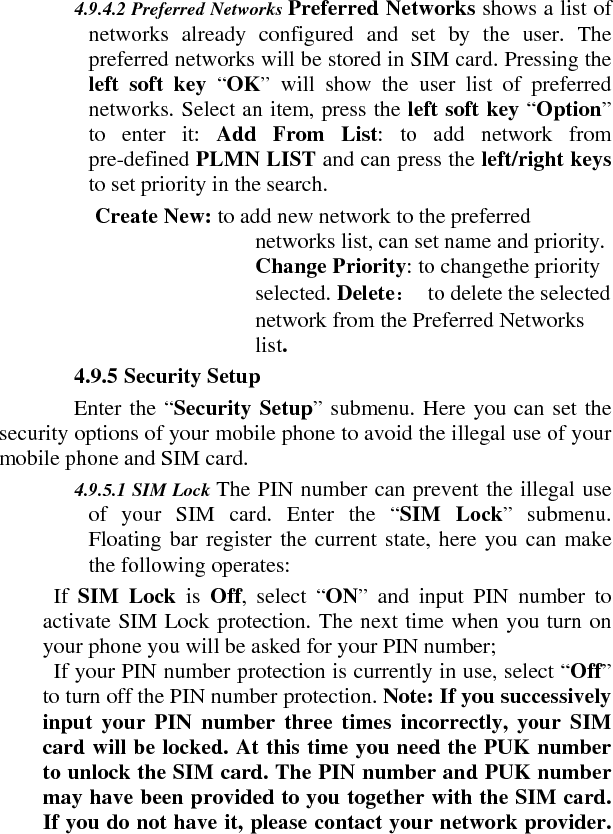
![4.9.1 Phone Setup Enter the “Phone Setup” submenu. Here you can make the following settings: 4.9.1.1 Time and Date Use this menu to change the time and date displayed on your phone. Enter the “Time and Date” submenu. Here you can make the following settings: Set Home City to can select the different city in 77 cities. Set Time/Date to can set the current time and date of mobile-phone according as established format. The mobile-phone allows to set date between 2000 and 2030 year. Set Format to set time format , 12-hour or 24-hour, set date format to select YYYY/MM/DD, YYYY-MM-DD, MM DD,YYYY, DD-MM-YYYY, DD/MM/YYYY,MM/DD/YYYY. 4.9.1.2 Schedule Power On/Off You can edit four times to turn on/off the mobile-phone. Each time includes setting as follows: Status (Disable or Enable), Power On or Off and time. Finish setting, when the time arrive, mobile-phone will turn on/off according as the status. Note: time can not repeat, because same time can not be actived at one time. 4.9.1.3 Language To set the current language type, menu interface changes according to setting. 4.9.1.4 Preferred Input Methods There are 34 kinds of input methods in the mobile-phone, choose one kind as acquiescence characters editor. 4.9.1.5 Shortcuts You can edit the shortcut menu, it will display in the [shortcuts] menu.](https://usermanual.wiki/Quectel-Wireless-Solutions/16182010001/User-Guide-1241163-Page-46.png)