Respironics 1116426 Continuous Positive Airway Pressure Device User Manual
Respironics Inc. Continuous Positive Airway Pressure Device
UserManual.wiki
>
Respironics
>
1116426 User Manual
>
User Manual
Contents
1.
module installation rules
2.
user guide host
3.
User Manual
4.
Modem Accessory user manual
5.
User Manual Modem Accessory
6.
Accessory users Manual
User Manual
Navigation menu
Upload a User Manual
Namespaces
Wiki Guide
HTML
PDF
Info
Views
User Manual
Discussion / Help
Navigation

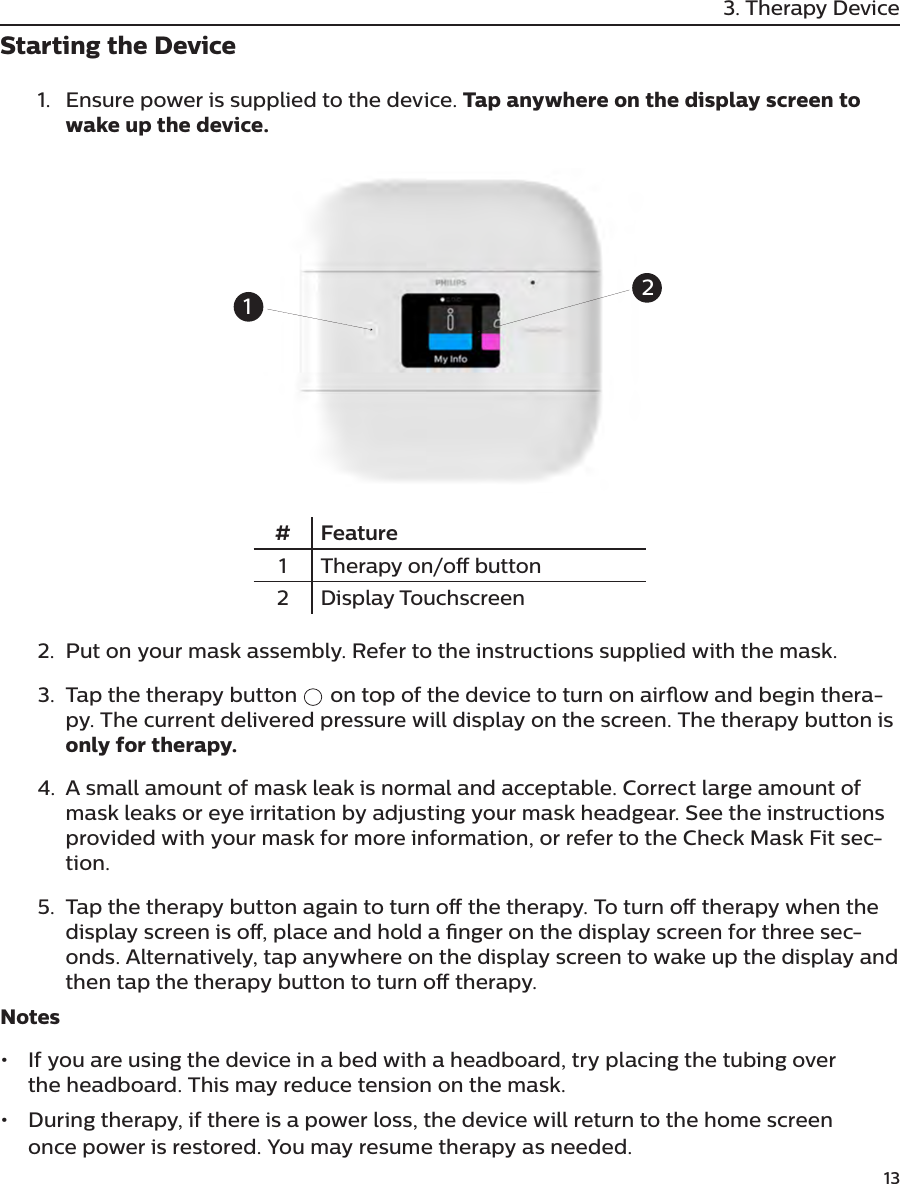
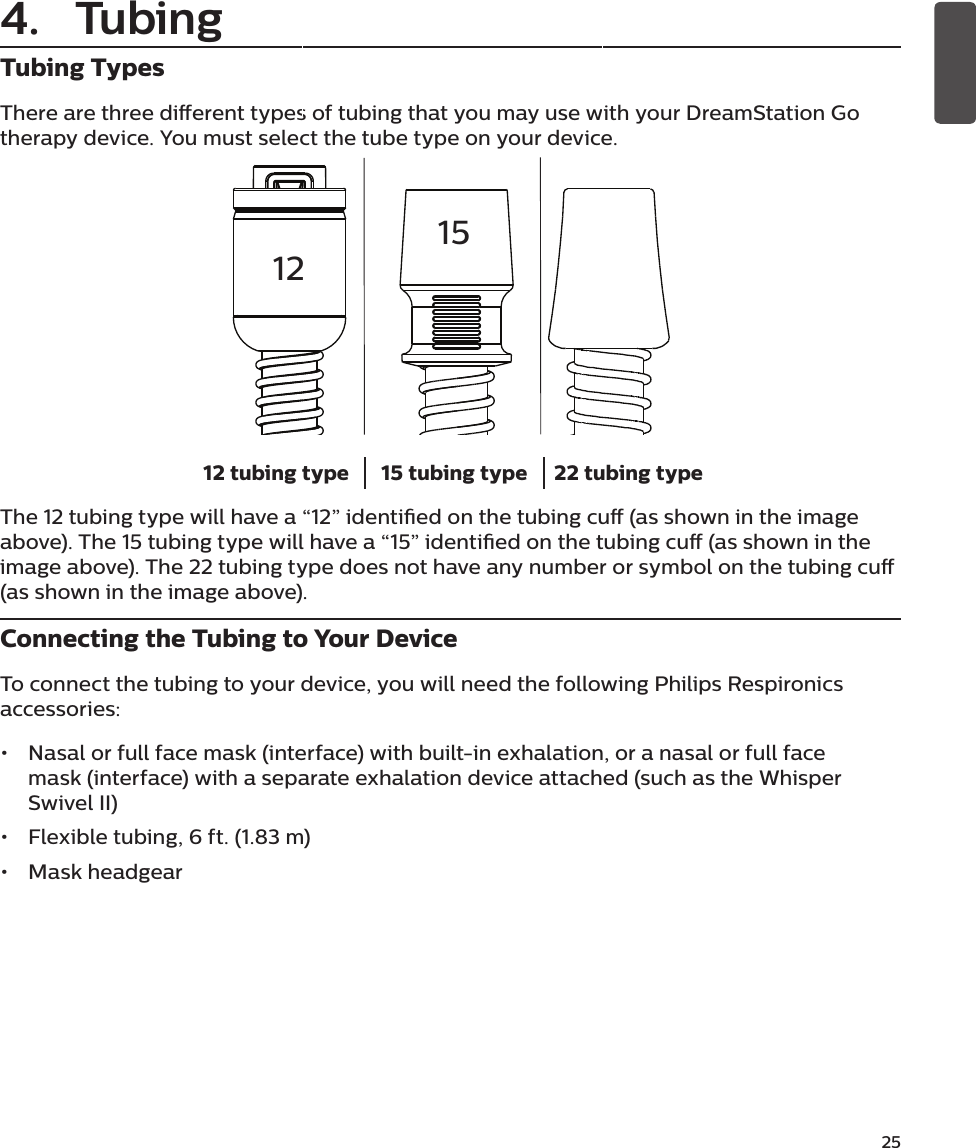
![4 1. Safety InformationCare and MaintenancePeriodically inspect electrical cords, cables, tubing, and accessories for damage or signs of wear. Discontinue use and replace if damaged.Repairs and adjustments must be performed by Philips Respironics-authorized service personnel only. Unauthorized service could cause injury, invalidate the warranty, or result in costly device damage. Contact your supplier for maintenance.Do not attempt to modify the device or battery pack in any way.Periodically check battery pack charge status and recharge if depleted.To avoid electrical shock, always unplug the power cord from the wall outlet before caring for the device. DO NOT immerse the device in any uids.Do not submerge the battery pack in water or any other liquid.Choking This device contains small parts which could result in a choking hazard.Nebulization Nebulization or humidication can increase the resistance of breathing system lters and the operator must monitor the breathing system lter frequently for increased resistance and blockage to ensure the delivery of the therapeutic pressure.General Contact your health care professional if symptoms of sleep apnea recur. CautionsA caution indicates the possibility of damage to the device.US Federal CautionU.S. federal law restricts this device to sale by or on the order of a physician. EMC Medical electrical equipment needs special precautions regarding EMC and needs to be installed according to EMC information. Contact your supplier regarding EMC installation information.Mobile RF CommunicationsPortable RF communications equipment (including peripherals such as antenna cables and external antennas) should be used no closer than 30 cm (12 in.) to any part of the [ME EQUIPMENT or ME SYSTEM], including cables specied by the manufacturer. Otherwise, degradation of the performance of this equipment could result.Device usage Before operating the device, ensure that both end caps are attached whenever any of the accessories such as the battery pack is not installed.Ensure that the therapy device is properly secured if it is being used in a portable environment.](https://usermanual.wiki/Respironics/1116426.User-Manual/User-Guide-3346992-Page-7.png)