Ringway Tech GRAND110 DIGITAL PIANO User Manual Grand110
Ringway Tech(Jiangsu) Co.,Ltd. DIGITAL PIANO Grand110
UserManual.wiki
>
Ringway Tech
>
GRAND110 User Manual
User Manual
Navigation menu
Upload a User Manual
Namespaces
Wiki Guide
HTML
PDF
Info
Views
User Manual
Discussion / Help
Navigation

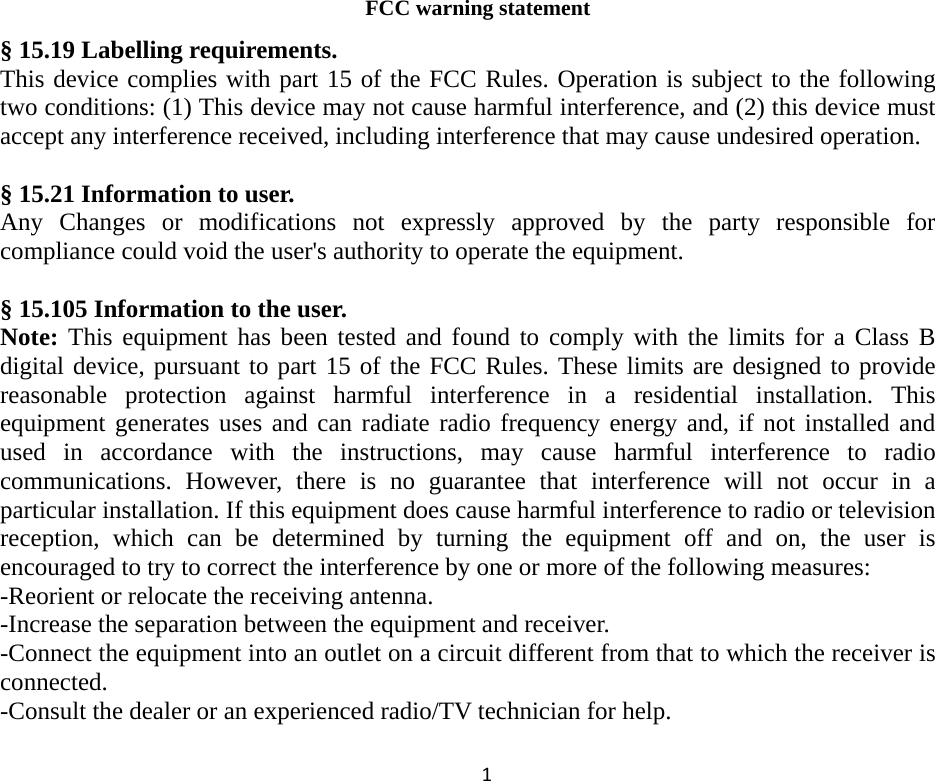


![SLIDER CONTROLS The Master Volume slider controls the overall volume of the instrument. It control the volume also when connected to an headphone set. Moving the slider to the right it will make the sound lauder, moving it to the left it will make the sound softer. The Brilliance Control slider control adjusts the brightness of the sound. Moving the slider to the right it will make the sound brighter , moving it to the left it will make the sound mellower . PANEL DISPLAY INDICATIONS Your instrument features a large multi-function display (INFORMATION DISPLAY) that shows all the important settings for the instrument. At power up it shows: DEMO SONGS There are 26 demo songs in the internal memory. Listen to the pre-programmed demonstration songs and they will give you a good idea of what the instrument can do. - With the Power ON and Set the Master Volume at half way. - Press the [DEMO] to activate the DEMO function. The name of the selected DEMO will appear on the INFORMATION DISPLAY. You can select the demo songs by using the [/\][\/] buttons. - Press [DEMO] button again to stop the DEMO song.](https://usermanual.wiki/Ringway-Tech/GRAND110/User-Guide-1725282-Page-8.png)
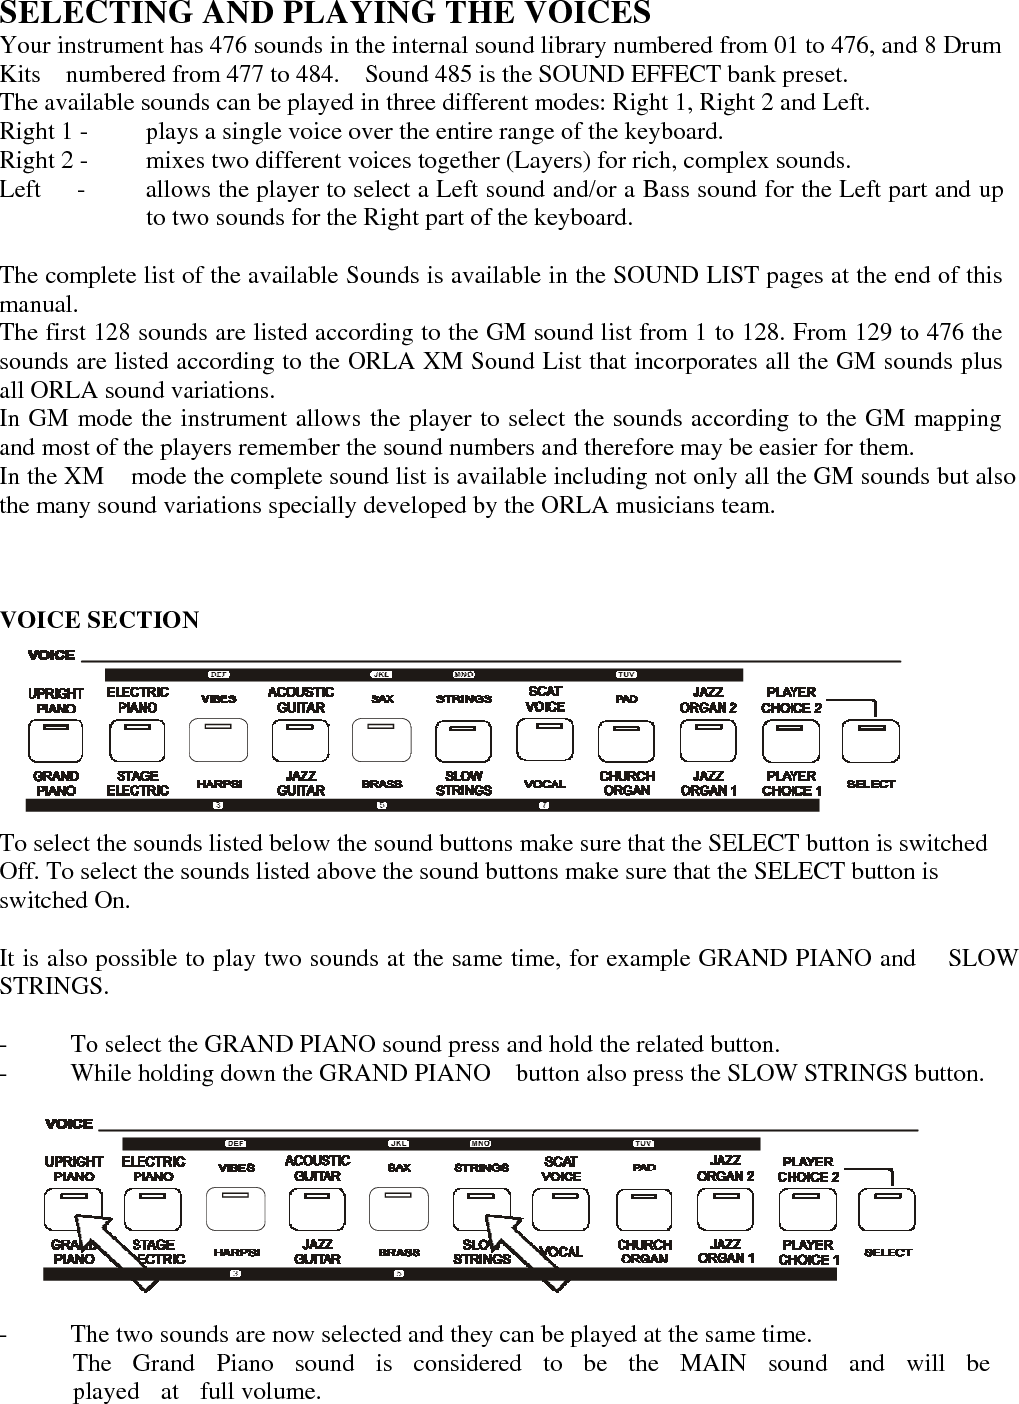
![It is also possible to play two sounds at the same time, selecting them from the top and the bottom row, for example STAGE ELECTRIC and PAD. - To select the STAGE ELECTRIC sound press and hold the related button. - While holding down the STAGE ELECTRIC button also press the SELECT button to select the upper row. - Release now the SELECT button and while holding the STAGE ELECTRIC button press the PAD button . - The two sounds are now selected and they can be played at the same time. It is possible to change the balance using the [/\] and [\/] buttons. The Value 4 refers to the STAGE ELECTRIC volume and the value 1 refers to the PAD sound. Use the [/\] and [\/] buttons it is possible to balance the two sounds according to the following table. 4 – 1 4 – 2 4 - 3 4 - 4 3 – 4 2 – 4 1 – 4 PLAYER CHOICE In this two buttons it is possible to load any of the internal sounds available in the instrument. If the SELECT button Led is Off you can select PLAYER CHOICE 1. If the SELECT button Led is On you can select PLAYER CHOICE 2.](https://usermanual.wiki/Ringway-Tech/GRAND110/User-Guide-1725282-Page-12.png)
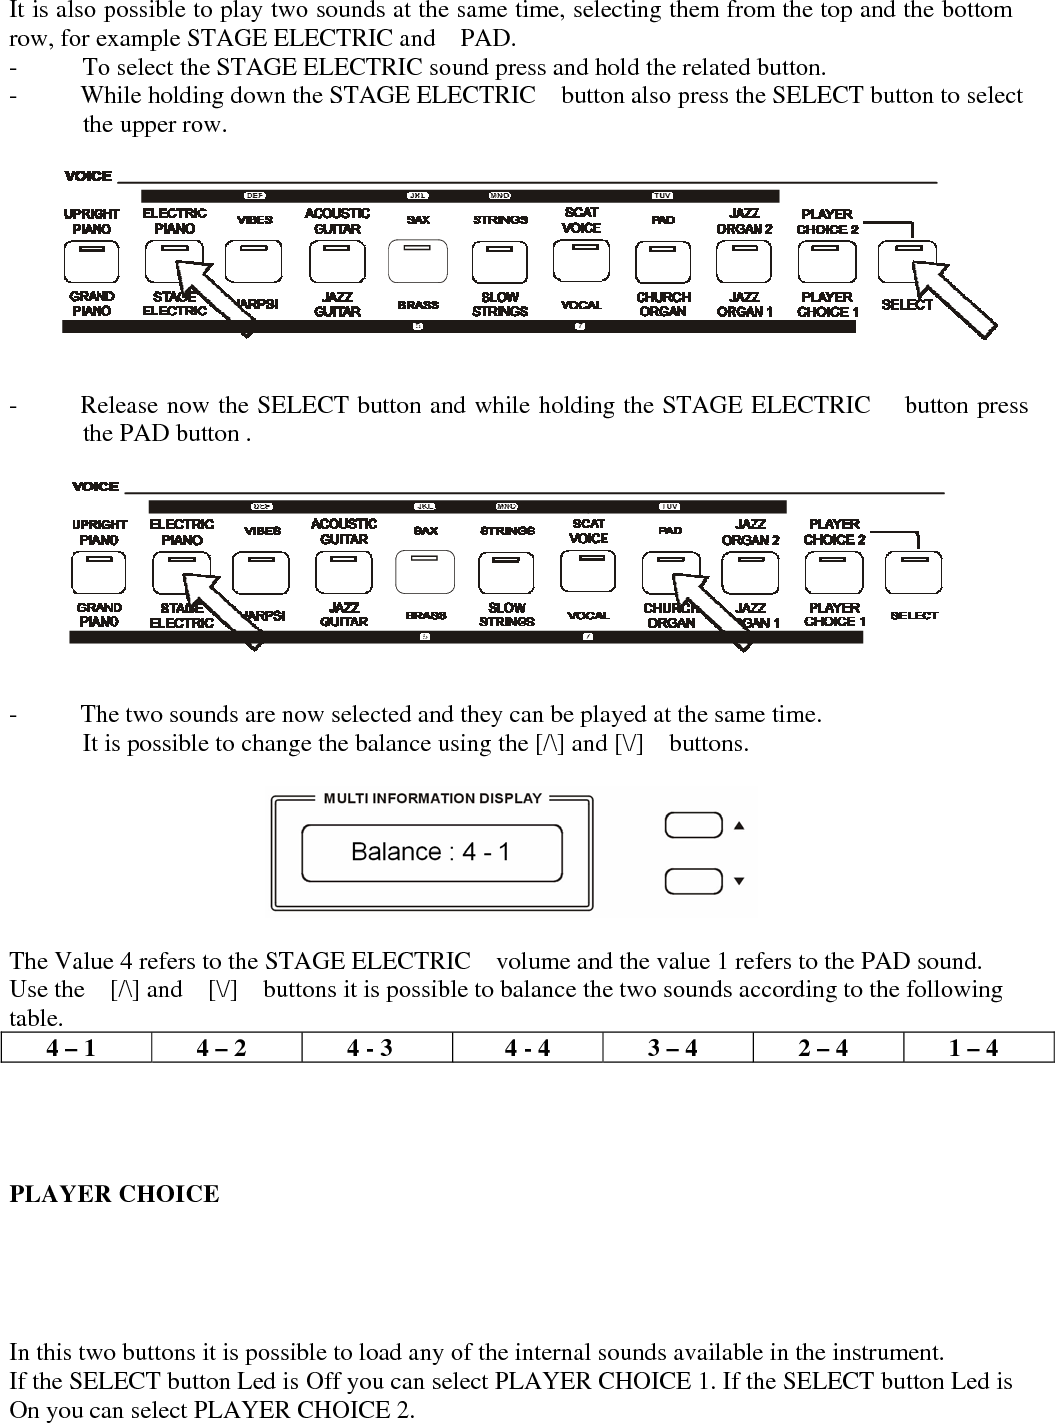
![How to select a new Player Choice sound: - Press and hold the PLAYER CHOICE 1 button until the display shows: - Use the [/\] and [\/] buttons it is possible to change the sound while its number is blinking with any one of the available sounds in the Voice List of the instrument. It is of course possible to directly digit the number of the new desired sound using the numeric keypad buttons. - To select a new Player Choice 2 sound press the SELECT button On and press and hold the PLAYER CHOICE 2 button until the display shows: - Use the [/\] and [\/] buttons it is possible to change the sound while its number is blinking with any one of the available sounds in the Voice List of the instrument. It is of course possible to directly digit the number of the new desired sound using the numeric keypad buttons. NOTE: It is possible to save the new programmed Player Choice sounds in the OVERALL PRESET memories. RIGHT OCTAVE This function is setting the piano sound 1 octave lower. When the piano is playing two sounds at the same time in Layer mode both sounds will be played 1 Octave lower. If the piano is playing in SPLIT mode, only the sounds of the right section will be played 1 Octave lower.](https://usermanual.wiki/Ringway-Tech/GRAND110/User-Guide-1725282-Page-14.png)
![SPLIT - BASS SOUND When the BASS button is pressed the instrument automatically splits the keyboard in two parts and a BASS sound is automatically selected. It is also possible to change the Bass sound. - Press and hold the BASS button. The display will show the automatically selected bass sound, for example: Use the [/\][\/] buttons to select the new bass sound from the following list: 01 Acoustic Bass 02 Acoustic Bass + Ride 03 Big Bass 04 Finger Bass 05 Finger Slap 06 Fretless 07 Synbass 08 Organ Bass It is of course possible to directly digit the number of the new desired sound using the numeric keypad buttons. SPLIT - LEFT SOUND Press the [LEFT] buttons to select the LEFT voice. This will enter the instrument in SPLIT MODE and automatically divide the keyboard in two parts. The Left Sound will be automatically selected according to the selected Right Sound, however it is possible to change the default left sound. Select the Right Voice, for example the GRAND PIANO sound, on the VOICE Section. - Press and hold the LEFT button. The display will show the automatically selected left sound, for example:](https://usermanual.wiki/Ringway-Tech/GRAND110/User-Guide-1725282-Page-16.png)
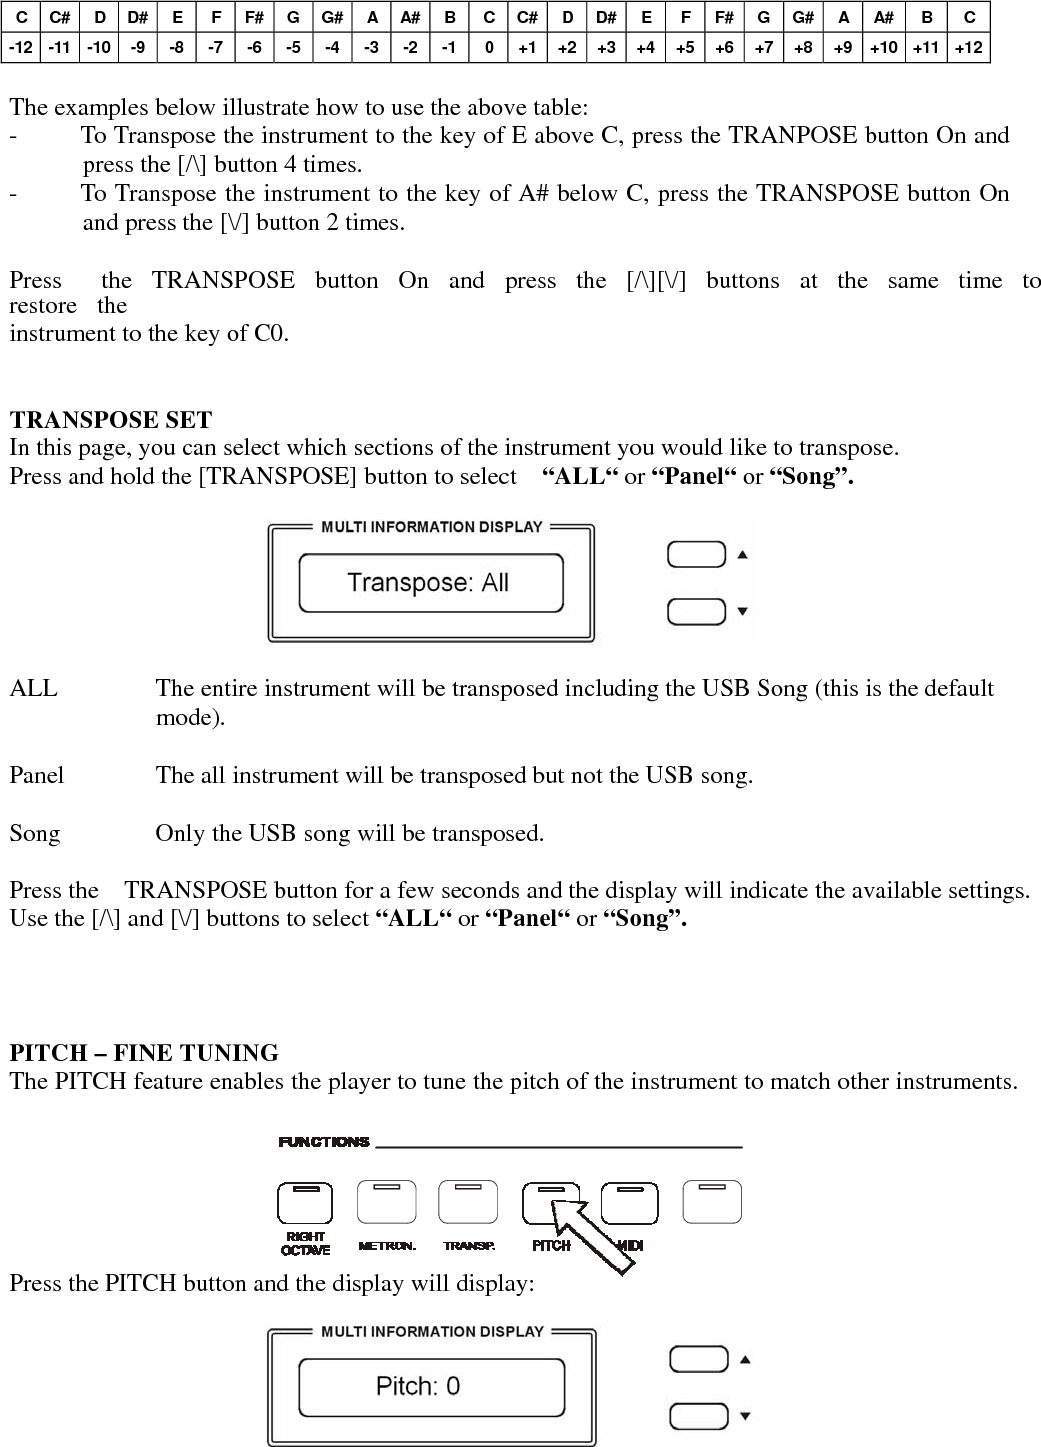
![- 264 is the number – according to the internal Sound List – of the Left Sound automatically selected to Grand Piano and the sound is Accompaniment Strings 2. When the LEFT sound is indicated on the display (remember – the instrument gives approximately 4 seconds to input data) the sound can be changed using the [/\][\/] buttons to select the desired voice number according to the Voice List. It is of course possible to directly digit the number of the new desired sound using the numeric keypad buttons. Press the [LEFT] button to switch this section ON or OFF. NOTE When the BASS button and the LEFT button are selected On at the same time, when playing chords in the Left part of the keyboard the Bass sound will be played in ROOT mode and will play the fundamental note. SELECT THE SPLIT POINT The default position of the Split point is F#2 (equal to value 33 on the display) located below the [BASS] and [LEFT] buttons. The Split Point can be set to any other key as follows: - Press and hold the [BASS] and [LEFT] buttons until the sound number starts blinking. - Select now the new Split Point by pressing the desired key on the keyboard or by changing the value on the display using the [/\][\/] buttons near the display. - To set for example the new Split Point on the C2 Position change the value to 27. The display will return to the normal display mode and the new Split Point is now set. DIGITAL REVERB The DIGITAL REVERB effect creates an acoustic effect similar to playing in different environments. It is possible to select any one of three different Reverb](https://usermanual.wiki/Ringway-Tech/GRAND110/User-Guide-1725282-Page-18.png)

![C C# D D# E F F# G G# A A# B C C# DD# E F F# G G# A A# B C-12 -11 -10 -9 -8 -7 -6 -5 -4 -3 -2 -1 0+1 +2 +3 +4 +5 +6 +7 +8 +9 +10 +11 +12 The examples below illustrate how to use the above table: - To Transpose the instrument to the key of E above C, press the TRANPOSE button On and press the [/\] button 4 times. - To Transpose the instrument to the key of A# below C, press the TRANSPOSE button On and press the [\/] button 2 times. Press the TRANSPOSE button On and press the [/\][\/] buttons at the same time to restore the instrument to the key of C0. TRANSPOSE SET In this page, you can select which sections of the instrument you would like to transpose. Press and hold the [TRANSPOSE] button to select “ALL“ or “Panel“ or “Song”. ALL The entire instrument will be transposed including the USB Song (this is the default mode). Panel The all instrument will be transposed but not the USB song. Song Only the USB song will be transposed. Press the TRANSPOSE button for a few seconds and the display will indicate the available settings. Use the [/\] and [\/] buttons to select “ALL“ or “Panel“ or “Song”. PITCH – FINE TUNING The PITCH feature enables the player to tune the pitch of the instrument to match other instruments. Press the PITCH button and the display will display:](https://usermanual.wiki/Ringway-Tech/GRAND110/User-Guide-1725282-Page-22.png)
![Use the [/\][\/] buttons to set the desired Pitch value. The PITCH value on the display can be changed between –64 and +63. Press the PITCH button On and press the [/\][\/] buttons at the same time to restore the instrument pitch to 0. METRONOME The Metronome is a convenient feature for practice, and it can also provide a rhythmic guide when recording. The metronome sound is alternately turned on and turned off by pressing the [METRONOME] button. The Time Signature of the metronome can be set by using [/\][\/] buttons when turning on the metronome function and while the Time Signature value is indicated on the display. To set the Time Signature (1/4, 2/4, 3/4, 4/4, 6/4, 3/8, 6/8, 9/8 ) press and hold the [METRONOME] button and the values of Time Signature will be indicated on the display, use the [/\][\/] buttons to select the new value. To change the Tempo use the [/\] [\/] buttons to set the desired tempo speed while the metronome is playing. OVERALL PRESETS The instrument can store 24 Overall Preset (6 groups x 4 banks of panel settings). By pressing the corresponding memory button, you can recall these settings rapidly. You can customise the panel settings to accommodate your performance and store them to the registration memory positions. These settings will not be lost, even if the power is turned OFF. It is possible to load up to 24 Overall Presets using the 6 Memory positions and 4 memory banks. By pressing the [STORE] button four times, you can select 4 different banks. The display shows the available memory banks [1 to 4 Memory Bank]. The following parameter can be saved: Left/Right Sounds, Volume levels, Octave, Effects, etc. Other global parameters are also memorized. - Select the desired sounds, volume and effects. - Select the Memory Bank where to store the](https://usermanual.wiki/Ringway-Tech/GRAND110/User-Guide-1725282-Page-24.png)
![[STORE] button, for example BANK 3. 15 new settings by pressing a few times the](https://usermanual.wiki/Ringway-Tech/GRAND110/User-Guide-1725282-Page-25.png)
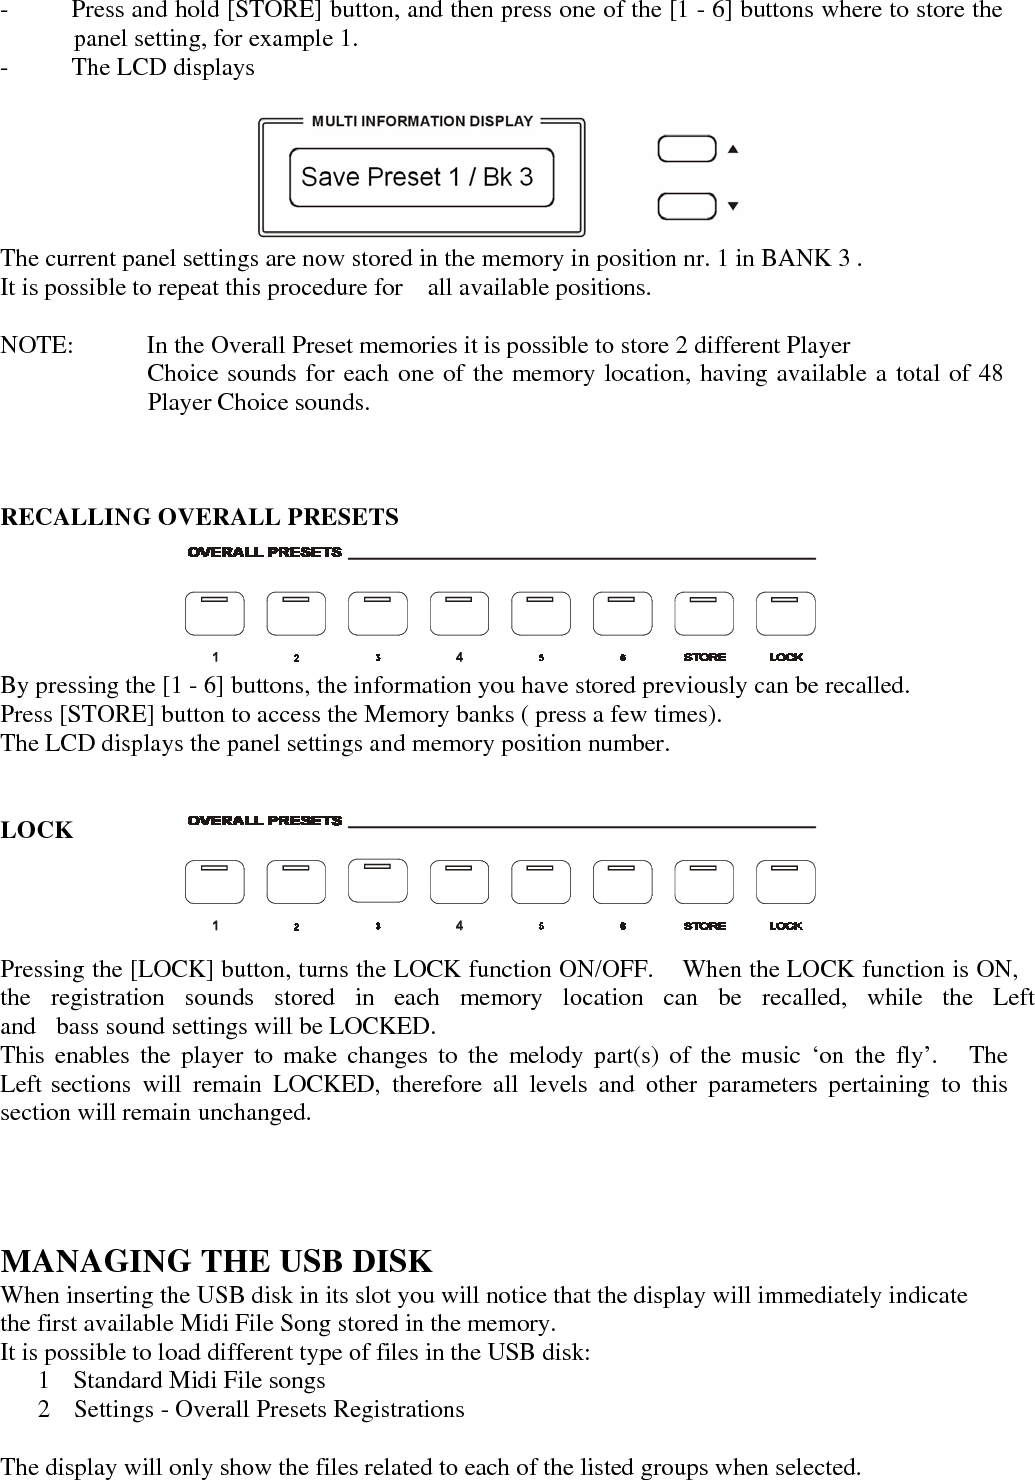
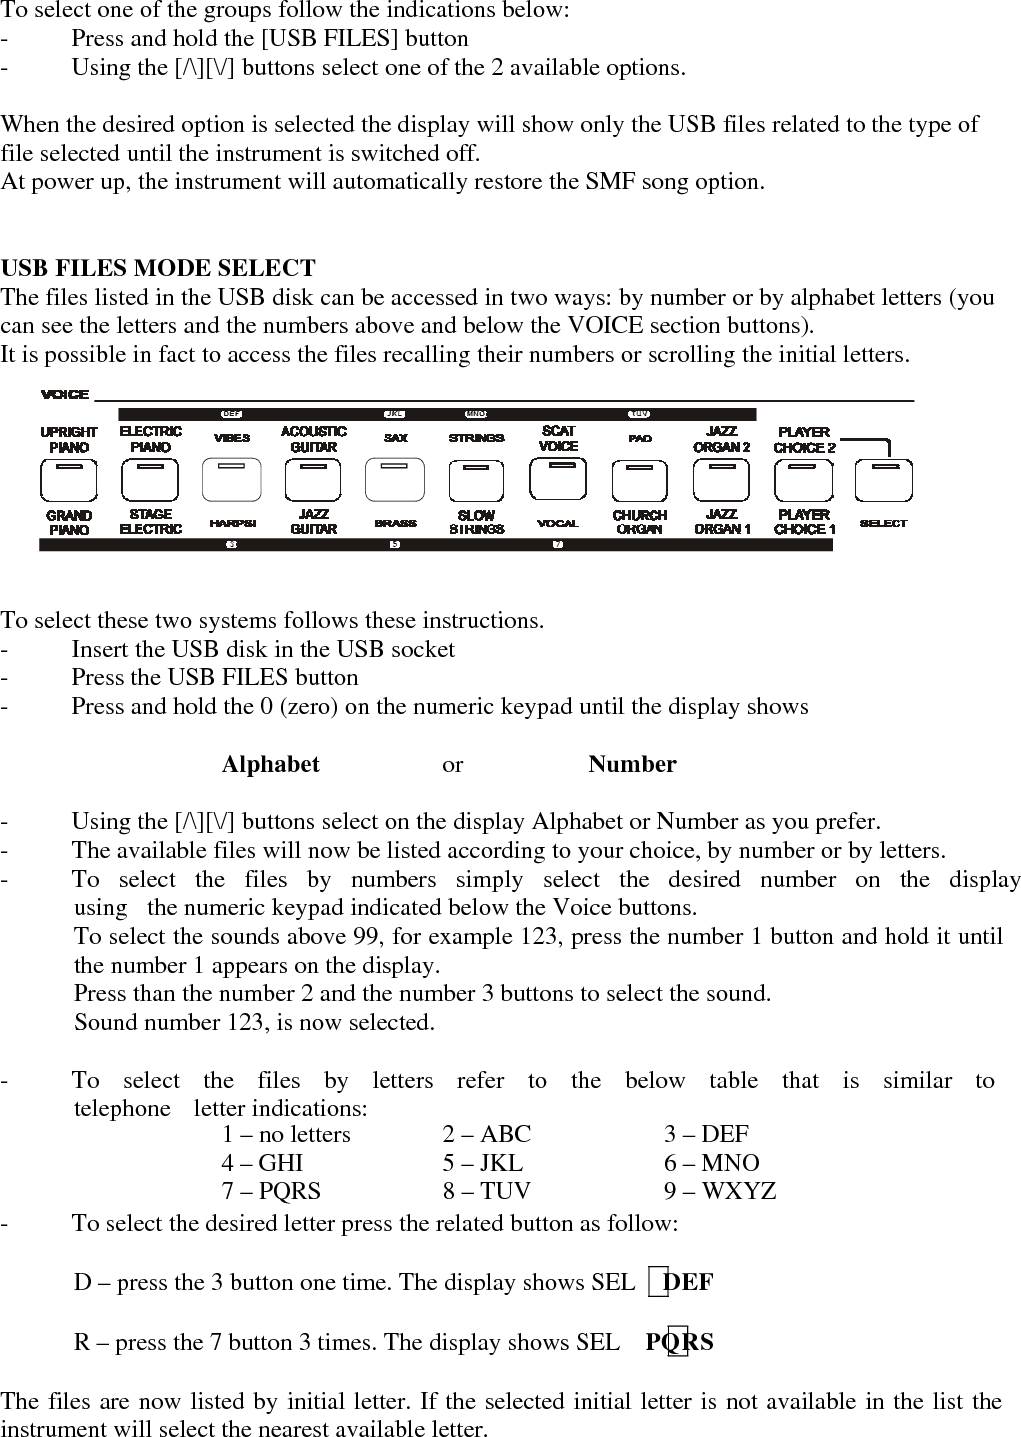
![- Press and hold [STORE] button, and then press one of the [1 - 6] buttons where to store the panel setting, for example 1. - The LCD displays The current panel settings are now stored in the memory in position nr. 1 in BANK 3 . It is possible to repeat this procedure for all available positions. NOTE: In the Overall Preset memories it is possible to store 2 different Player Choice sounds for each one of the memory location, having available a total of 48 Player Choice sounds. RECALLING OVERALL PRESETS By pressing the [1 - 6] buttons, the information you have stored previously can be recalled. Press [STORE] button to access the Memory banks ( press a few times). The LCD displays the panel settings and memory position number. LOCK Pressing the [LOCK] button, turns the LOCK function ON/OFF. When the LOCK function is ON, the registration sounds stored in each memory location can be recalled, while the Left and bass sound settings will be LOCKED. This enables the player to make changes to the melody part(s) of the music ‘on the fly’. The Left sections will remain LOCKED, therefore all levels and other parameters pertaining to this section will remain unchanged. MANAGING THE USB DISK When inserting the USB disk in its slot you will notice that the display will immediately indicate the first available Midi File Song stored in the memory. It is possible to load different type of files in the USB disk: 1 Standard Midi File songs 2 Settings - Overall Presets Registrations The display will only show the files related to each of the listed groups when selected.](https://usermanual.wiki/Ringway-Tech/GRAND110/User-Guide-1725282-Page-26.png)
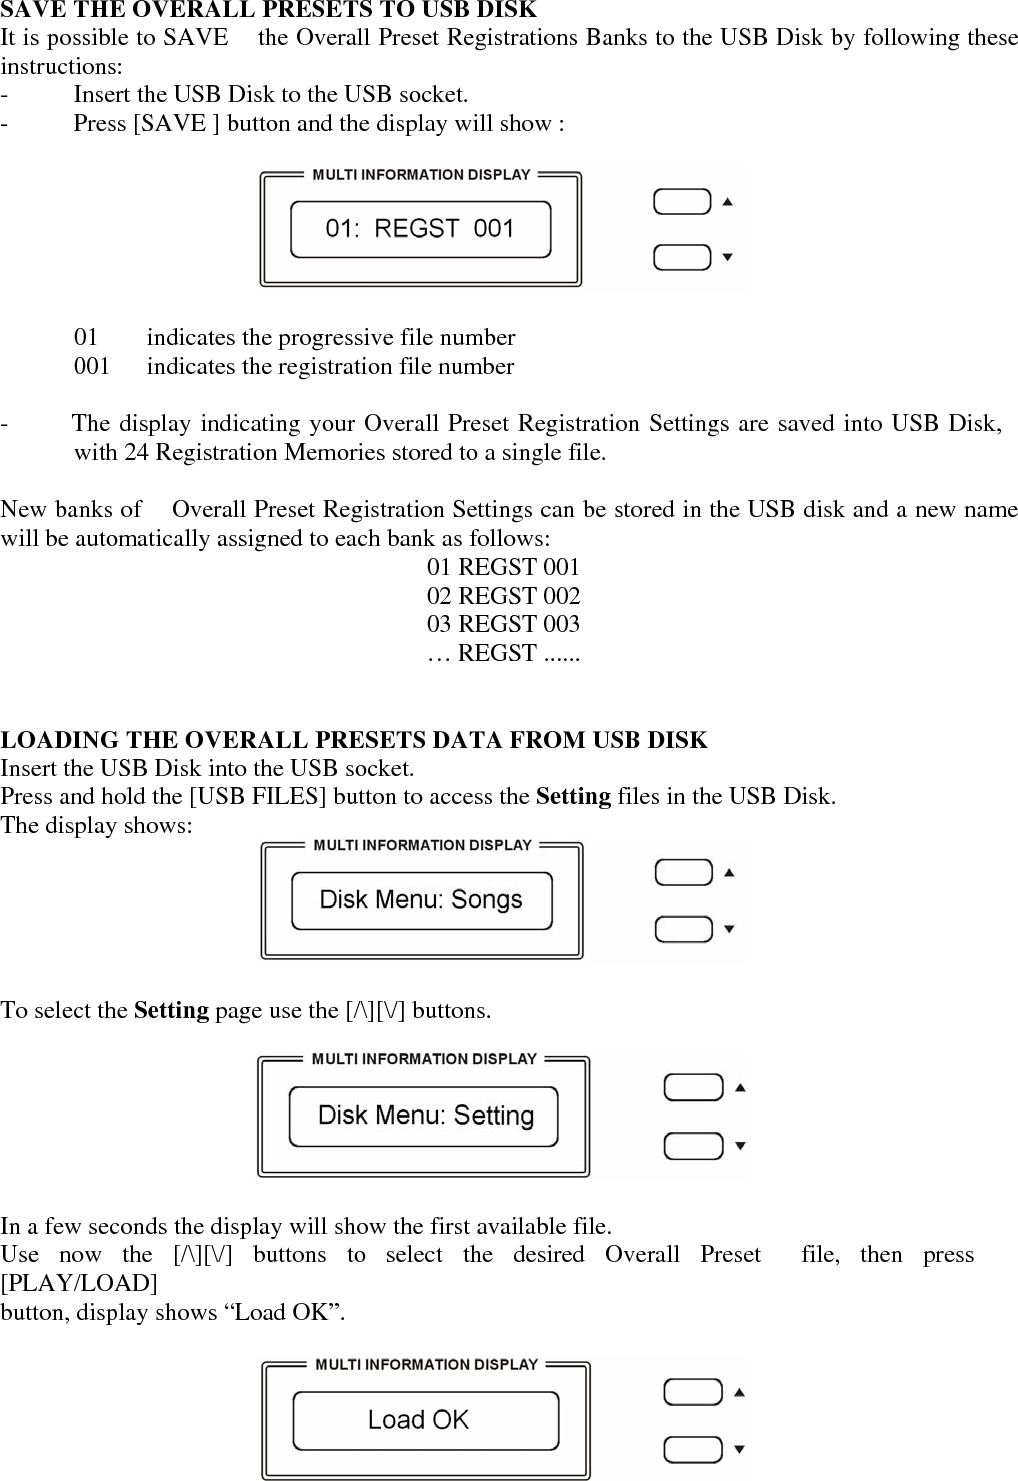
![To select one of the groups follow the indications below: - Press and hold the [USB FILES] button - Using the [/\][\/] buttons select one of the 2 available options. When the desired option is selected the display will show only the USB files related to the type of file selected until the instrument is switched off. At power up, the instrument will automatically restore the SMF song option. USB FILES MODE SELECT The files listed in the USB disk can be accessed in two ways: by number or by alphabet letters (you can see the letters and the numbers above and below the VOICE section buttons). It is possible in fact to access the files recalling their numbers or scrolling the initial letters. To select these two systems follows these instructions. - Insert the USB disk in the USB socket - Press the USB FILES button - Press and hold the 0 (zero) on the numeric keypad until the display shows Alphabet or Number - Using the [/\][\/] buttons select on the display Alphabet or Number as you prefer. - The available files will now be listed according to your choice, by number or by letters. - To select the files by numbers simply select the desired number on the display using the numeric keypad indicated below the Voice buttons. To select the sounds above 99, for example 123, press the number 1 button and hold it until the number 1 appears on the display. Press than the number 2 and the number 3 buttons to select the sound. Sound number 123, is now selected. - To select the files by letters refer to the below table that is similar to telephone letter indications: 1 – no letters 2 – ABC 3 – DEF4 – GHI 5 – JKL 6 – MNO 7 – PQRS 8 – TUV 9 –WXYZ- To select the desired letter press the related button as follow: D – press the 3 button one time. The display shows SEL DEF R – press the 7 button 3 times. The display shows SEL PQRS The files are now listed by initial letter. If the selected initial letter is not available in the list the instrument will select the nearest available letter.](https://usermanual.wiki/Ringway-Tech/GRAND110/User-Guide-1725282-Page-28.png)
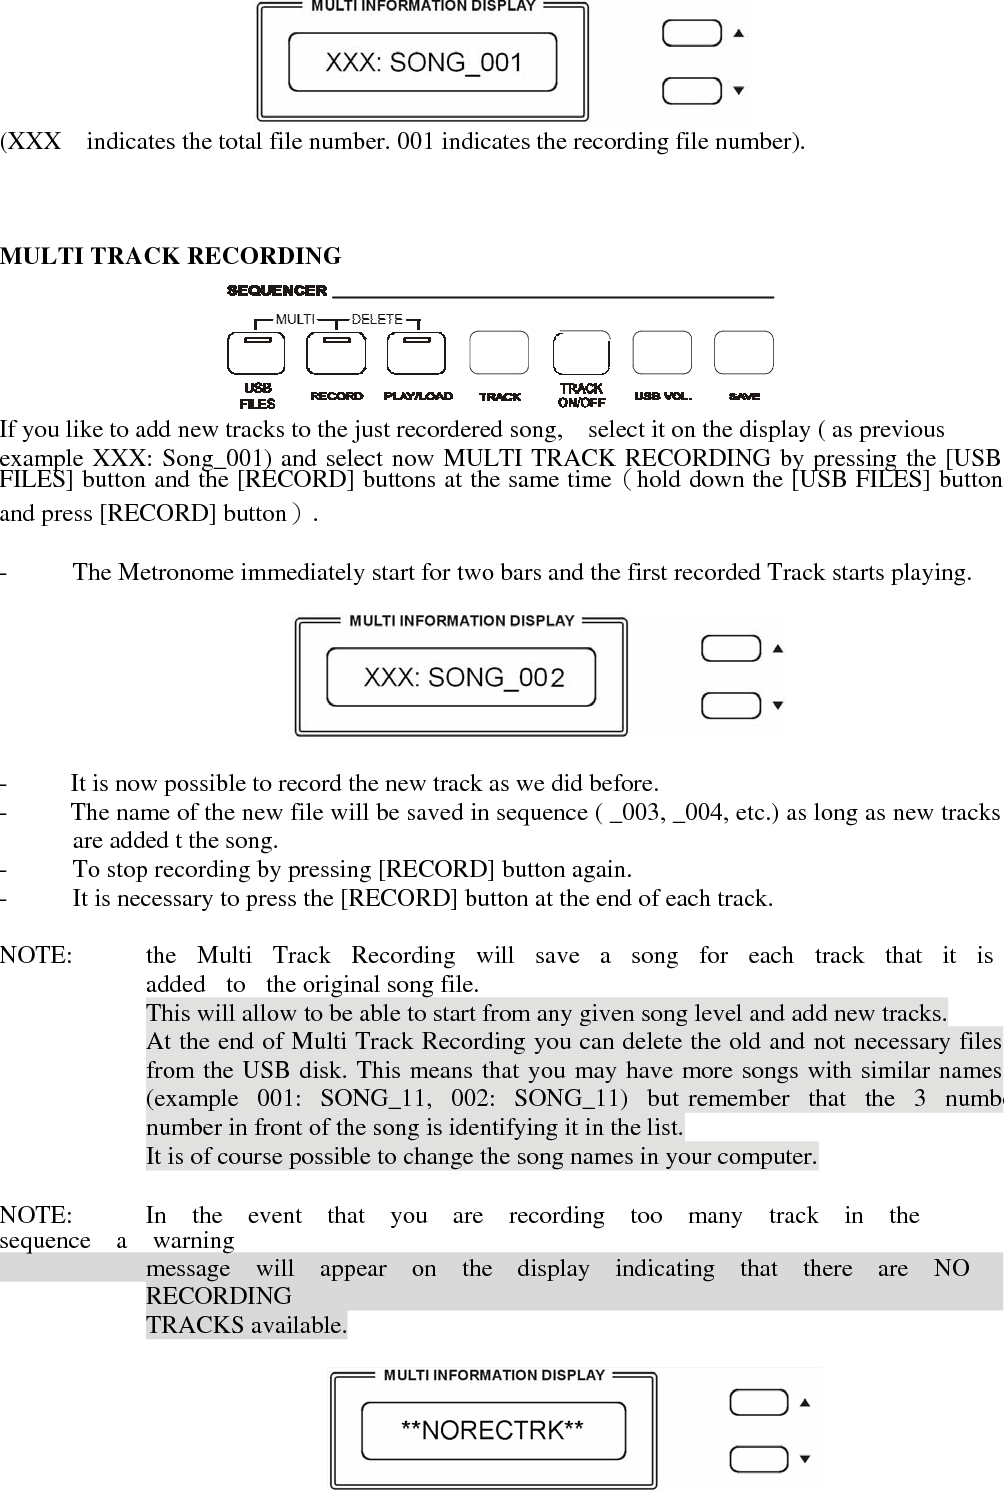
![SAVE THE OVERALL PRESETS TO USB DISK It is possible to SAVE the Overall Preset Registrations Banks to the USB Disk by following these instructions: - Insert the USB Disk to the USB socket. - Press [SAVE ] button and the display will show : 01 indicates the progressive file number 001 indicates the registration file number - The display indicating your Overall Preset Registration Settings are saved into USB Disk, with 24 Registration Memories stored to a single file. New banks of Overall Preset Registration Settings can be stored in the USB disk and a new name will be automatically assigned to each bank as follows: 01 REGST 001 02 REGST 002 03 REGST 003 … REGST ...... LOADING THE OVERALL PRESETS DATA FROM USB DISK Insert the USB Disk into the USB socket. Press and hold the [USB FILES] button to access the Setting files in the USB Disk. The display shows: To select the Setting page use the [/\][\/] buttons. In a few seconds the display will show the first available file. Use now the [/\][\/] buttons to select the desired Overall Preset file, then press [PLAY/LOAD] button, display shows “Load OK”.](https://usermanual.wiki/Ringway-Tech/GRAND110/User-Guide-1725282-Page-30.png)
![DELETE MEMORY REGISTRATIONS FROM USB Insert the USB Disk into the USB socket. Press and hold the [USB FILES] button to access the Setting files in the USB Disk. Select the Setting page by pressing the [/\][\/] buttons. Use [/\][\/] button to select the desired Overall Preset Registration Setting file you want to delete, then hold down the [RECORD] button and press [PLAY/LOAD] button. LCD shows: Press [/\] button to delete the file. Press [\/] button to exit the function without deleting the file. NOTE – When a file is deleted from a list its progressive number will be cancelled and saved in a special memory location inside the instrument. This number will be automatically assigned to the next file of the same type that will be loaded. SONG PLAY MODE It is possible to play only 1 song at the time or all the songs listed in the USB disk . Single The selected song will be played after the [PLAY] button is pressed, and will stop at the end of it. All The selected song will be played after the [PLAY] button is pressed and will automatically play all the following songs without stopping, unless the [PLAY] button is pressed again. How to select the Single and All mode. - Press and hold the PLAY/LOAD button. The display shows: The default mode is Single Mode. To select the All mode use the [/\][\/] buttons:](https://usermanual.wiki/Ringway-Tech/GRAND110/User-Guide-1725282-Page-32.png)

![TEMPO CONTROL The [/\] and [\/] buttons can be used to control the tempo of the Standard Midi File song played from the USB disk and also the Metronome speed. SONG RECORDING The instrument lets you record your Songs and Registration settings to a USB Disk.. It is possible to record your song using up to sixteen independent tracks. The song will be stored into USB Disk memory. There are two different ways of recording your song: Quick Recording and Multi Track Recording. QUICK RECORDING 1 Insert the USB Disk into the USB socket. 2 Press the [RECORD] button to start recording. The display shows: As soon as [RECORD] is pressed the Metronome will automatically start. This can be switched off at any time by pressing the Metronome button OFF. The recording will start as soon as the first key on the keyboard is pressed. 3 During recording you can select sounds, volumes, effects and all will be recorded in your performance. 4 To stop recording press [RECORD] button again. The recording stops immediately and your song is stored in the USB Disk memory. The internal computer will immediately store you song automatically assigning the name](https://usermanual.wiki/Ringway-Tech/GRAND110/User-Guide-1725282-Page-34.png)

![This will allow to be able to start from any given song level and add new tracks. At the end of Multi Track Recording you can delete the old and not necessary filesfrom the USB disk. This means that you may have more songs with similar names(example 001: SONG_11, 002: SONG_11) but remember that the 3 numbenumber in front of the song is identifying it in the list. It is of course possible to change the song names in your computer. (XXX indicates the total file number. 001 indicates the recording file number). MULTI TRACK RECORDING If you like to add new tracks to the just recordered song, select it on the display ( as previous example XXX: Song_001) and select now MULTI TRACK RECORDING by pressing the [USB FILES] button and the [RECORD] buttons at the same time(hold down the [USB FILES] button and press [RECORD] button). - The Metronome immediately start for two bars and the first recorded Track starts playing. - It is now possible to record the new track as we did before. - The name of the new file will be saved in sequence ( _003, _004, etc.) as long as new tracks are added t the song. - To stop recording by pressing [RECORD] button again. - It is necessary to press the [RECORD] button at the end of each track. NOTE: the Multi Track Recording will save a song for each track that it is added to the original song file. NOTE: In the event that you are recording too many track in the sequence a warning message will appear on the display indicating that there are NO RECORDING TRACKS available.](https://usermanual.wiki/Ringway-Tech/GRAND110/User-Guide-1725282-Page-36.png)
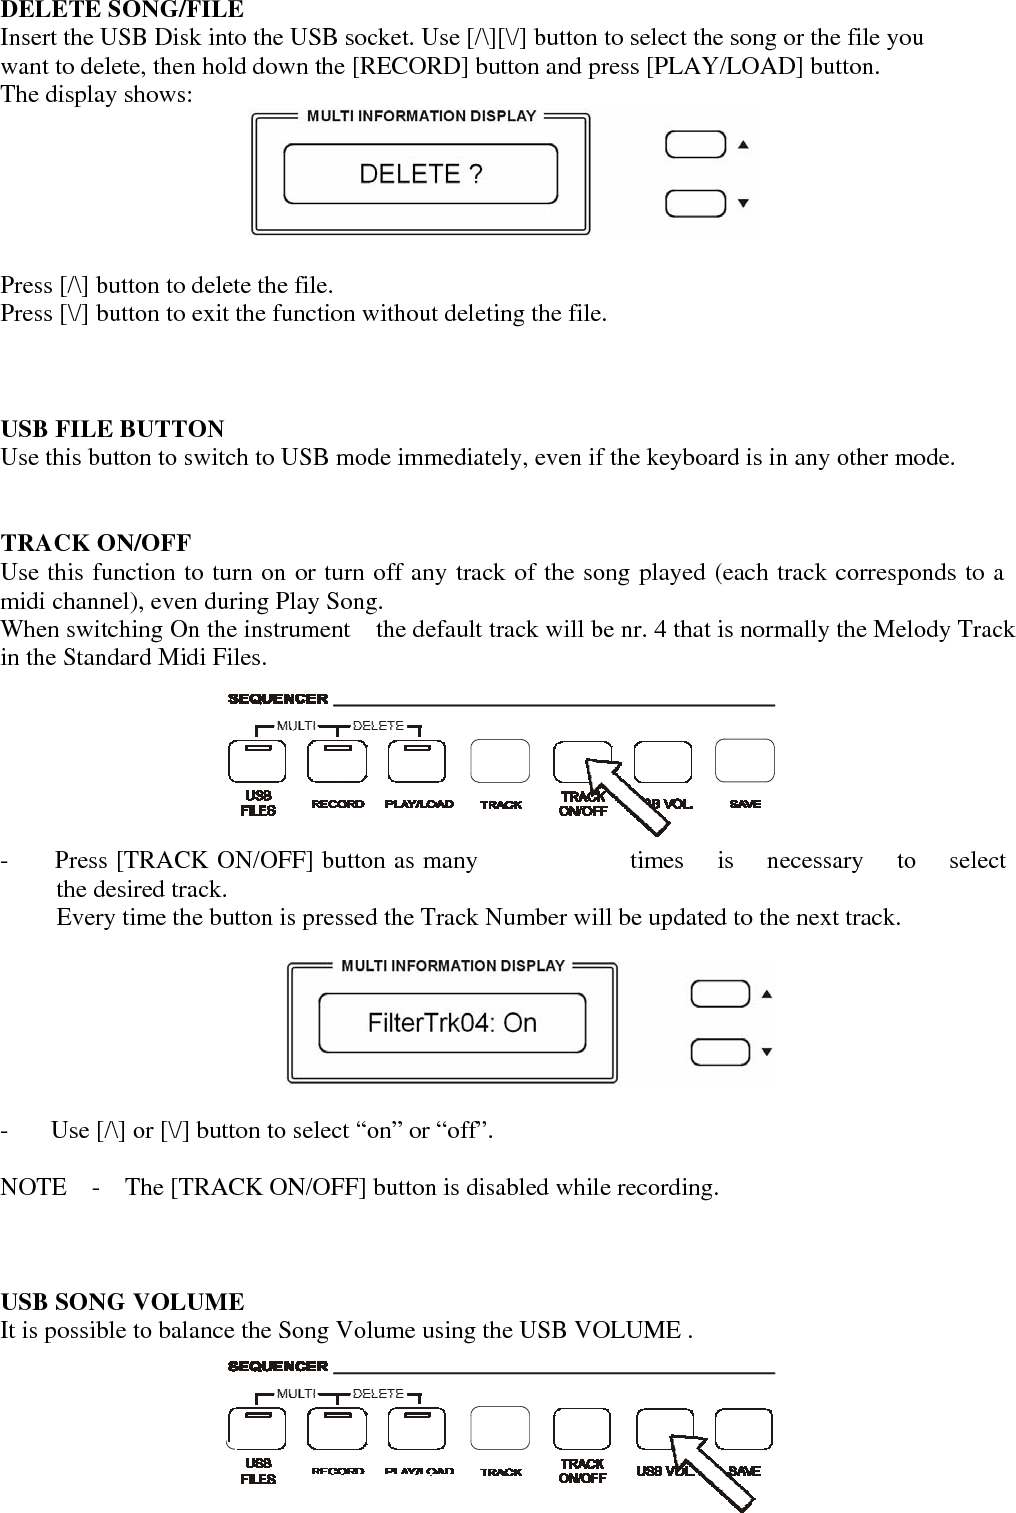
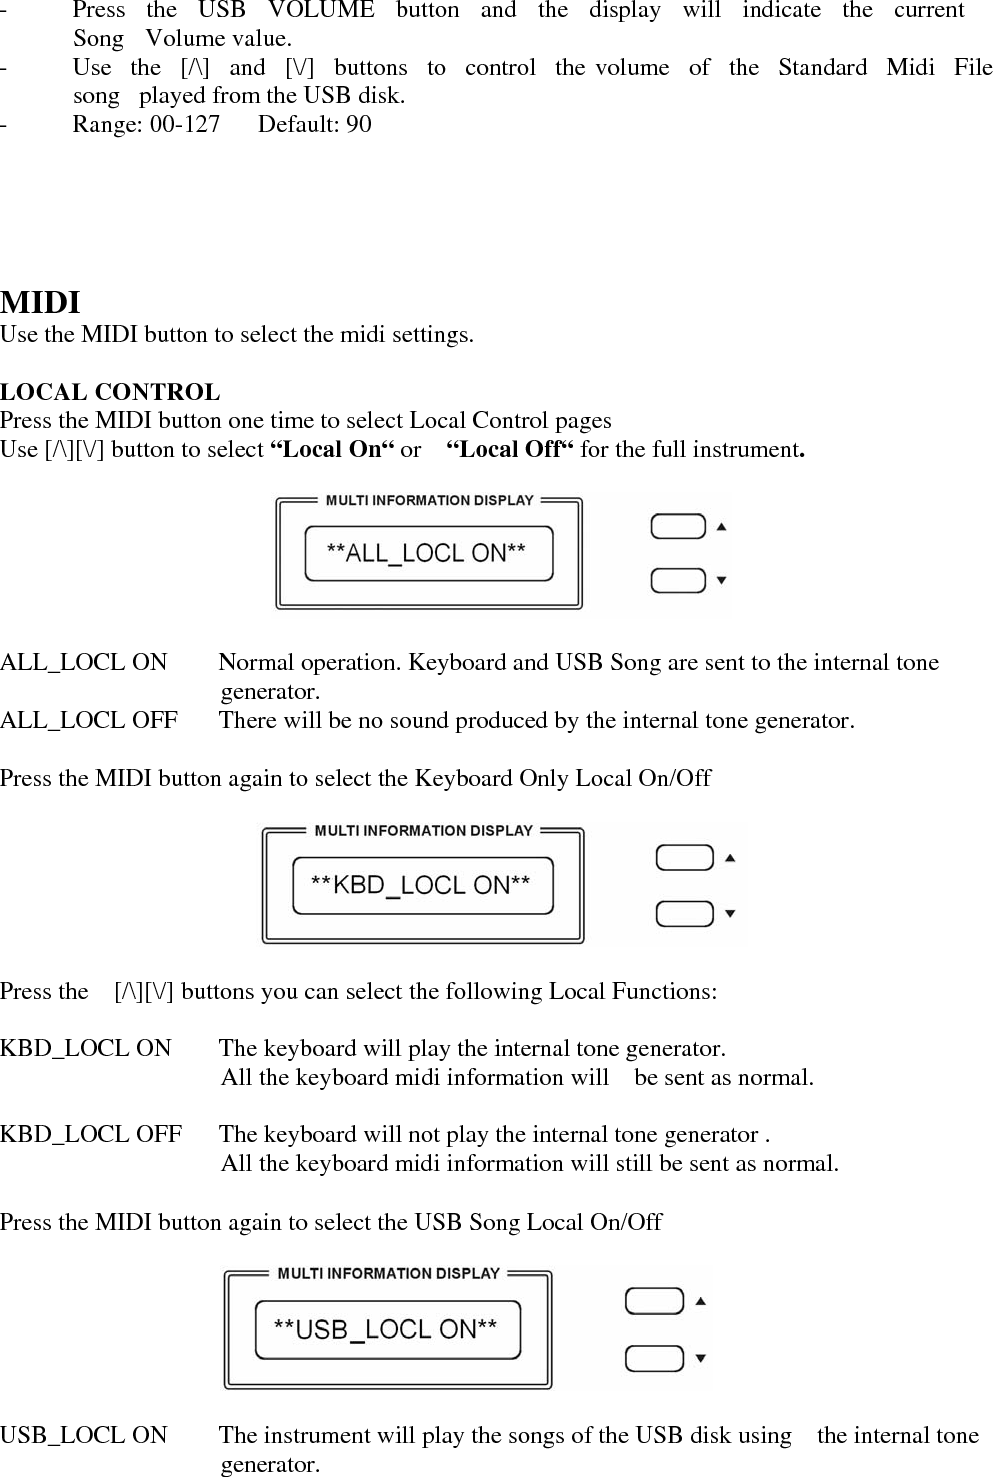
![DELETE SONG/FILE Insert the USB Disk into the USB socket. Use [/\][\/] button to select the song or the file you want to delete, then hold down the [RECORD] button and press [PLAY/LOAD] button. The display shows: Press [/\] button to delete the file. Press [\/] button to exit the function without deleting the file. USB FILE BUTTON Use this button to switch to USB mode immediately, even if the keyboard is in any other mode. TRACK ON/OFF Use this function to turn on or turn off any track of the song played (each track corresponds to a midi channel), even during Play Song. When switching On the instrument the default track will be nr. 4 that is normally the Melody Track in the Standard Midi Files. - Press [TRACK ON/OFF] button as many times is necessary to select the desired track. Every time the button is pressed the Track Number will be updated to the next track. - Use [/\] or [\/] button to select “on” or “off”. NOTE - The [TRACK ON/OFF] button is disabled while recording. USB SONG VOLUME It is possible to balance the Song Volume using the USB VOLUME .](https://usermanual.wiki/Ringway-Tech/GRAND110/User-Guide-1725282-Page-38.png)
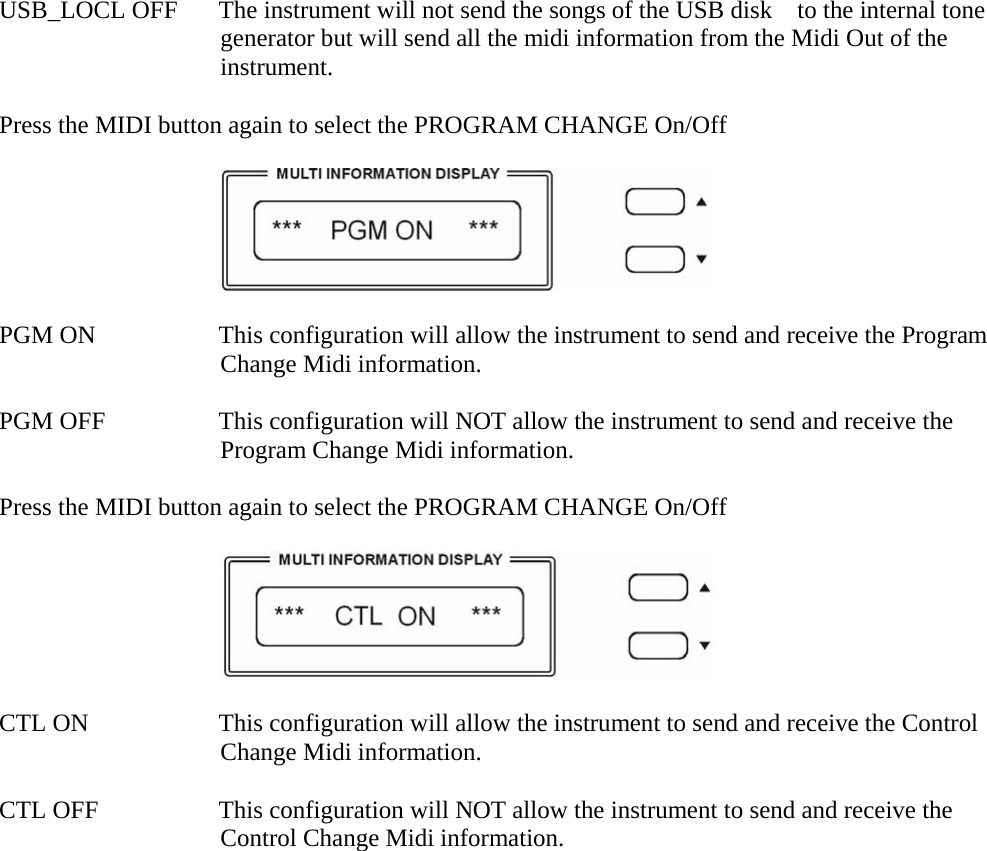
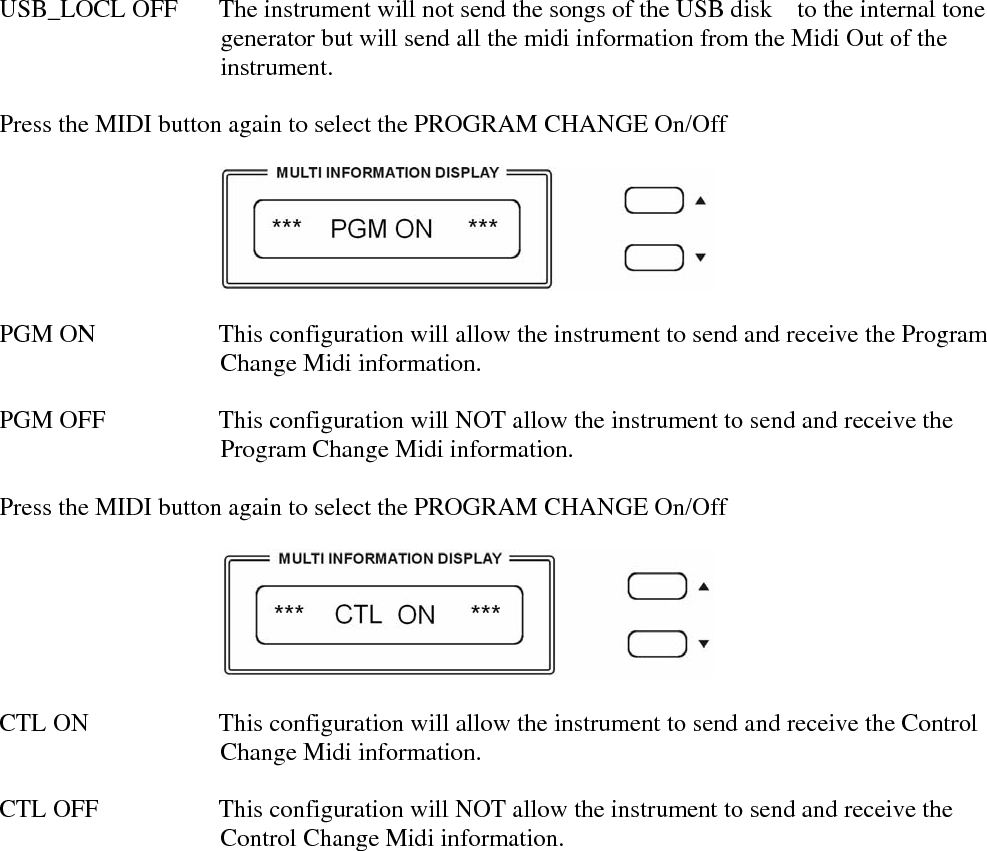
![- Press the USB VOLUME button and the display will indicate the current Song Volume value. - Use the [/\] and [\/] buttons to control the volume of the Standard Midi File song played from the USB disk. - Range: 00-127 Default: 90 MIDI Use the MIDI button to select the midi settings. LOCAL CONTROL Press the MIDI button one time to select Local Control pages Use [/\][\/] button to select “Local On“ or “Local Off“ for the full instrument. ALL_LOCL ON Normal operation. Keyboard and USB Song are sent to the internal tone generator. ALL_LOCL OFF There will be no sound produced by the internal tone generator. Press the MIDI button again to select the Keyboard Only Local On/Off Press the [/\][\/] buttons you can select the following Local Functions: KBD_LOCL ON The keyboard will play the internal tone generator. All the keyboard midi information will be sent as normal. KBD_LOCL OFF The keyboard will not play the internal tone generator . All the keyboard midi information will still be sent as normal. Press the MIDI button again to select the USB Song Local On/Off USB_LOCL ON The instrument will play the songs of the USB disk using the internal tone generator.](https://usermanual.wiki/Ringway-Tech/GRAND110/User-Guide-1725282-Page-40.png)
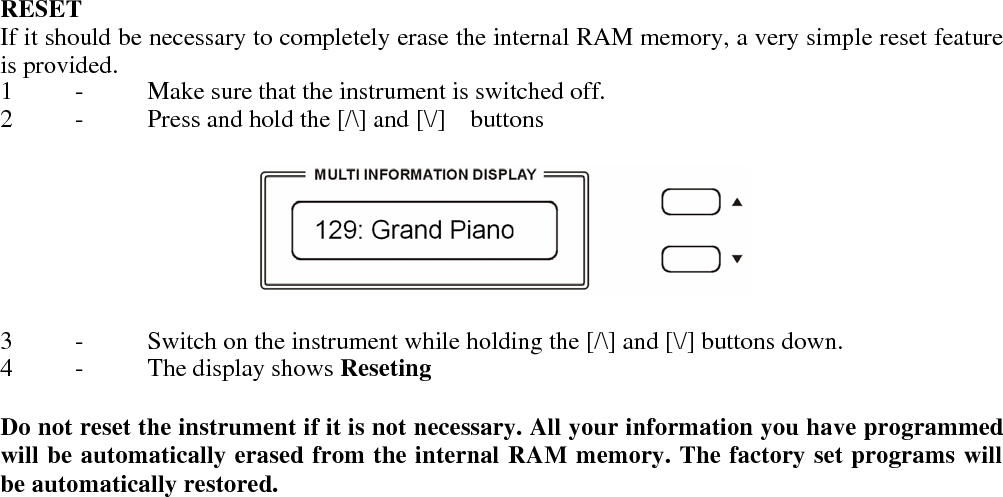
![RESET If it should be necessary to completely erase the internal RAM memory, a very simple reset feature is provided. 1 - Make sure that the instrument is switched off.2 - Press and hold the [/\] and [\/] buttons 3 - Switch on the instrument while holding the [/\] and[\/] buttons down.4 - The display shows Reseting Do not reset the instrument if it is not necessary. All your information you have programmed will be automatically erased from the internal RAM memory. The factory set programs will be automatically restored.](https://usermanual.wiki/Ringway-Tech/GRAND110/User-Guide-1725282-Page-44.png)