Ringway Tech LEGATOIII DIGITAL PIANO User Manual Manual
Ringway Tech(Jiangsu) Co.,Ltd. DIGITAL PIANO Manual
UserManual.wiki
>
Ringway Tech
>
LEGATOIII User Manual
Manual
Navigation menu
Upload a User Manual
Namespaces
Wiki Guide
HTML
PDF
Info
Views
User Manual
Discussion / Help
Navigation
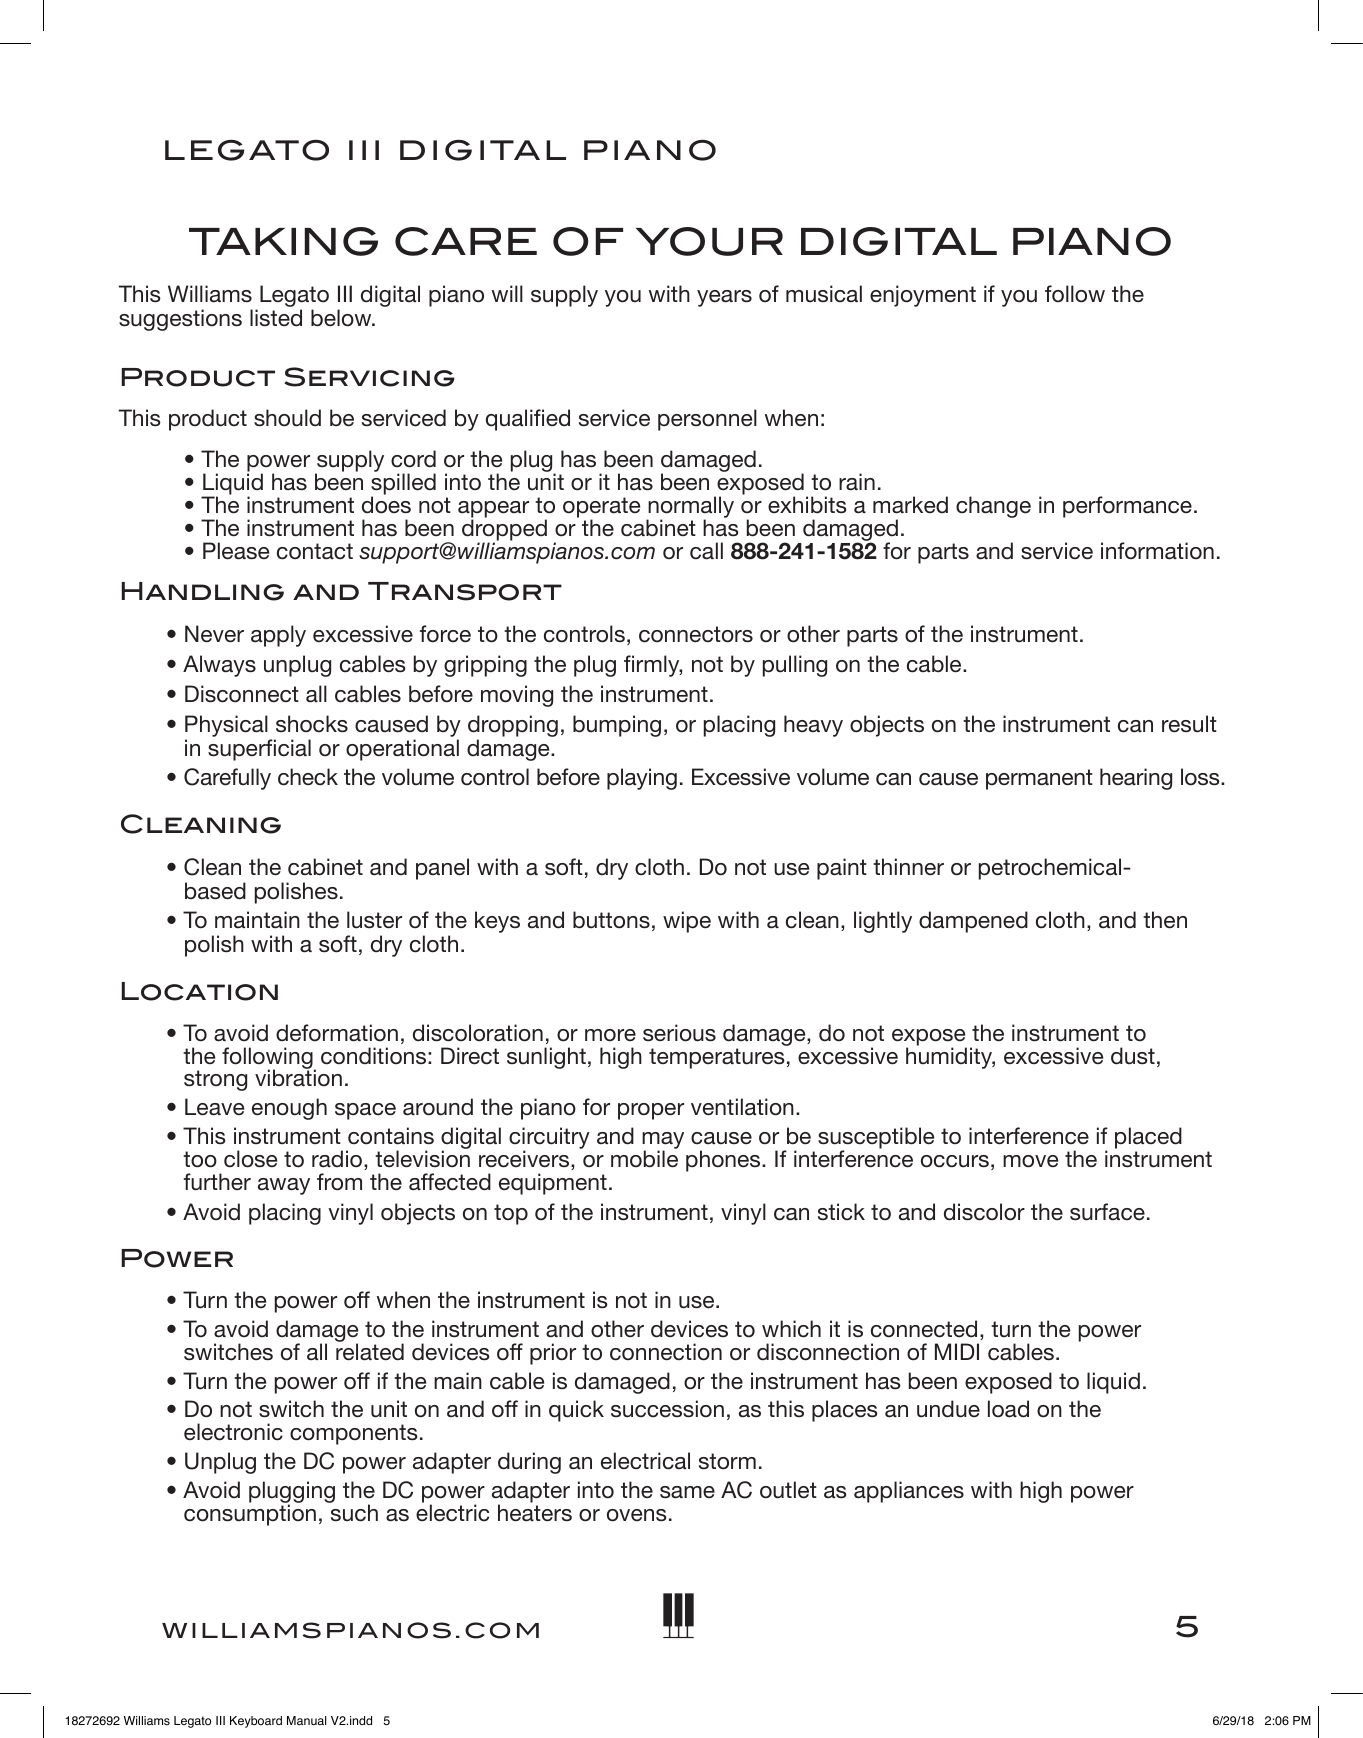
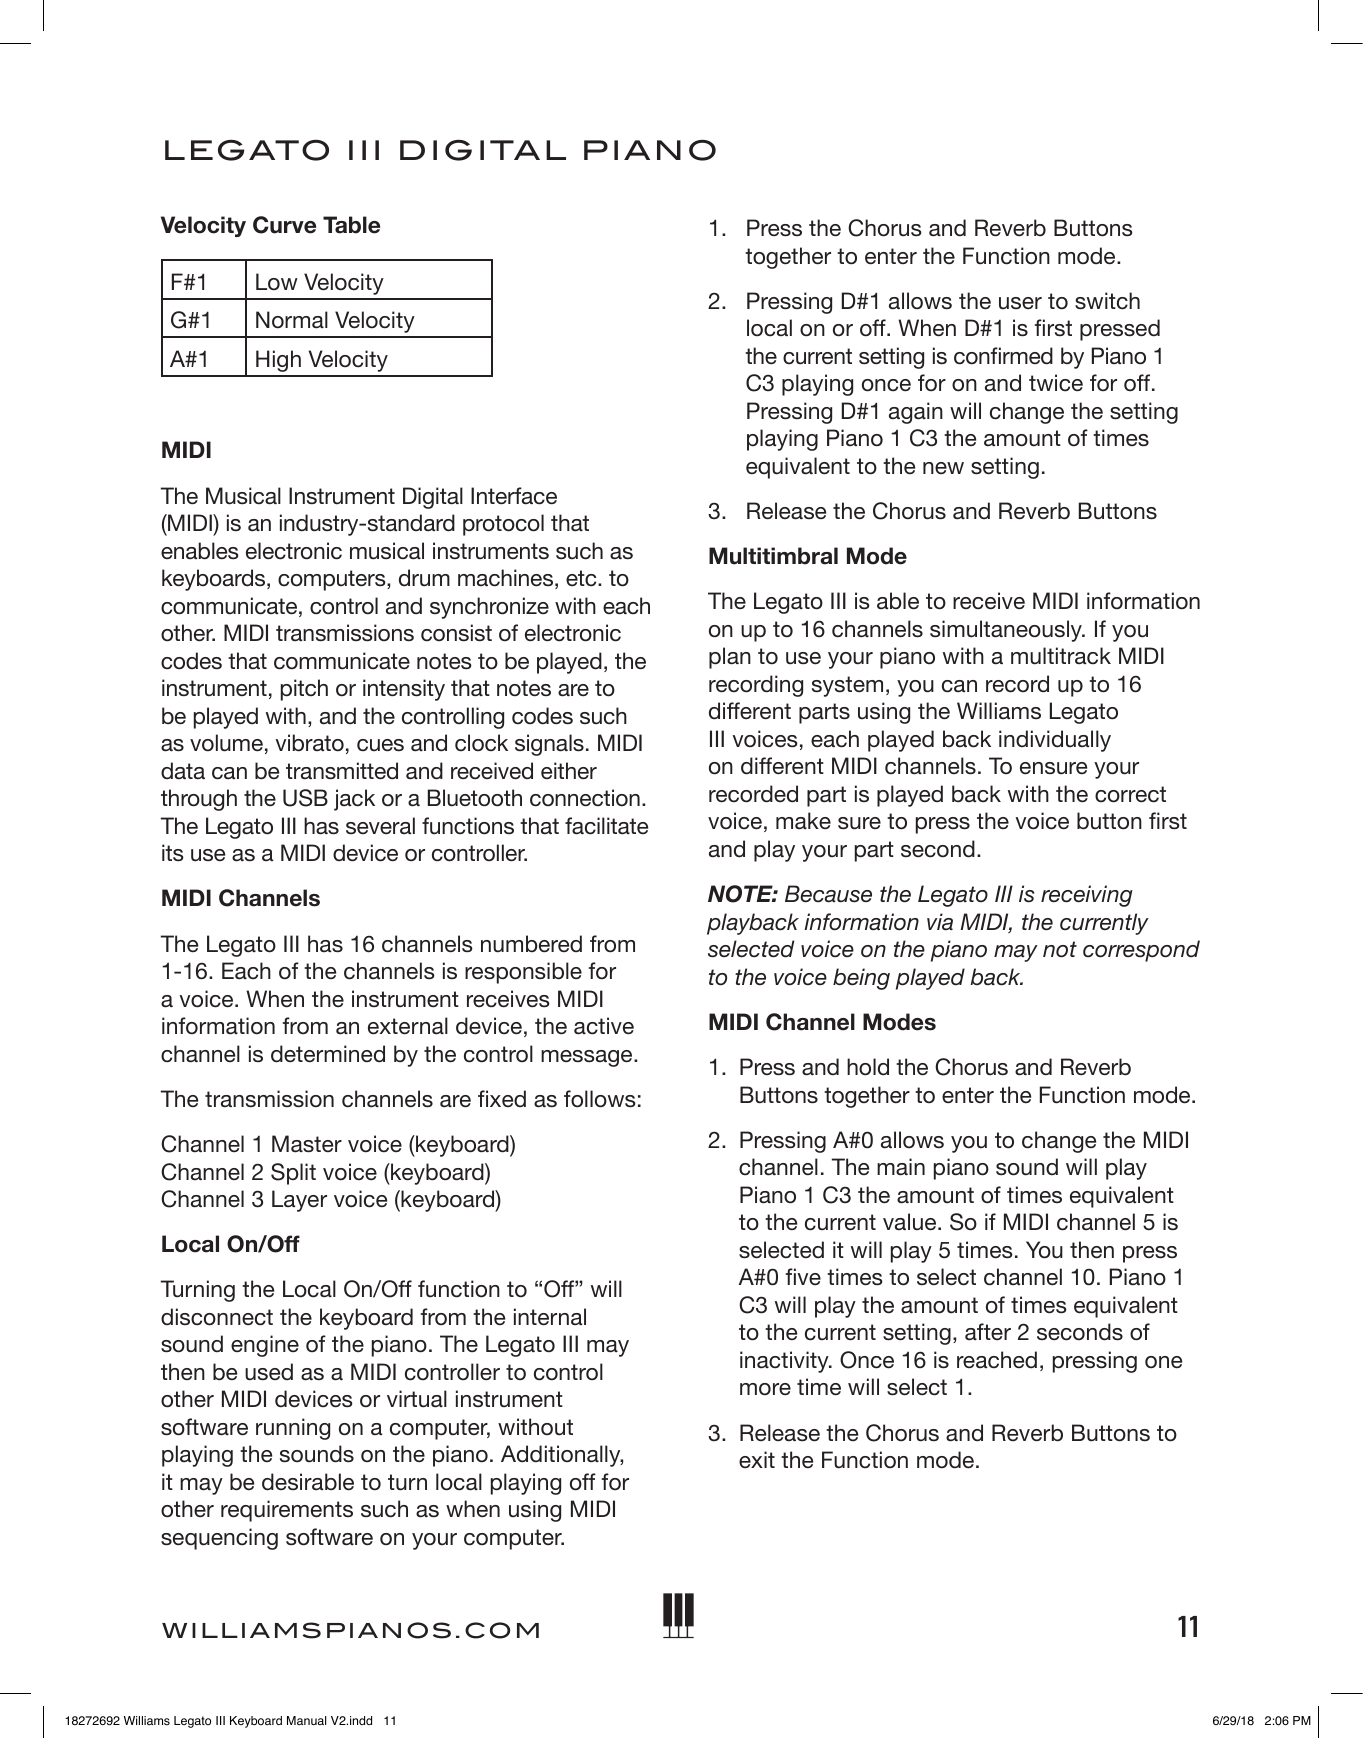
![6OWNER'S MANUALTOP PANEL Power On/Off Press the [POWER] button in the upper left corner of the front panel. The LED light in the button will stay on when the piano is on.Volume Knob Controls the overall output volume of the piano.Function Button Group Reverb Button, Chorus Button, Metronome Button, Bluetooth ButtonVoice Select Buttons Piano, Electric Piano, Organ, Synth, BassSplit Divides the keyboard into two zones with different voicesBACK PANEL USB Input For computer connection, the USB connection supports Class Compliant MIDI Drivers to use with MIDI Sequencer applications.Sustain Input The sustain pedal will function in a similar method as an acoustic piano sustain pedal. Using this pedal will allow the piano key sounds to decay slowly. Plug in the included sustain pedal here. The jack will auto-detect the polarity of the sustain pedal, making it compatible with most sustain pedal brands and models.Outputs Stereo/ Mono Line Out ¼” Jacks. The output jacks supply a line-level signal for external amplication. Use both jacks for stereo or just the Left jack for mono.Headphone The headphone jack disables the speakers when headphones are connected.Power Input Connection for the Included DC power adapter.BOTTOM PANELBattery Compartment The product can either be powered via a power supply or battery. If batteries are inserted while the unit is powered from a power supply, no power will be drawn from the batteries. The piano requires six D-cell 1.5V batteries.18272692 Williams Legato III Keyboard Manual V2.indd 6 6/29/18 2:06 PM](https://usermanual.wiki/Ringway-Tech/LEGATOIII/User-Guide-3983469-Page-6.png)
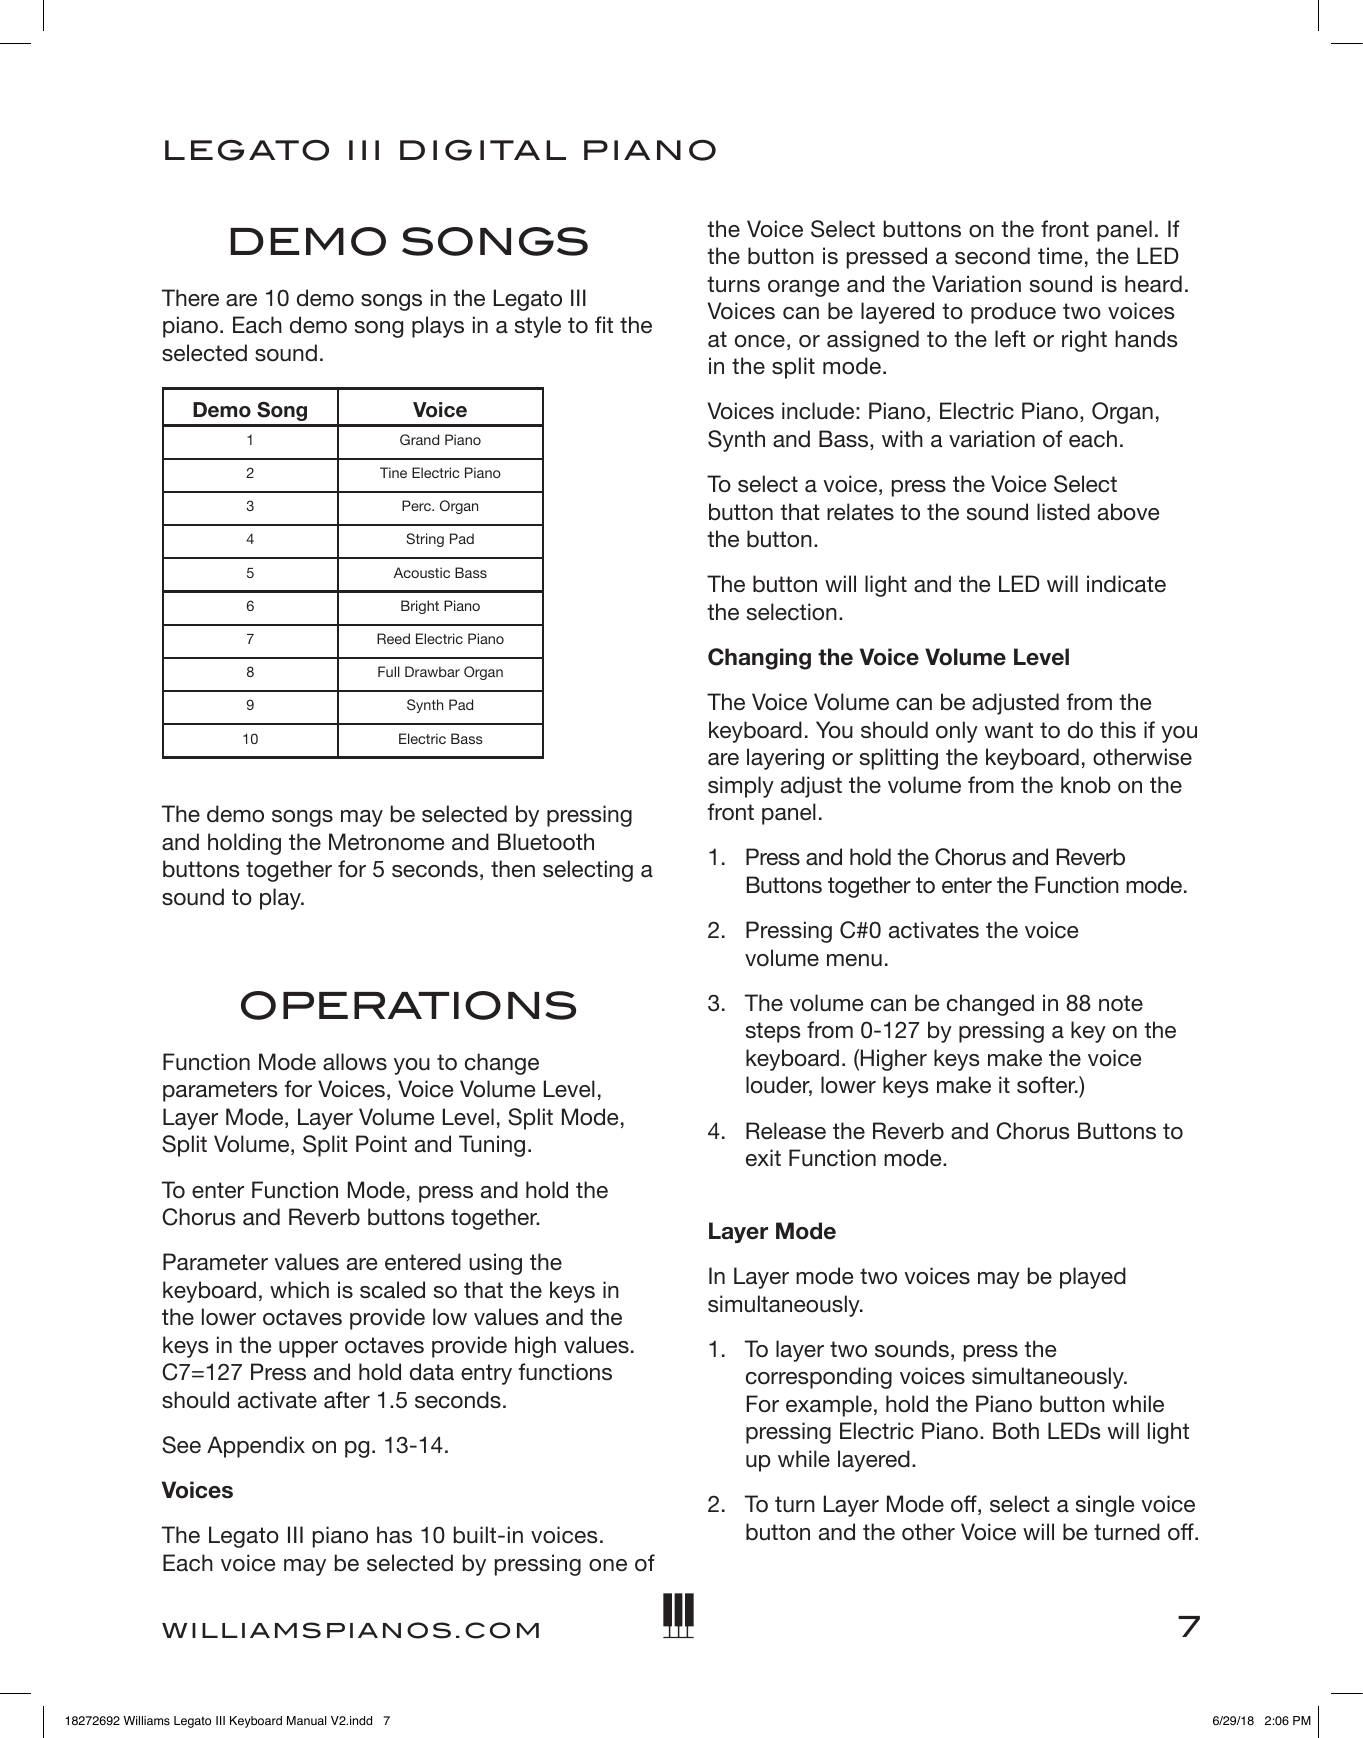
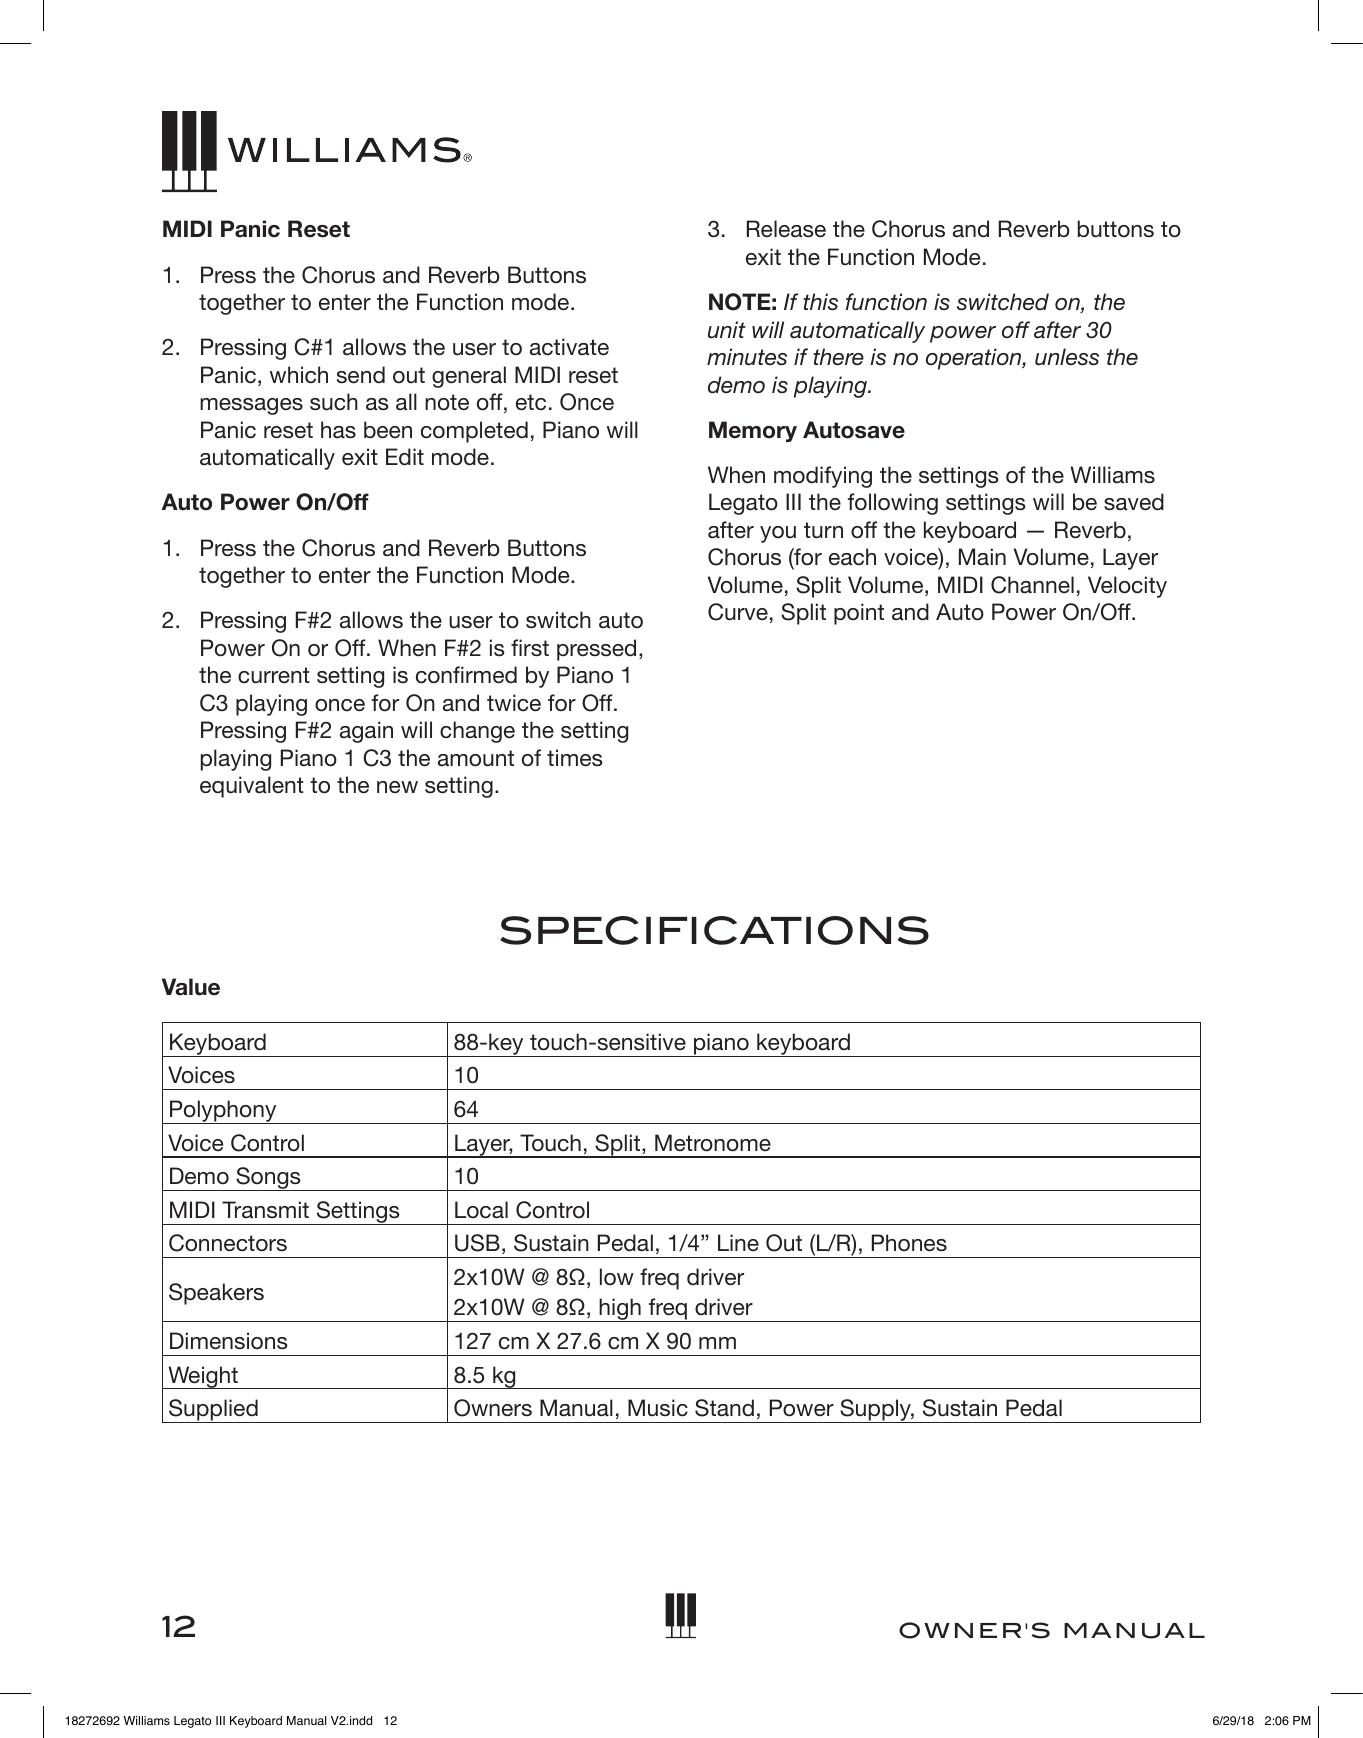
![8OWNER'S MANUAL3. If you want to layer a variation sound, press the second voice button twice.To Change the Layer Volume Level1. Press the Chorus and Reverb Buttons together to enter Function mode.2. Pressing D#0 activates the layer volume menu. The volume can be changed in 88 note steps from 0-127 where C7=127 and A-1=0.3. Pressing a key will play C3 of the currently selected layered sound at the volume corresponding to the key value.4. Release the Reverb and Chorus Buttons to exit the Function mode. Split ModeSplit Mode allows the keyboard to be divided into two sections so that different voices may be played with the left and right hands. The volume may be independently adjusted for each voice, the Split Point (the highest note played with the left hand) may be adjusted and the Split Voice may be changed as desired.To Enter Split ModePress the [SPLIT] button to enter Split mode. Press it again to disable Split mode.The Split (left hand) voice will be Acoustic Bass and the Split Point will be B2.To Change the Split Volume1. Press the Chorus and Reverb Buttons together to enter Function mode.2. Pressing D#2 activates the Split Volume menu. (See Appendix on Pg 13.)3. The volume can be changed in 88 note steps from 0-127 where C7=127 and A-1=0.4. Release the Chorus and Reverb Buttons to exit Function mode.To Change the Split (Left Hand) VoicePress and hold the [SPLIT] button while depressing the desired Voice Select button. To select a variation sound, press the voice button twice. To Change the Split Point1. Press and hold the Split button.2. Press the key that you want to be the top note of the bottom split.3. Release the Split button. TUNINGTo change the tuning of the piano (at or sharp):1. Press the Chorus and Reverb Buttons together to enter Function mode.2. Press the A#-1 key to activate the tuning menu. The keyboard will now play middle C piano 1 voice (C3) on every note across the keyboard. Playing middle C (C3) sets for standard tuning, playing keys above and below tune the piano sharp or at up to a semitone. (See Appendix Pg 13.)3. Release the Chorus and Reverb Buttons to exit Function mode.To transpose the keyboard:1. Press the Chorus and Reverb Buttons together to enter the Function mode.2. Press the C#2 key3. Play a key on the keyboard to set the transpose in relation to middle C (C3.) If you would like to transpose up an octave, play C4 an octave above middle C. If you would like to transpose down a fourth, play G2. You can transpose the keyboard up to two octaves up or down.4. Release the Chorus and Reverb buttons when you are nished selecting the transpose.18272692 Williams Legato III Keyboard Manual V2.indd 8 6/29/18 2:06 PM](https://usermanual.wiki/Ringway-Tech/LEGATOIII/User-Guide-3983469-Page-8.png)
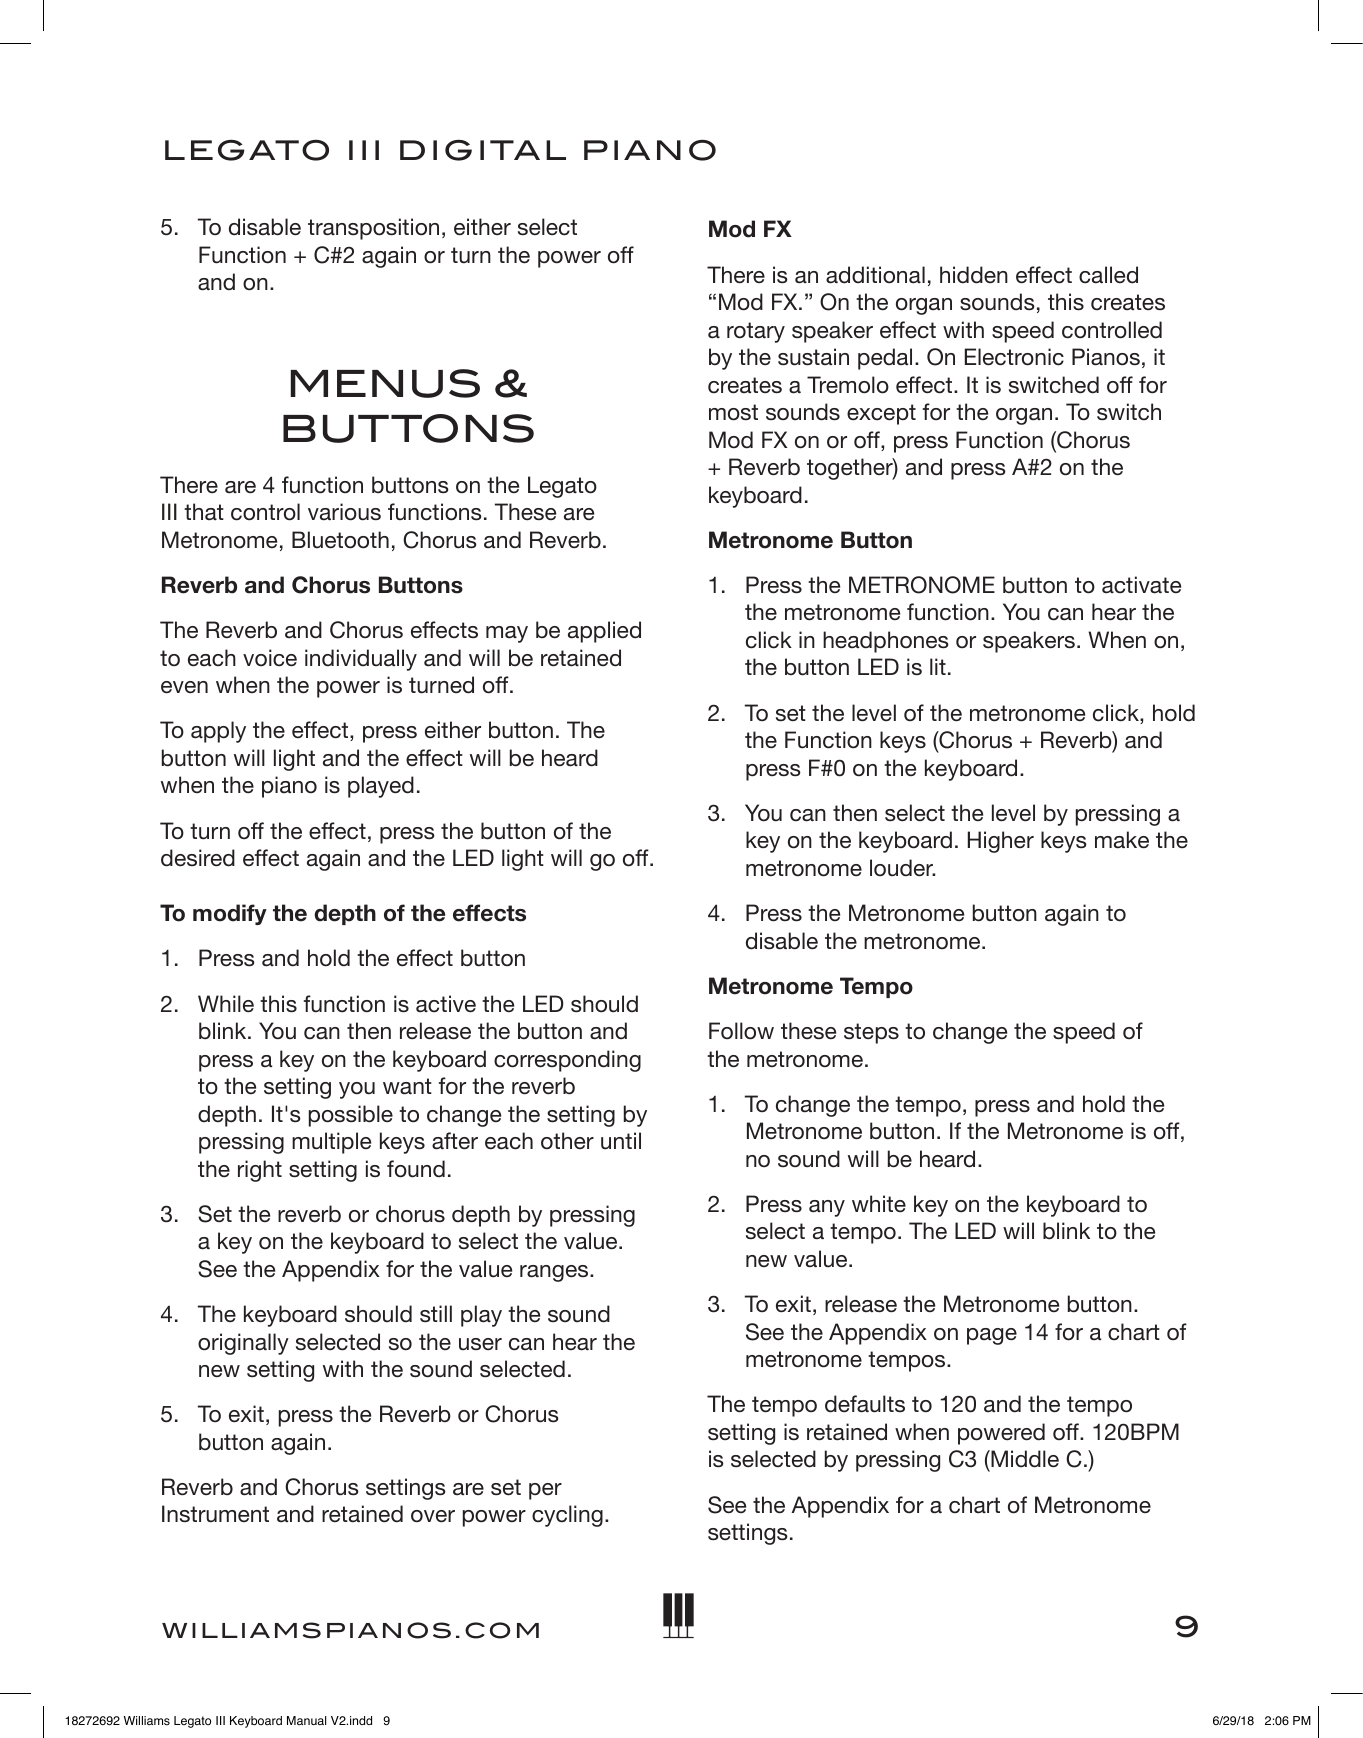
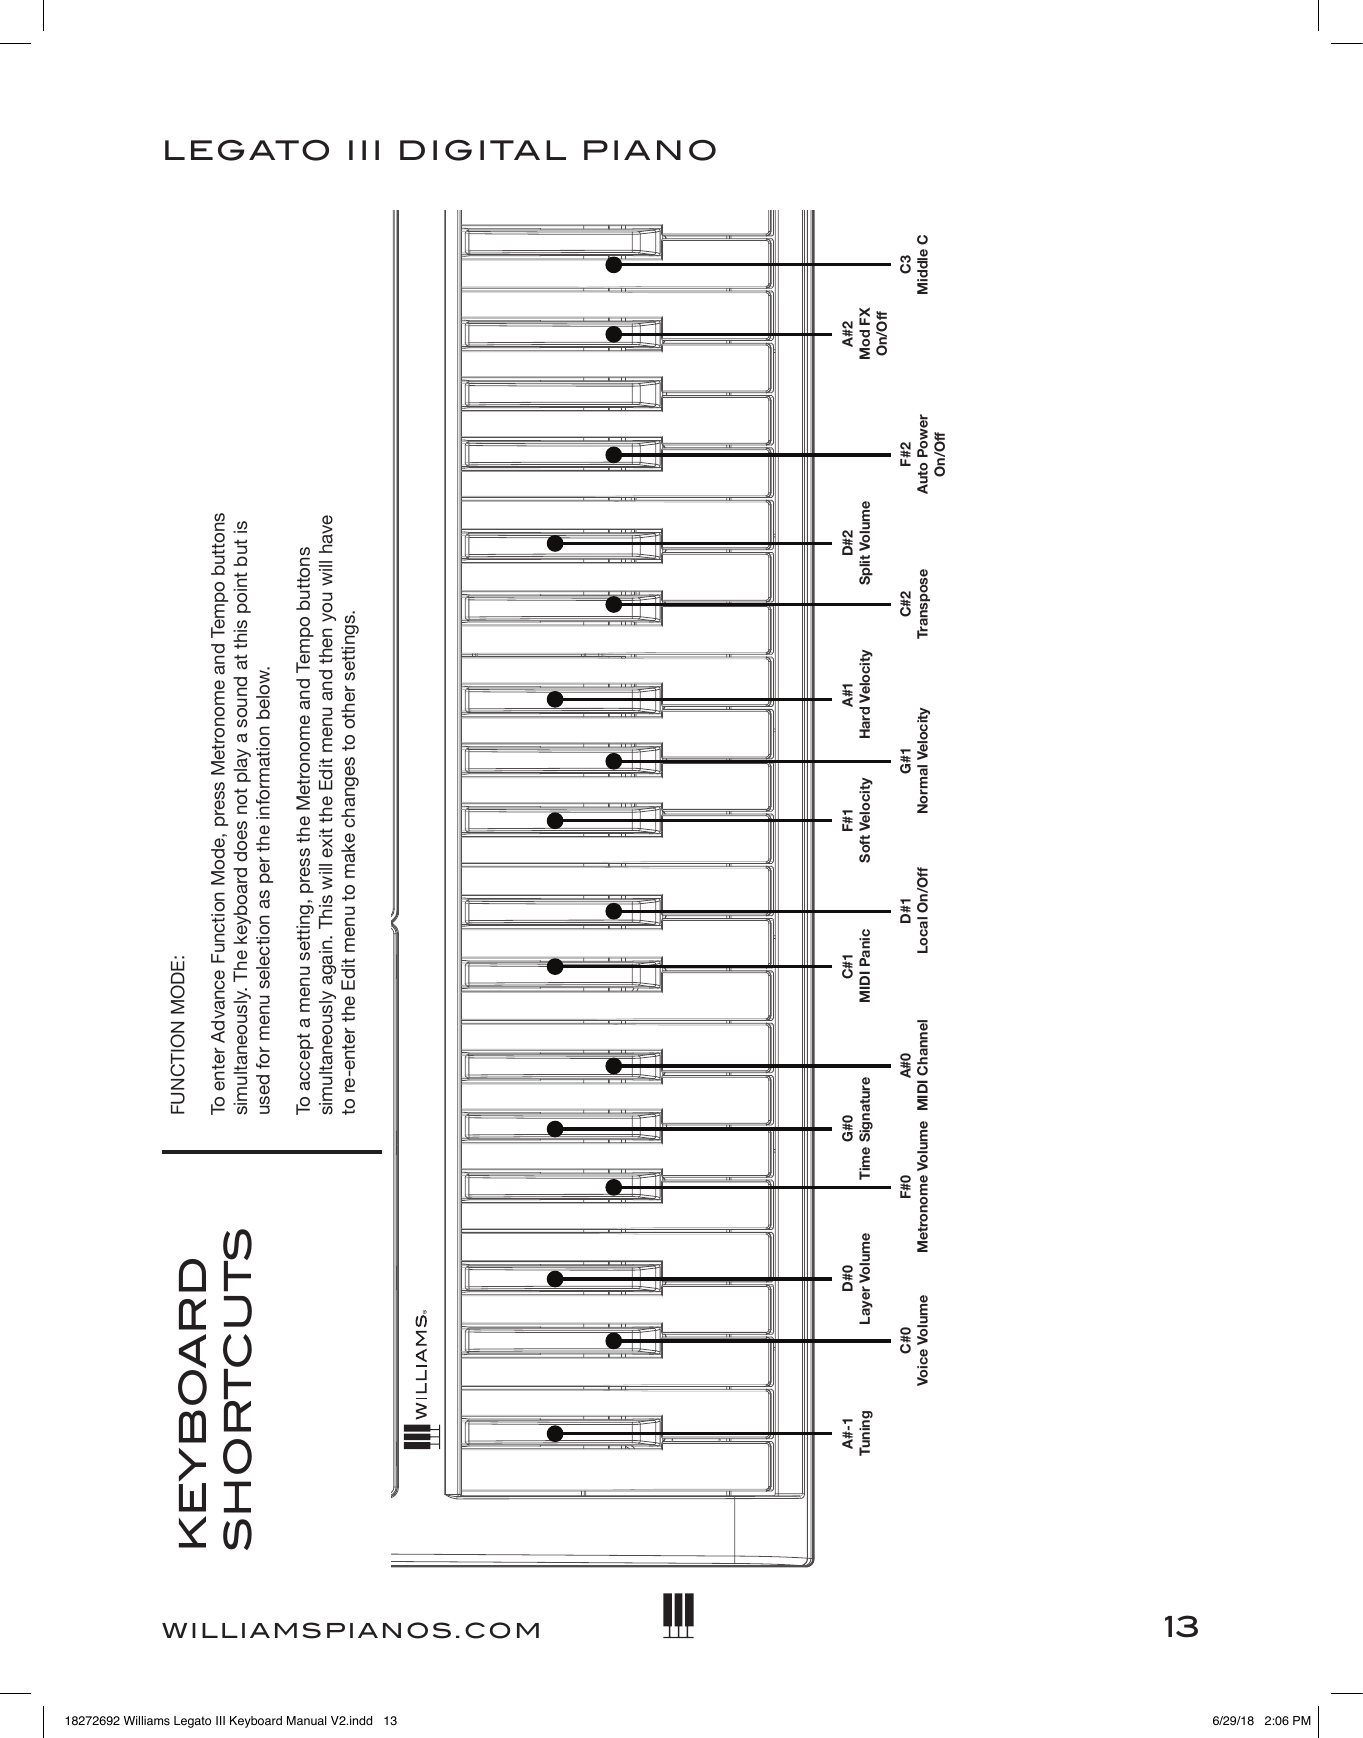
![10OWNER'S MANUALChanging the Time SignaturePressing the Chorus and Reverb buttons allows the user to change the time signature for the metronome. When this menu is selected the metronome starts playing at the current tempo setting. Pressing Function (Chorus and Reverb together) then G#0 toggles through the time signature options starting with the current setting. The default time signature is 4/4 and the following options are also available: 2/4, 3/4, 4/4, 5/4, 6/8, 9/8, 12/8.BluetoothThe Legato III includes Bluetooth wireless MIDI for connection to apps like the Williams App for iOS. To connect the piano to your tablet, smartphone, or computer: 1. Press the Bluetooth button. If you have not yet paired a device, the LED will ash quickly. 2. Open the Bluetooth MIDI settings in your app and select the Legato III. NOTE: The Legato III will not show up in the “Bluetooth” device list on your phone. Your app needs to support Bluetooth MIDI to work with the Legato III. If the app doesn't support Bluetooth MIDI, you can still use it with a USB adapter 3. The Bluetooth button LED should stop ashing once it is paired with a device. To disable Bluetooth, press the button again so that the LED switches off. Bluetooth MIDI allows you to connect with piano learning apps on a variety of devices. Williams AppDownload the Williams iOS app for iPhone, iPad, and iPod Touch to access advanced features of your Legato III. Visit williamspianos.com to learn more. ADVANCED FUNCTIONSAdvanced Function ModeTo enter Advanced Function Mode, press and hold the Chorus and Reverb buttons simultaneously. The keyboard does not play a sound at this point but is used for menu selection as per the information below.To accept a menu setting release the Chorus and Reverb buttons. This will exit the Edit menu and then you will have to re-enter the Edit menu to make changes to other settings.Factory ResetPerforming a Factory Reset will clear all battery backed memory and restore all functions to factory defaults.1. Turn the Power Off.2. Hold down the [REVERB] and [CHORUS] buttons while powering on the piano (The LED Display will light ALL segments and all LEDs on the device will light).3. Release the [REVERB] and [CHORUS] buttons.Velocity CurvesYou can change the way the keyboard responds to your playing by adjusting the Velocity curve settings1. Press the Chorus and Reverb Buttons together to enter the Function mode.2. Press F#1, G#1 and A#1 to select between Low, Normal and High velocity curves. When selecting F#1 low, Piano 1 C3 will play at velocity value 30. When G#1 Normal is selected, Piano 1 C3 will play at velocity value 70. When A#1 High is selected, Piano 1 C3 will play at velocity value 127 and the piano will exit Function Mode automatically.18272692 Williams Legato III Keyboard Manual V2.indd 10 6/29/18 2:06 PM](https://usermanual.wiki/Ringway-Tech/LEGATOIII/User-Guide-3983469-Page-10.png)