Roku 2400X IP-STB User Manual
Roku, Inc. IP-STB
UserManual.wiki
>
Roku
>
2400X User Manual
User Manual
Navigation menu
Upload a User Manual
Namespaces
Wiki Guide
HTML
PDF
Info
Views
User Manual
Discussion / Help
Navigation
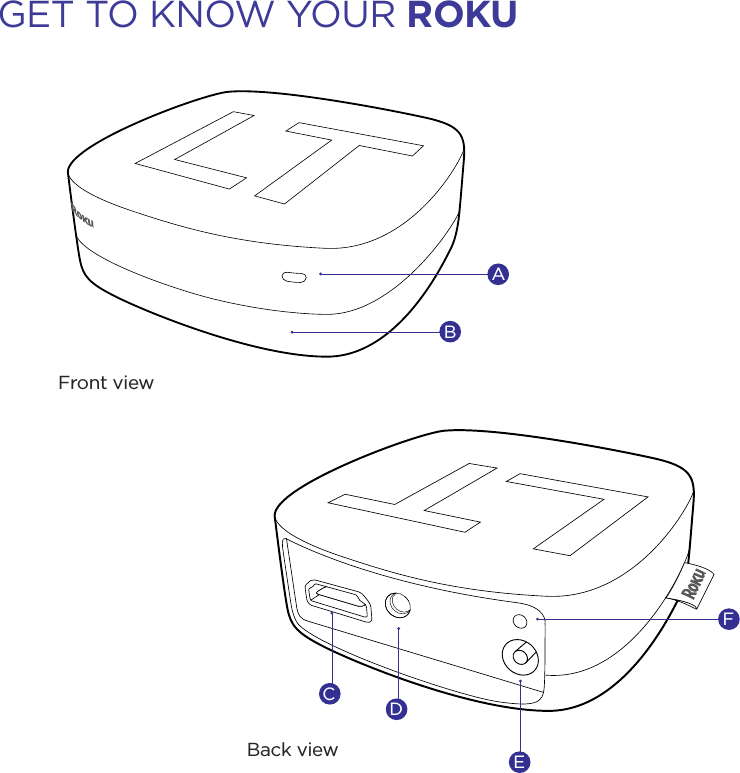

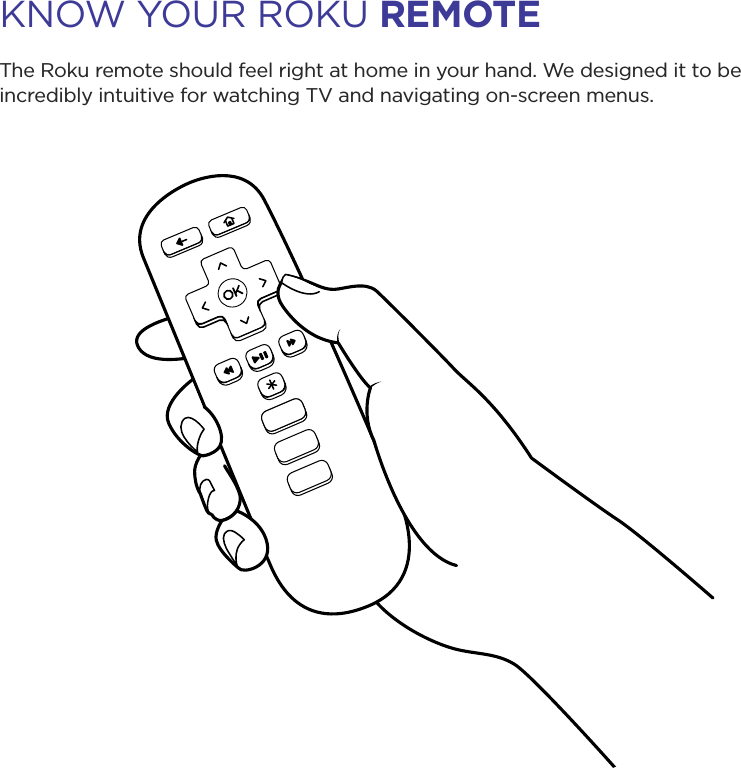
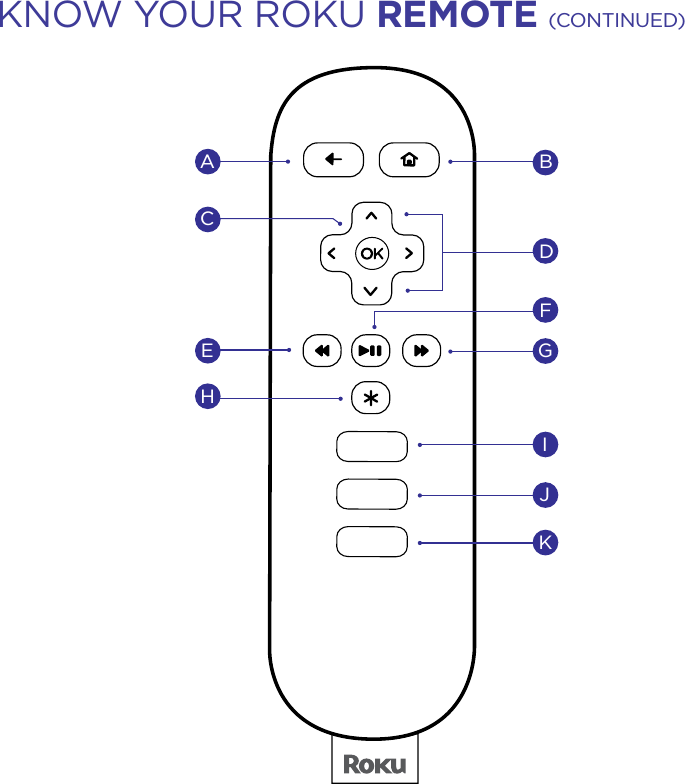
![TIP: Make sure there are no obstructions between the remote and the IR sensor on the front of the Roku player.A[BACK] Return to previous screen[HOME] Return to Roku home screen[OK] Select an option from a menu[UP] or [DOWN] Move up or down; [LEFT] or [RIGHT] Move left or right[REV SCAN] Rewind, scroll left one page at a time[PLAY/PAUSE] Start or pause playback[FWD SCAN] Fast forward, scroll right one page at a time[OPTIONS] View more optionsQuick launch buttonQuick launch buttonQuick launch buttonBDCFEGHIJK](https://usermanual.wiki/Roku/2400X/User-Guide-1548864-Page-15.png)