Ruckus Wireless ZF7025 ZoneFlex 7025 Access Point User Manual Ruckus Wireless AP ZF2942 7942 Quick Setup Guide
Ruckus Wireless, Inc. ZoneFlex 7025 Access Point Ruckus Wireless AP ZF2942 7942 Quick Setup Guide
Contents
- 1. User Manual
- 2. User Manual - Regulatory
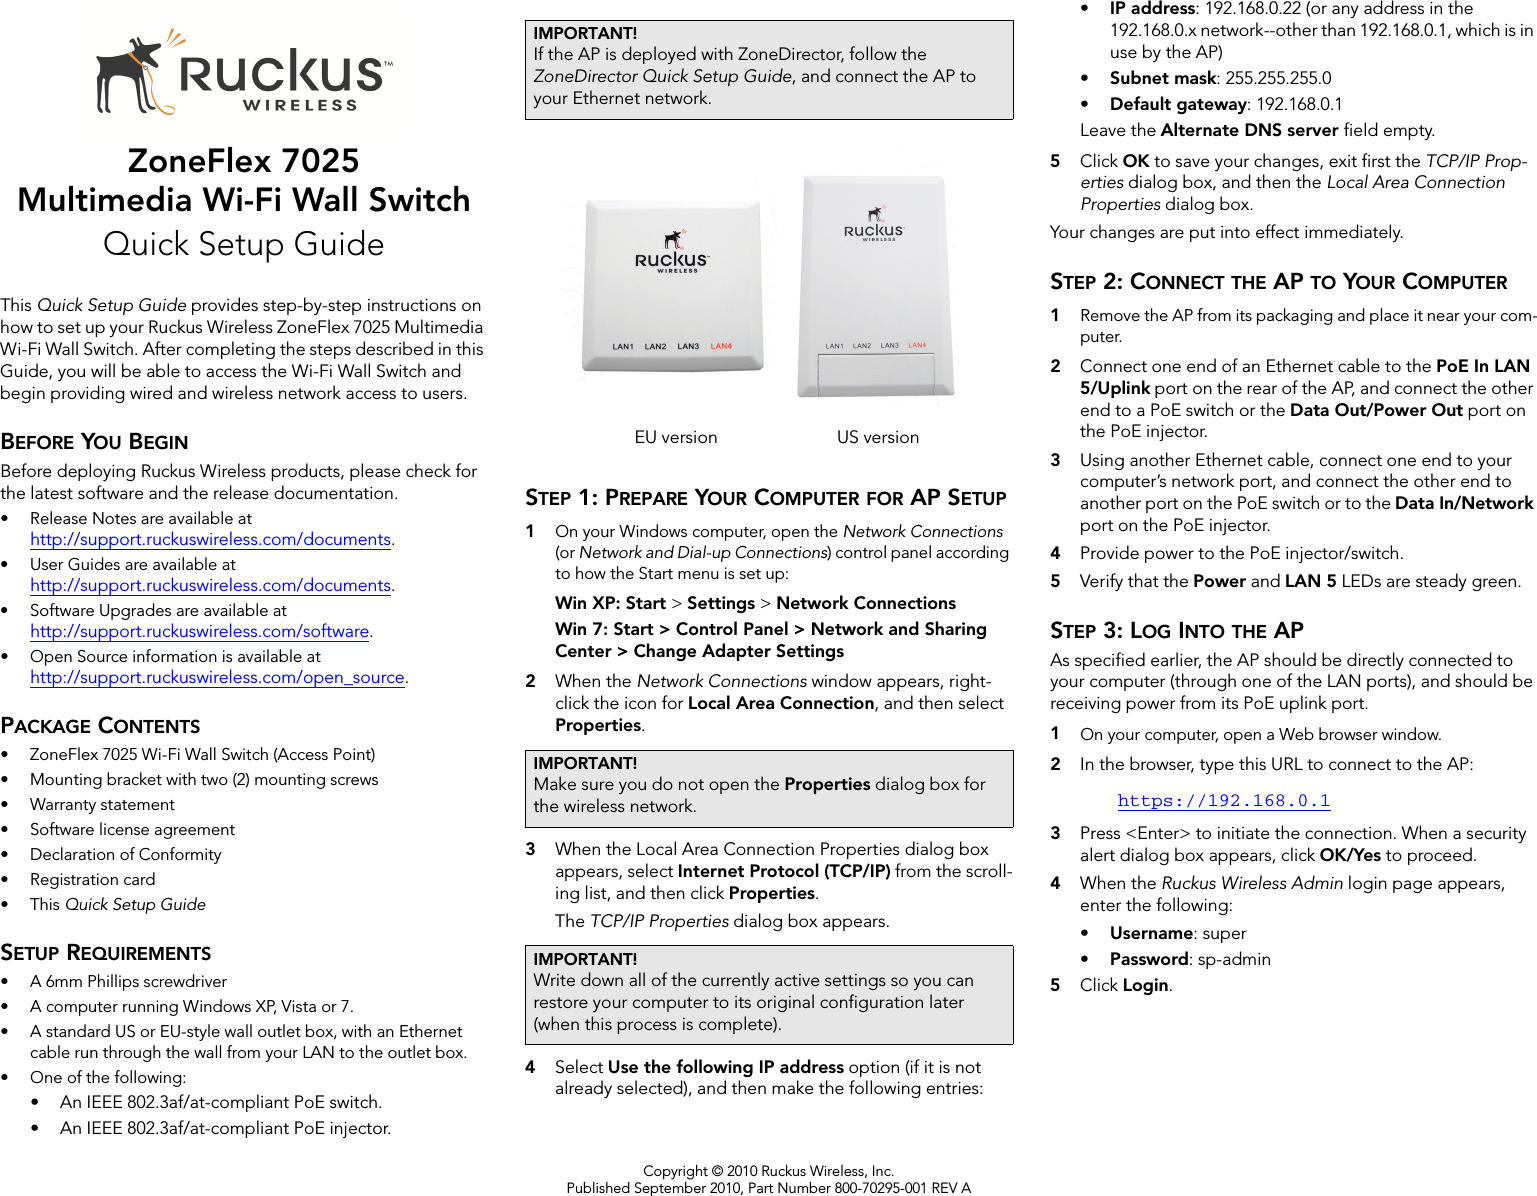
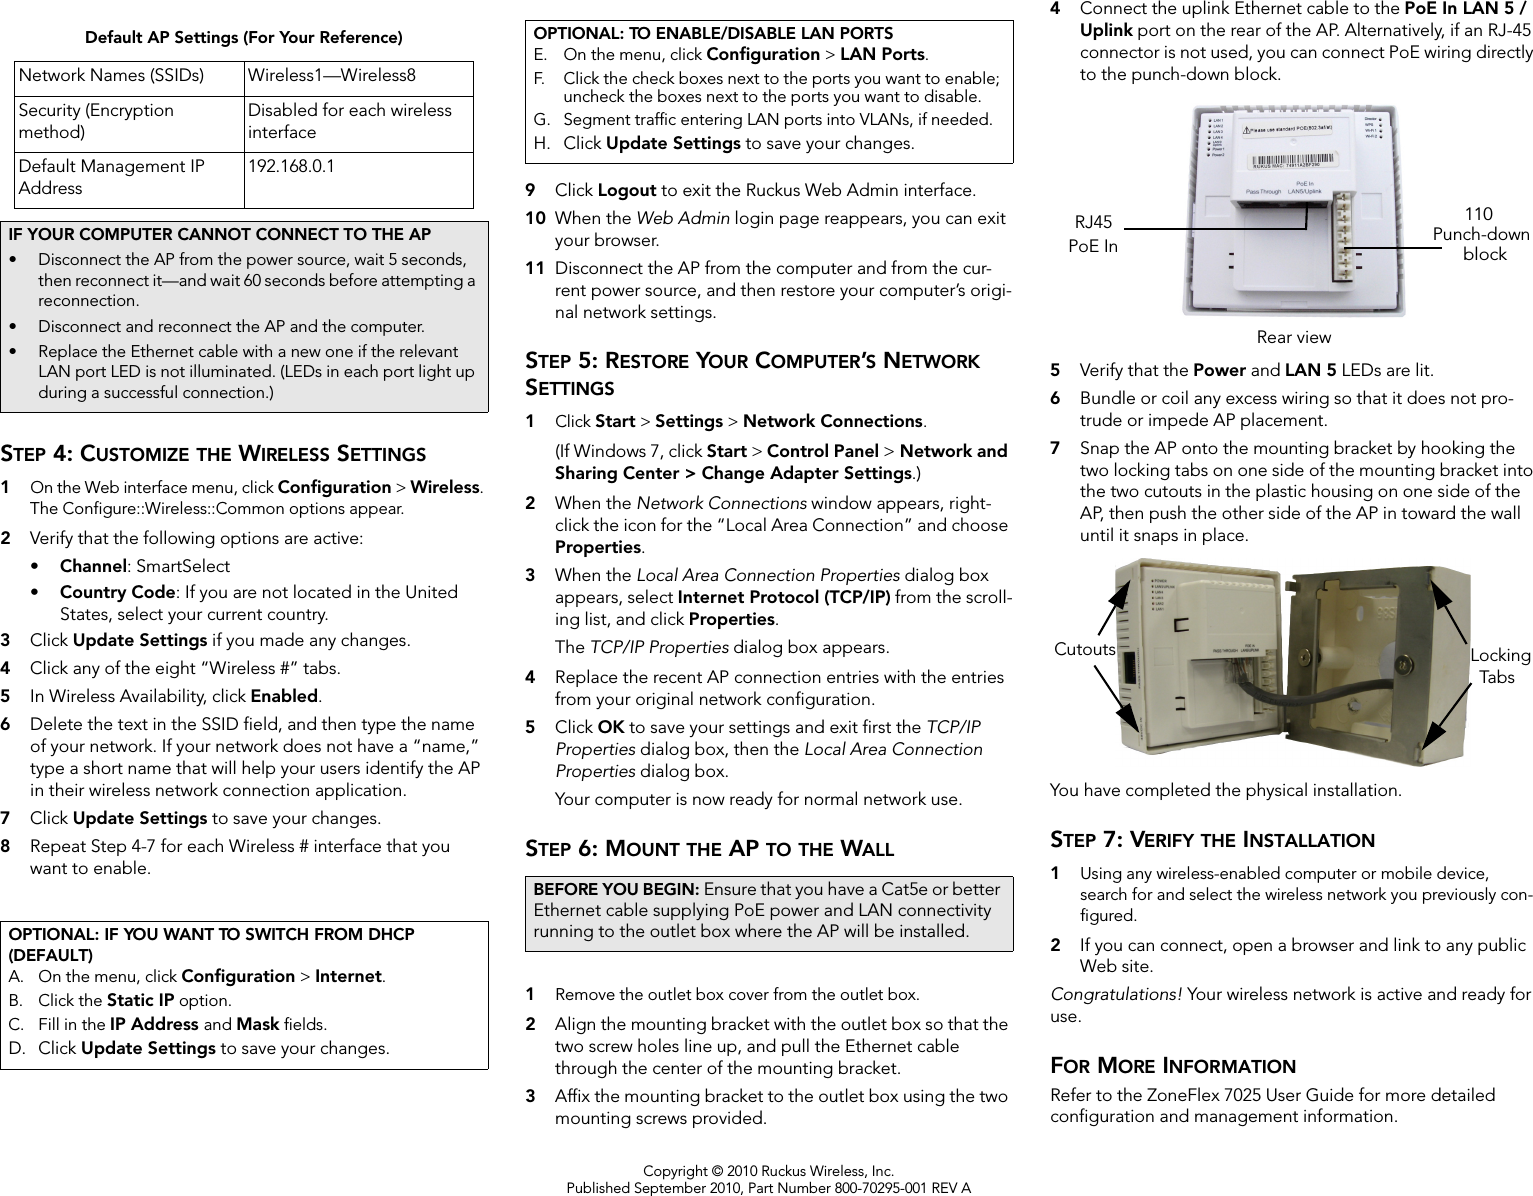
User Manual