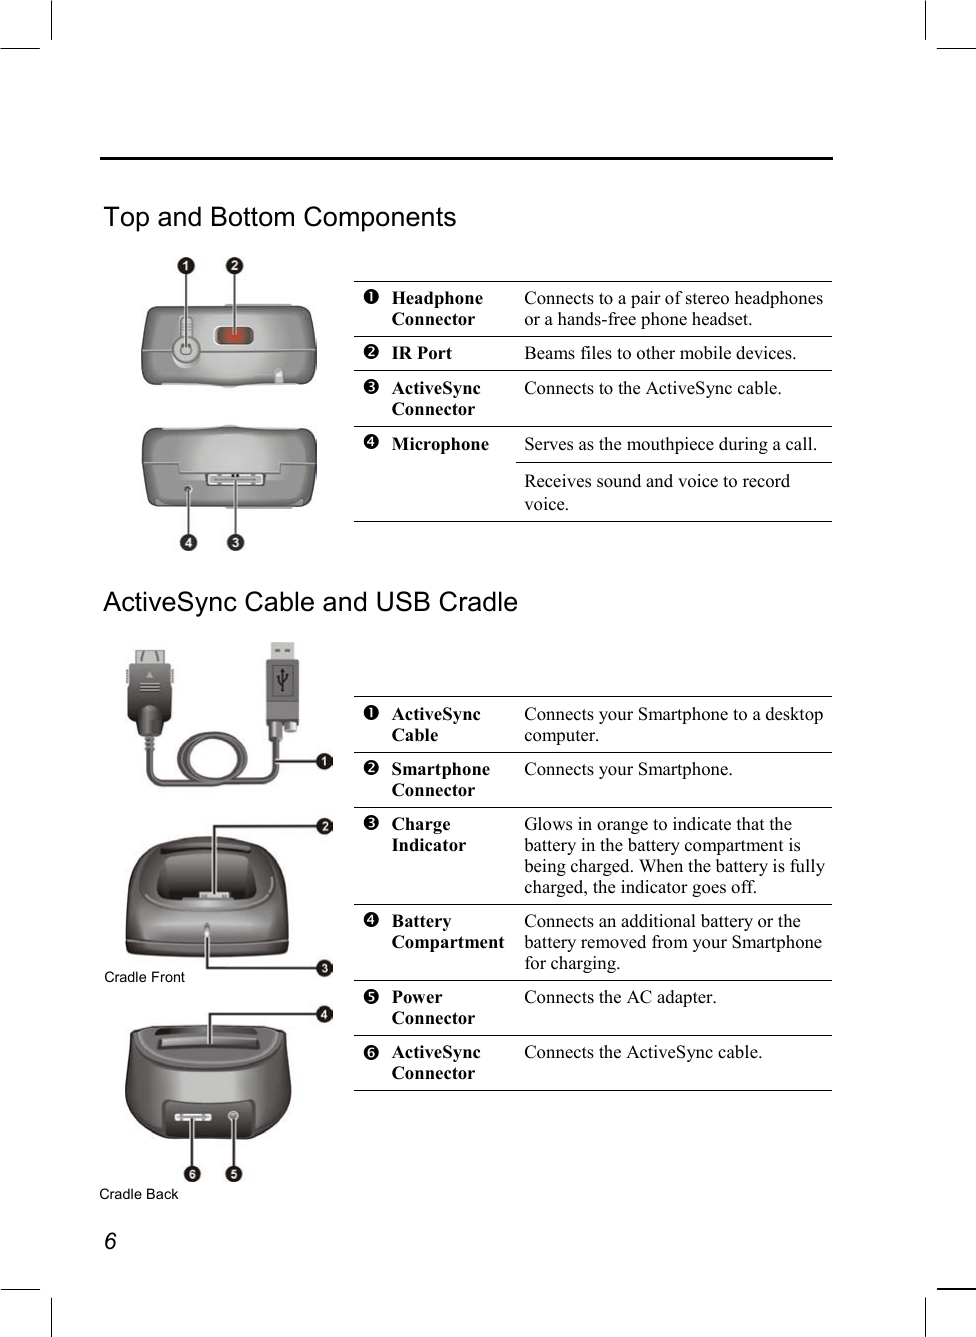
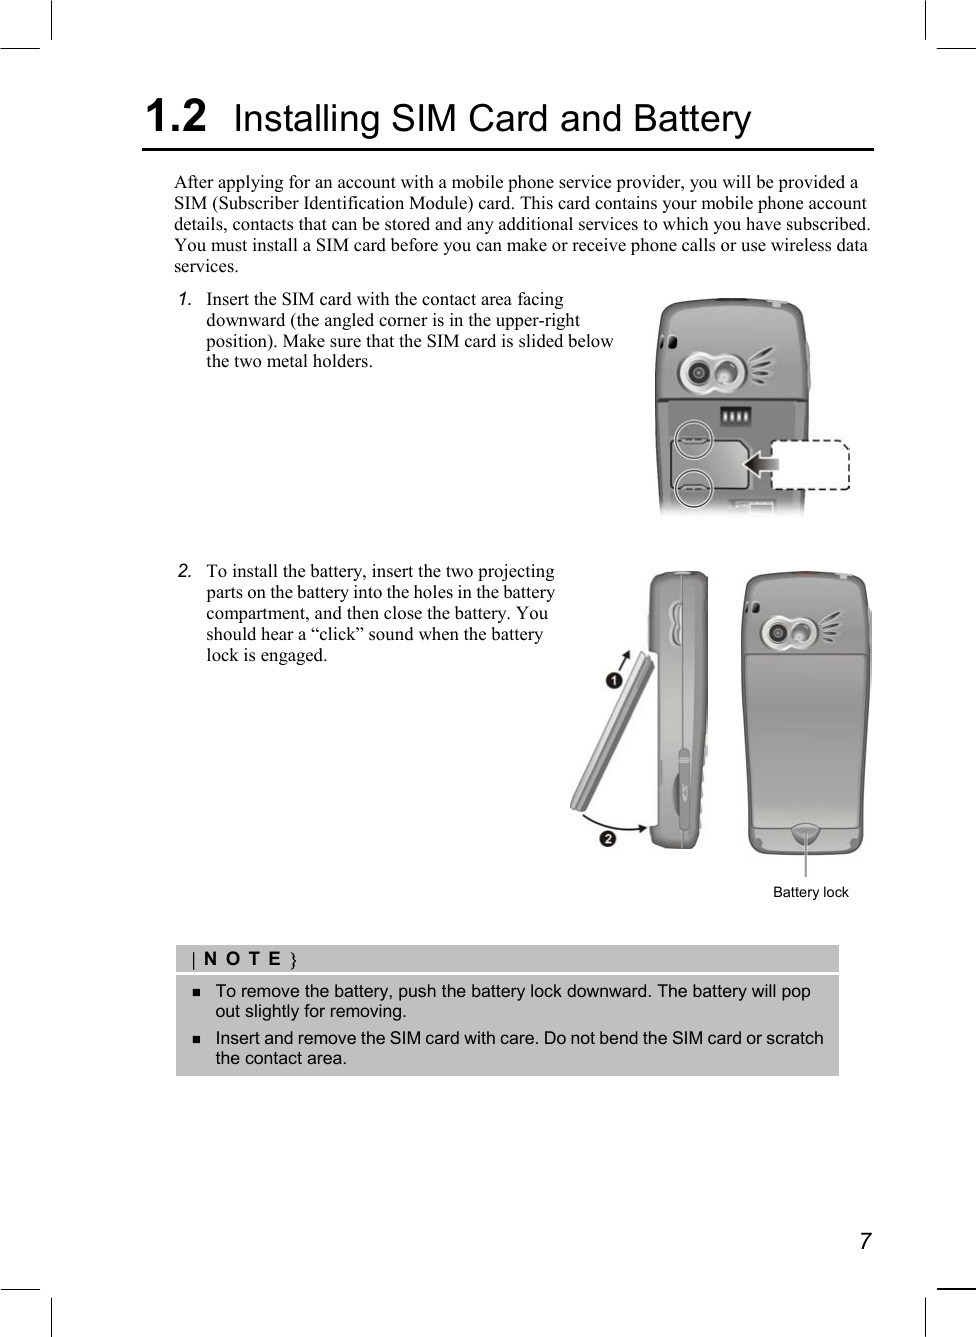
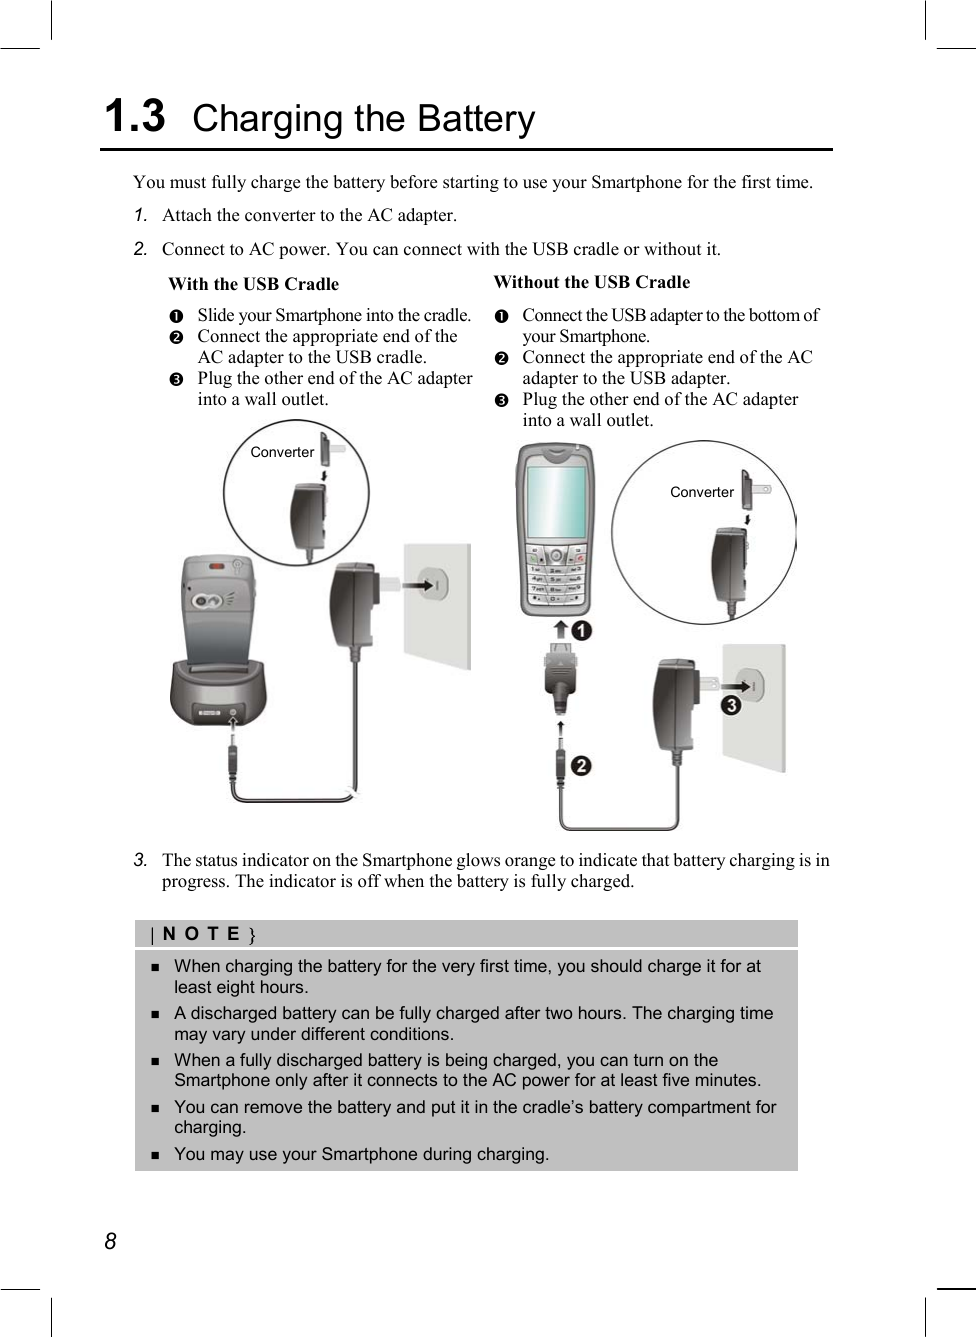
Sagem Wireless 95S2004 Tri Band GPRS/GSM Phone User Manual Megas User EN Revised
Sagem Wireless Tri Band GPRS/GSM Phone Megas User EN Revised
UserManual.wiki
>
Sagem Wireless
>
95S2004 User Manual
Revised Manual
Navigation menu
Upload a User Manual
Namespaces
Wiki Guide
HTML
PDF
Info
Views
User Manual
Discussion / Help
Navigation

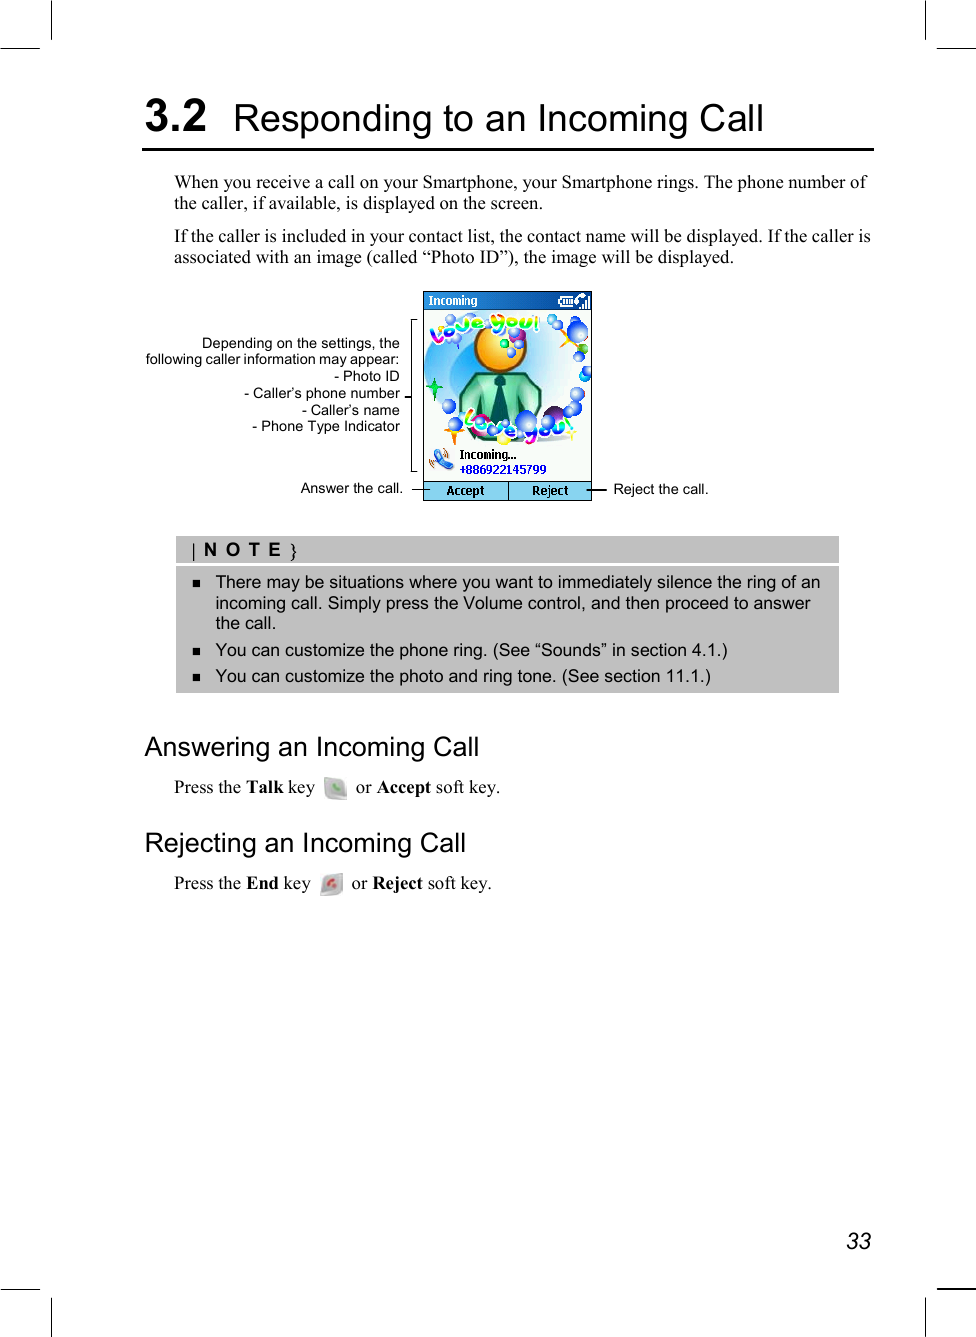

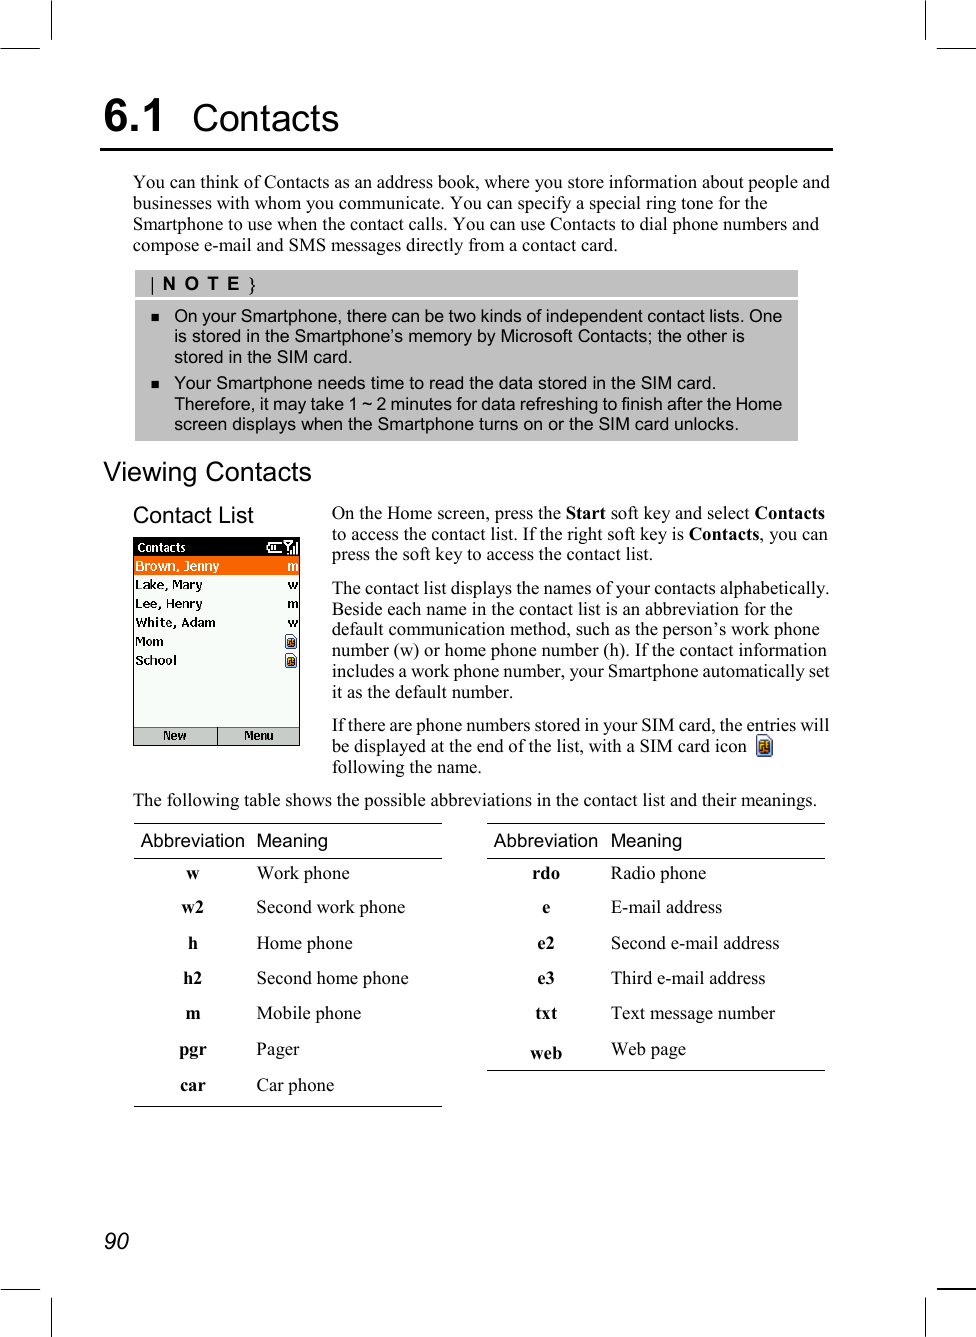
![106 4. Select ActiveSync. 5. Select Menu and then Options. 6. Select Server Settings. 7. Select Connection. 8. In User name, enter your Microsoft Exchange user name. 9. In Password, enter your Microsoft Exchange password. 10. In Domain, enter the name of the domain of your Exchange server (if required). 11. If you want the Smartphone to save your password so that you need not enter it when connecting, select Save password. 12. If configuring a Server Name, enter name of your Exchange server. 13. Select Done. Changing ActiveSync Settings Later To change ActiveSync settings for synchronizing with a desktop computer: If you want to change ActiveSync settings for synchronizing with a desktop computer, use ActiveSync on the desktop computer. For more information, see “Modifying the Amount of Information Synchronized” in ActiveSync Help on the desktop computer. To change ActiveSync settings for synchronizing with your Exchange server: 1. On the Smartphone Home screen, select Start. 2. Select ActiveSync. 3. Select Menu and then Options. 4. Select Server Settings. 5. Select the synchronization settings to edit: Calendar, Contacts, or Inbox. 6. Do one of the following: • To start synchronizing Calendar, Contacts, or Inbox information, select Sync [Information Type] with a server on the appropriate synchronization settings page. • To stop synchronizing Calendar, Contacts, or Inbox information, clear the Sync [Information Type] with a server check box on the appropriate synchronization settings page. • Change the amount of information to be synchronized. 7. Select Done.](https://usermanual.wiki/Sagem-Wireless/95S2004/User-Guide-479429-Page-118.png)

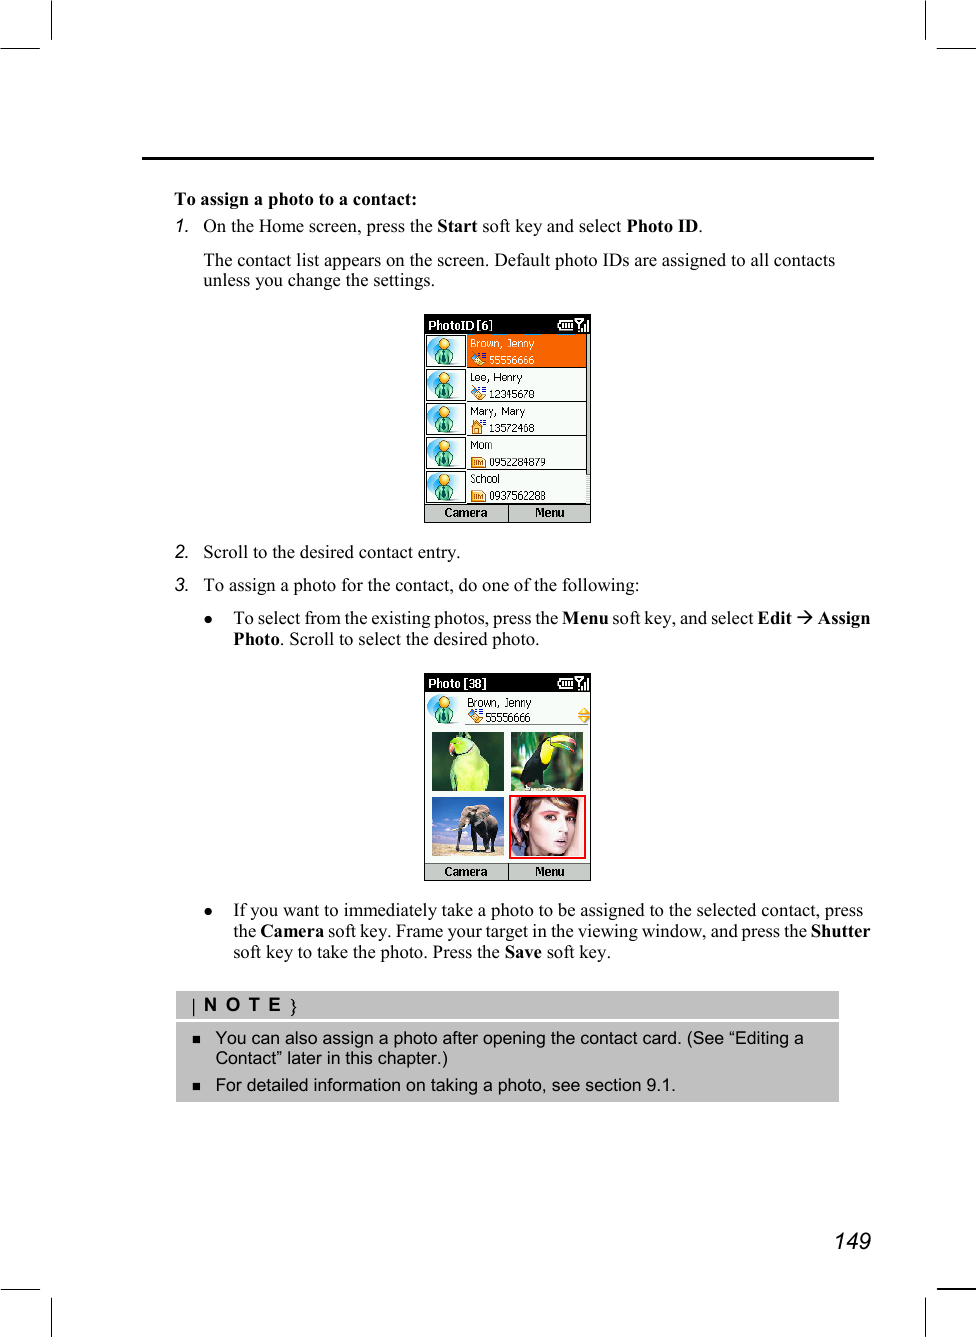
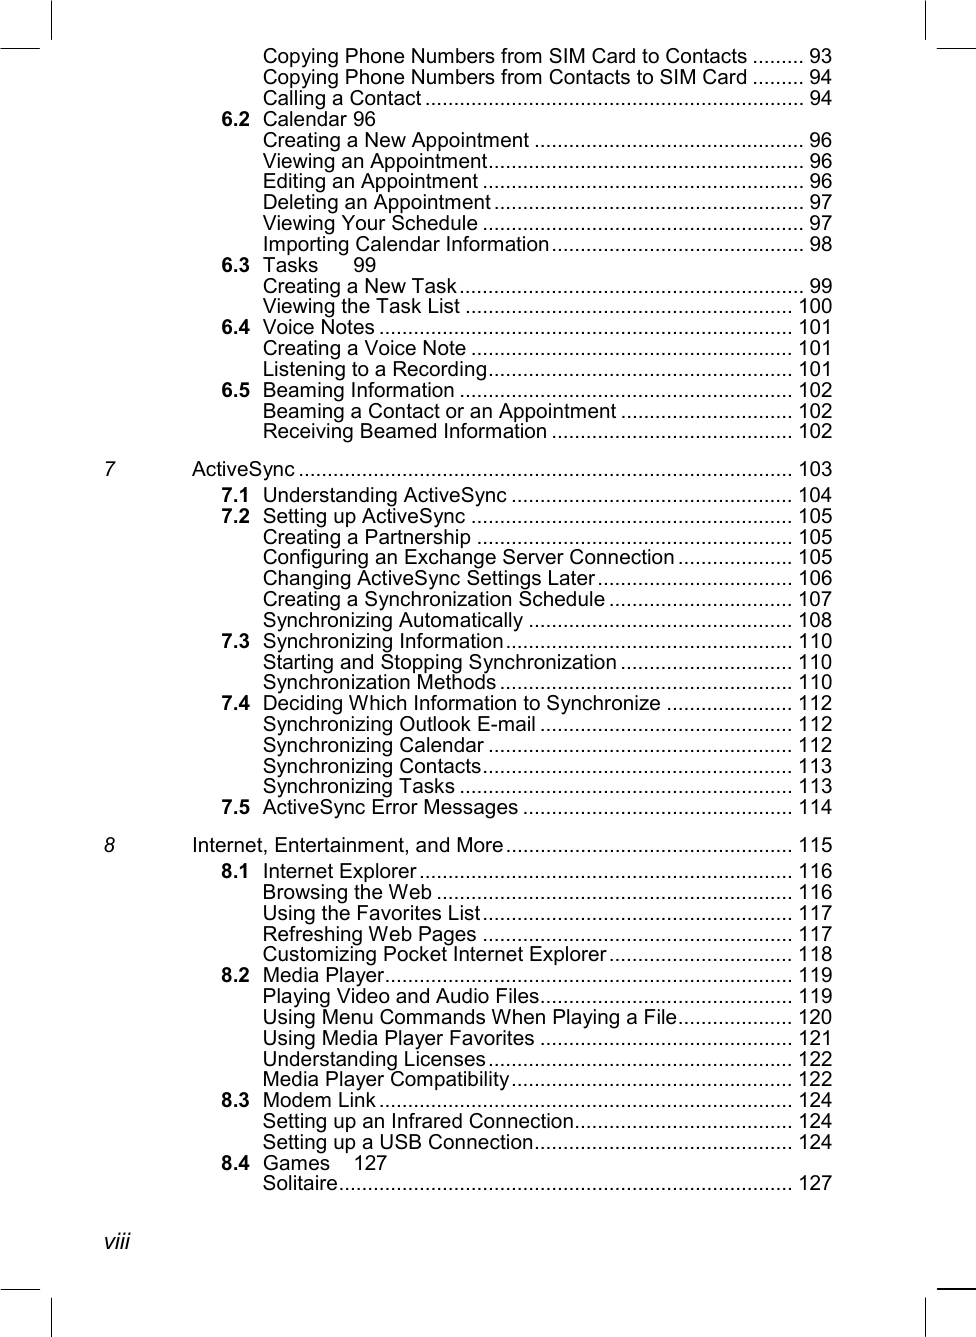
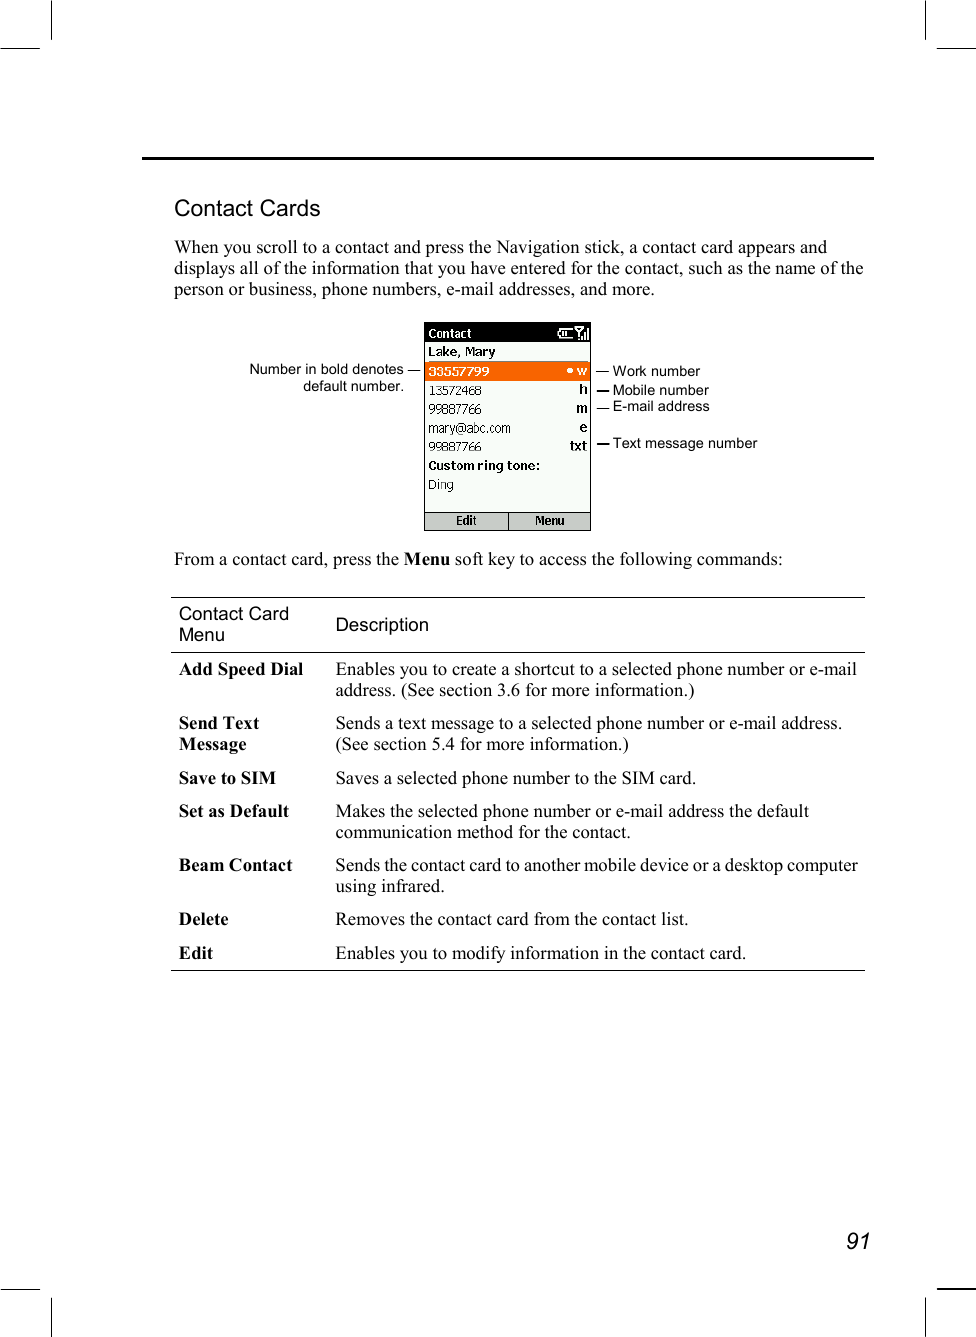
![152 All Contacts [Detail] By default, the screen displays the All Contacts [Detail] mode when you open Photo ID. In this mode, the left column of the screen displays the default or assigned photos, and the right column the names and phone numbers of the contacts. If the contact is stored in the SIM card, the phone number is preceded by the icon. If the contact is stored in your Smartphone, the phone number is preceded by the photo indicator such as .](https://usermanual.wiki/Sagem-Wireless/95S2004/User-Guide-479429-Page-164.png)
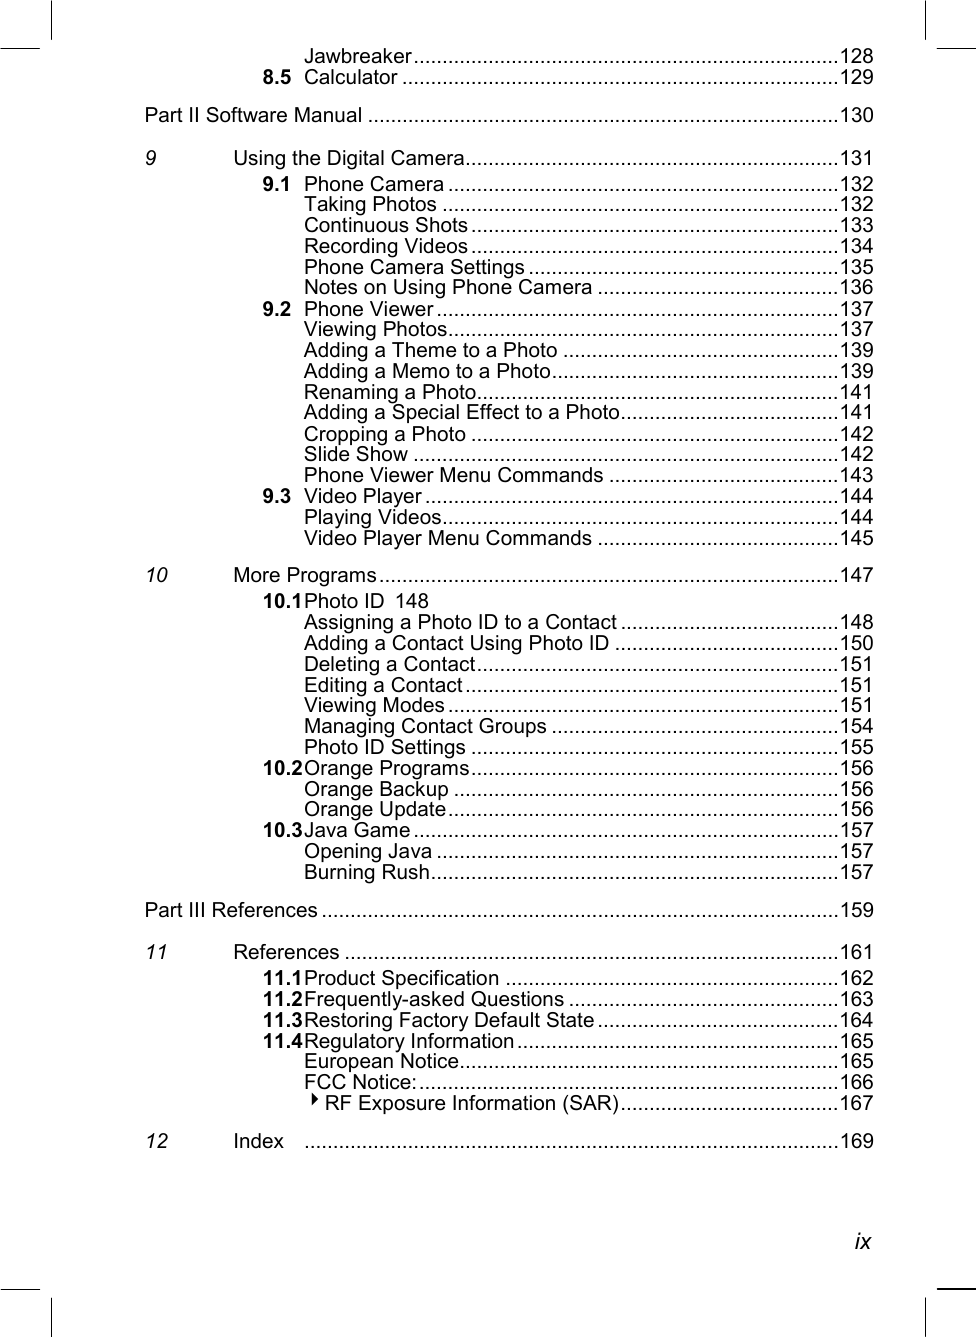
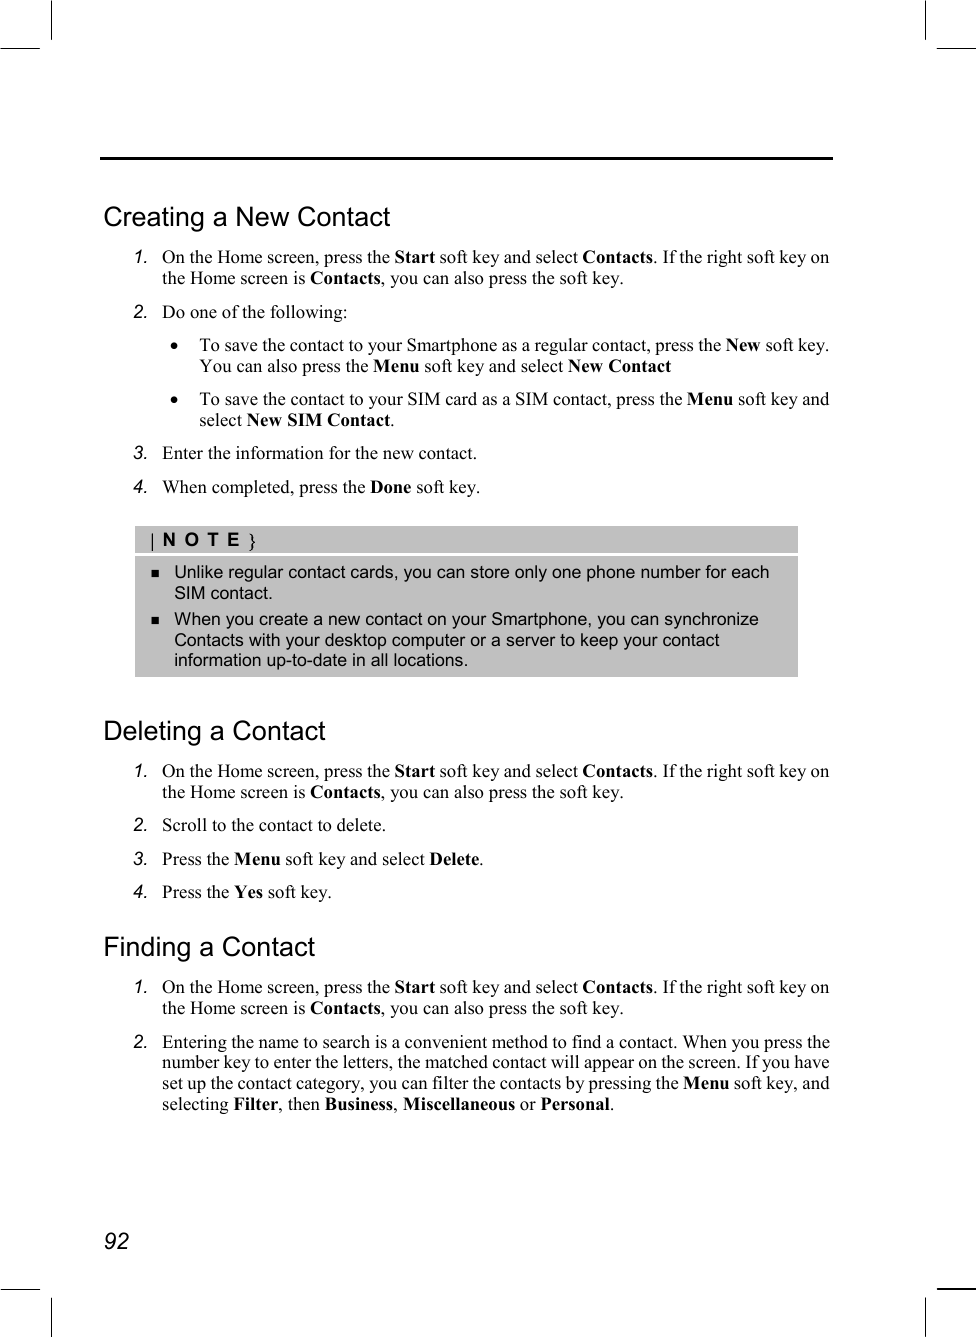
![153 All Contacts [List] In this mode, the top of the screen displays the information of the selected contact. The middle of the screen displays the contact list with names and locations. If the contact is stored in the SIM card, the phone number is preceded by the icon. If the contact is stored in your Smartphone, the phone number is preceded by the photo indicator such as Group Only [Detail] In this mode, the screen displays the list of contact groups. (For information on groups, see the next section.) The left column of the screen displays the photos of the contact groups, and the right column the group name, number of contacts in the group and ring tone. Group Only [List] In this mode, the top of the screen displays the information of the selected contact group. The middle of the screen displays the contact group list with group names and number of contacts in the group.](https://usermanual.wiki/Sagem-Wireless/95S2004/User-Guide-479429-Page-165.png)