Samsung Electronics Co 04GAMMA2 DIGITAL CAMCORDER User Manual scd6050 01
Samsung Electronics Co Ltd DIGITAL CAMCORDER scd6050 01
UserManual.wiki
>
Samsung Electronics Co
>
04GAMMA2 User Manual
>
Users Manual 1
Contents
1.
Users Manual 1
2.
Users Manual 2
Users Manual 1
Navigation menu
Upload a User Manual
Namespaces
Wiki Guide
HTML
PDF
Info
Views
User Manual
Discussion / Help
Navigation

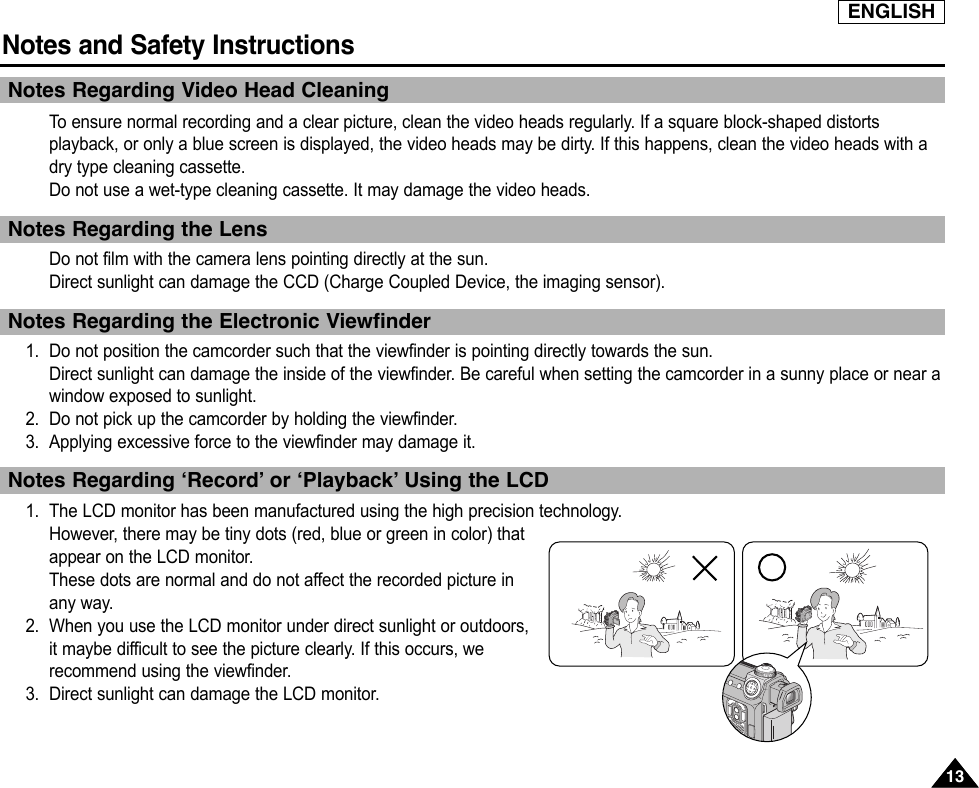
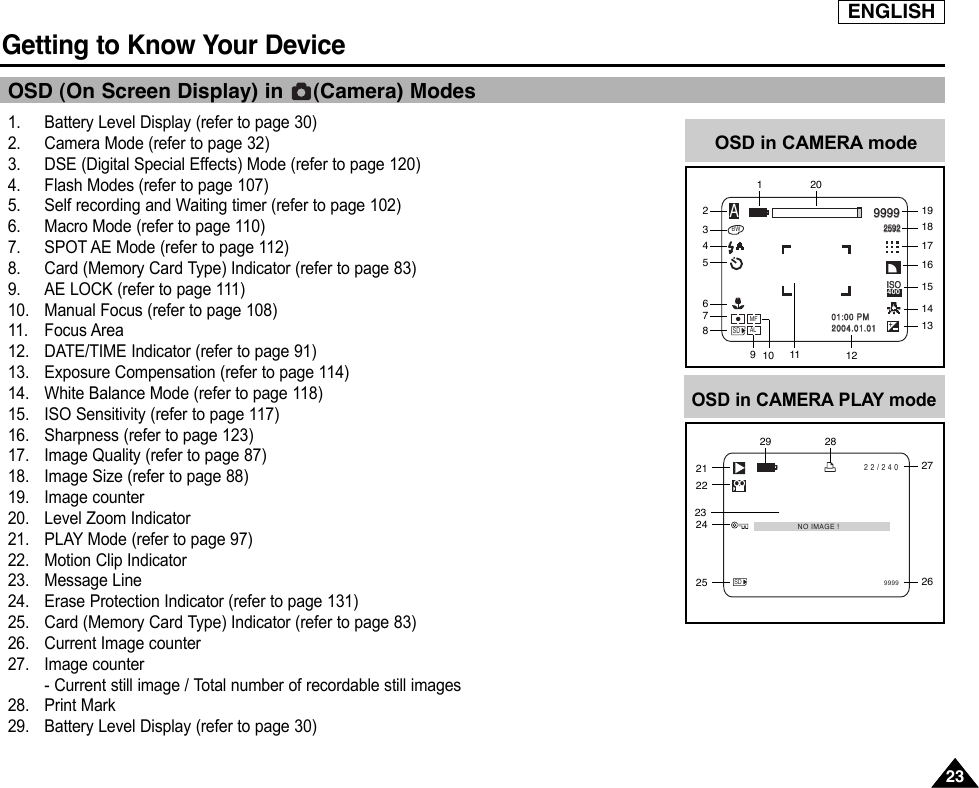
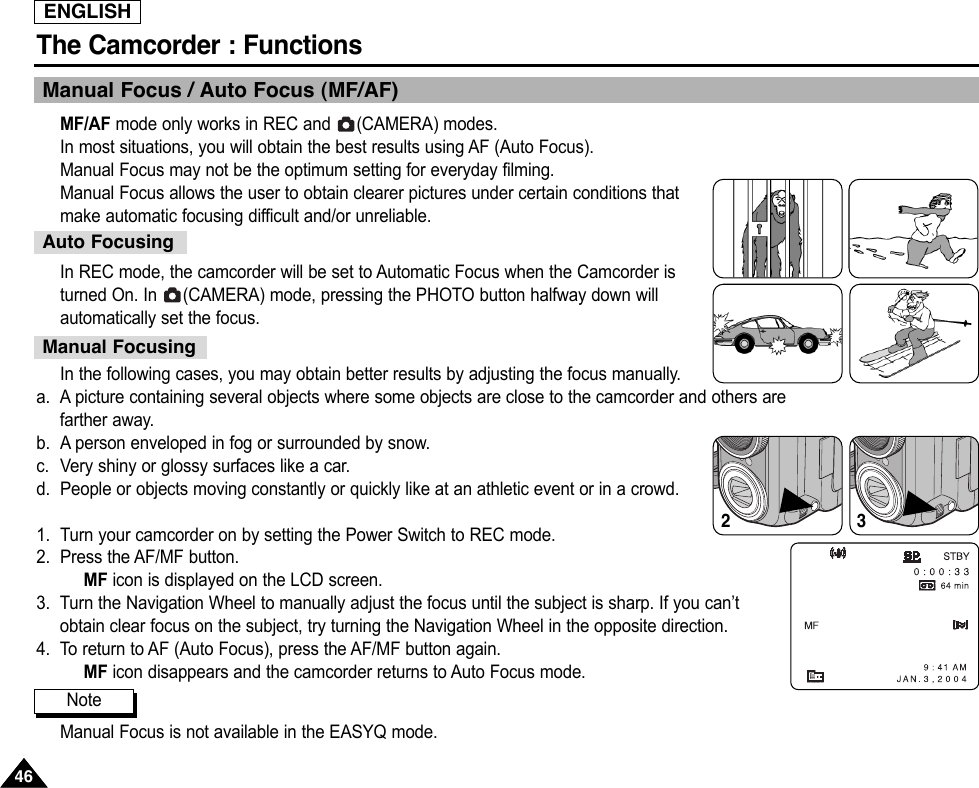
![ENGLISH2222Getting to Know Your DeviceOSD (On Screen Display in REC / PLAY Modes)1. Battery Level (refer to page 30)2. EasyQ Mode (refer to page 45)3. Slow Shutter (refer to page 64)4. DSE (Digital Special Effects) Mode (refer to page 58)5. BLC (Back Light Compensation) (refer to page 63)6. SCENE (Program AE) Mode (refer to page 53)7. White Balance Mode (refer to page 55)8. Manual Focus (refer to page 46)9. POWER NITE PIX (refer to page 66)10. Zoom Position (refer to page 56)11. Shutter Speed and Exposure (refer to page 67)12. NITE PIX (refer to page 65)13. DATE/TIME Indicator (refer to page 39)14. USB (refer to page 146)15. WL.REMOTE (refer to page 40)16. Wind Cut (refer to page 62)17. Audio Recording Mode (refer to page 61)18. Message Line19. Zero Memory Indicator (refer to page 80)20. Remaining Tape (Measured in Minutes)21. Tape Counter22. Operating Mode23. Record Speed Mode (refer to page 60)24. PHOTO mode25. Self recording and Waiting timer (refer to page 25)26. DIS (Digital Image Stabilizer) (refer to page 57)27. PB DSE (refer to page 81)28. Audio Playback Channel (refer to page 79)29. Volume Control (refer to page 35)30. DV IN (DV data transfer mode) (refer to page 144)31. DEW (refer to page 11)32. PB ZOOM (refer to page 82)OSD in REC modeOSD in PLAY modeTAPE !NITE PIXMIRRORMF PSHUTTERZOOMSHUTTEREXPOSUREEXPOSUREEASY M - 0 : 0 0 : 0 0 5 5 min1 6 bit1 2 : 0 0 AM O C T. 1 0 , 2 0 0 4RECS 1 / 30TWBLC. . . D123456781011926 25 24 23 2221201917161514131218. . . DSOUND [ 2 ]MIRROR8 . 0 XPB ZOOM0 : 0 0 : 0 0 : 0 0 5 5 min1 6 bit1 2 : 0 0 AM O C T . 1 0 . 2 0 0 4VOL. [ 1 1 ]DVTAPE !273228 313029](https://usermanual.wiki/Samsung-Electronics-Co/04GAMMA2.Users-Manual-1/User-Guide-420937-Page-27.png)

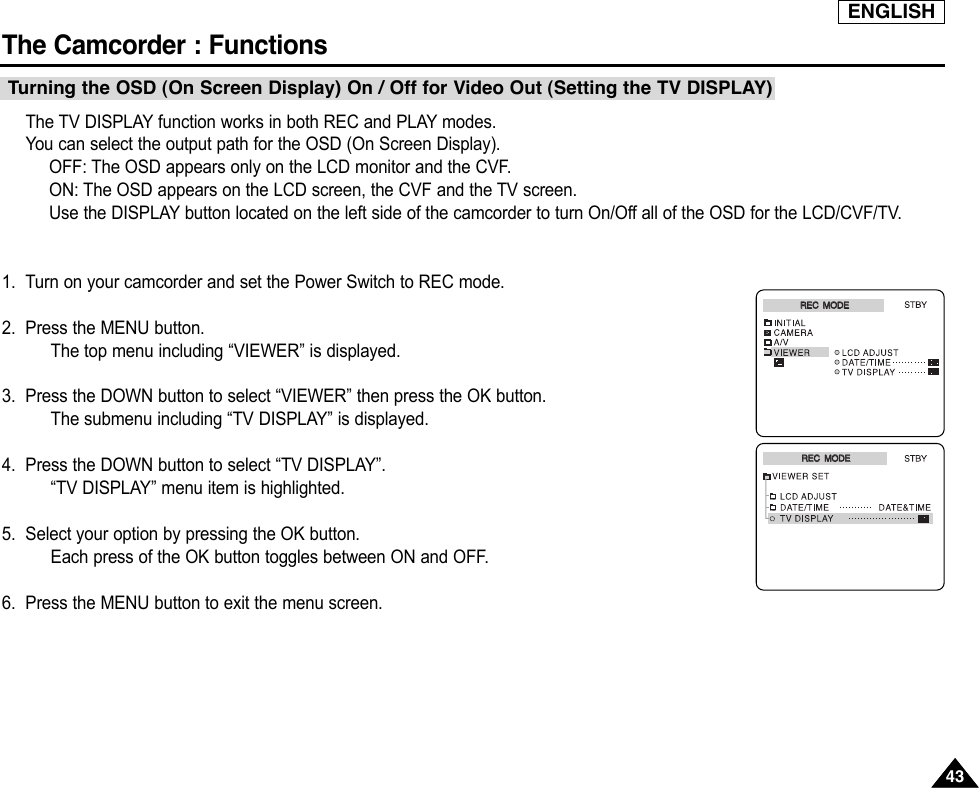
![ENGLISH3535The Camcorder : PreparationControlling the Sound from the Built-In SpeakerThe Built-In Speaker works only in PLAY mode.When you use the LCD monitor for playback, you can hear the recorded sound through the Built-In Speaker.Follow the instructions below to decrease or mute the speaker volume while in PLAY mode.Take the following steps to decrease/increase the volume or mute the sound while playing acassette on the camcorder.1. Turn your camcorder on by setting the Power Switch to PLAY mode.2. Press the (PLAY/STILL) button to play the tape.3. Once the tape is playing and you hear sound, use the Navigation Wheel to adjust the volume.The Volume Level Display will appear on the LCD monitor.Levels may be adjusted between 00 ~ 19. You will not hear any sound when the volume is setto 00.If you close the LCD while playing, you will hear no sound from the speaker.When the MULTI-AV cable is connected to the camcorder, you cannot hear sound from the Built-In Speaker and cannot adjust the volume.The sound will return when you remove the connected Multi-AV cable from the jack of your camcorder.0 : 0 0 : 0 0 : 0 0 5 5 minVOL. [ 1 1 ]Notes](https://usermanual.wiki/Samsung-Electronics-Co/04GAMMA2.Users-Manual-1/User-Guide-420937-Page-40.png)
![ENGLISHThe Camcorder : Basic Recording4848Inserting and Ejecting a CassetteDo not apply excessive force when inserting a cassette or closing the cassette holder, as it maydamage the moving parts.Do not use any tapes other than MiniDV cassettes.1. Turn on your Camcorder then slide the TAPE EJECT button on the bottom of the camcorder andopen the cassette door until it clicks.The cassette holder automatically rises and opens forward.2. Insert a tape into the cassette holder with the tape window facing outward and the protection tabtoward the top.3. Press the [PUSH] label on the cassette holder and wait until it clicks and goes back into place. Donot apply excessive force or pressure on the cassette holder. Do not forcibly push the cassettetray into the camcorder.The cassette is automatically loaded.4. Close the cassette door.1. Slide the TAPE EJECT button to open the Cassette holder and open the cassette door until itclicks.2. Remove the cassette tape, which is automatically ejected by pulling the cassette out.3. Press the [PUSH] label on the cassette holder and wait until it clicks and goes back into place.4. Close the cassette door.Cautions on Tape Storage: Avoid places with magnets or magnetic fields. Avoid humidity and dustprone places. Keep the tape in an upright position and avoid storing it in direct sunlight.Inserting a CassetteEjecting a CassetteNote](https://usermanual.wiki/Samsung-Electronics-Co/04GAMMA2.Users-Manual-1/User-Guide-420937-Page-53.png)