Samsung Electronics Co 1160L Mulit-Function Printer User Manual 00 Cover Eng Ricoh
Samsung Electronics Co Ltd Mulit-Function Printer 00 Cover Eng Ricoh
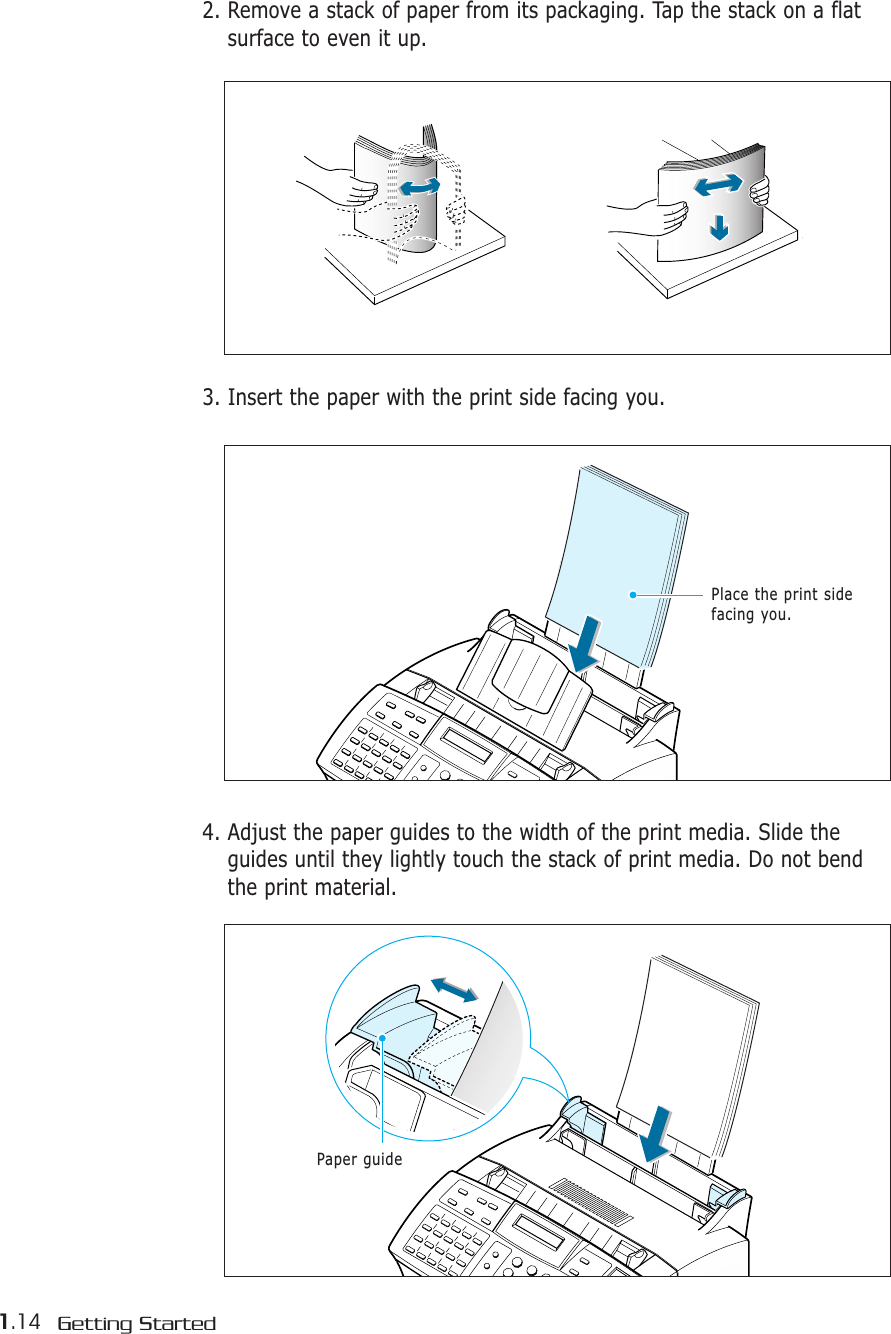
UserManual.wiki
>
Samsung Electronics Co
>
1160L User Manual
>
USERS MANUAL 1
Contents
1.
USERS MANUAL 1
2.
USERS MANUAL 2
USERS MANUAL 1
Navigation menu
Upload a User Manual
Namespaces
Wiki Guide
HTML
PDF
Info
Views
User Manual
Discussion / Help
Navigation


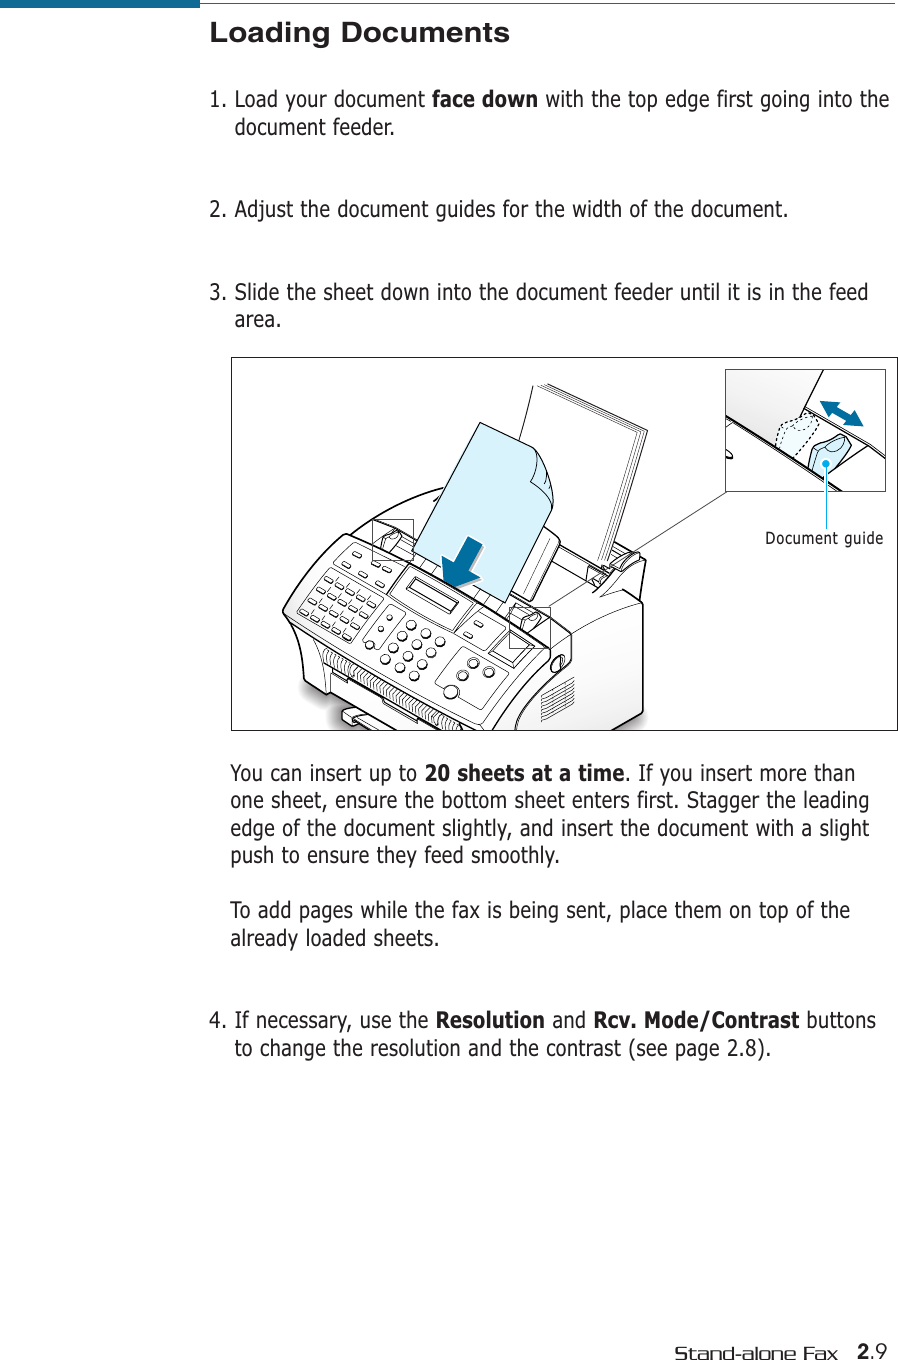
![2.1Stand-alone FaxSetting Volume Ringer VolumeYou can adjust the volume of the ringer to your desired volume. 1. Press ➛or ❿in Standby mode. The display shows the current ringer volume setting. 2. Press ➛or ❿until you find the desired loudness. Four levels areavailable; 0~3. You will hear the selected volume and the display will show the level.Setting ‘0’ turns the ringer off. The machine will work normally even ifthe ringer is set to off.3. Press Start/Enter to save the setting.Speaker Volume1. Press On Hook Dial to adjust the speaker volume. If you cannot heardial tone, check the phone line connection.2. Press ➛or ❿repeatedly until you find the desired loudness. The display shows the current volume level.3. After choosing the desired volume level, press On Hook Dial.Setting up Stand-alone Fax SystemRINGER VOL.[3]SPEAKER VOL.[2]](https://usermanual.wiki/Samsung-Electronics-Co/1160L.USERS-MANUAL-1/User-Guide-253541-Page-32.png)