Samsung Electronics Co 30118 Multi Function Monitor User Manual
Samsung Electronics Co Ltd Multi Function Monitor
UserManual.wiki
>
Samsung Electronics Co
>
30118 User Manual
User Manual
Navigation menu
Upload a User Manual
Namespaces
Wiki Guide
HTML
PDF
Info
Views
User Manual
Discussion / Help
Navigation
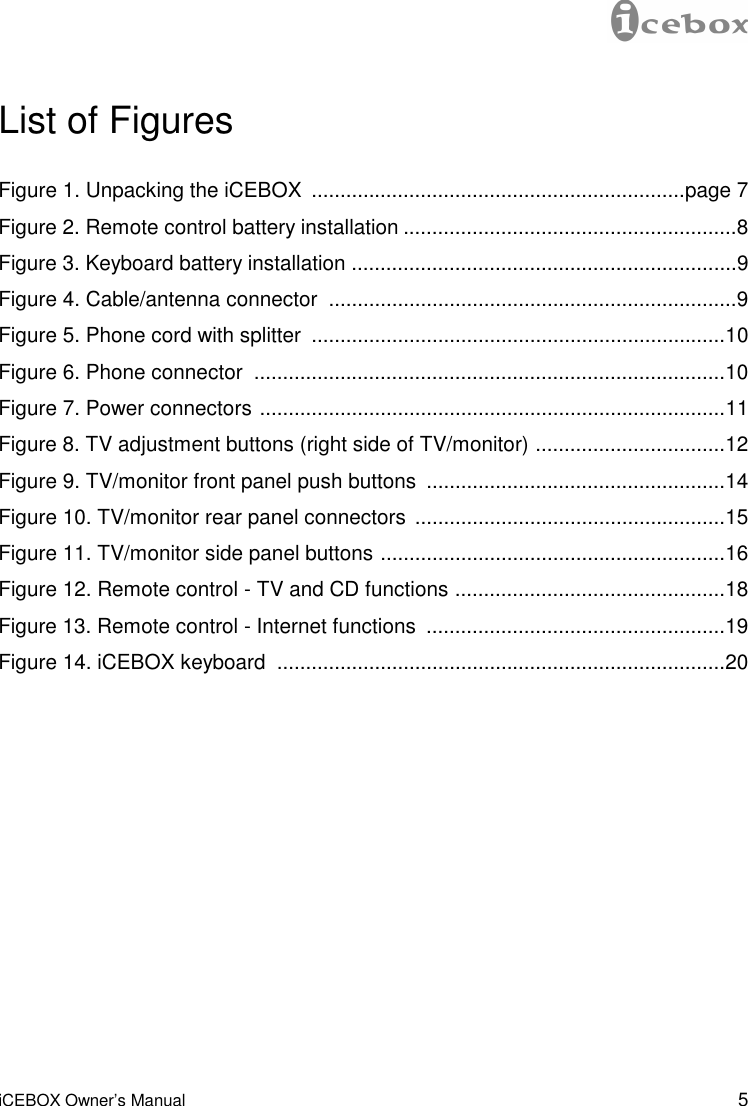
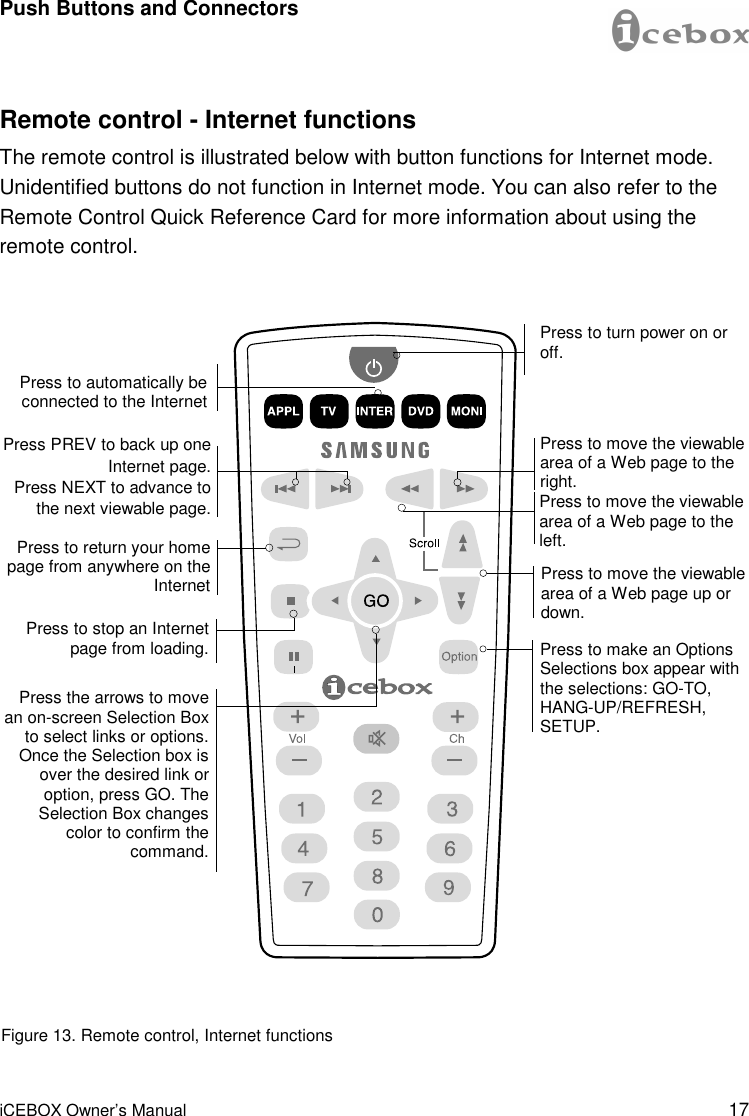
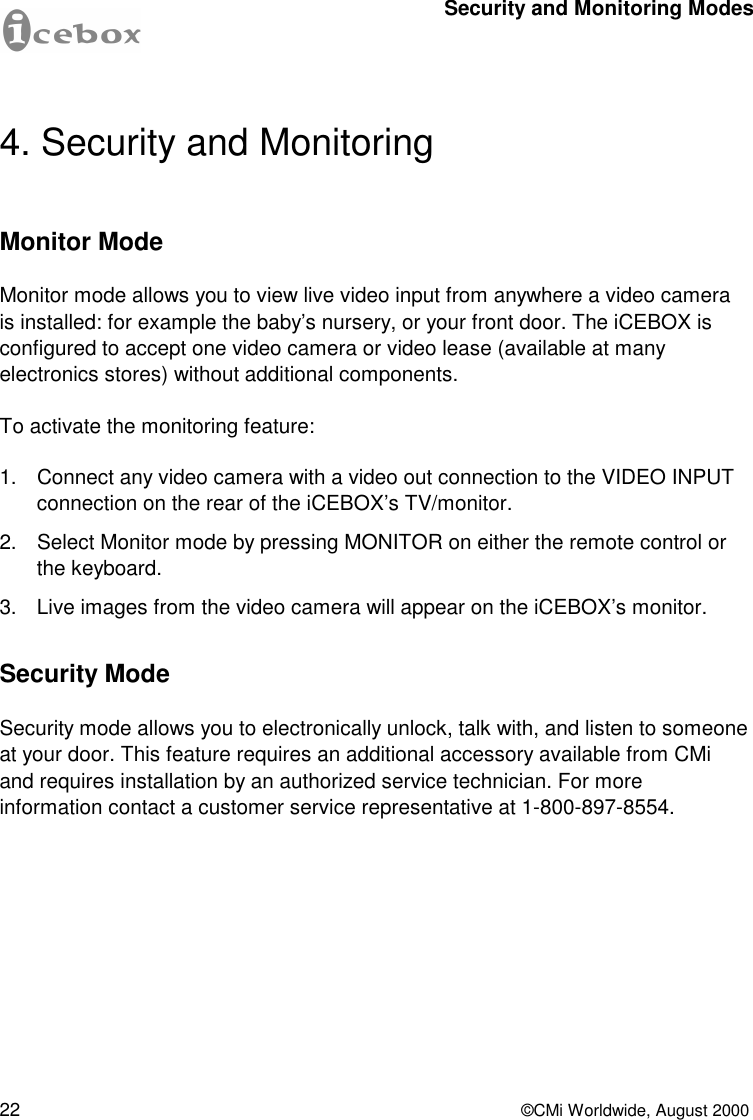
![18 ©CMi Worldwide, August 2000 Q W E R T Y U I O P {[}]A S D F G H J K L :;"'Z X C V B N M ?/>.<,~`ShiftAltEnterShiftEsc DeleteCapsLockTab@ 2$ 4% 5^ 6& 7* 8( 9) 0– -+ =! 1# 3APPLIANCE TV INTERNET DVD MONITORON/OFFGOOpt'n++/Figure 14. iCEBOX keyboard Push Buttons and Connectors Keyboard The iCEBOX comes with a full-size wireless, omnidirectional, QWERTY keyboard. The keyboard’s patented design is rugged and waterproof, making it ideal for kitchen use. In addition to using the keyboard to type messages, the Mode keys (across the top of the keyboard) and the keys below the iCEBOX logo duplicate the functions of the corresponding remote control keys. If a video camera and security devices are connected to the iCEBOX, you can: Press MONITOR to view a video camera display. Press TALK to talk on a security intercom. Press UNLOCK to unlock electronic locks controlled by the iCEBOX Other special key functions: Press PRINT to print an Internet screen. Press ESC to instantly terminate any Internet function. Press TAB to move an on-screen Selection Box to the right or down one link or option at a time.](https://usermanual.wiki/Samsung-Electronics-Co/30118/User-Guide-124074-Page-18.png)