Samsung Electronics Co 5350015318R Notebook PC User Manual Solo5350
Samsung Electronics Co Ltd Notebook PC Solo5350
UserManual.wiki
>
Samsung Electronics Co
>
5350015318R User Manual
Manual
Navigation menu
Upload a User Manual
Namespaces
Wiki Guide
HTML
PDF
Info
Views
User Manual
Discussion / Help
Navigation


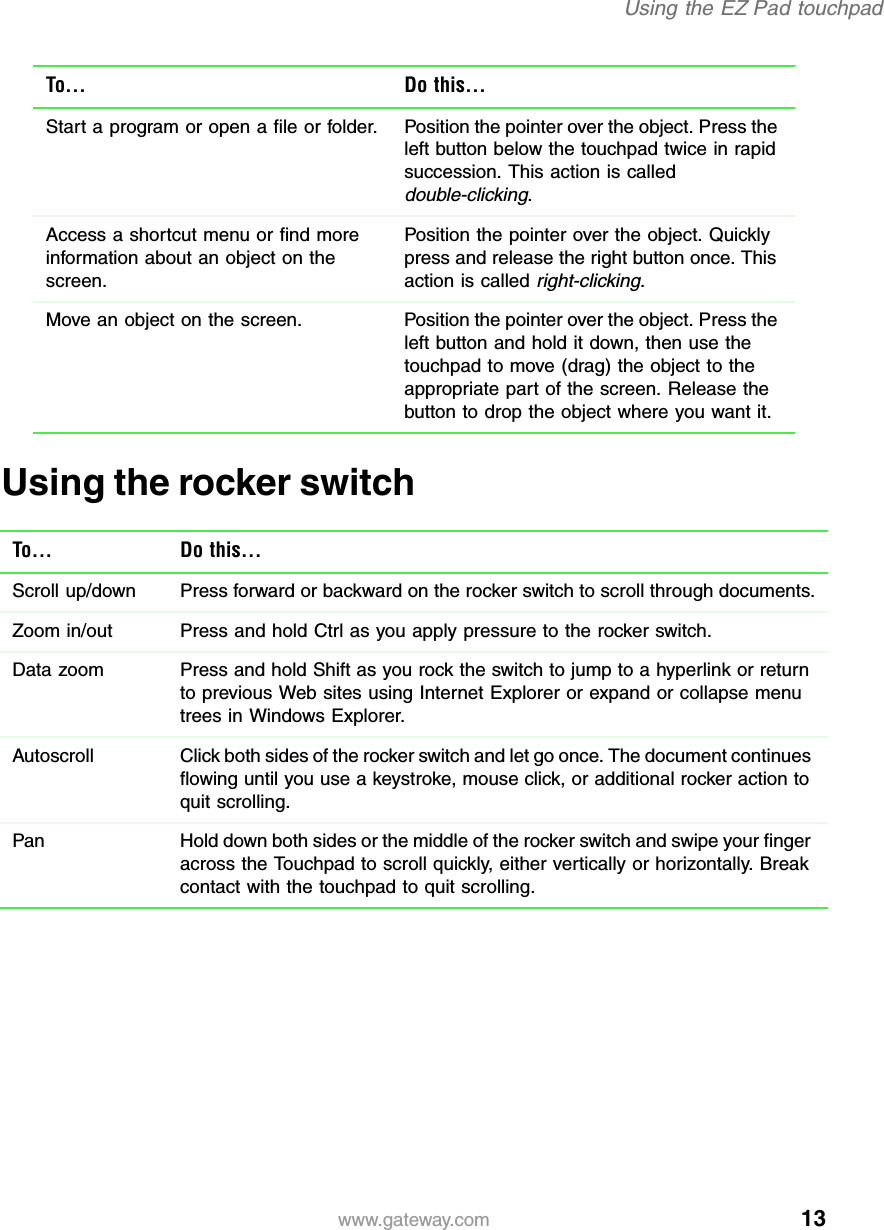

![21Working with files and folderswww.gateway.comAbout folders and filesFolders are much like the folders in a file cabinet. They contain files and other folders.Files are much like paper documents—letters, spreadsheets, and pictures—that you keep on your computer. In fact, all information on a computer is stored in files.To create a folder:1Double-click the My Computer icon on the desktop. The My Computer window opens.2Double-click the drive or folder, for example 3½ Floppy (A:) or Local Disk (C:), where you want to put the new folder.The drive or folder window opens. If you do not see the contents of the drive or folder, click View the entire contents of [this drive or this folder].3Select File, then New, then Folder. The new folder is created.4Type a name for the folder, then press ENTER. The new folder name appears under the folder.Copying and moving files and foldersThe skills you need to copy and move files are copying, cutting, and pasting.When you copy and paste a selection, you place a copy of the file you selected on the Windows clipboard, which stores it. Then, when you decide what folder you want the copy to go in (the destination folder), you paste it there.When you cut and paste a selection, you remove the file from its folder and place the file on the Windows clipboard. When you decide where you want the file to go, you paste it there.Important The clipboard stores whatever you cut or copy until you cut or copy again. Then the clipboard contains the new information only. Therefore, you can paste copies of a file into more than one place, but as soon as you copy or cut a file again, the old file is deleted from the clipboard.](https://usermanual.wiki/Samsung-Electronics-Co/5350015318R/User-Guide-233431-Page-23.png)