Samsung Electronics Co 62230ANH Intel Centrino Advanced-N 623 User Manual Amor2 eng indb
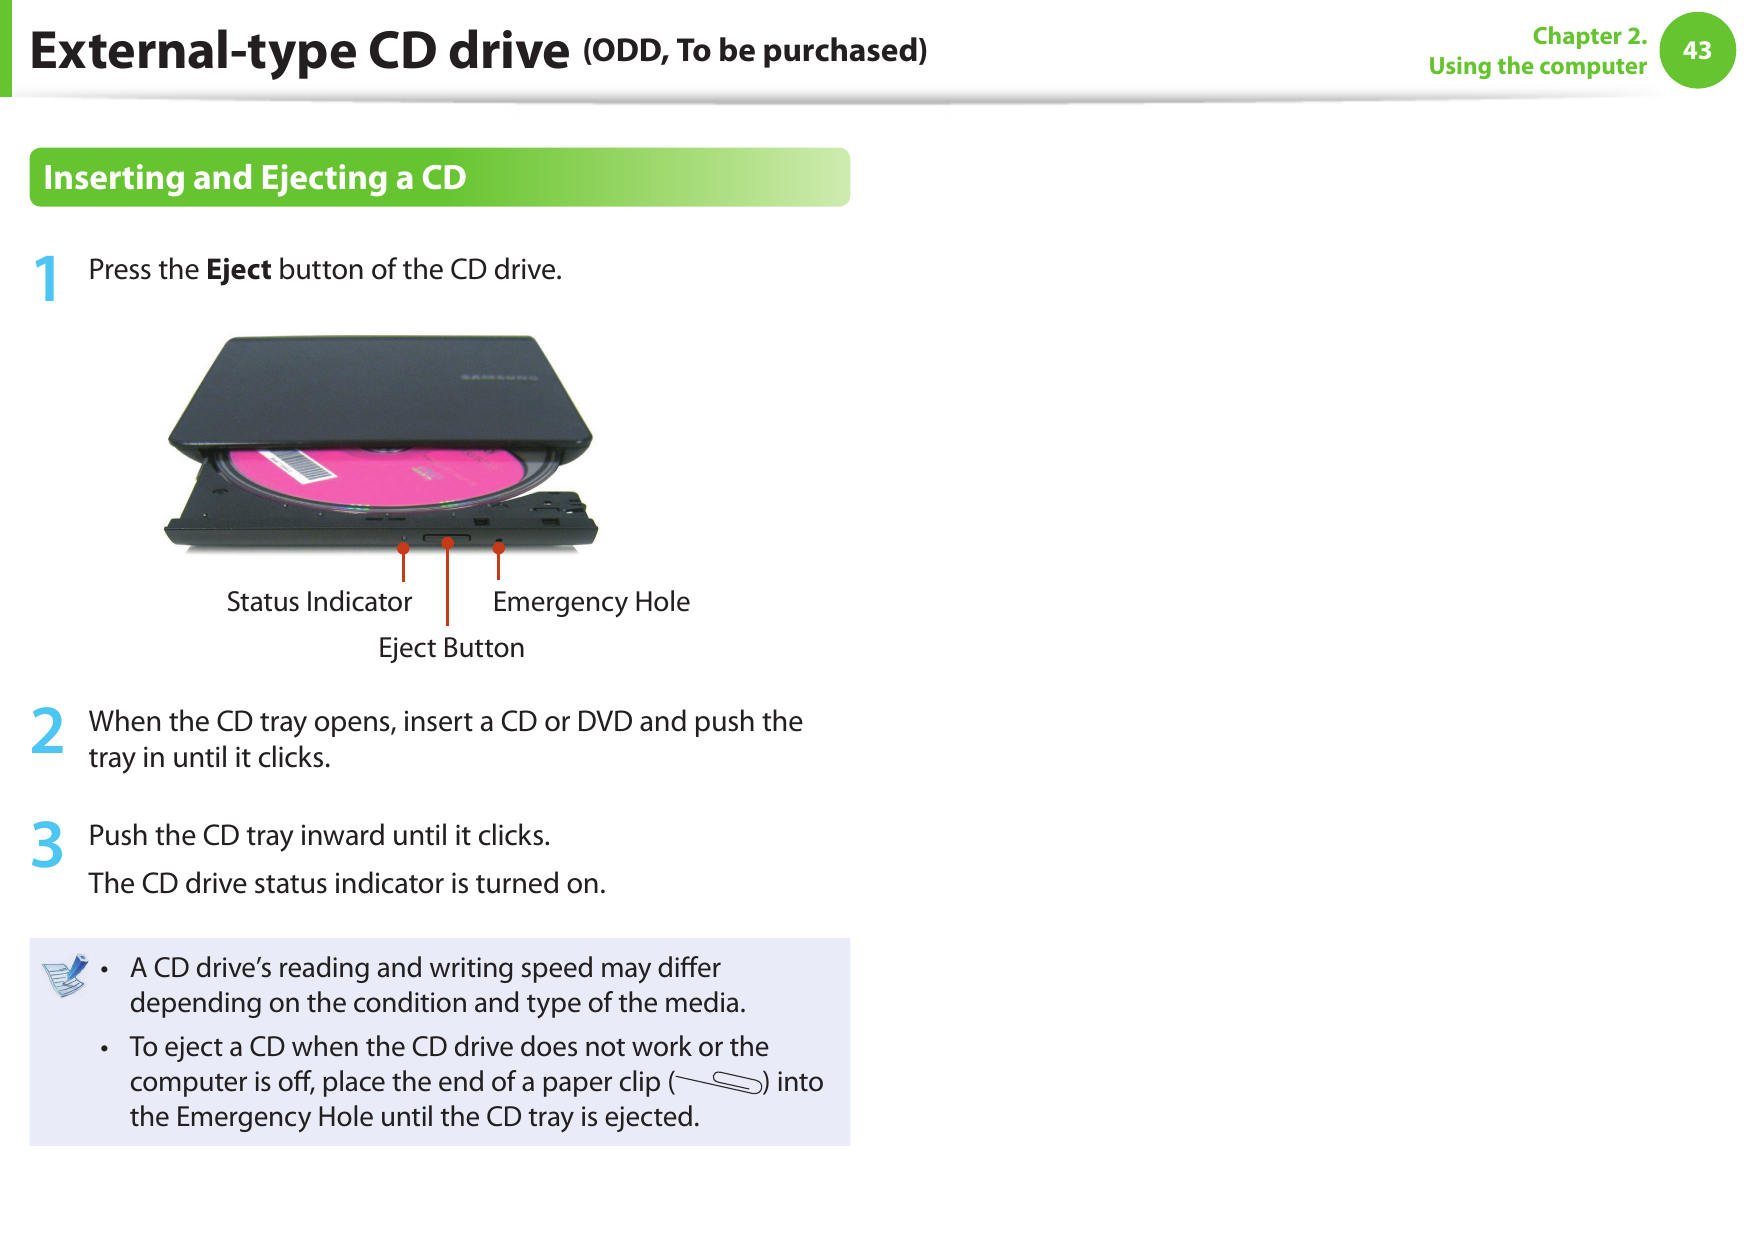
Samsung Electronics Co Ltd Intel Centrino Advanced-N 623 Amor2 eng indb
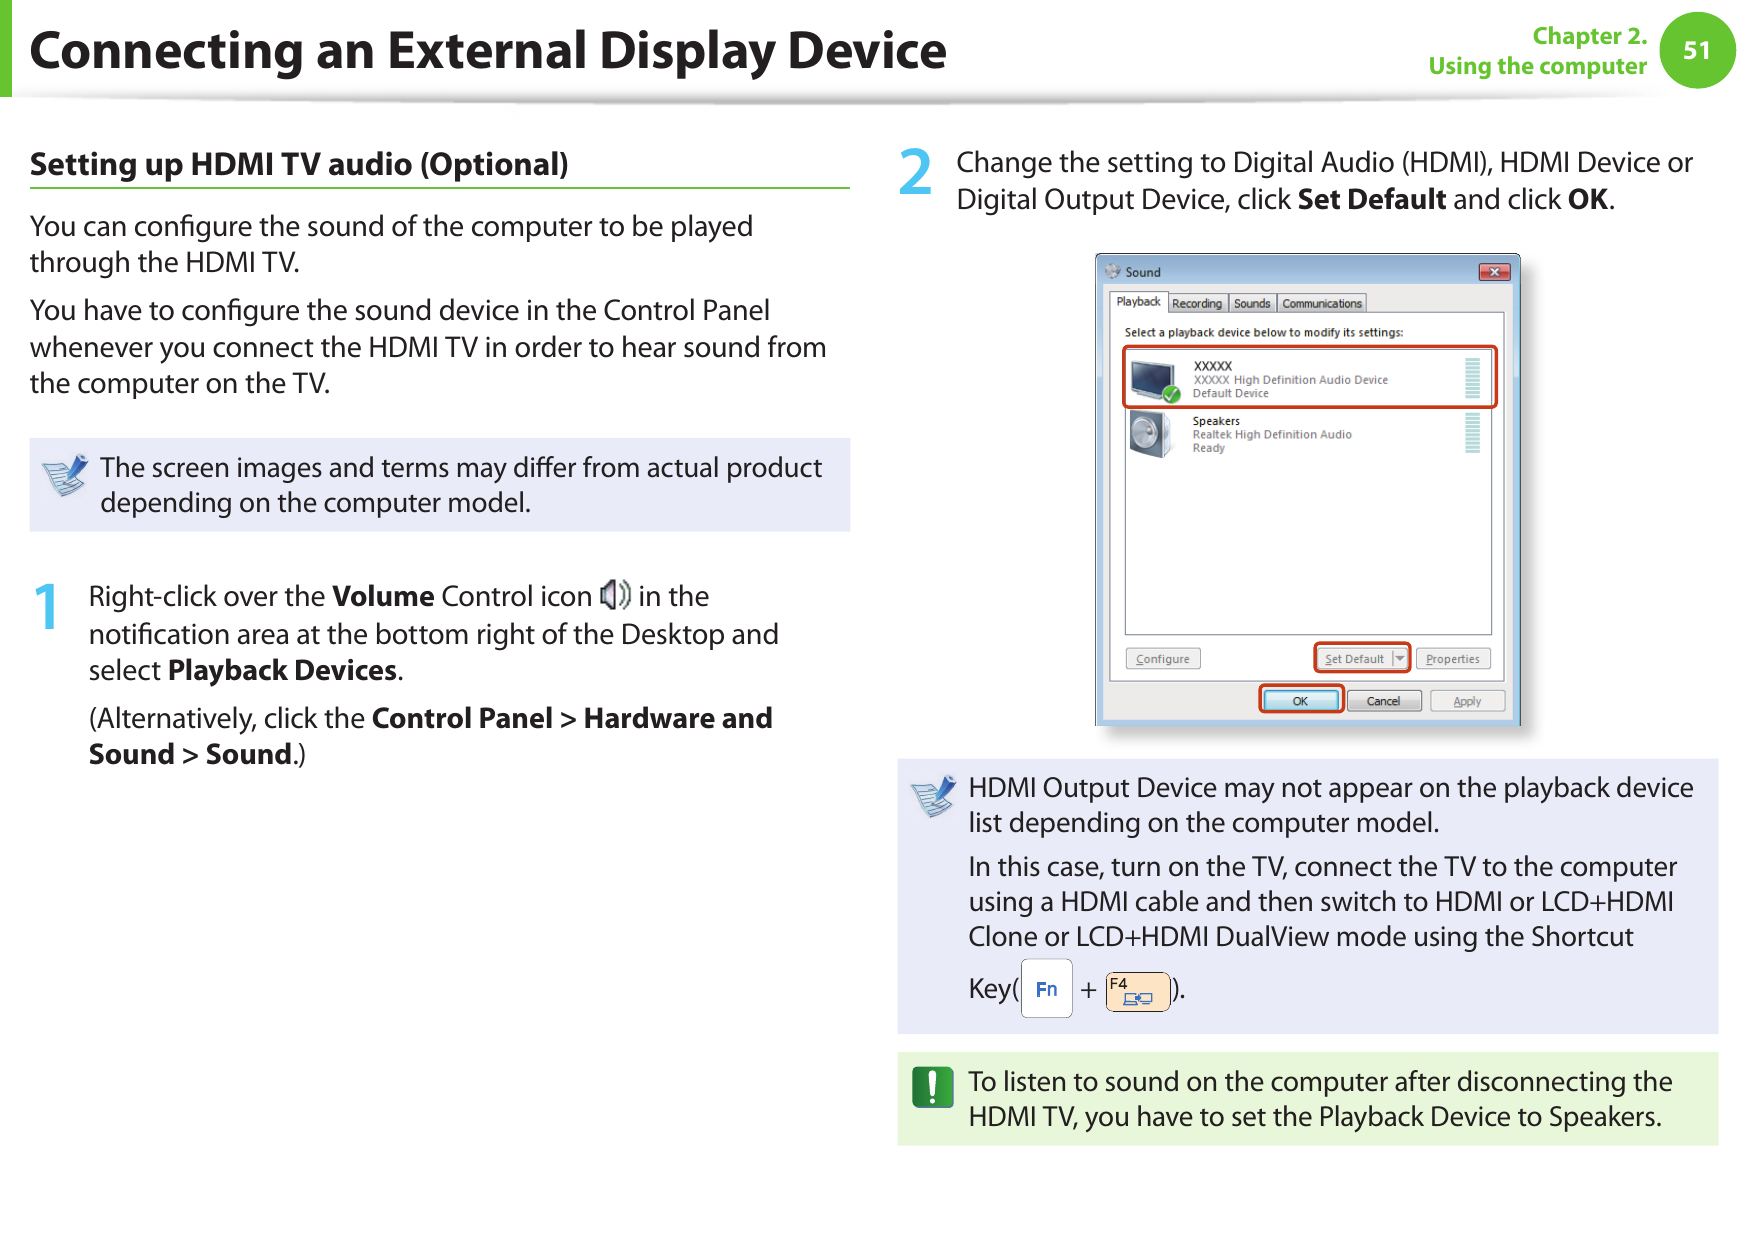
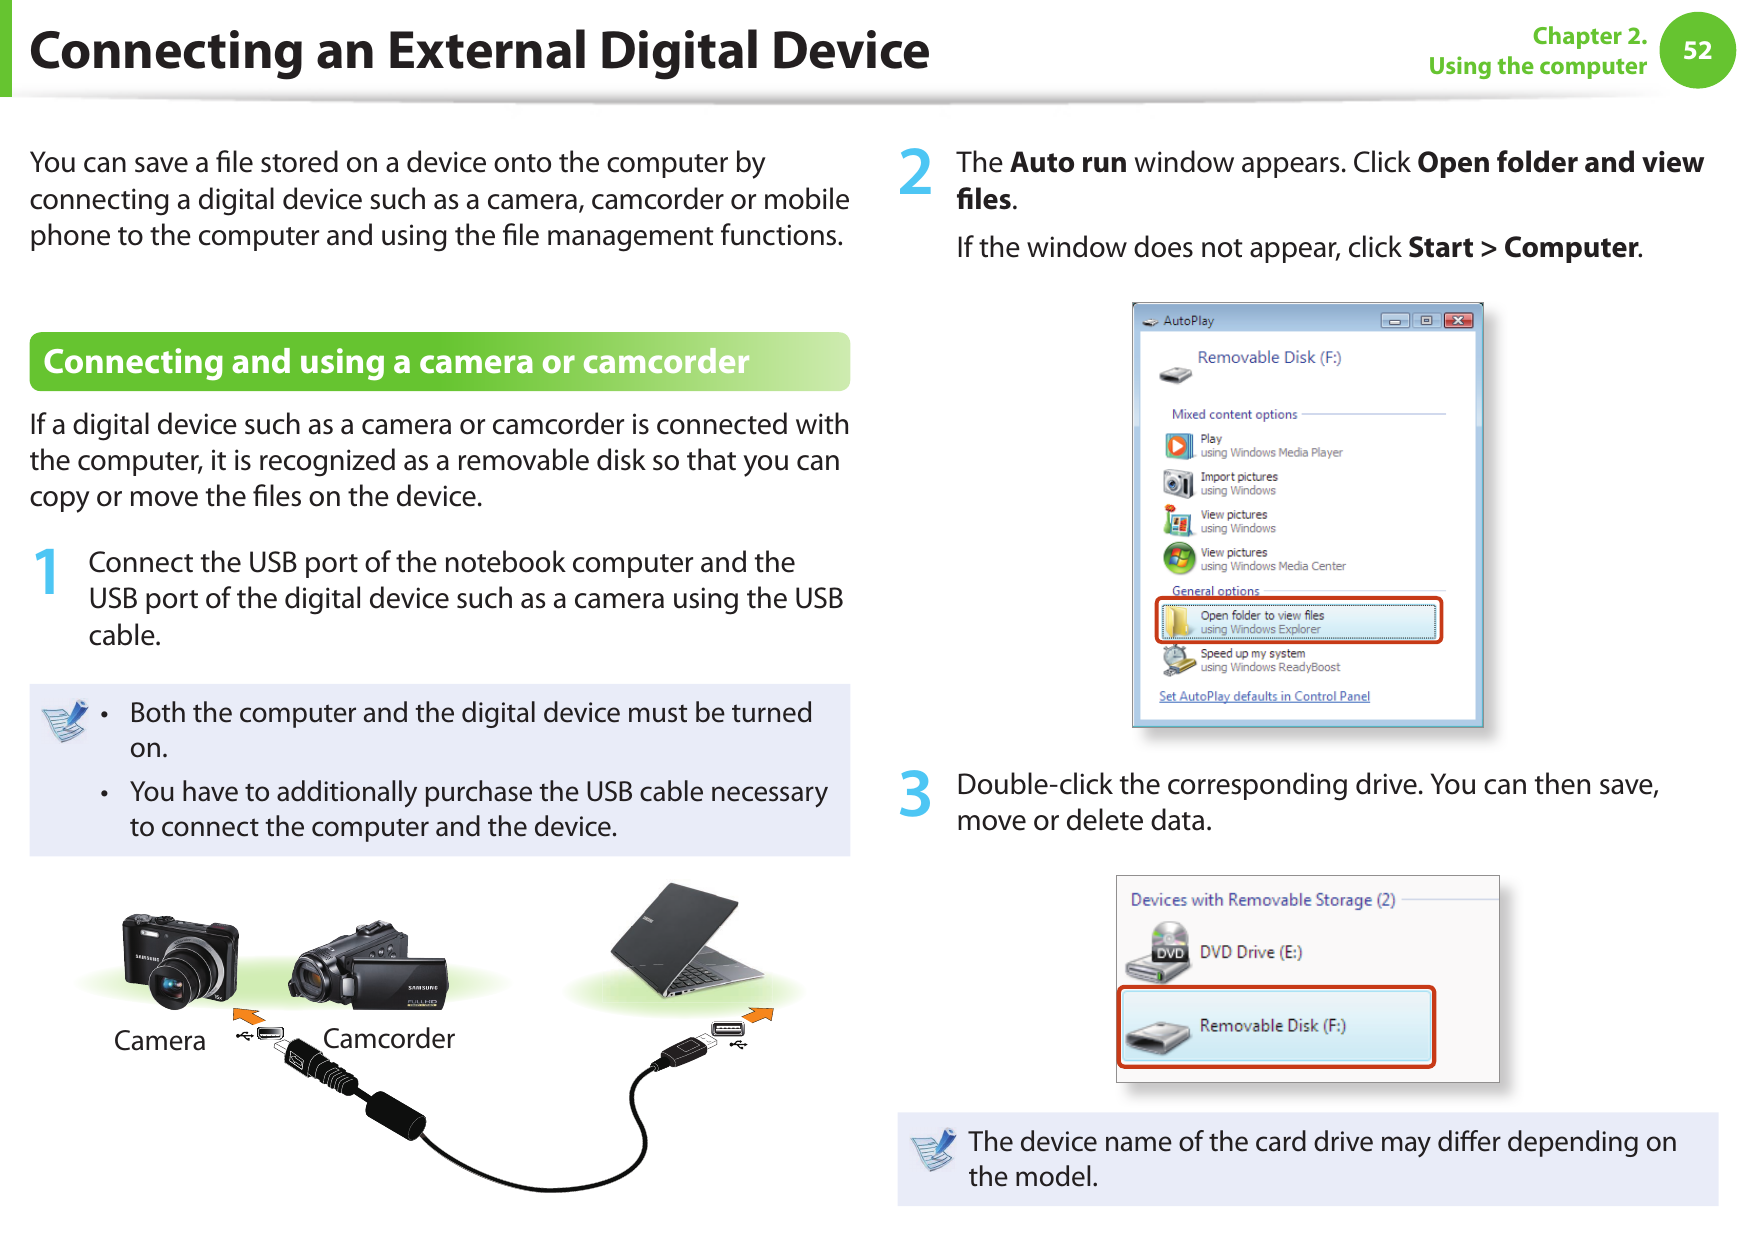
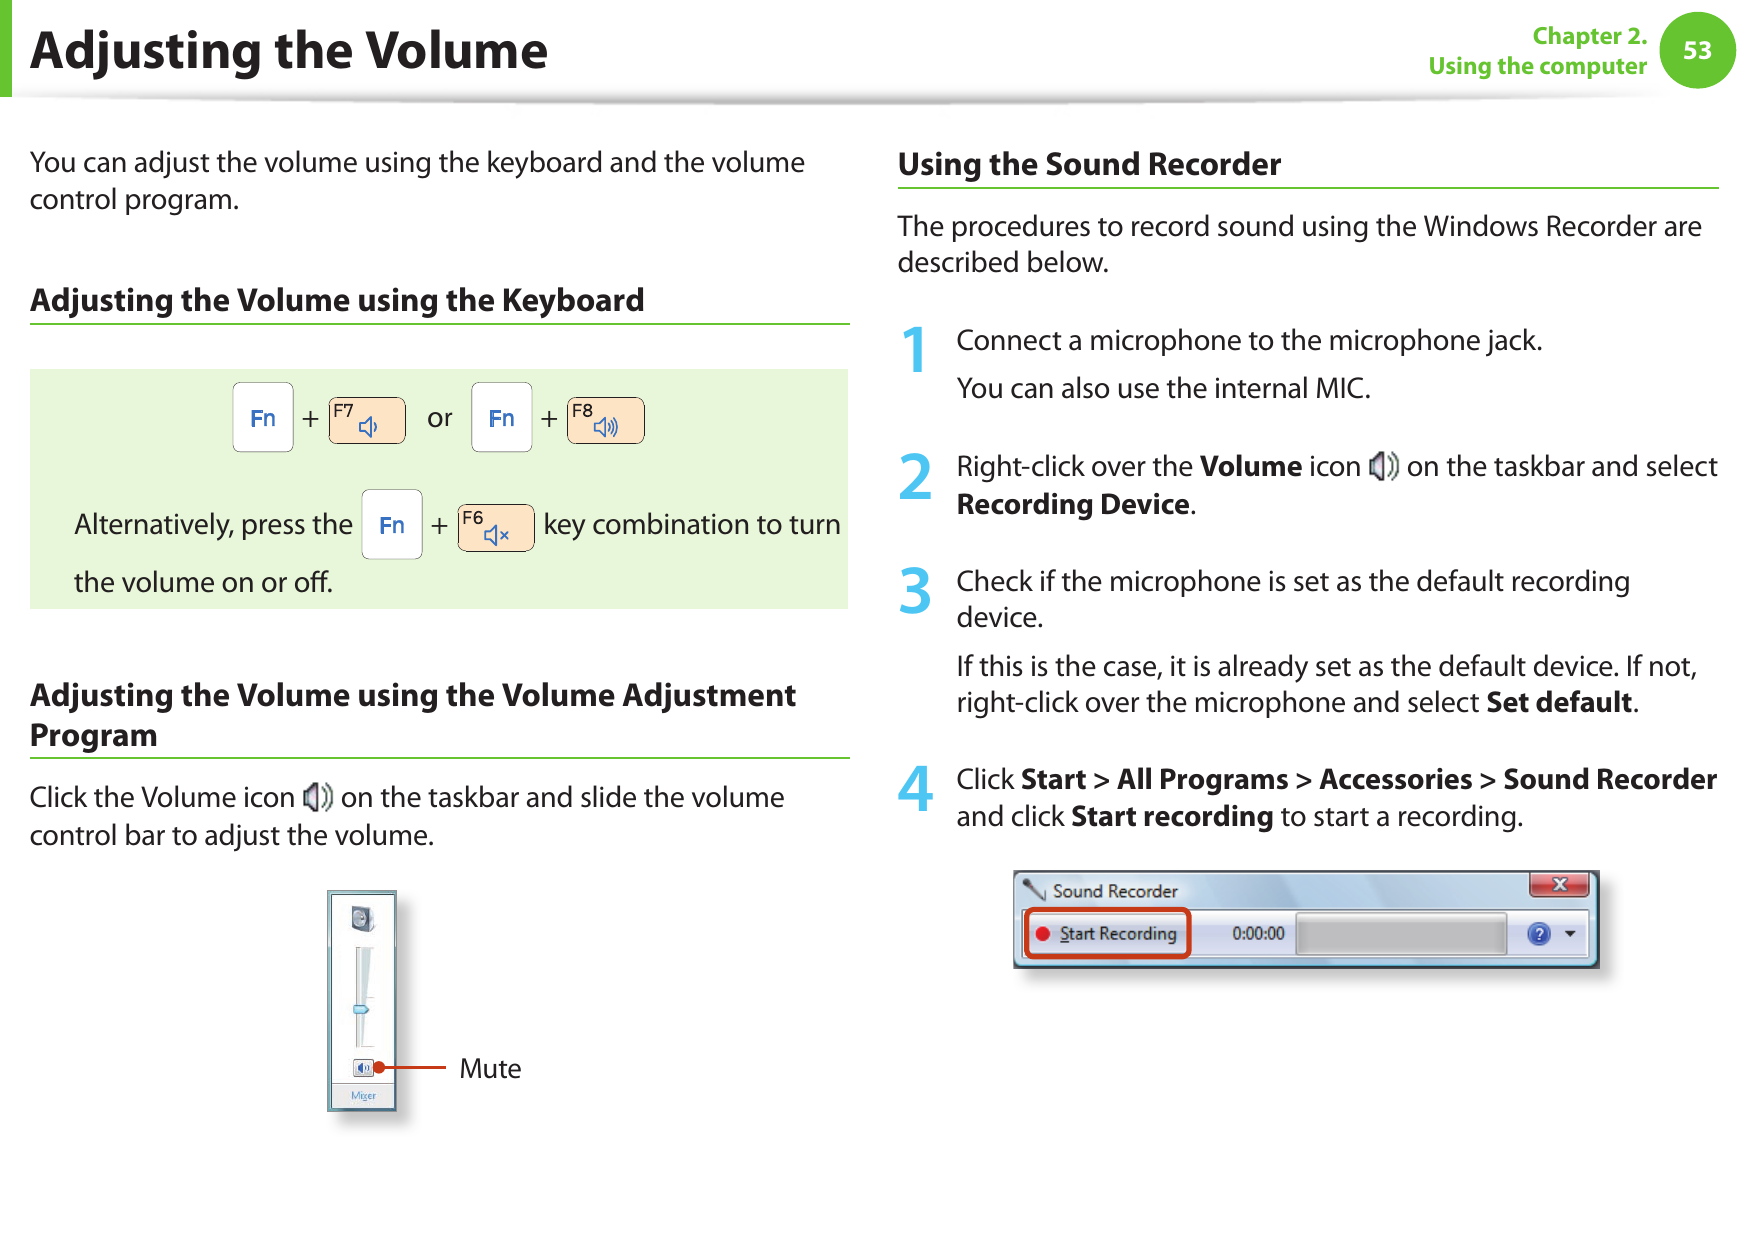
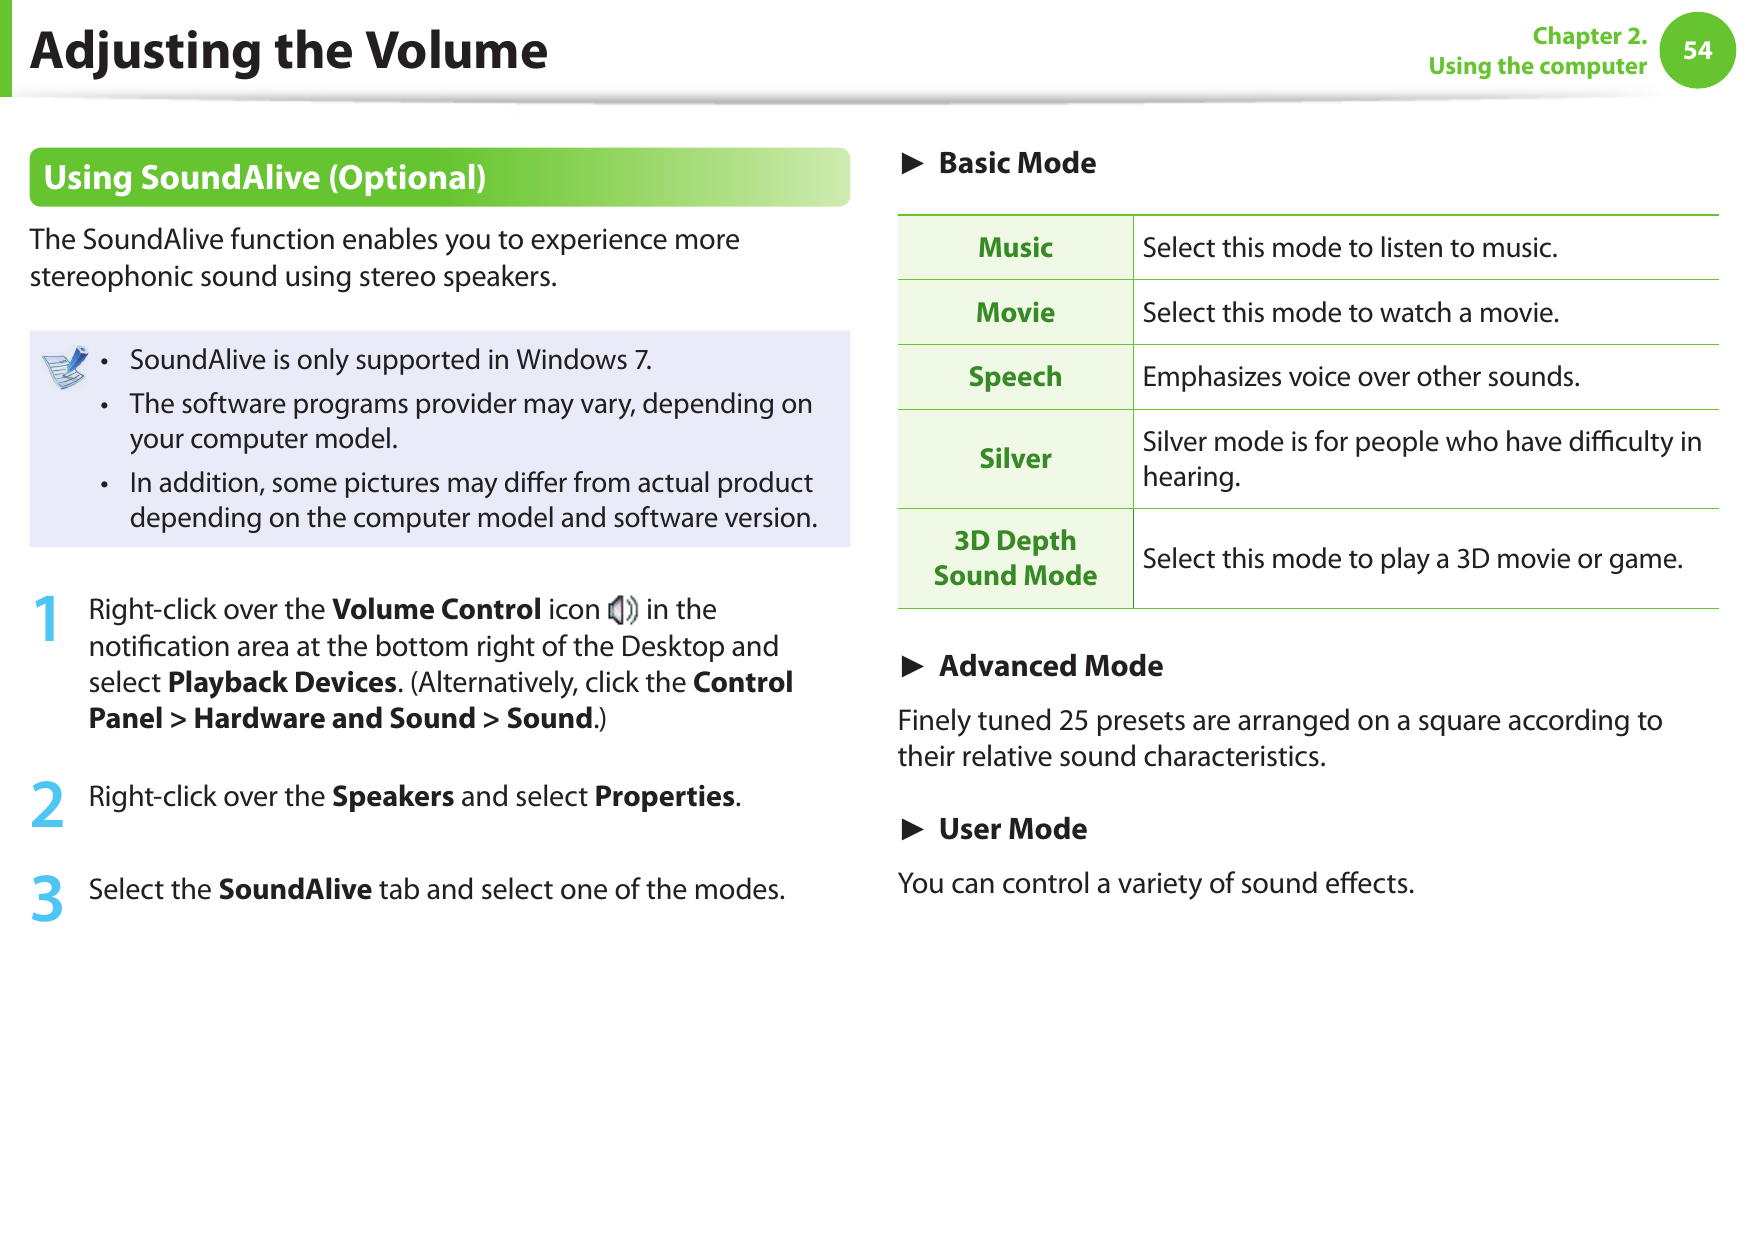
UserManual.wiki
>
Samsung Electronics Co
>
62230ANH User Manual
>
User manual
Contents
1.
User Manual
2.
User manaul
3.
User manual
4.
user manual
User manual
Navigation menu
Upload a User Manual
Namespaces
Wiki Guide
HTML
PDF
Info
Views
User Manual
Discussion / Help
Navigation

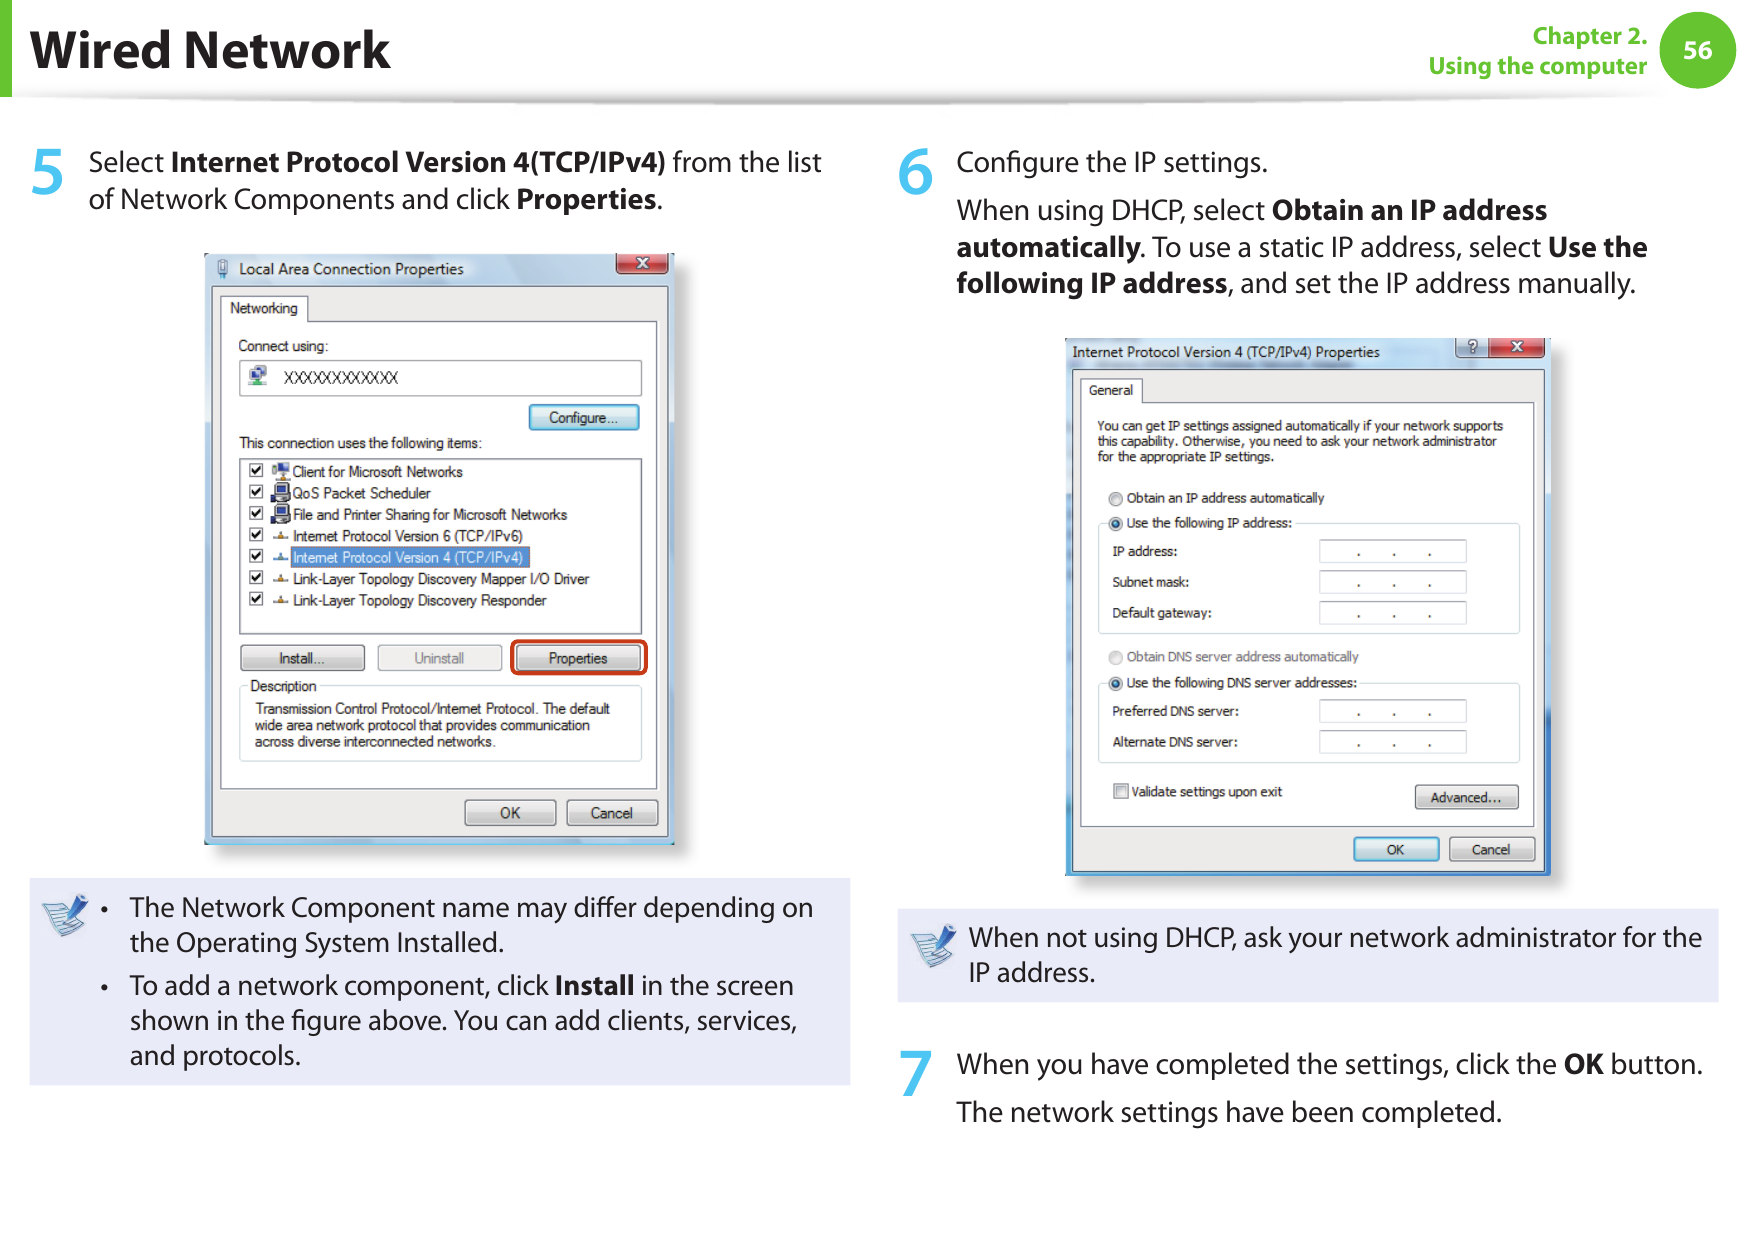
![62Chapter 2. Using the computerUsing the TPM Security Device (Optional)Initializing the TPM chipWhen you use the TPM function for the rst time or you want to register the user again, you have to initialize the TPM chip.Initializing the TPM chip erases all authentication • information saved on the TPM chip. Any decision to initialize must be taken carefully. To initialize the TPM chip again while the TPM function is • in use, you have to decrypt any existing les and folders encrypted by the TPM function rst. Otherwise, you will not be able to access the les and folders after re-initialization.1 Restart the computer. When the Samsung logo screen appears, press the F2 key repeatedly. 2 If the BIOS screen appears, select the Security > TPM Con guration item and press Enter.Phoenix SecureCore Tiano SetupSysInfoSupervisor PasswordUser PasswordHDD PasswordSet Supervisor PasswordSet User PasswordSet HDD PasswordPassword on BootAdvanced SecurityBootClearClearClear[Enter][Enter][Enter][Enabled]▶ TPM ConfigurationExit▶ TPM Configuration3 Set the TPM Support item to Enabled and set the Change TPM Status to Clear.Phoenix SecureCore Tiano SetupTPM CongurationTPM SupportChange TPM StatusCurrent TPM StateSecurity[Enabled][No Change]Disabled and DeactivatedNo ChangeClearEnable and ActivateDisable and DeactivateNo ChangeClearClearEnable and ActivateDisable and Deactivate4 Press the F10 key to save the changes.](https://usermanual.wiki/Samsung-Electronics-Co/62230ANH.User-manual/User-Guide-1632511-Page-24.png)