Samsung Electronics Co GTP1010 Mini-Tablet with WLAN and Bluetooth User Manual i987 P1
Samsung Electronics Co Ltd Mini-Tablet with WLAN and Bluetooth i987 P1
UserManual.wiki
>
Samsung Electronics Co
>
GTP1010 User Manual
Users Manual
Navigation menu
Upload a User Manual
Namespaces
Wiki Guide
HTML
PDF
Info
Views
User Manual
Discussion / Help
Navigation
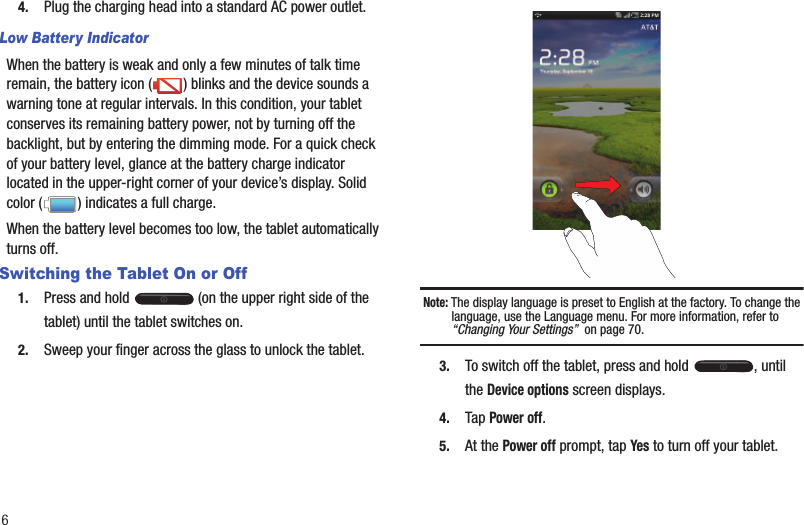
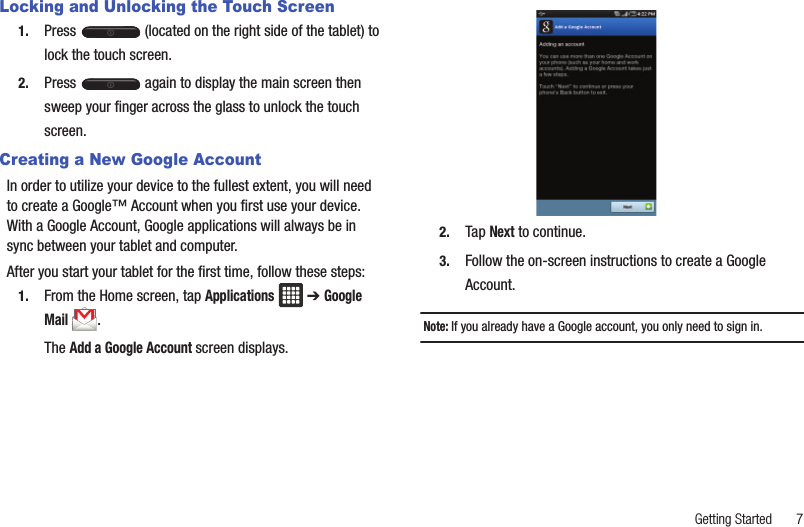
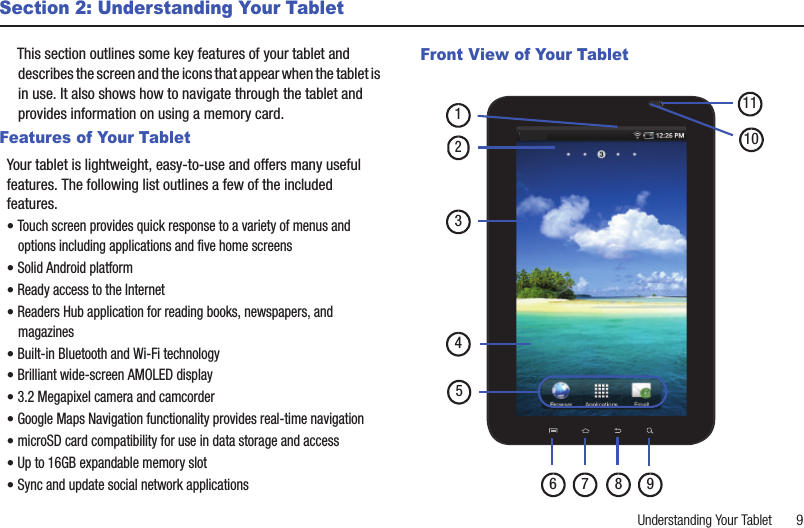
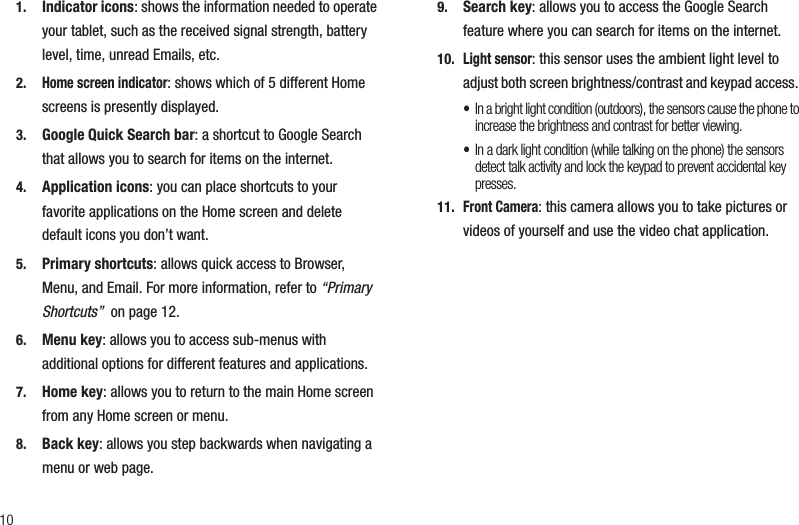
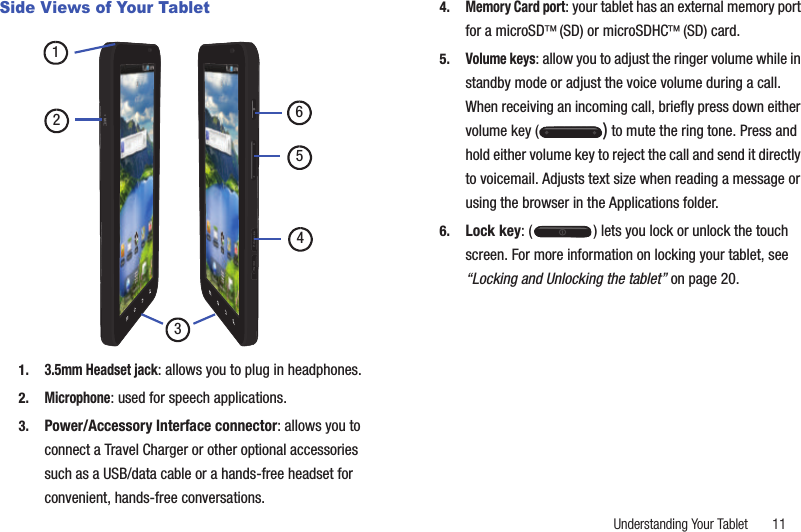
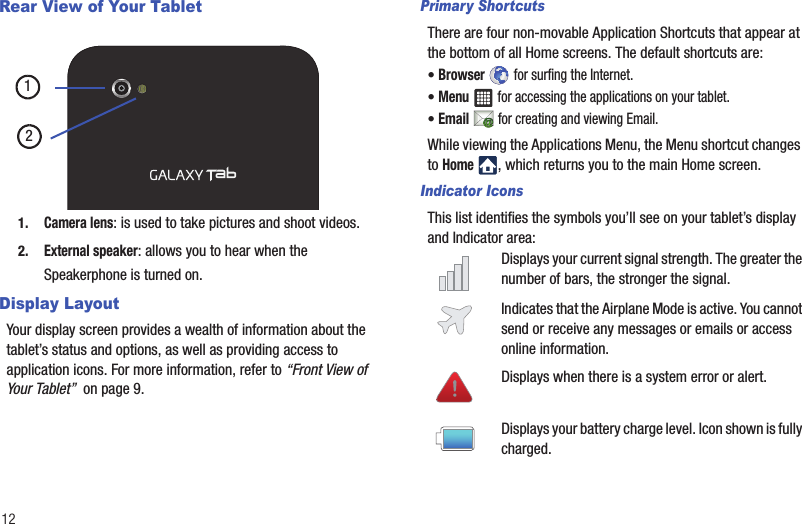
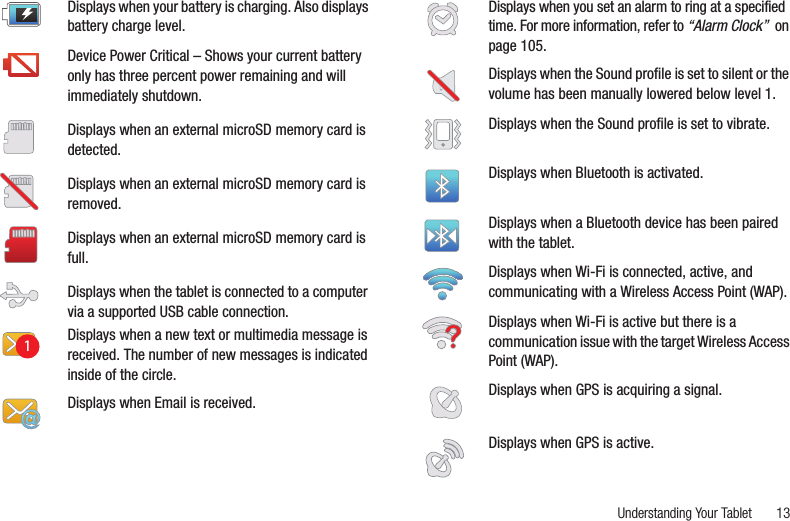
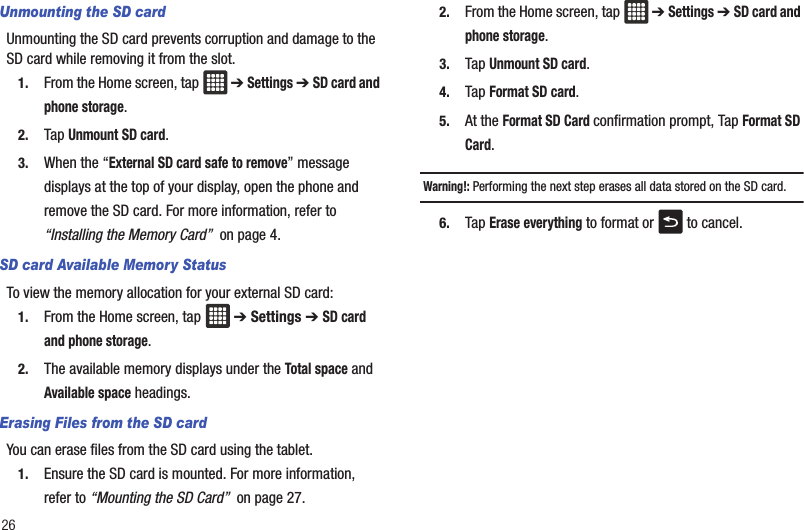

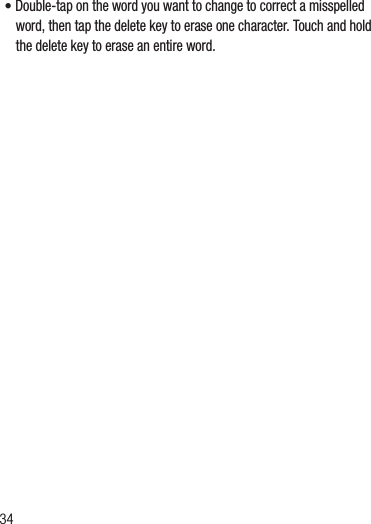

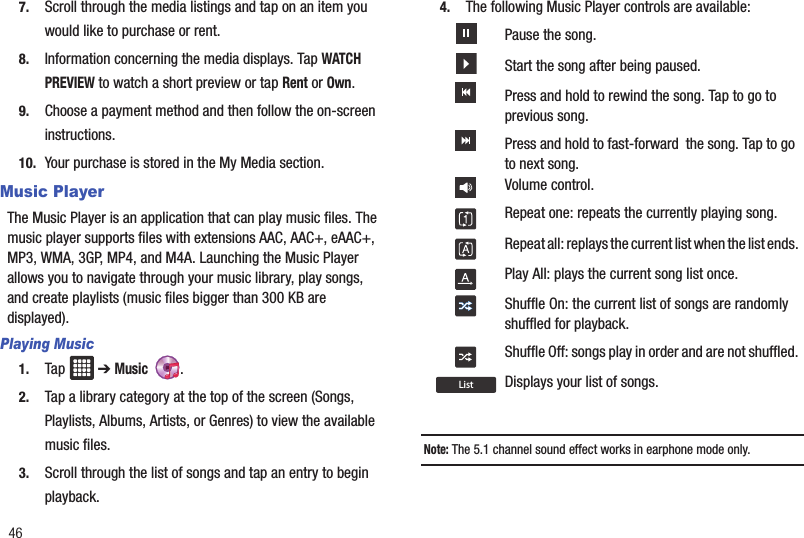
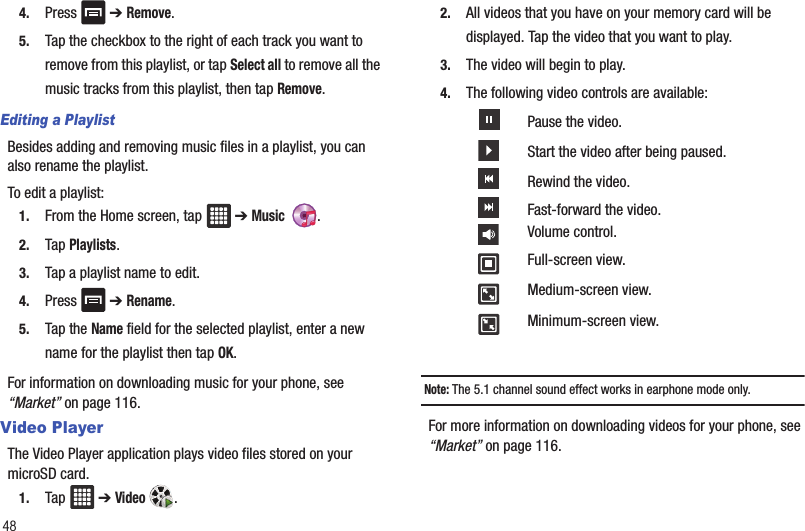
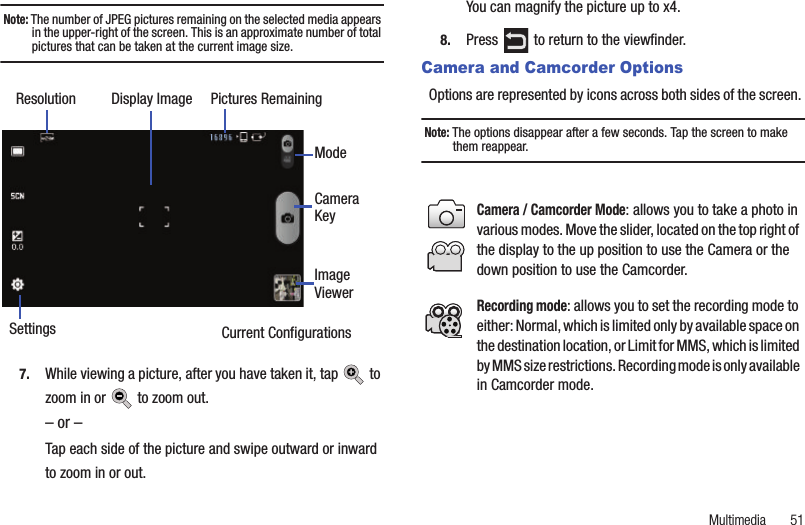
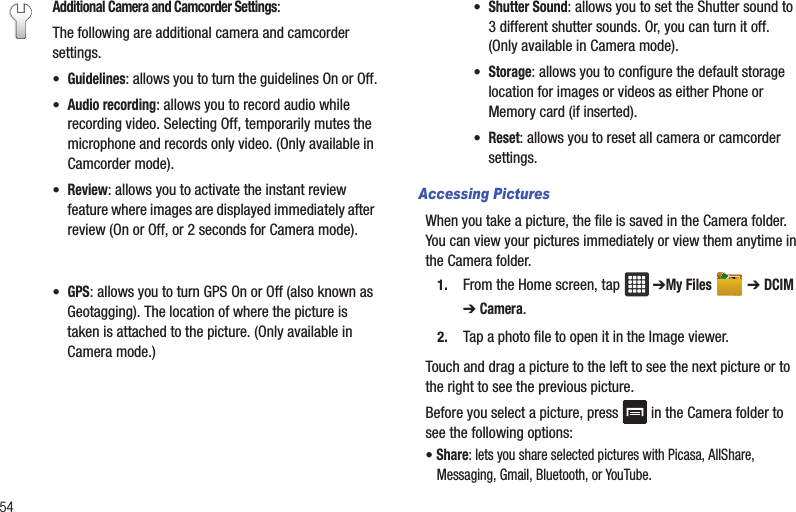

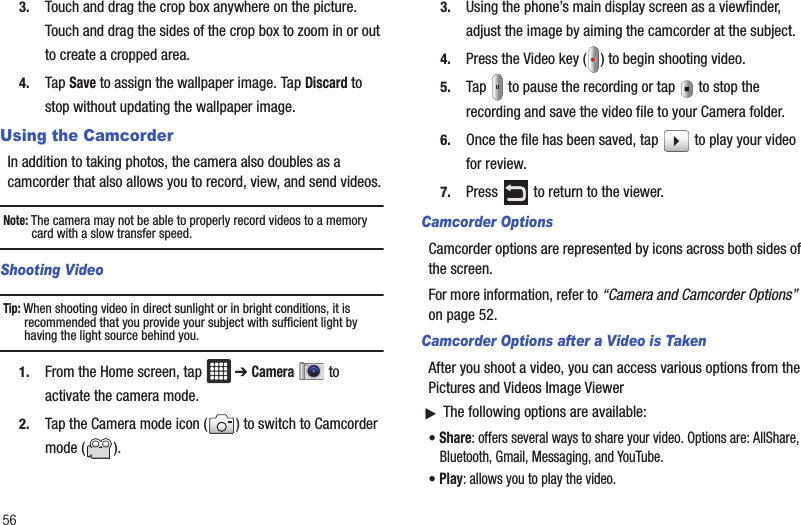
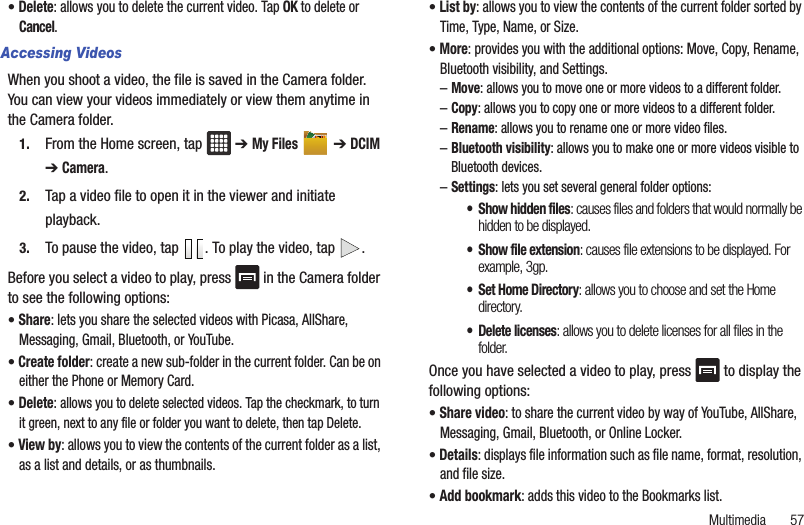
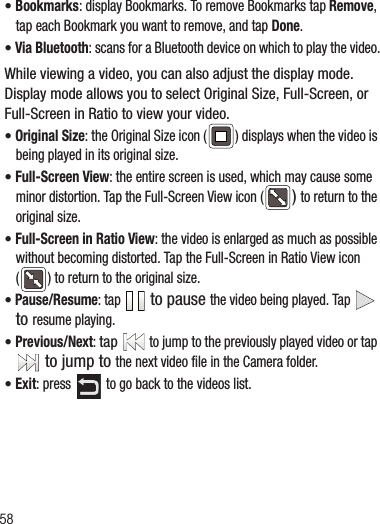

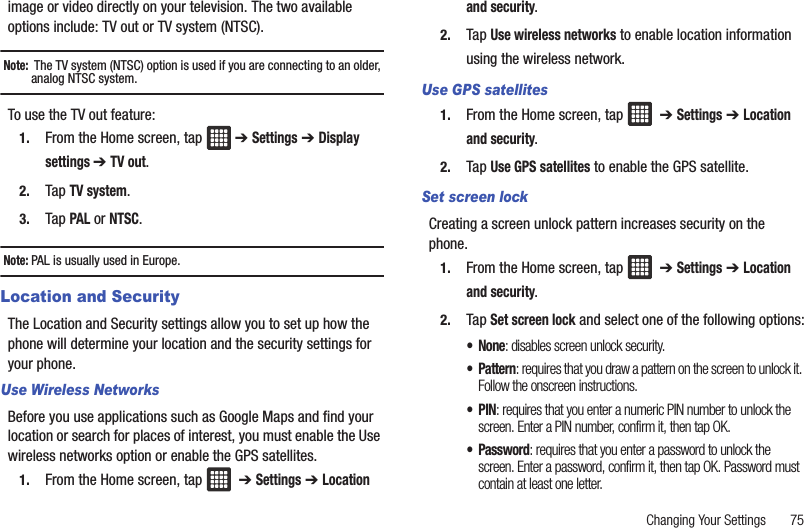

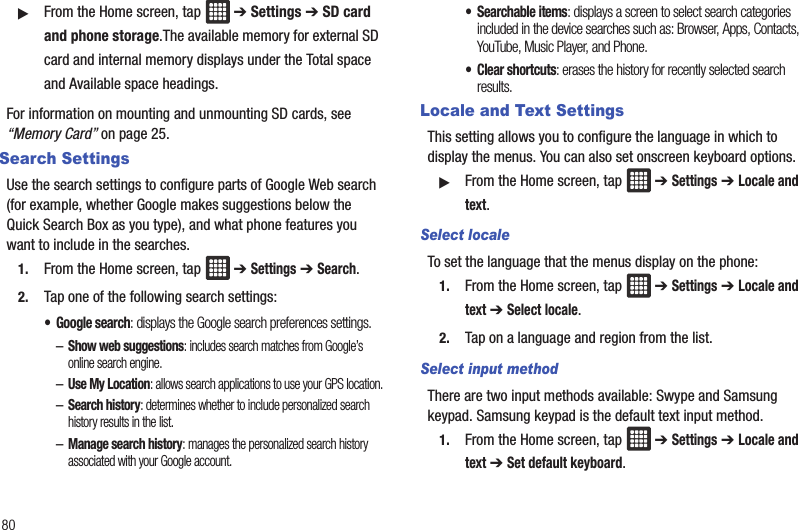
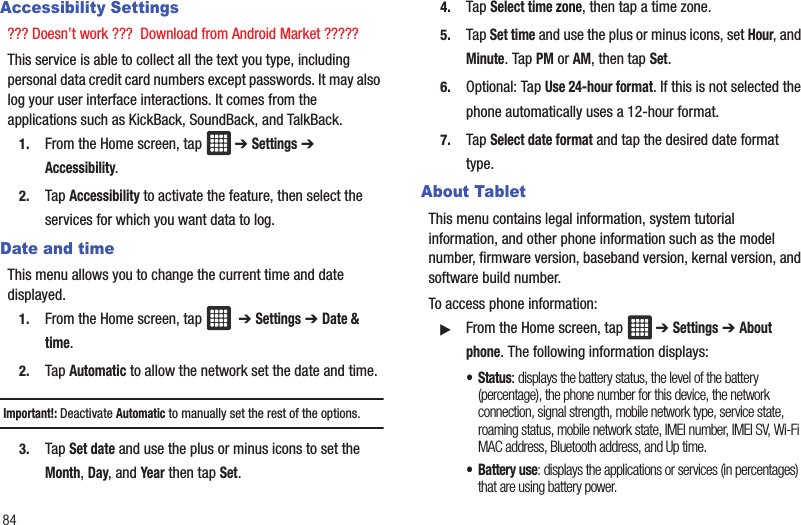
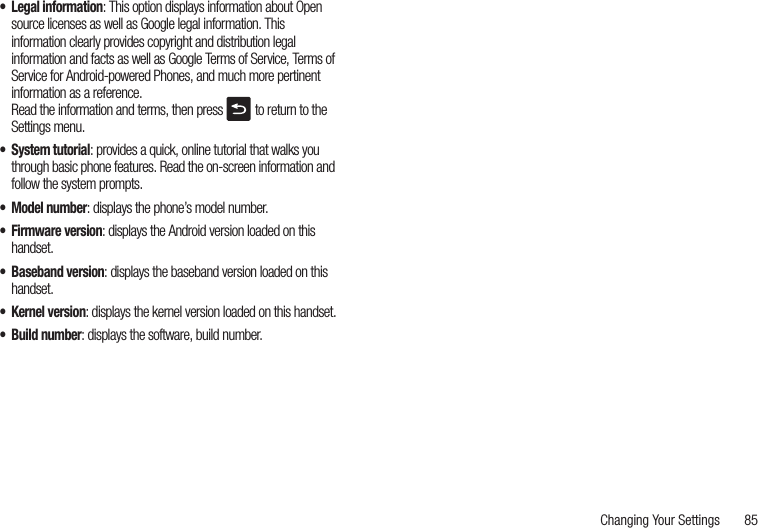
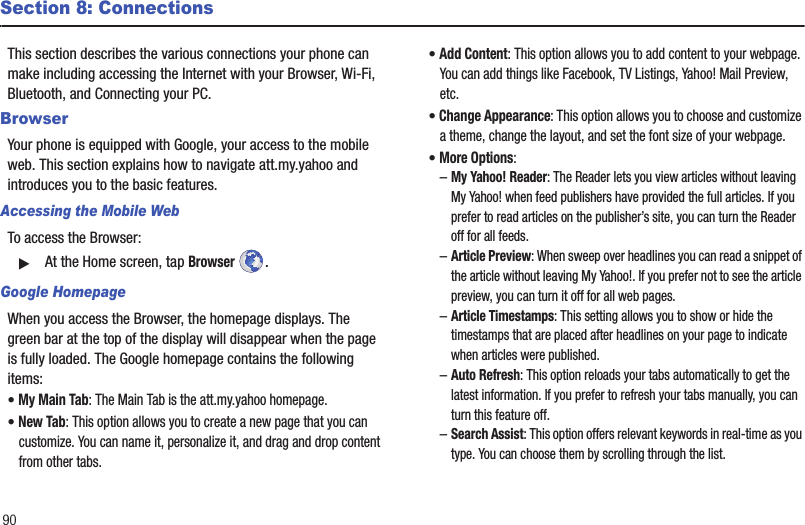
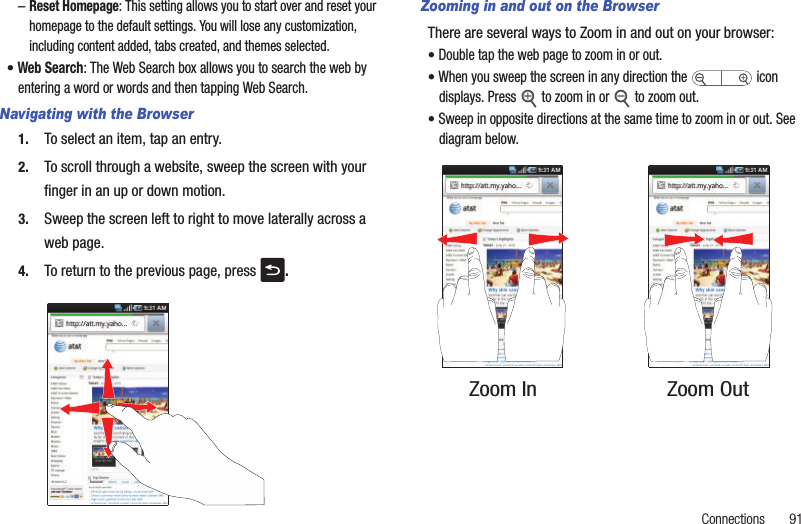

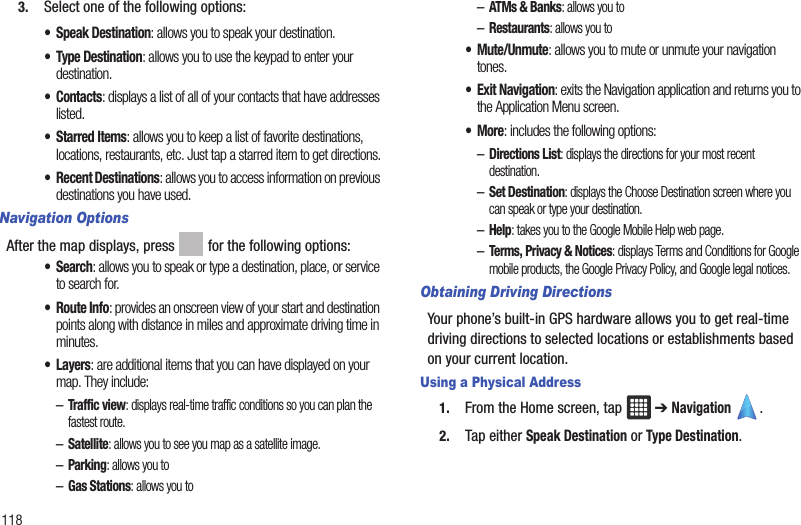
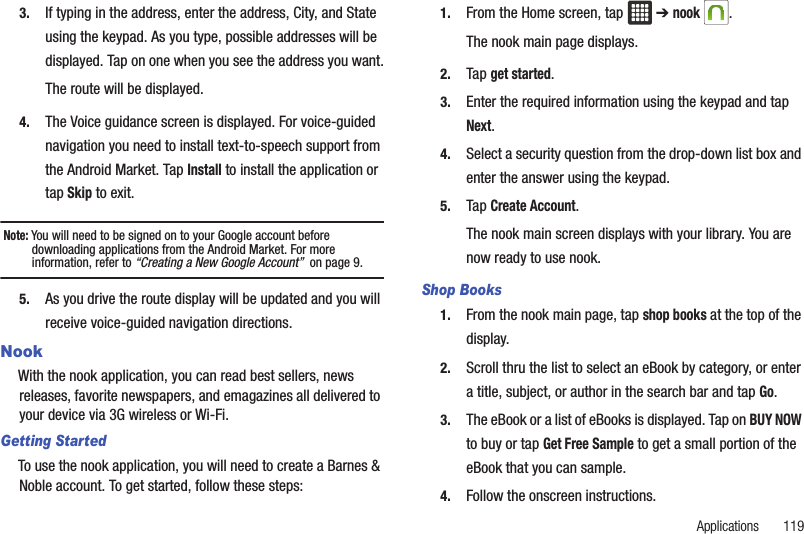
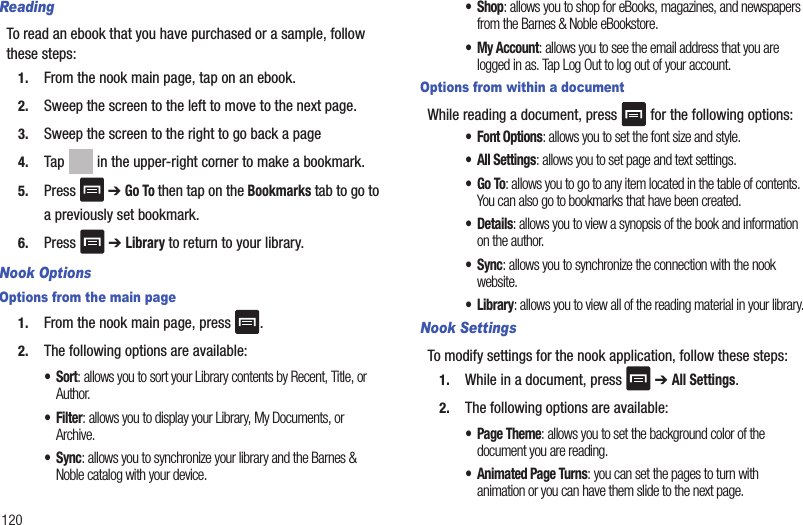
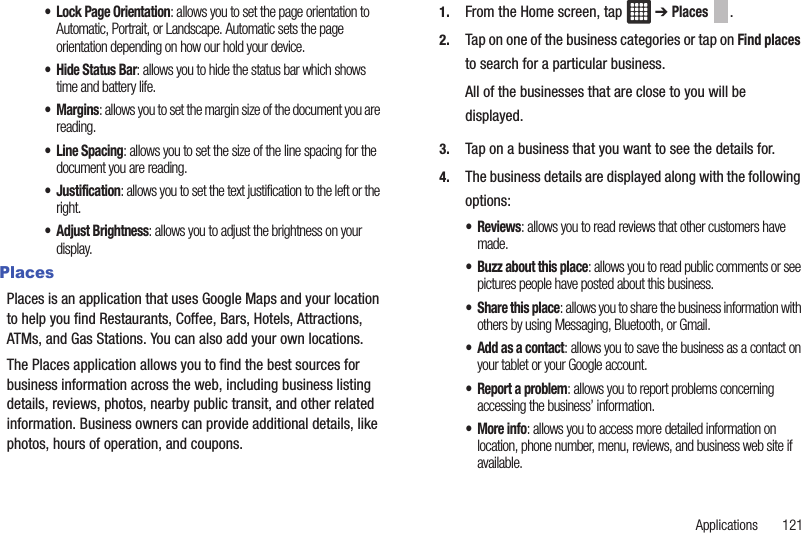
![Connections 99A map is displayed. You can also enter information for driving directions.BluetoothAbout BluetoothBluetooth is a short-range communications technology that allows you to connect wirelessly to a number of Bluetooth devices, such as headsets and hands-free car kits, and Bluetooth-enabled handhelds, computers, printers, and wireless devices. The Bluetooth communication range is usually up to approximately 30 feet.Turning Bluetooth On and OffTo turn Bluetooth on:1. From the Home screen, tap ➔ Settings ➔ Wireless and network ➔ Bluetooth settings.2. Tap the Bluetooth field to activate the feature (checkmark indicates active). When active, appears within the Status area.To turn Bluetooth off:1. From the Home screen, tap ➔ Settings ➔ Wireless and network ➔ Bluetooth settings.2. Tap the Bluetooth field to deactivate the feature. The green checkmark will be removed.Bluetooth Status IndicatorsThe following icons show your Bluetooth connection status at a glance:Displays when Bluetooth is active.Displays when Bluetooth is connected (paired) and communicating.Displays when Bluetooth is disabled (default status).Bluetooth SettingsThe Bluetooth settings menu allows you to set up many of the characteristics of your device’s Bluetooth service, including:• Entering or changing the name your device uses for Bluetooth communication and description• Setting your device’s visibility (or “discoverability”) for other Bluetooth devices• Displaying your device’s Bluetooth address[no icon]](https://usermanual.wiki/Samsung-Electronics-Co/GTP1010/User-Guide-1358557-Page-83.png)