Samsung Electronics Co HWN300 SoundBar User Manual for IC
Samsung Electronics Co Ltd SoundBar for IC
UserManual.wiki
>
Samsung Electronics Co
>
HWN300 User Manual
User manual
Navigation menu
Upload a User Manual
Namespaces
Wiki Guide
HTML
PDF
Info
Views
User Manual
Discussion / Help
Navigation


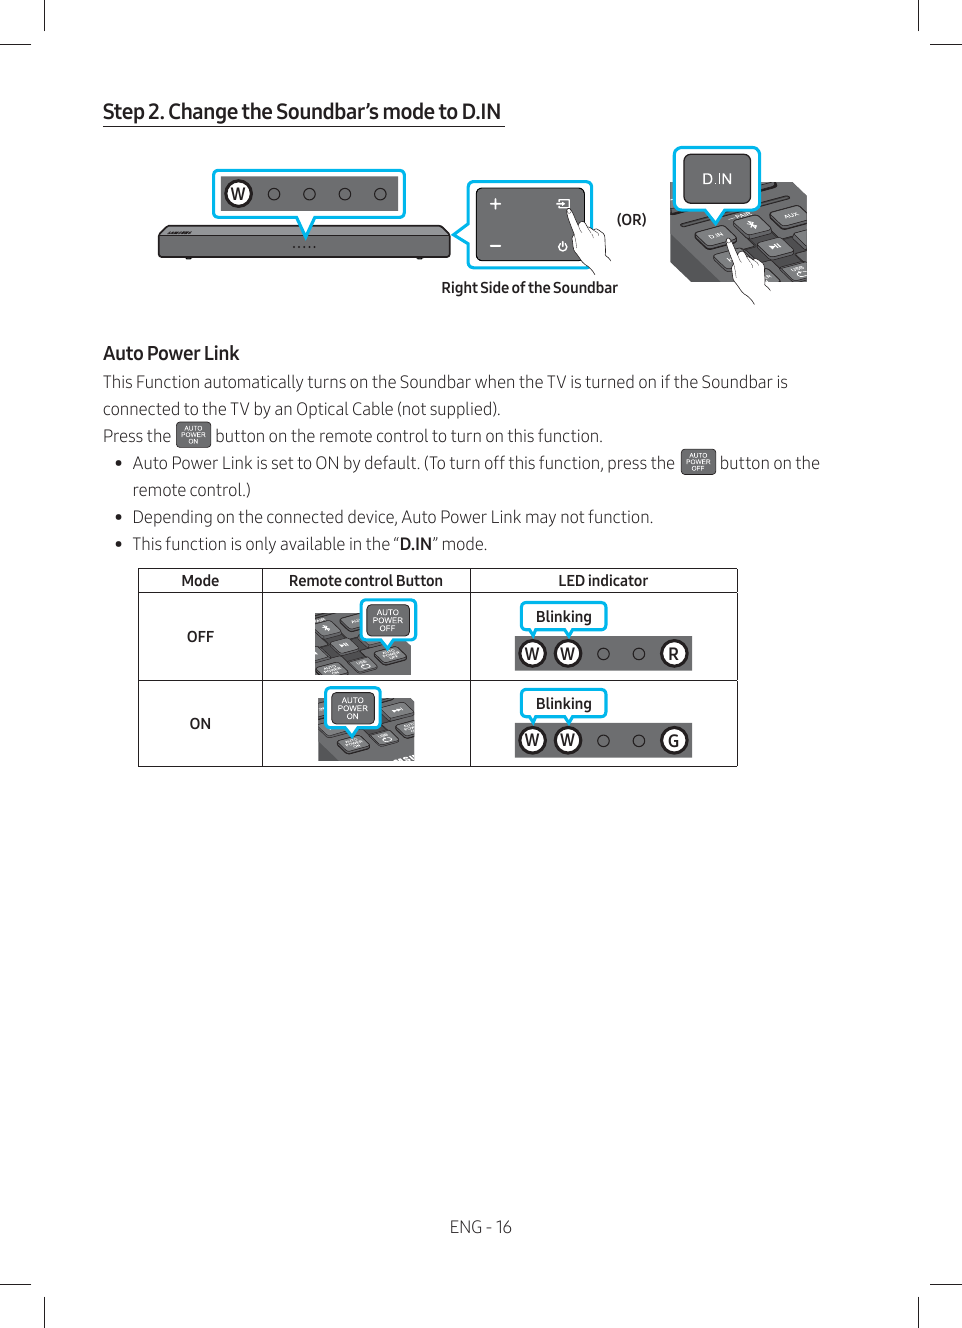
![ENG - 17Connecting a TV or Bluetooth Device via BluetoothStep 1. Change the Soundbar mode to “Bluetooth Pairing”BFast-Blinking5 SecStep 2. Select the Soundbar in your TV’s or Bluetooth device’s Menu Select“[AV] Samsung Soundbar Nxxx N-Series”Bluetooth device(OR)Bluetooth menuNOTE – You cannot connect more than one TV or Bluetooth device at a time. Step 3. Check the Soundbar’s statusThe blue LED should not be blinking once the Bluetooth connection is complete. BIf the TV or device fails to connect ࡙If a previously connected Soundbar listing appears in the device list of your TV or Bluetooth device, delete it. (e.g. “[AV] Samsung Soundbar Nxxx N-Series”) ࡙Then repeat steps 1 through 3.](https://usermanual.wiki/Samsung-Electronics-Co/HWN300/User-Guide-3863677-Page-17.png)