Samsung Electronics Co LASERMFP1815DN Multi Function Printer User Manual 1815 OM EN
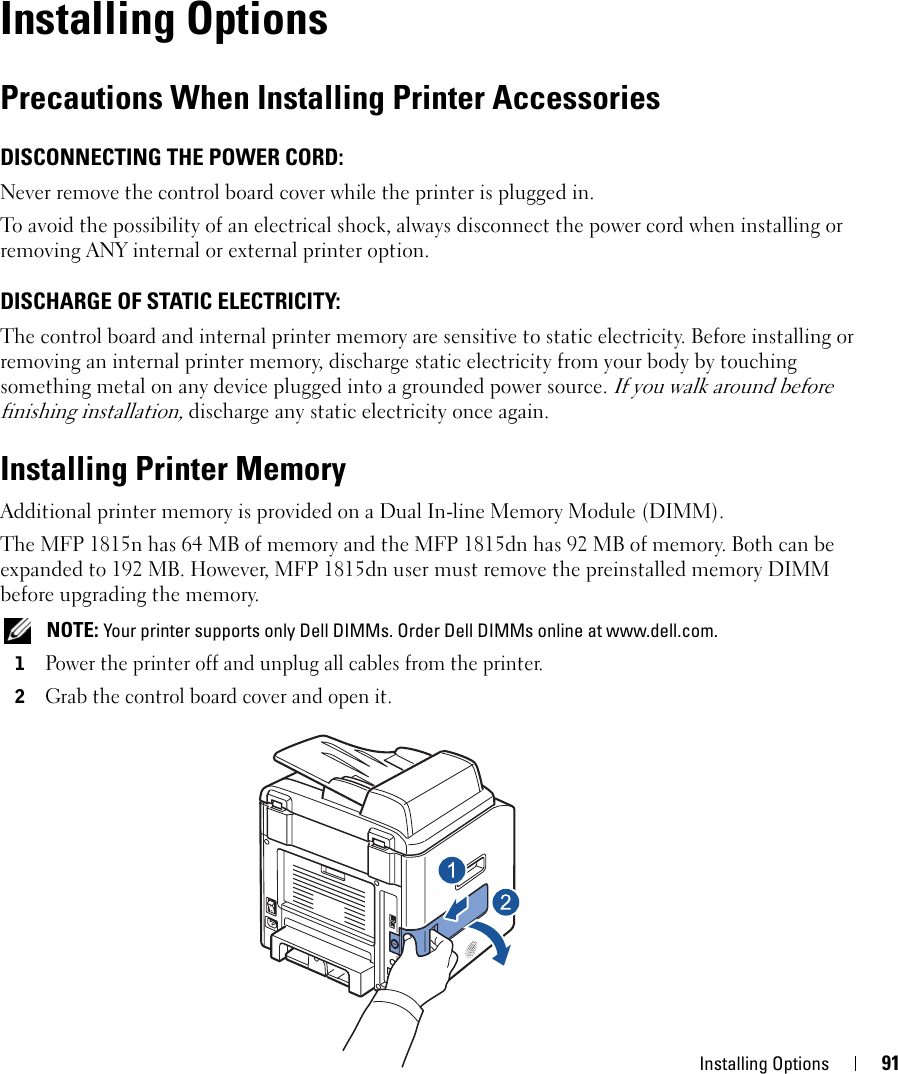
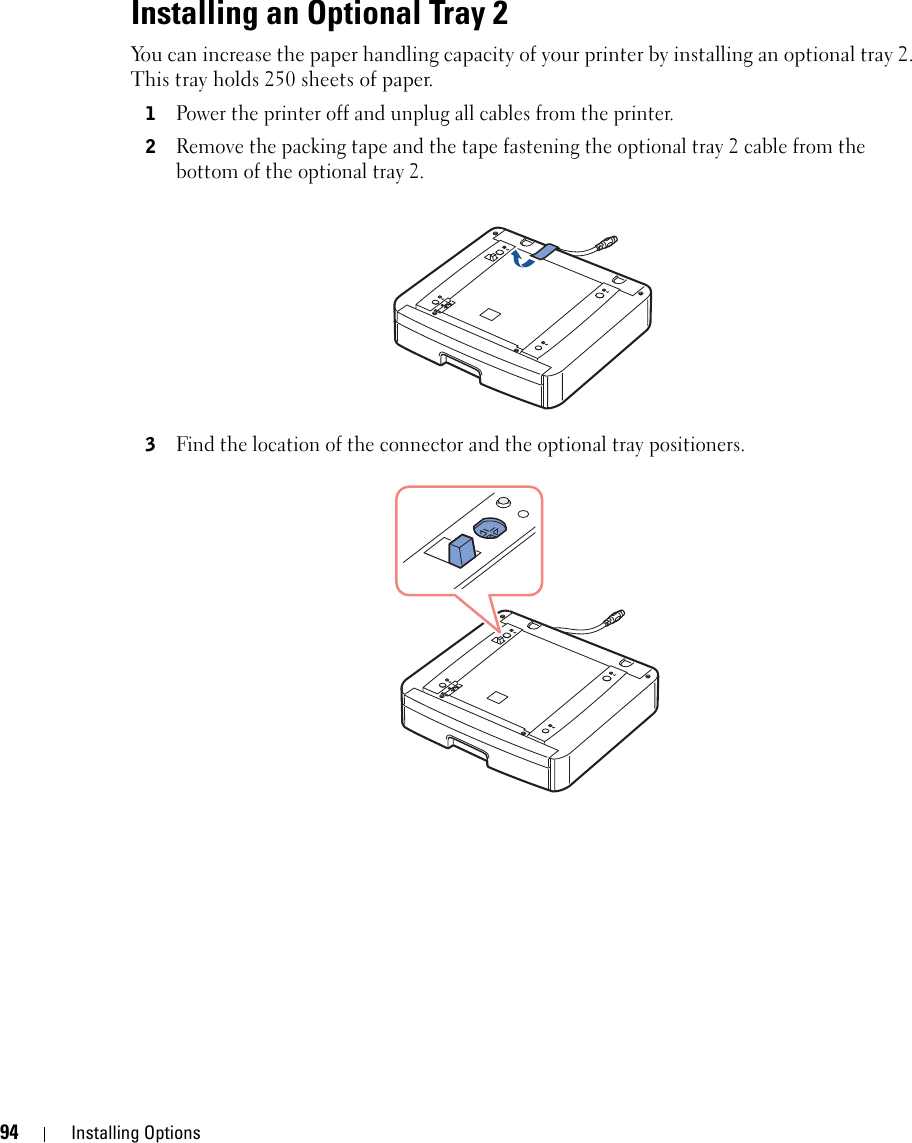
Samsung Electronics Co Ltd Multi Function Printer 1815 OM EN
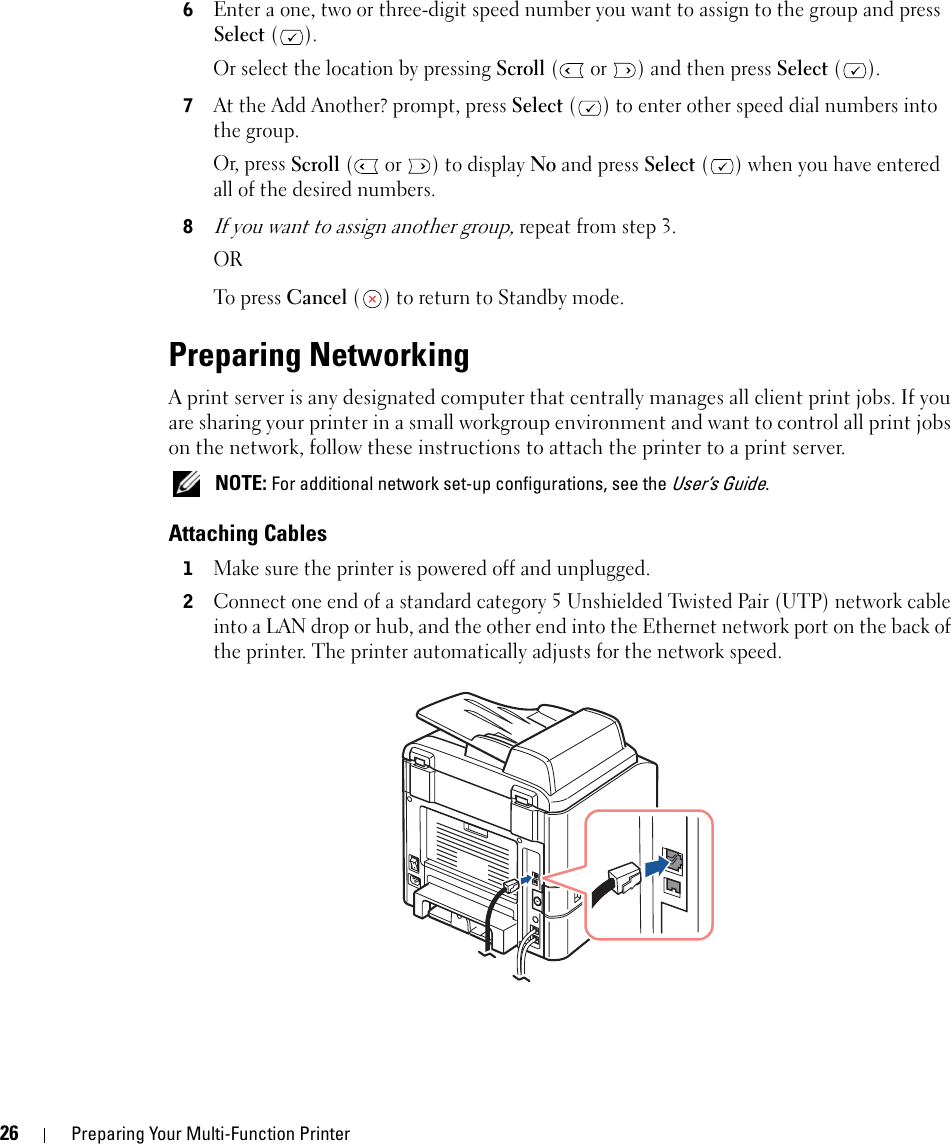
UserManual.wiki
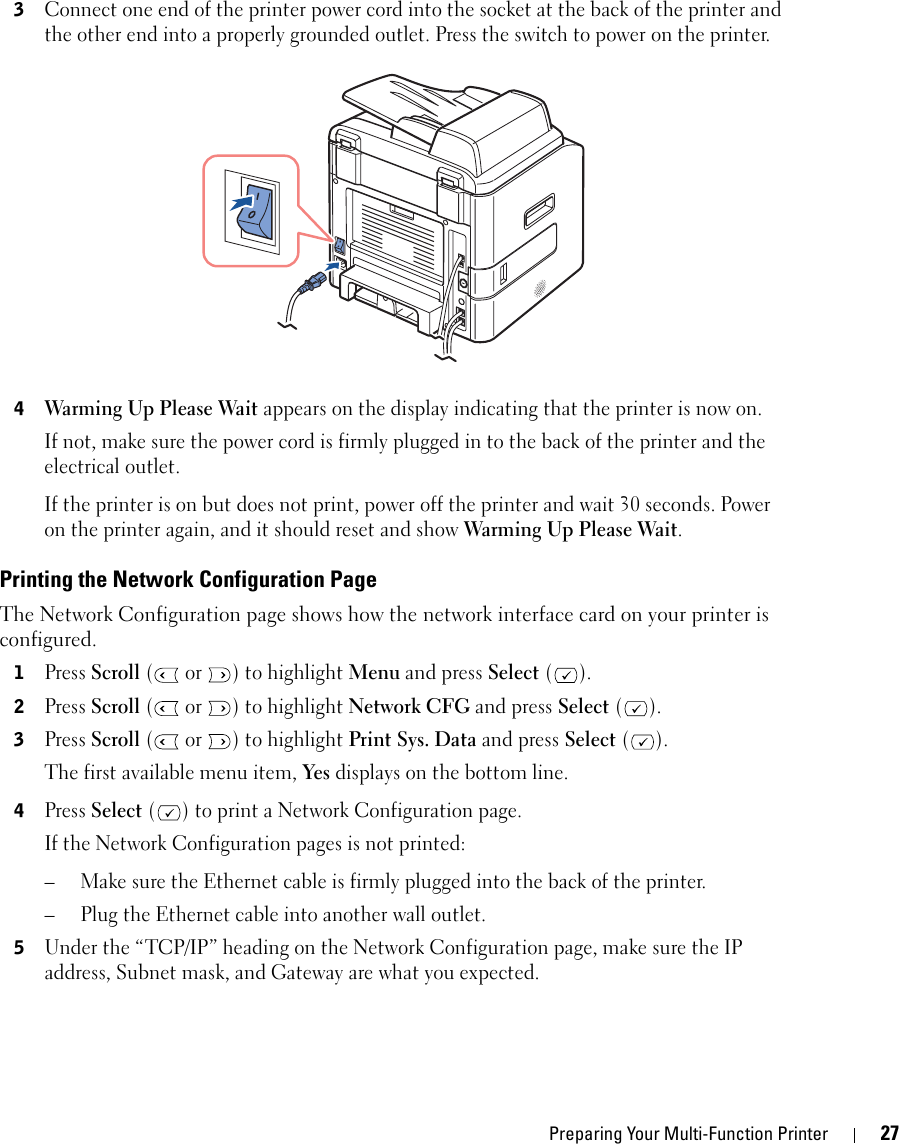
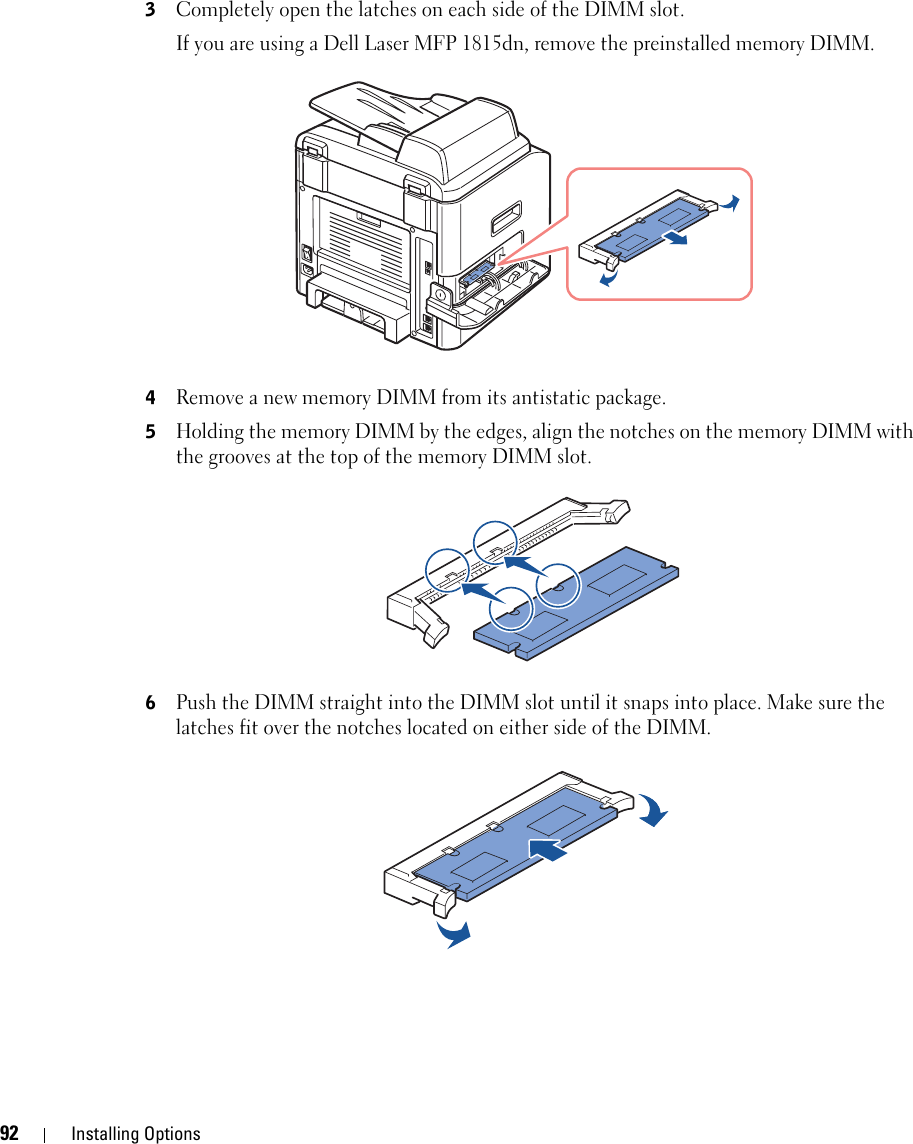
>
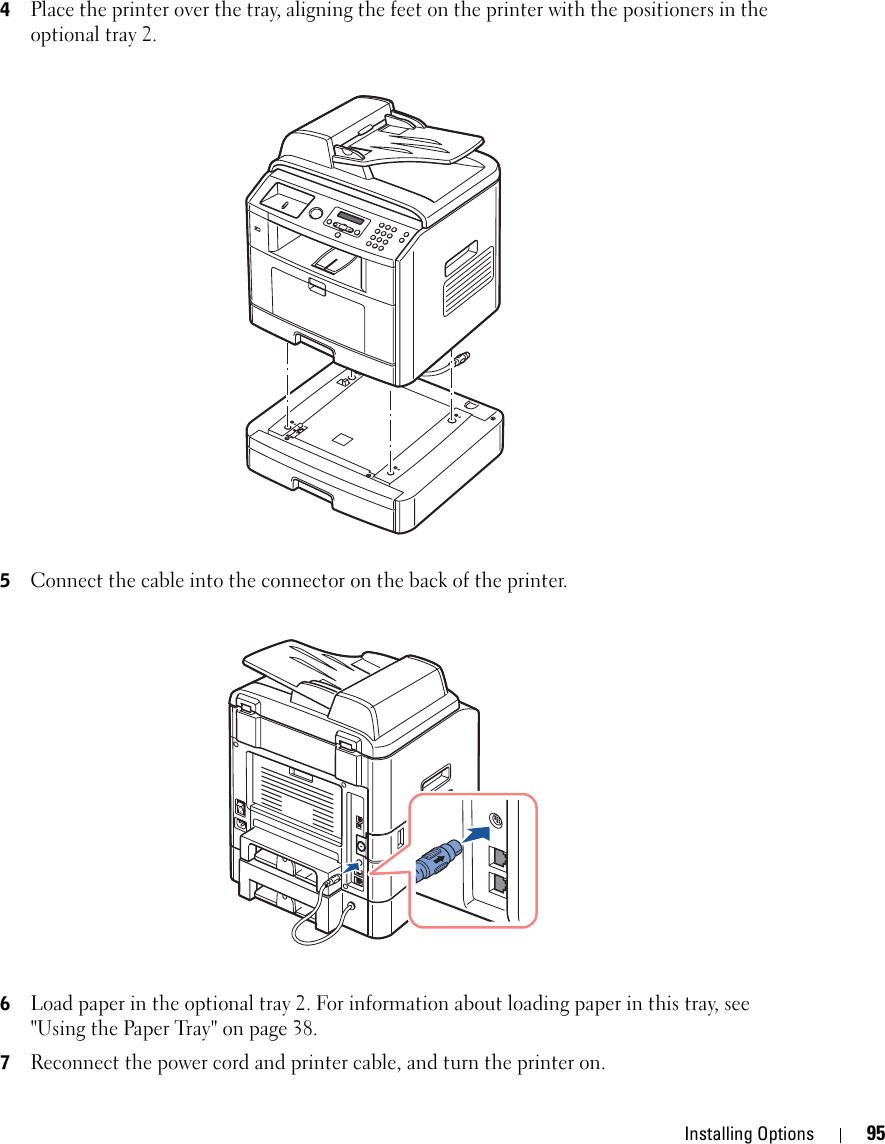
Samsung Electronics Co
>
LASERMFP1815DN User Manual
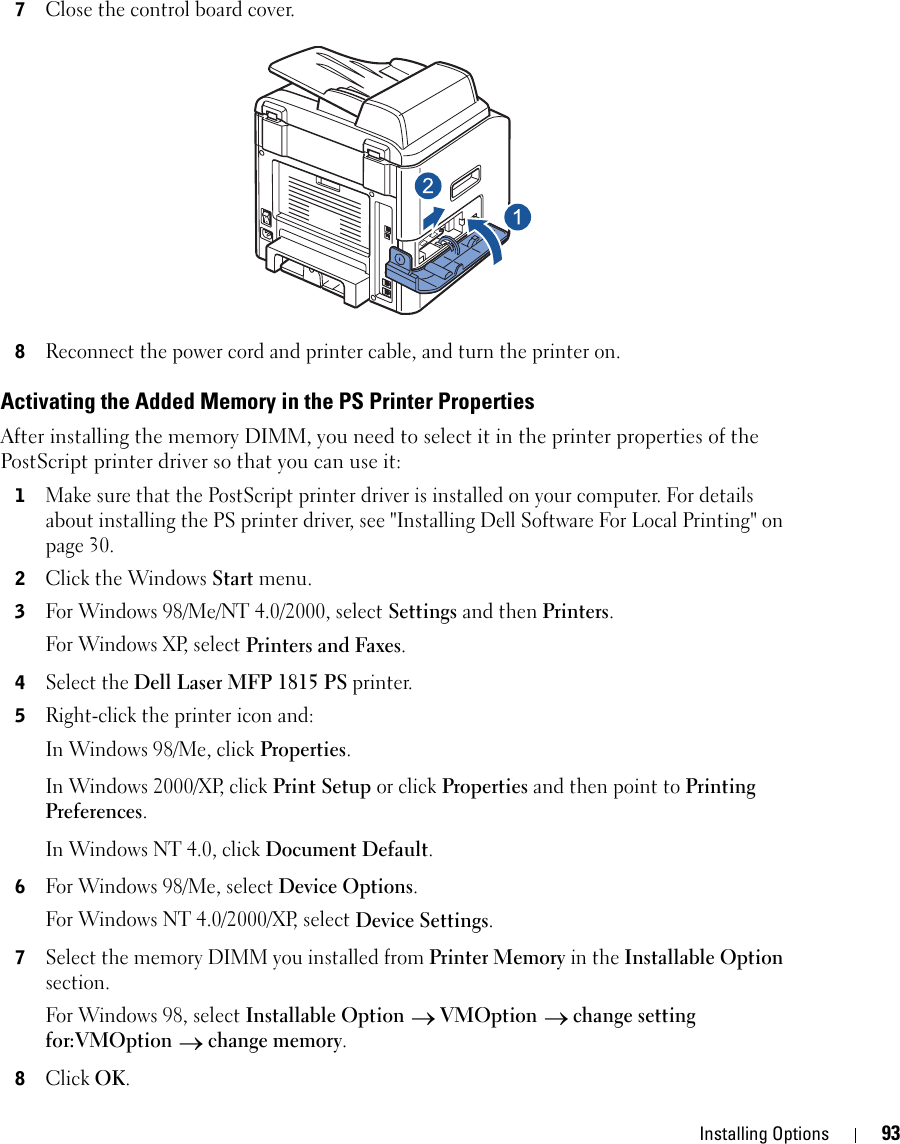
Users Manual
Navigation menu
Upload a User Manual
Namespaces
Wiki Guide
HTML
PDF
Info
Views
User Manual
Discussion / Help
Navigation
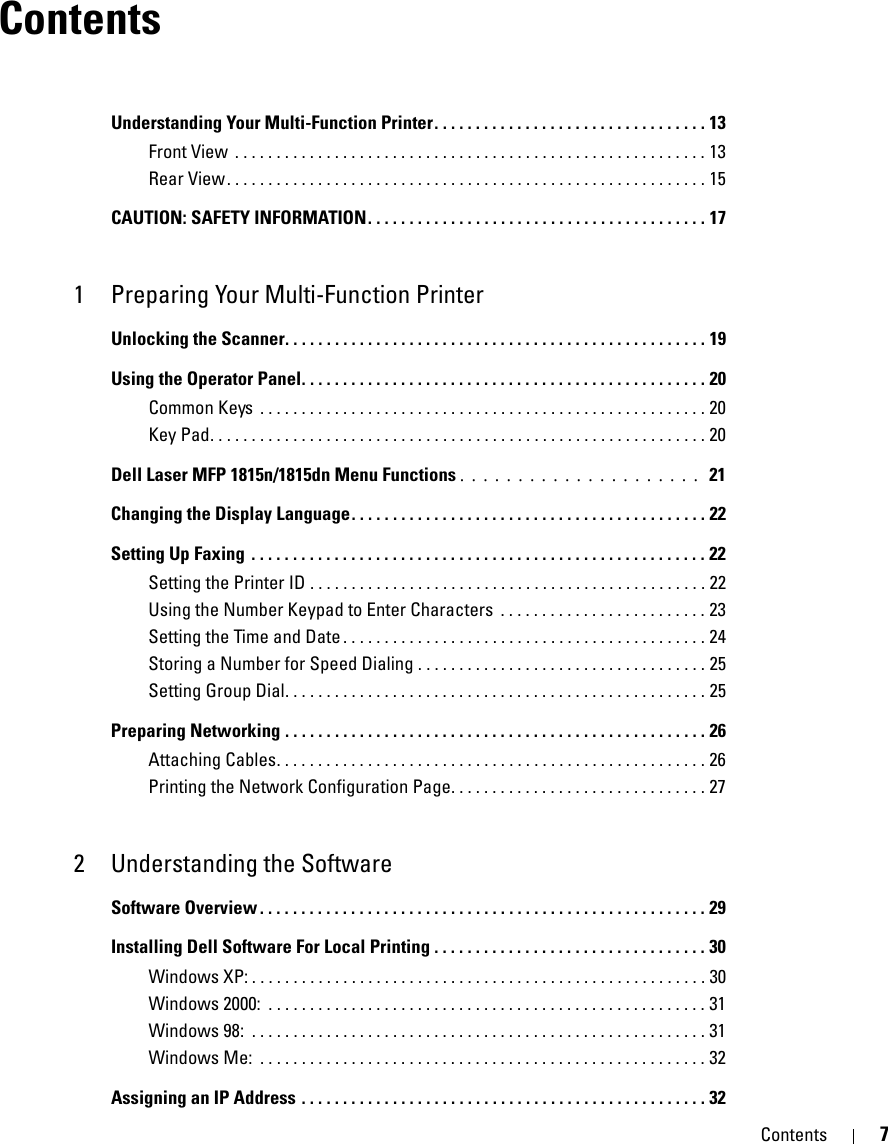


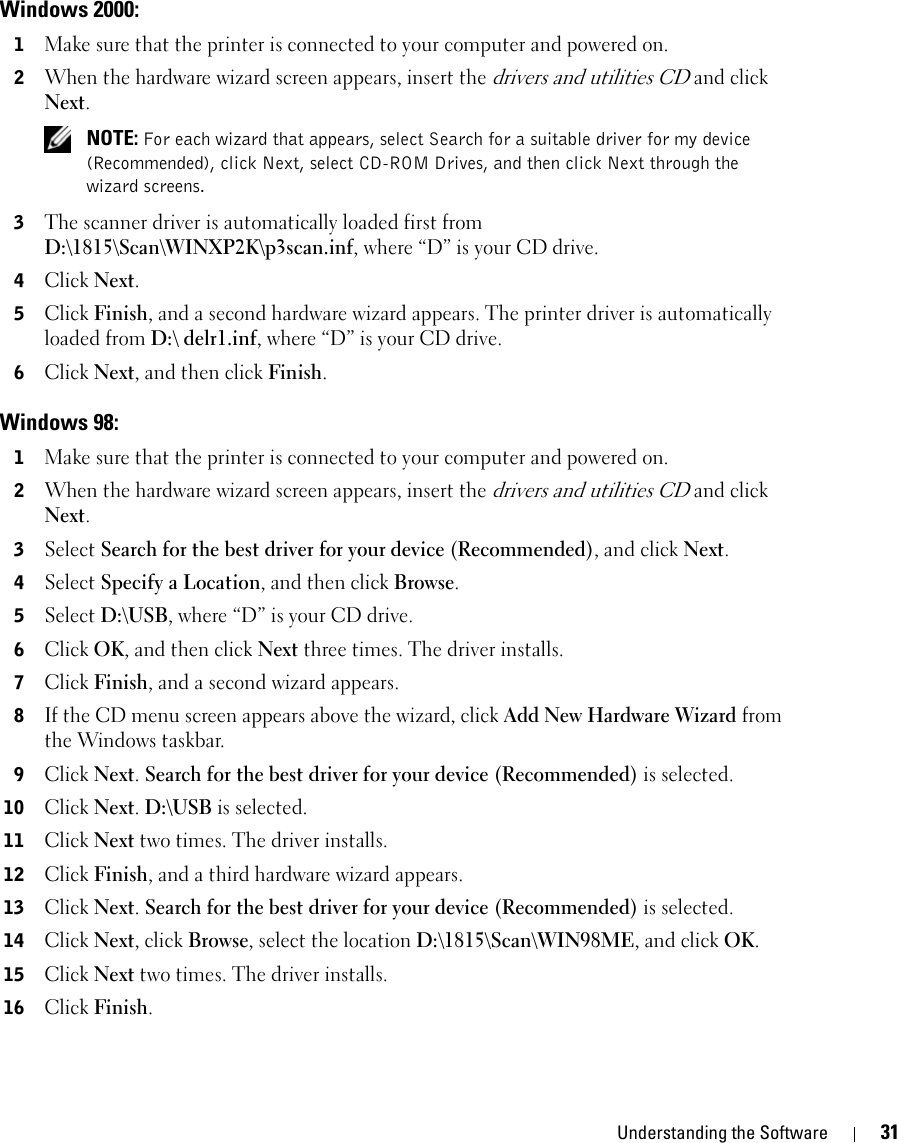


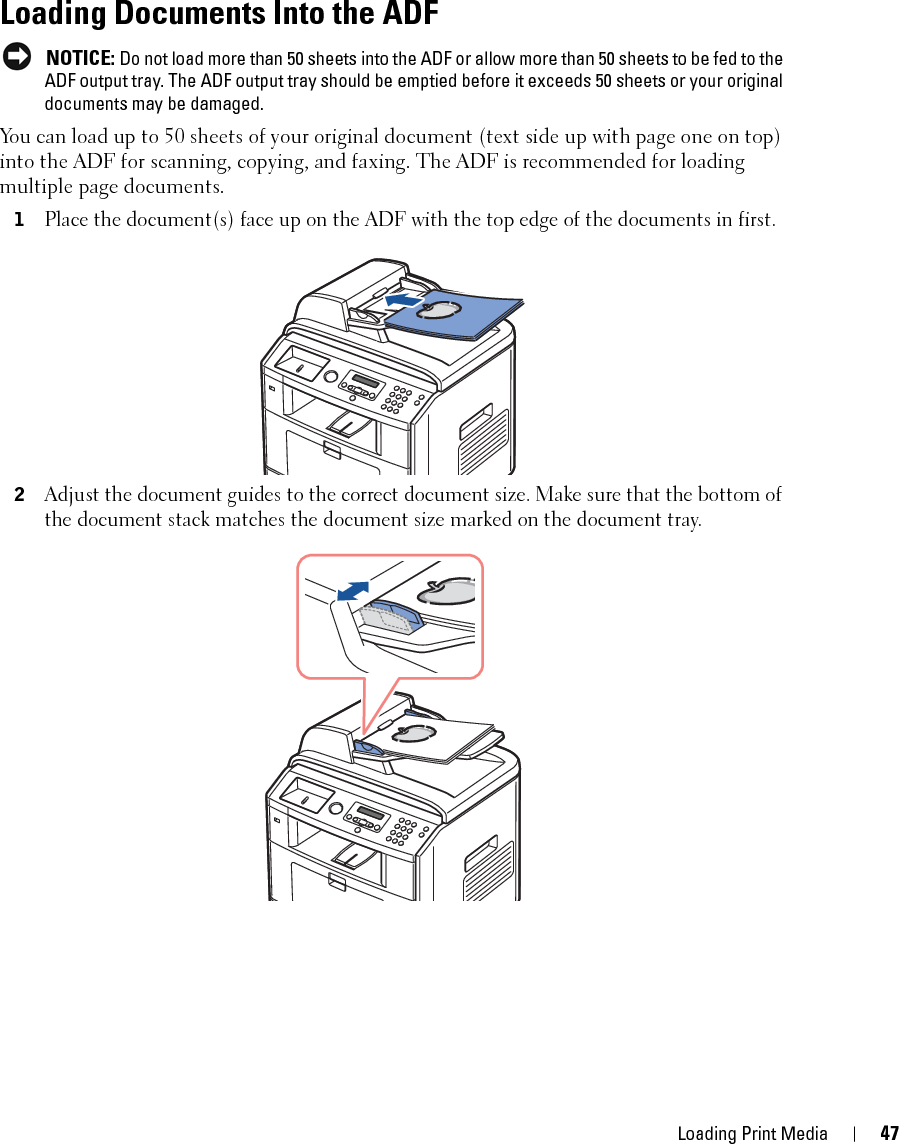


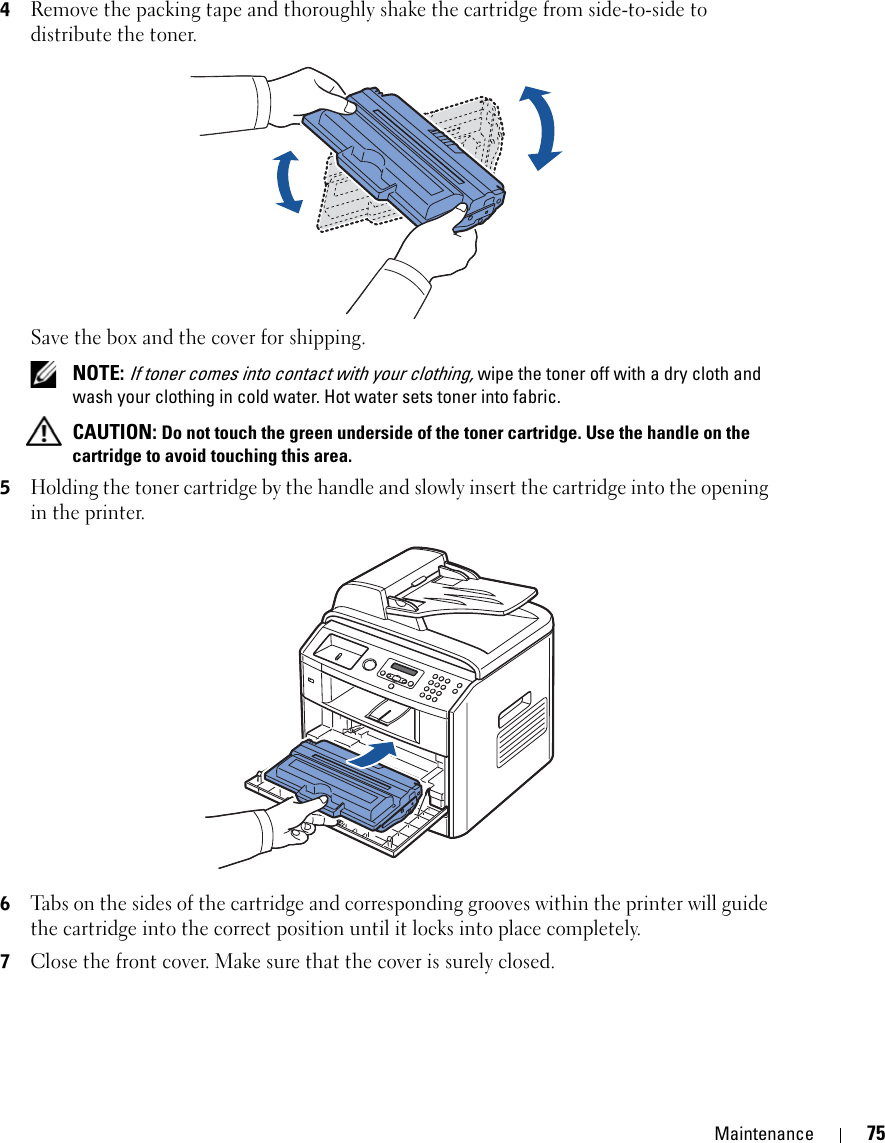
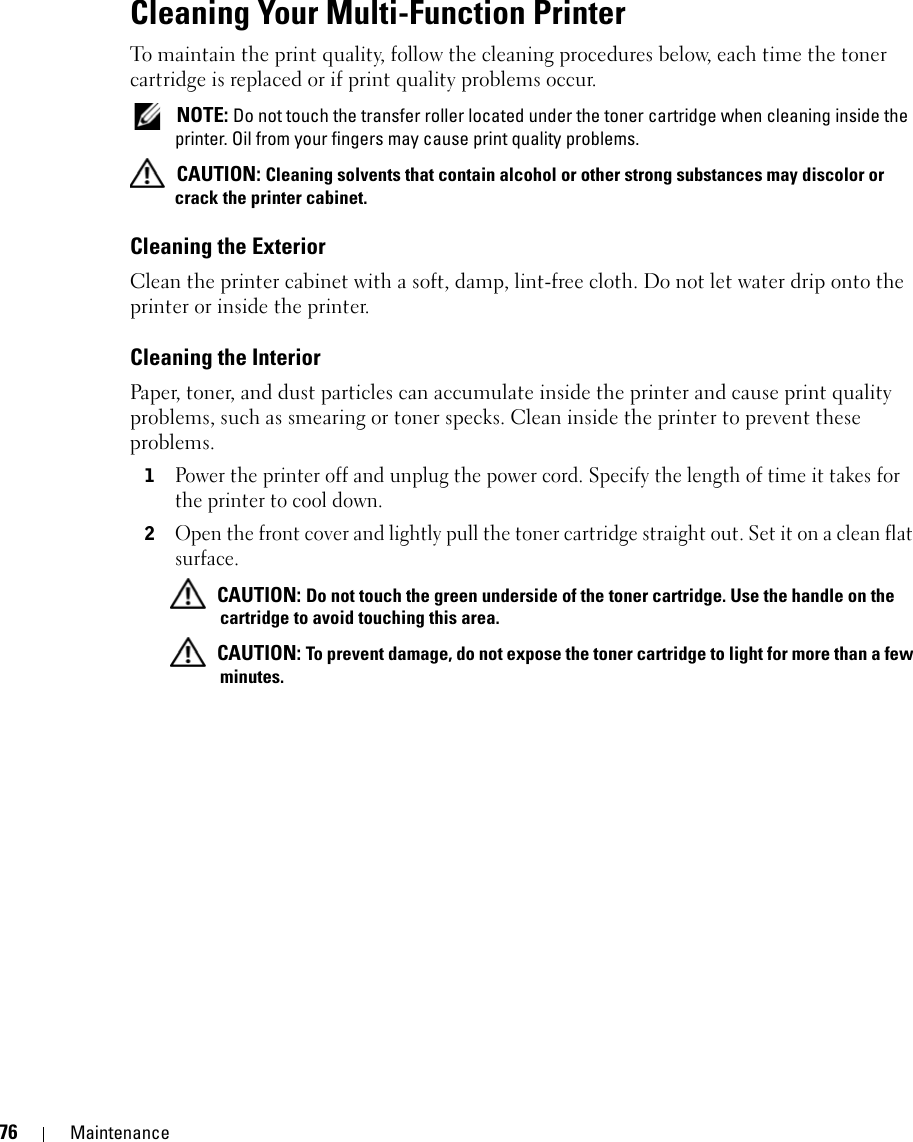
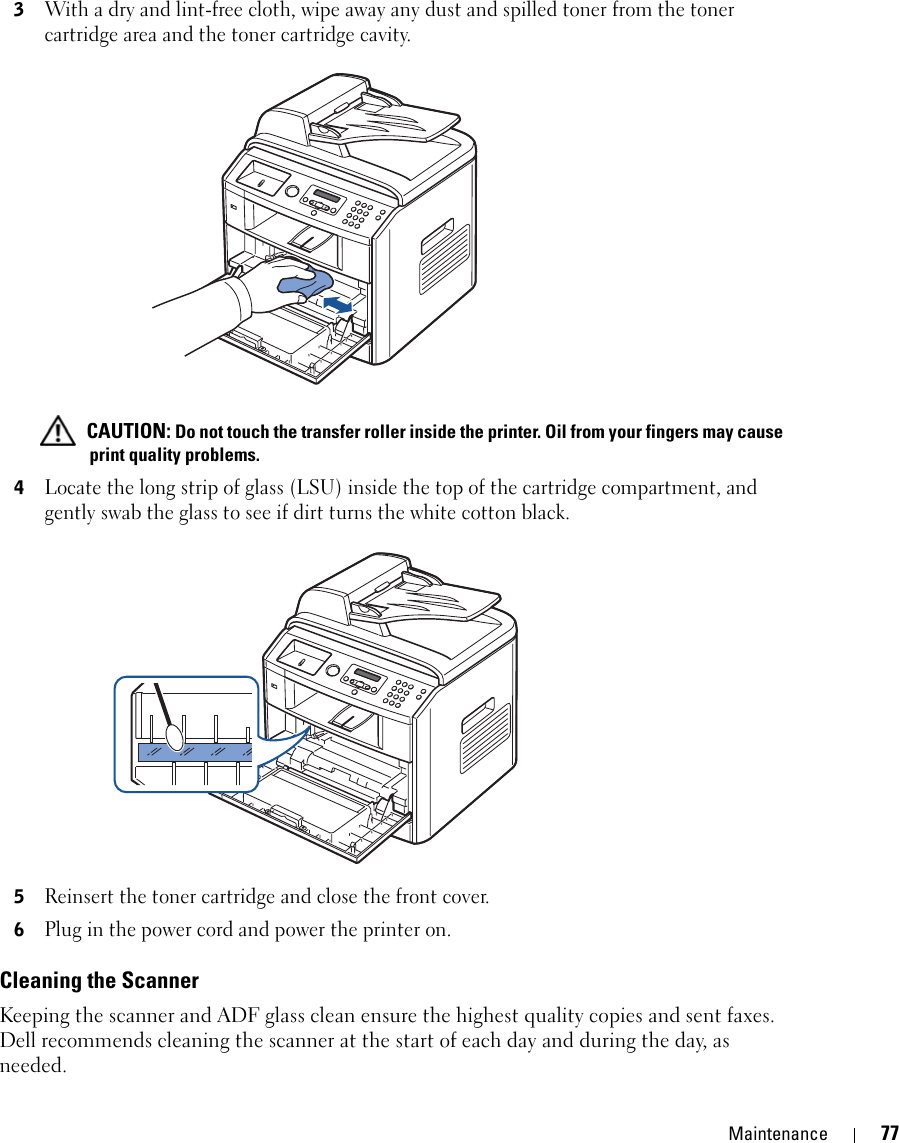
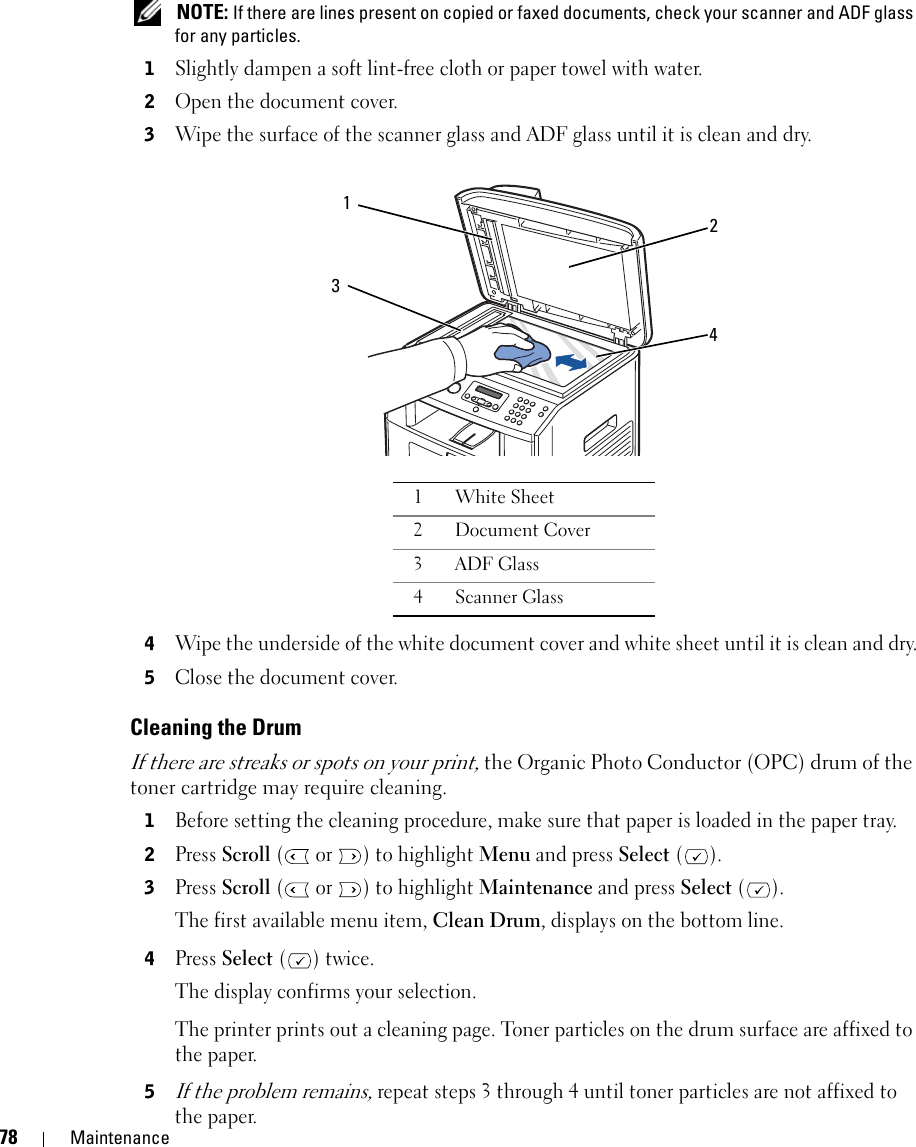


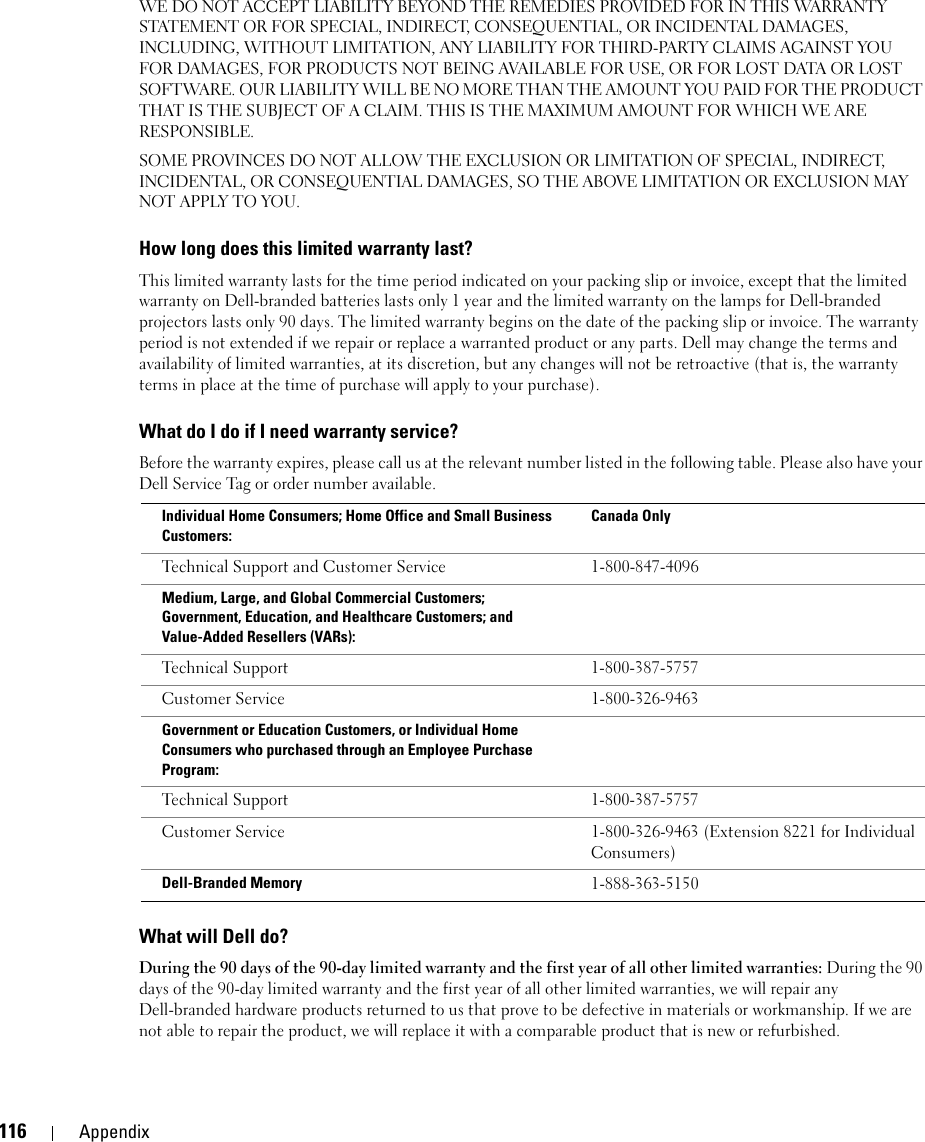
![Contacting Dell 99Country (City)International Access Code Country CodeCity CodeDepartment Name or Service Area,Website and E-Mail AddressArea Codes,Local Numbers, andToll-Free NumbersU.S.A. (Austin, Texas)International Access Code: 011Country Code: 1Automated Order-Status Servicetoll-free: 1-800-433-9014AutoTech (portable and desktop computers)toll-free: 1-800-247-9362Consumer (Home and Home Office) Technical Support toll-free: 1-800-624-9896Customer Service toll-free: 1-800-624-9897DellNet™ Service and Supporttoll-free: 1-877-Dellnet(1-877-335-5638)Employee Purchase Program (EPP) Customerstoll-free: 1-800-695-8133Financial Services website: www.dellfinancialservices.comFinancial Services (lease/loans)toll-free: 1-877-577-3355Financial Services (Dell Preferred Accounts [DPA])toll-free: 1-800-283-2210Business Customer Service and Technical Supporttoll-free: 1-877-459-7298Employee Purchase Program (EPP) Customerstoll-free: 1-800-695-8133Projectors Technical Supporttoll-free: 1-877-459-7298Public (government, education, and healthcare)Customer Service and Technical Supporttoll-free: 1-800-456-3355Employee Purchase Program (EPP) Customerstoll-free: 1-800-234-1490Dell Salestoll-free: 1-800-289-3355 or toll-free: 1-800-879-3355Dell Outlet Store (Dell refurbished computers)toll-free: 1-888-798-7561Software and Peripherals Salestoll-free: 1-800-671-3355Spare Parts Salestoll-free: 1-800-357-3355Extended Service and Warranty Salestoll-free: 1-800-247-4618Faxtoll-free: 1-800-727-8320Dell Services for the Deaf, Hard-of-Hearing, or Speech-Impairedtoll-free: 1-877-DELLTTY(1-877-335-5889)](https://usermanual.wiki/Samsung-Electronics-Co/LASERMFP1815DN/User-Guide-620125-Page-99.png)


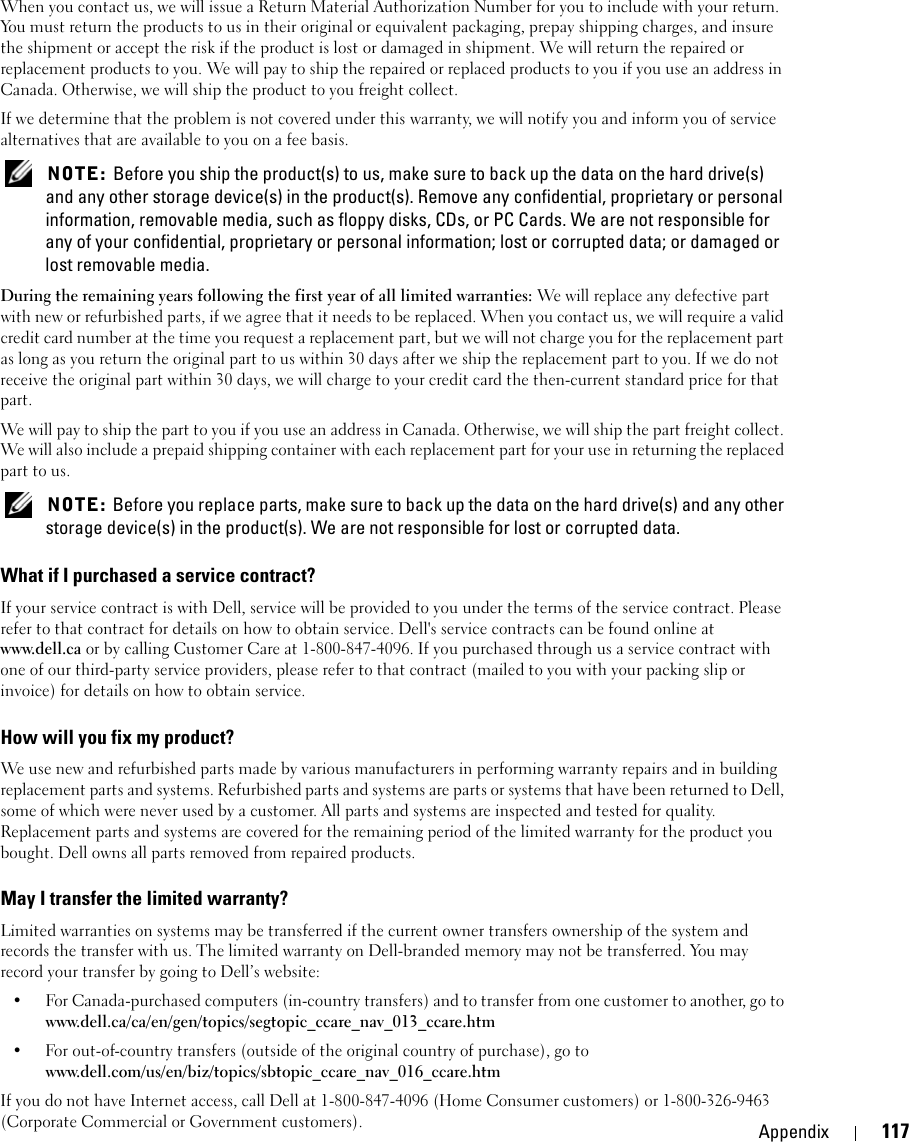
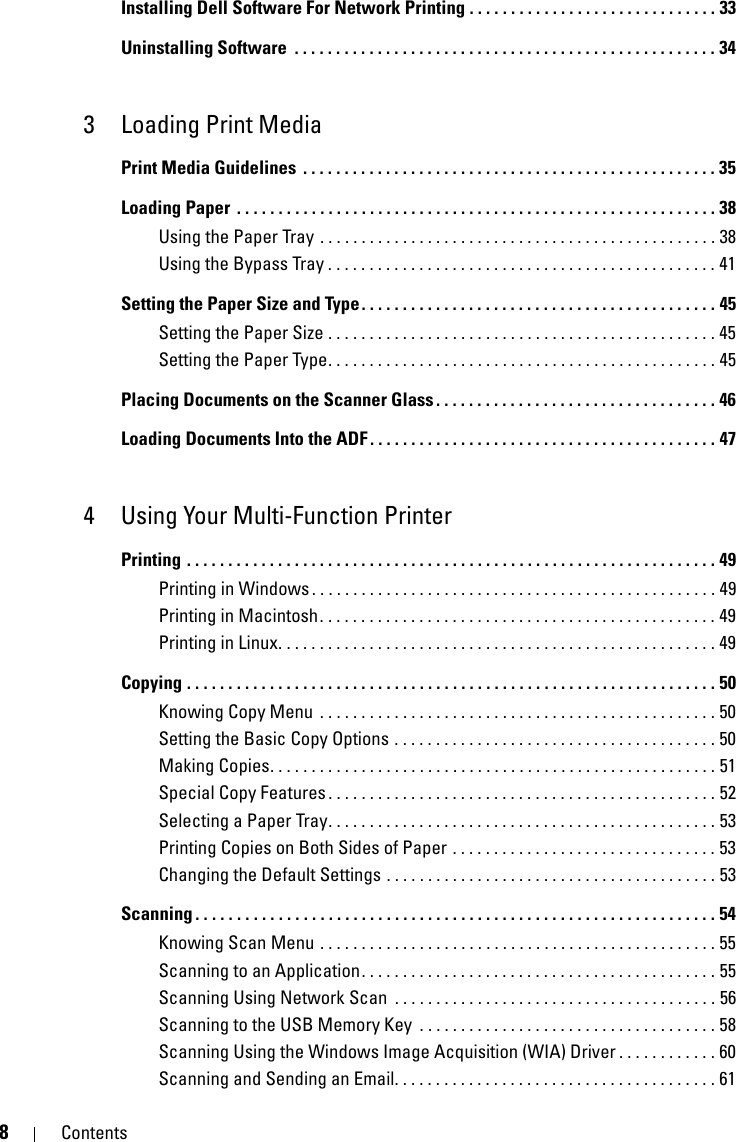
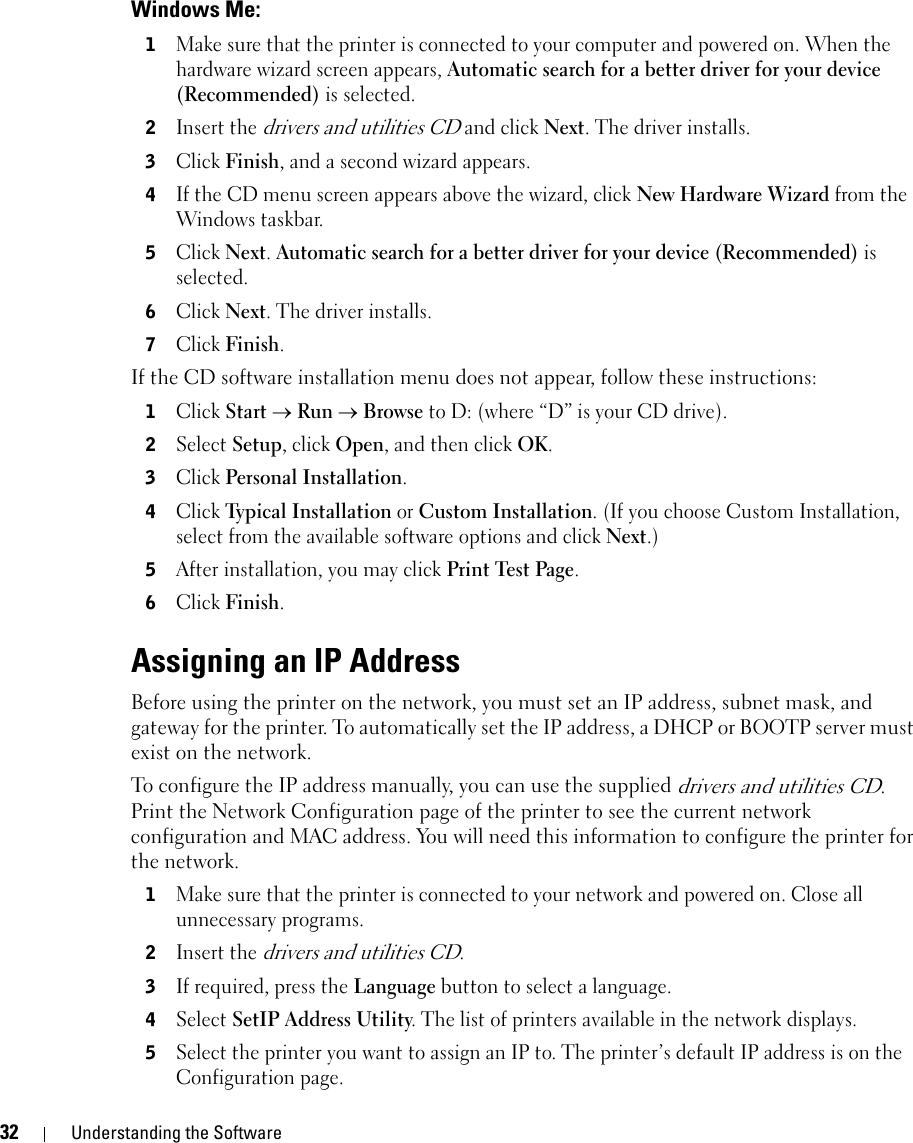
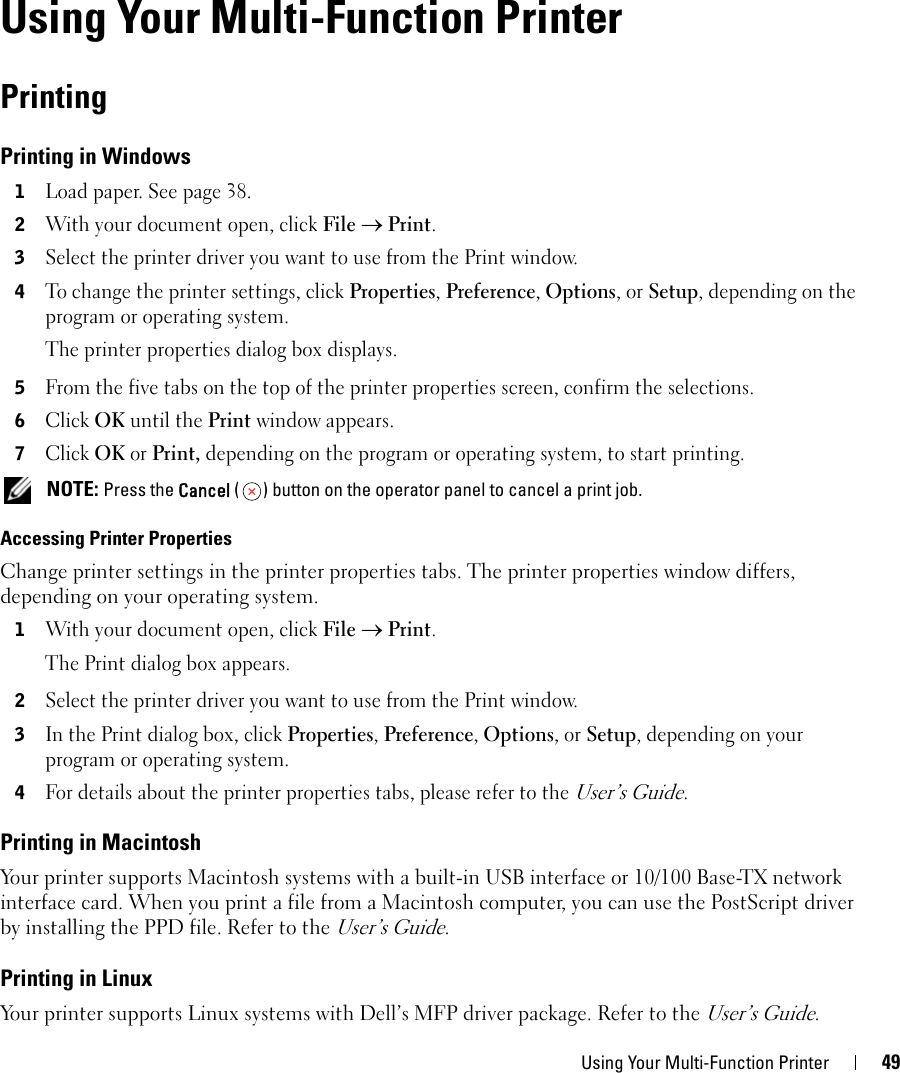
![108 Contacting DellU.K. (Bracknell)International Access Code: 00Country Code: 44City Code: 1344Website: support.euro.dell.comCustomer Care website: support.euro.dell.com/uk/en/ECare/Form/Home.aspE-mail: dell_direct_support@dell.comTechnical Support (Corporate/Preferred Accounts/PAD [1000+ employees])0870 908 0500Technical Support (direct/PAD and general)0870 908 0800Global Accounts Customer Care01344 373 186Home and Small Business Customer Care 0870 906 0010Corporate Customer Care01344 373 185Preferred Accounts (500–5000 employees) Customer Care0870 906 0010Central Government Customer Care01344 373 193Local Government & Education Customer Care01344 373 199Health Customer Care01344 373 194Home and Small Business Sales0870 907 4000Corporate/Public Sector Sales01344 860 456Home and Small Business Fax0870 907 4006U.S. Virgin Islands General Support1-877-673-3355Country (City)International Access Code Country CodeCity CodeDepartment Name or Service Area,Website and E-Mail AddressArea Codes,Local Numbers, andToll-Free Numbers](https://usermanual.wiki/Samsung-Electronics-Co/LASERMFP1815DN/User-Guide-620125-Page-108.png)