Samsung Electronics Co NP-Q1U Notebook PC User Manual Q1u Eng indb
Samsung Electronics Co Ltd Notebook PC Q1u Eng indb
UserManual.wiki
>
Samsung Electronics Co
>
NP-Q1U User Manual
>
User Manual 1
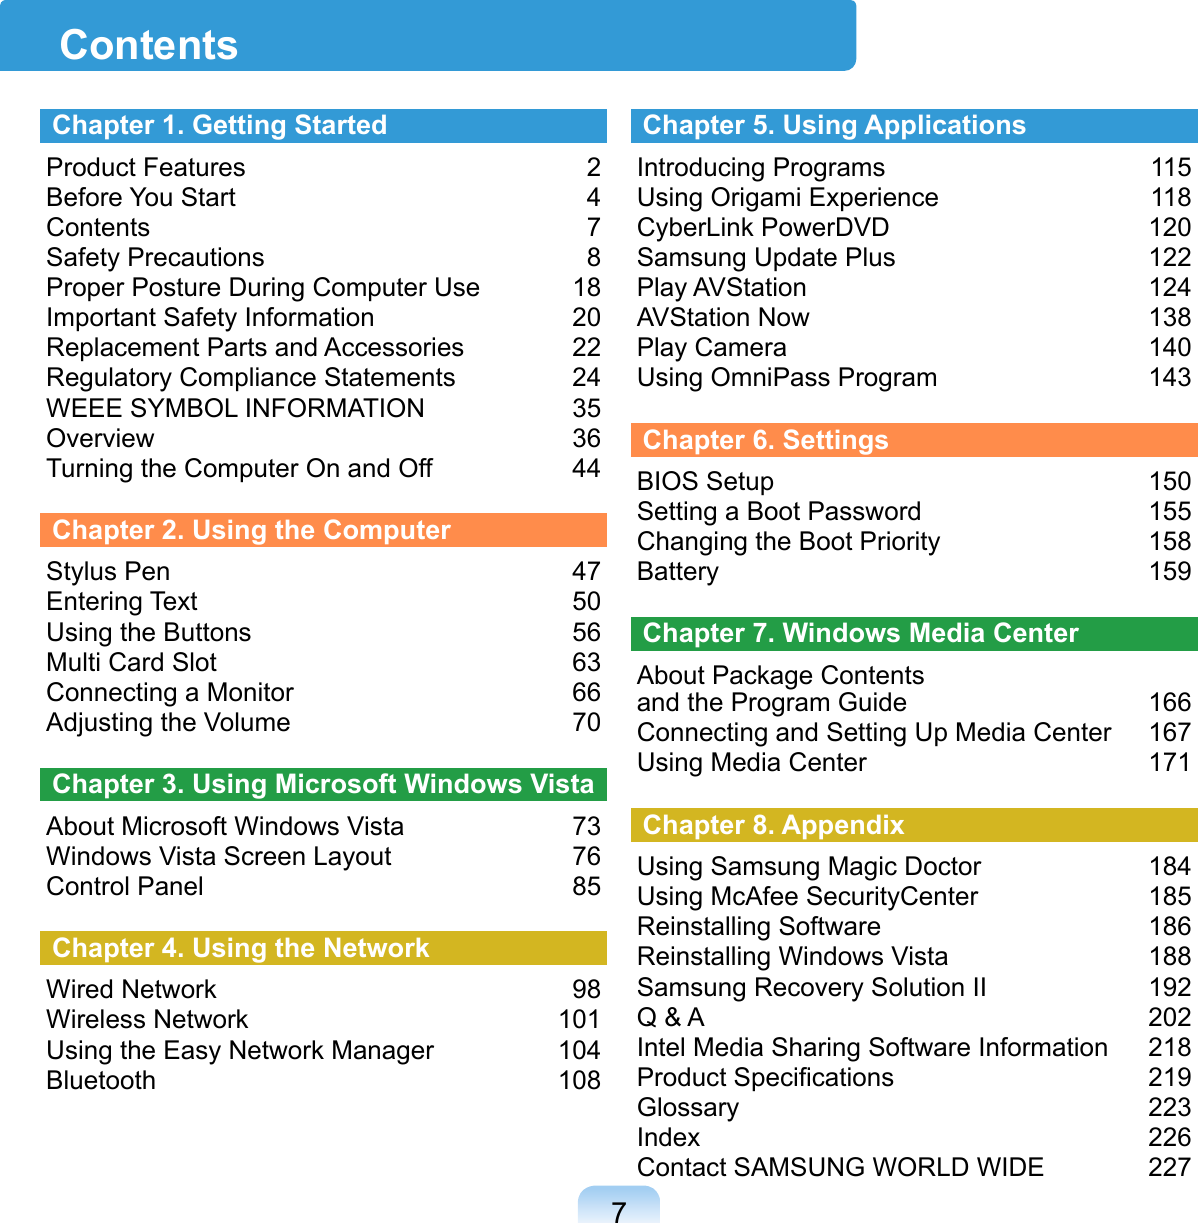
Contents
1.
User Manual 1
2.
User Manual 2
3.
User Manual 3
User Manual 1
Navigation menu
Upload a User Manual
Namespaces
Wiki Guide
HTML
PDF
Info
Views
User Manual
Discussion / Help
Navigation


![32 – ETS 300 328 (if fitted with a 2.4 GHz band embedded wireless device) – ETS 301 489-1 (if fitted with a 2.4 GHz band embedded wireless device) – ETS 301 489-17 (if fitted with a 2.4 GHz band embedded wireless device)European Radio Approval Information (for products fitted with EU-approved radio devices)This Product is a Notebook computer; low power, Radio LAN type devices (radio frequency (RF) wireless communication devices), op-erating in the 2.4 GHz band, may be present (embedded) in your notebook system which is intended for home or office use. This section is only applicable if these devices are present. Refer to the system label to verify the presence of wireless devices.Wireless devices that may be in your system are only qualified for use in the European Union or associated areas if a CE mark with a Notified Body Registration Number and the Alert Symbol is on the system label.The power output of the wireless device or devices that may be embedded in you notebook is well below the RF exposure limits as set by the European Commission through the R&TTE directive.See 802.11b and 802.11g restrictions for specific countries or regions within countries under the heading “Europe-an Economic Area Restrictions” below.Translated Statements of Compliance[English]This product follows the provisions of the Euro-pean Directive 1999/5/EC.[Danish]Dette produkt er i overensstemmelse med det europæiske direktiv 1999/5/EC[Dutch]Dit product is in navolging van de bepalingen van Europees Directief 1999/5/EC.[Finnish]Tämä tuote noudattaa EU-direktiivin 1999/5/EC määräyksiä.[French]Ce produit est conforme aux exigences de la Directive Européenne 1999/5/EC.[German]Dieses Produkt entspricht den Bestimmungen der Europäischen Richtlinie 1999/5/EC[Greek]Το προϊόν αυτό πληροί τις προβλέψεις της Ευρωπαϊκής Οδηγίας 1999/5/ΕC.[Icelandic]Þessi vara stenst reglugerð Evrópska Efnahags Bandalagsins númer 1999/5/EC[Italian]Questo prodotto è conforme alla Direttiva Euro-pea 1999/5/EC.](https://usermanual.wiki/Samsung-Electronics-Co/NP-Q1U.User-Manual-1/User-Guide-776910-Page-32.png)
![33[Norwegian]Dette produktet er i henhold til bestemmelsene i det europeiske direktivet 1999/5/EC.[Portuguese]Este produto cumpre com as normas da Diretiva Européia 1999/5/EC.[Spanish]Este producto cumple con las normas del Direc-tivo Europeo 1999/5/EC.[Swedish]Denna produkt har tillverkats i enlighet med EG-direktiv 1999/5/EC.Translated Statements of ComplianceLocal Restriction of 802.11b/802.11g Radio Usage[Note to integrator: The following statements on local restrictions must be published in all end-user documentation provided with the system or product incorporating the Intel PRO/Wireless 2200BG Network Connection product.]Due to the fact that the frequencies used by 802.11b/802.11g wireless LAN devices may not yet be harmo-nized in all countries, 802.11b/802.11g products are designed for use only in specific countries or regions, and are not allowed to be operated in countries or regions other than those of desig-nated use.As a user of these products, you are responsible for ensuring that the prod-ucts are used only in the countries or regions for which they were intended and for verifying that they are con-figured with the correct selection of frequency and channel for the country or region of use. Any deviation from permissible settings and restrictions in the country or region of use could be an infringement of local law and may be punished as such.The European variant is intended for use throughout the European Economic Area. How-ever, authorization for use is further restricted in particular countries or regions within countries, as follows: GeneralEuropean standards dictate maximum radiated transmit power of 100 mW effective isotropic radiated power (EIRP) and the frequency range 2400 – 2483.5 MHz.BelgiumThe product may be used outdoors, but for out-door transmissions over a distance of 300m or more, a license from the BIPT is required.](https://usermanual.wiki/Samsung-Electronics-Co/NP-Q1U.User-Manual-1/User-Guide-776910-Page-33.png)