Samsung Electronics Co P6100 Laser Beam Printer User Manual Phaser 6100 Color Laser Printer User Guide
Samsung Electronics Co Ltd Laser Beam Printer Phaser 6100 Color Laser Printer User Guide
Contents
- 1. Users Manual 1
- 2. Users Manual 2
Users Manual 1
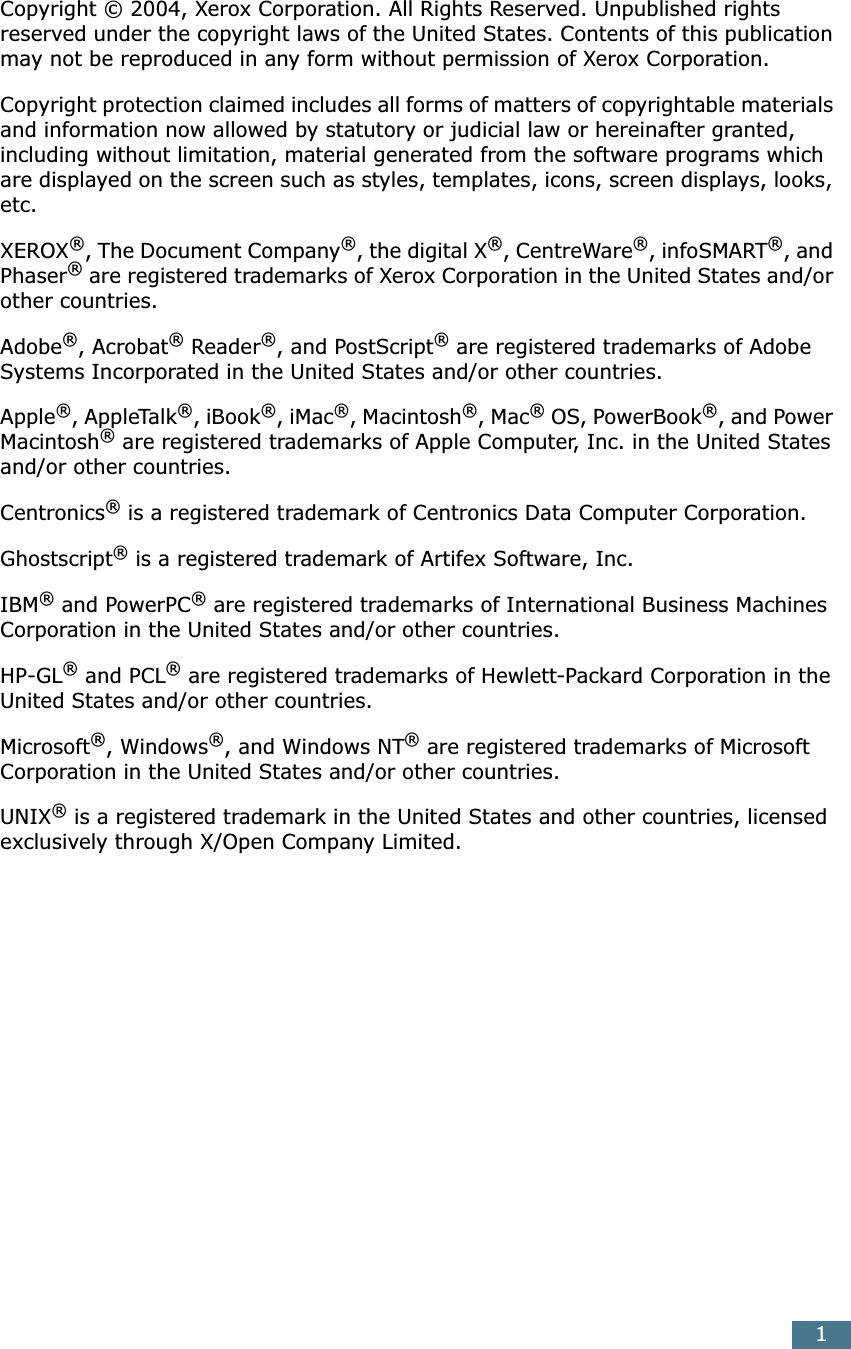
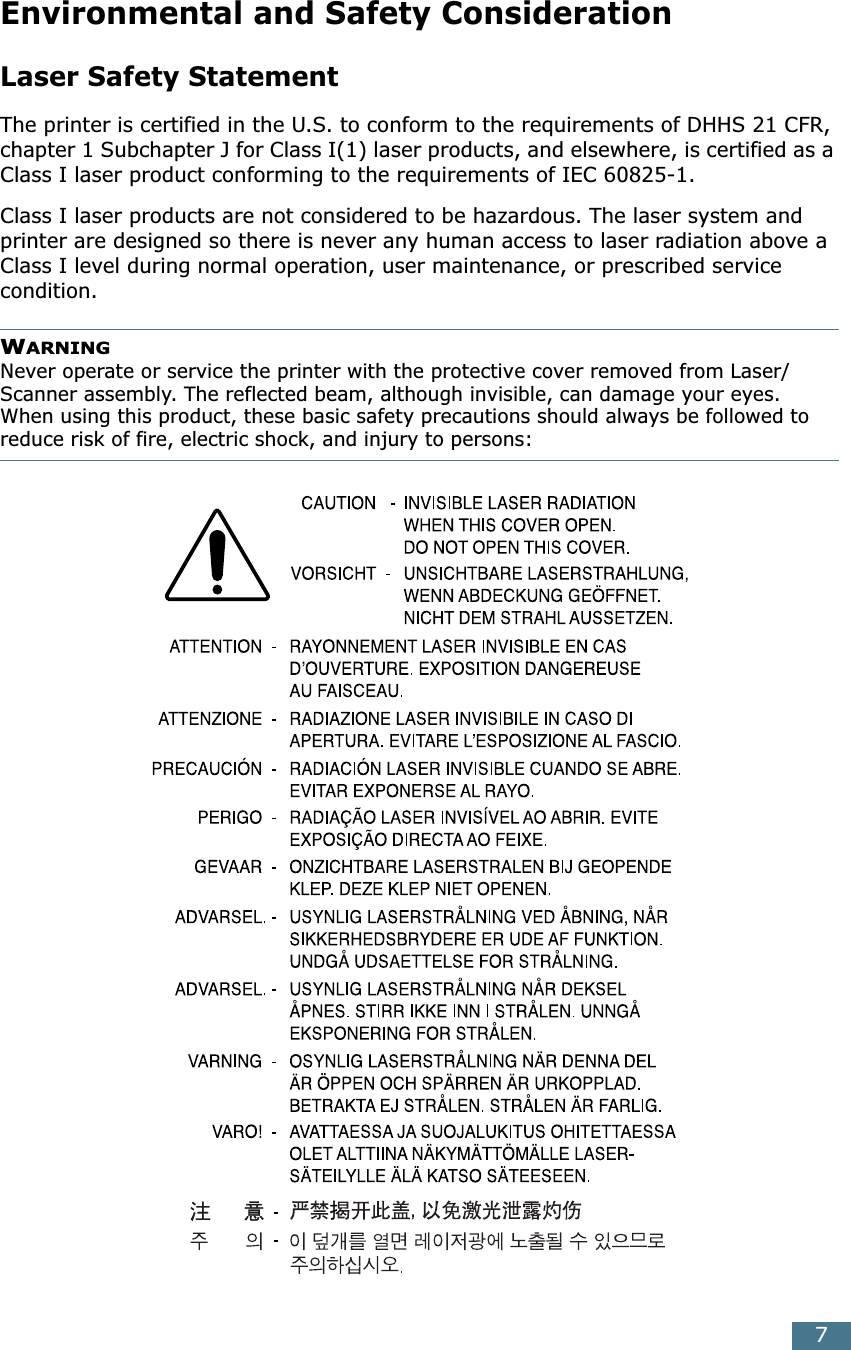


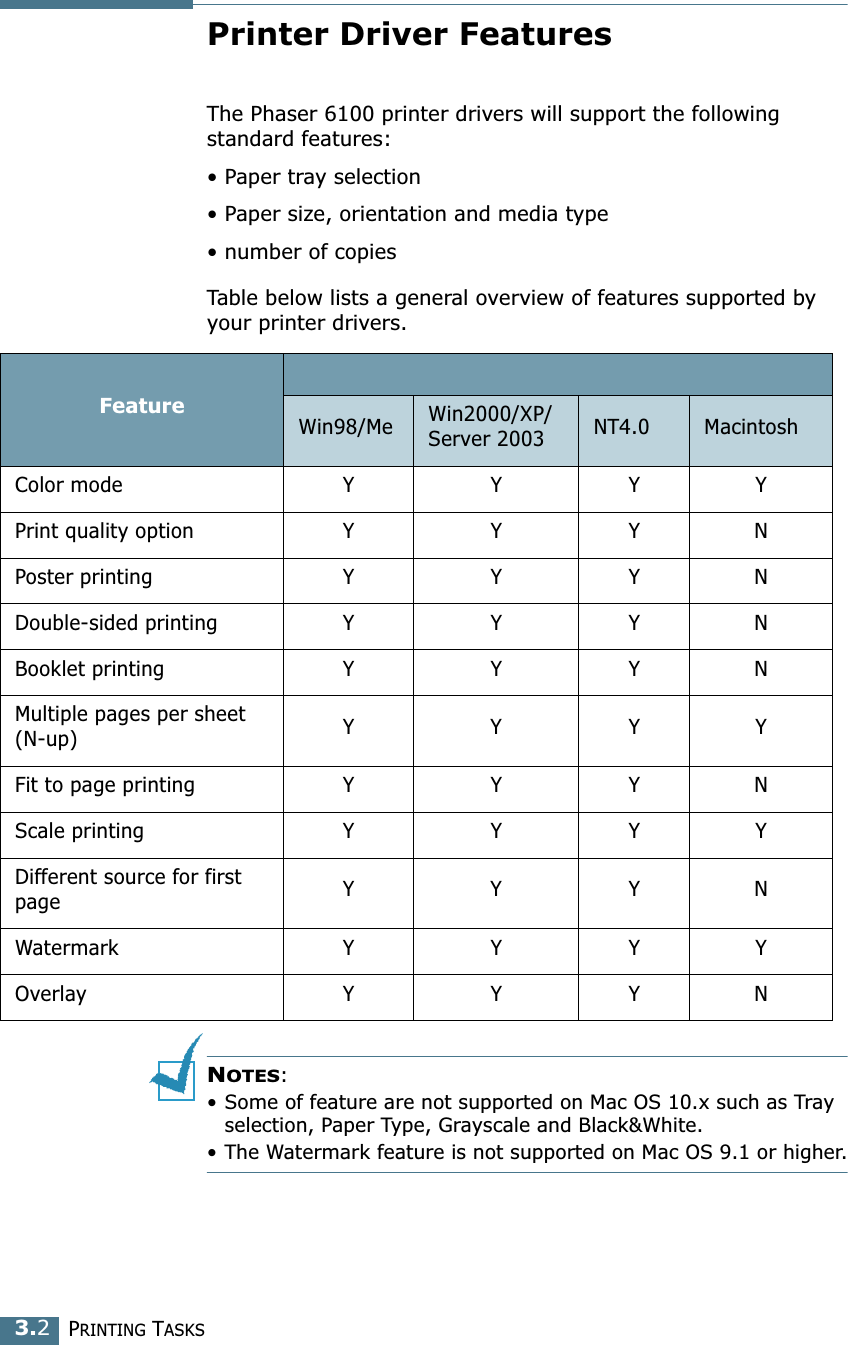
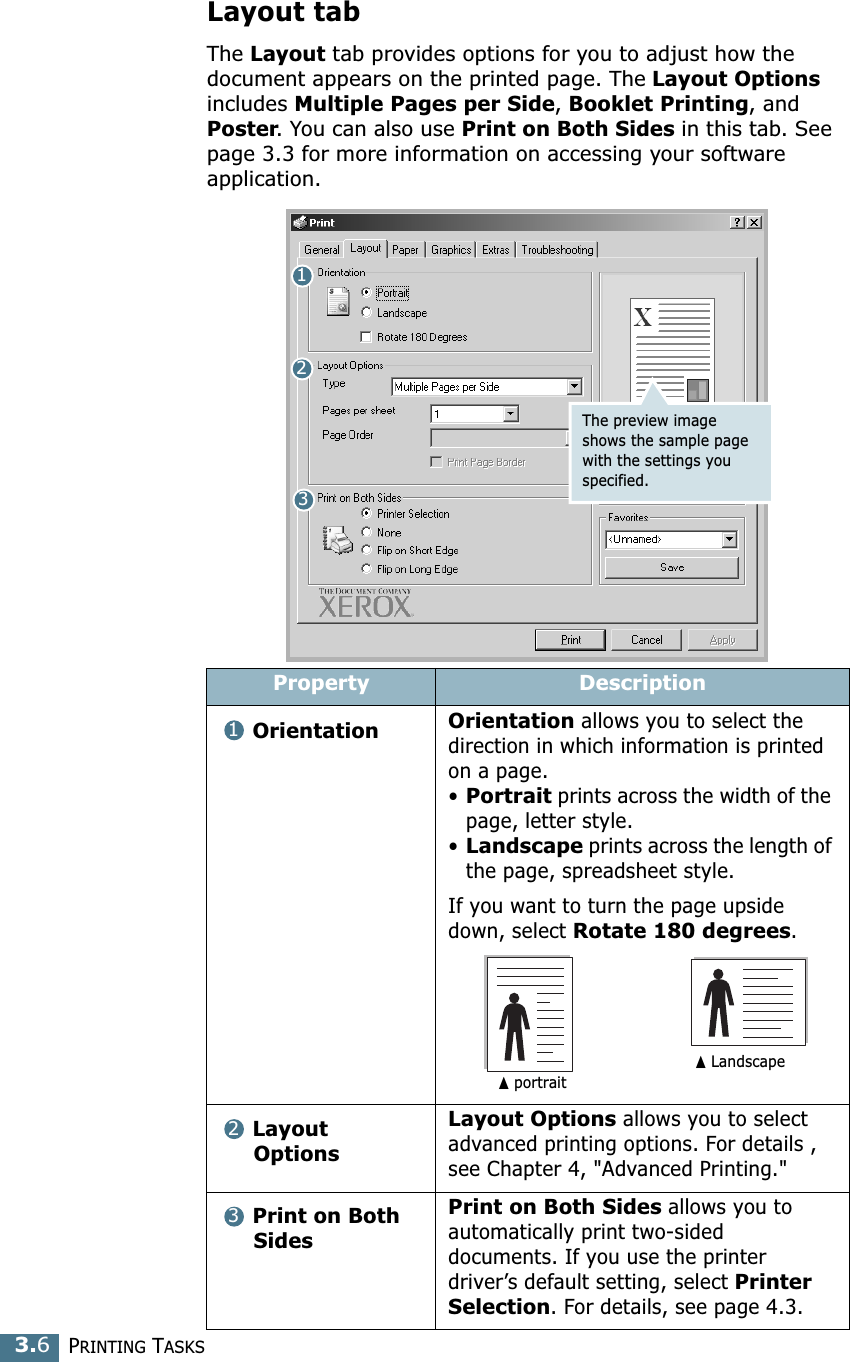
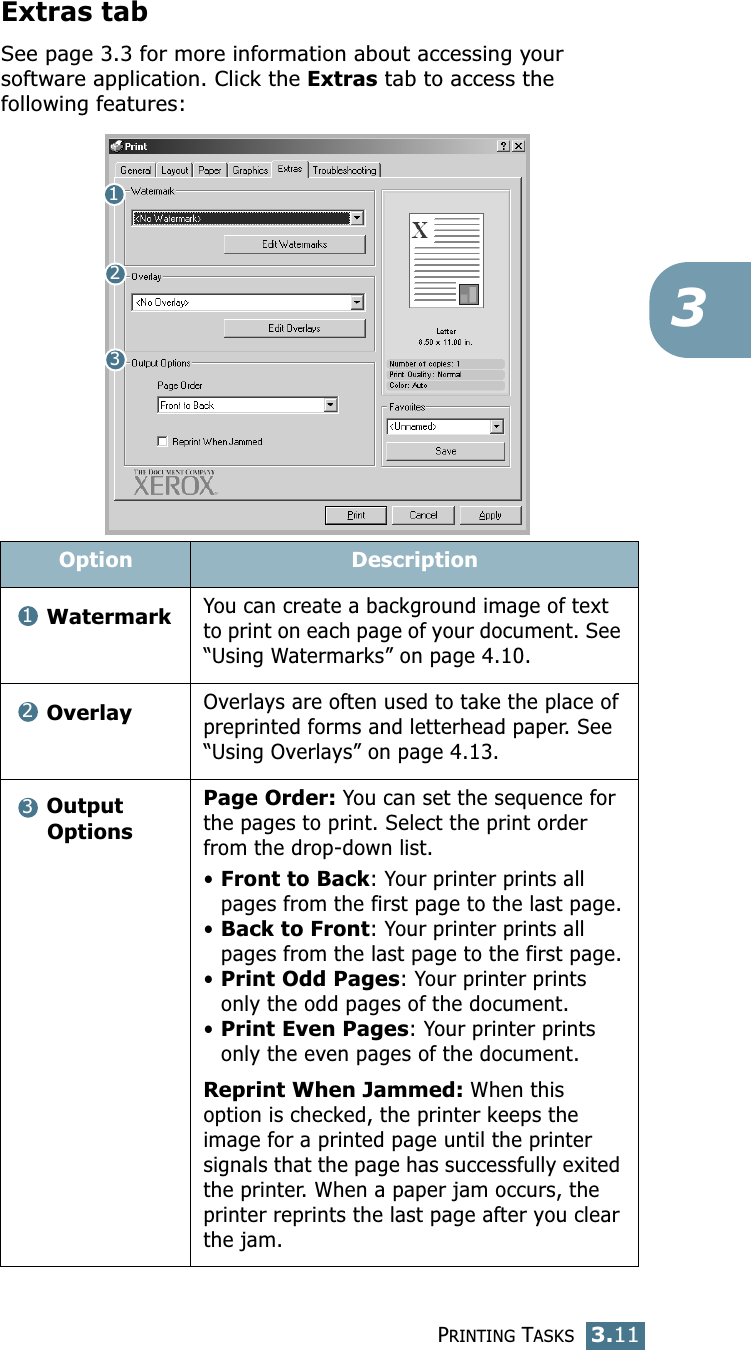
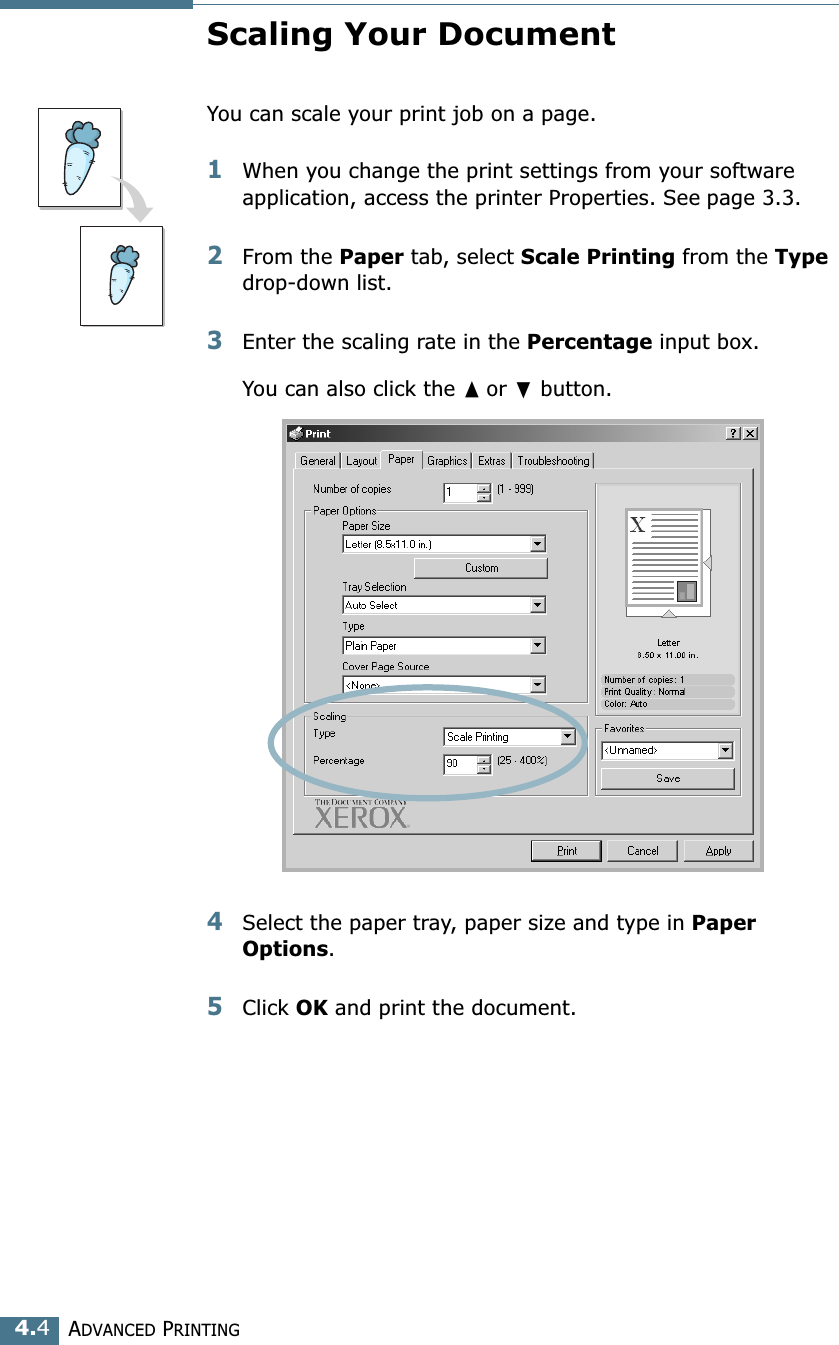
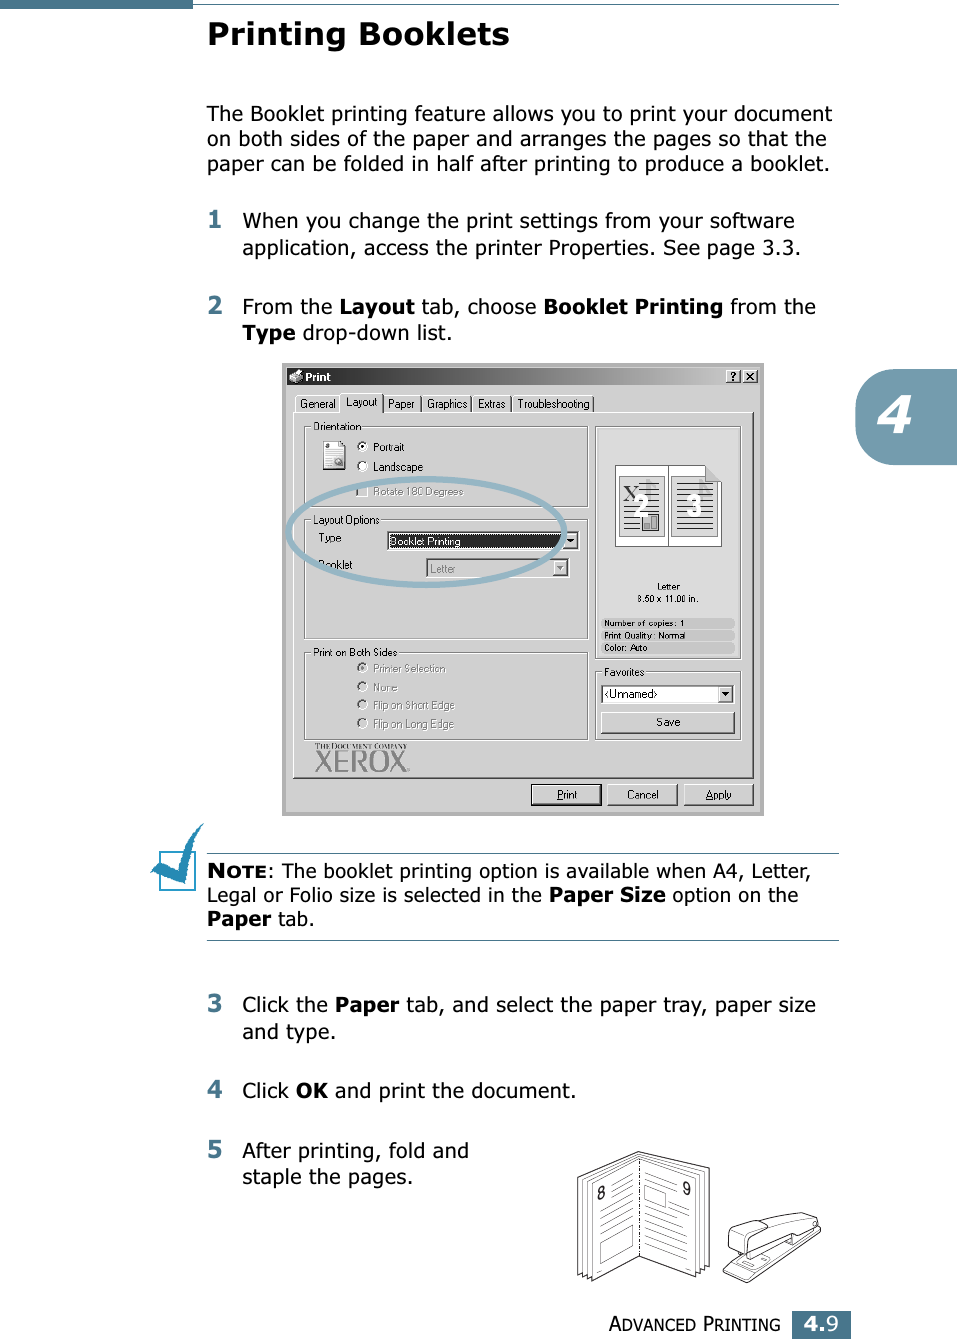
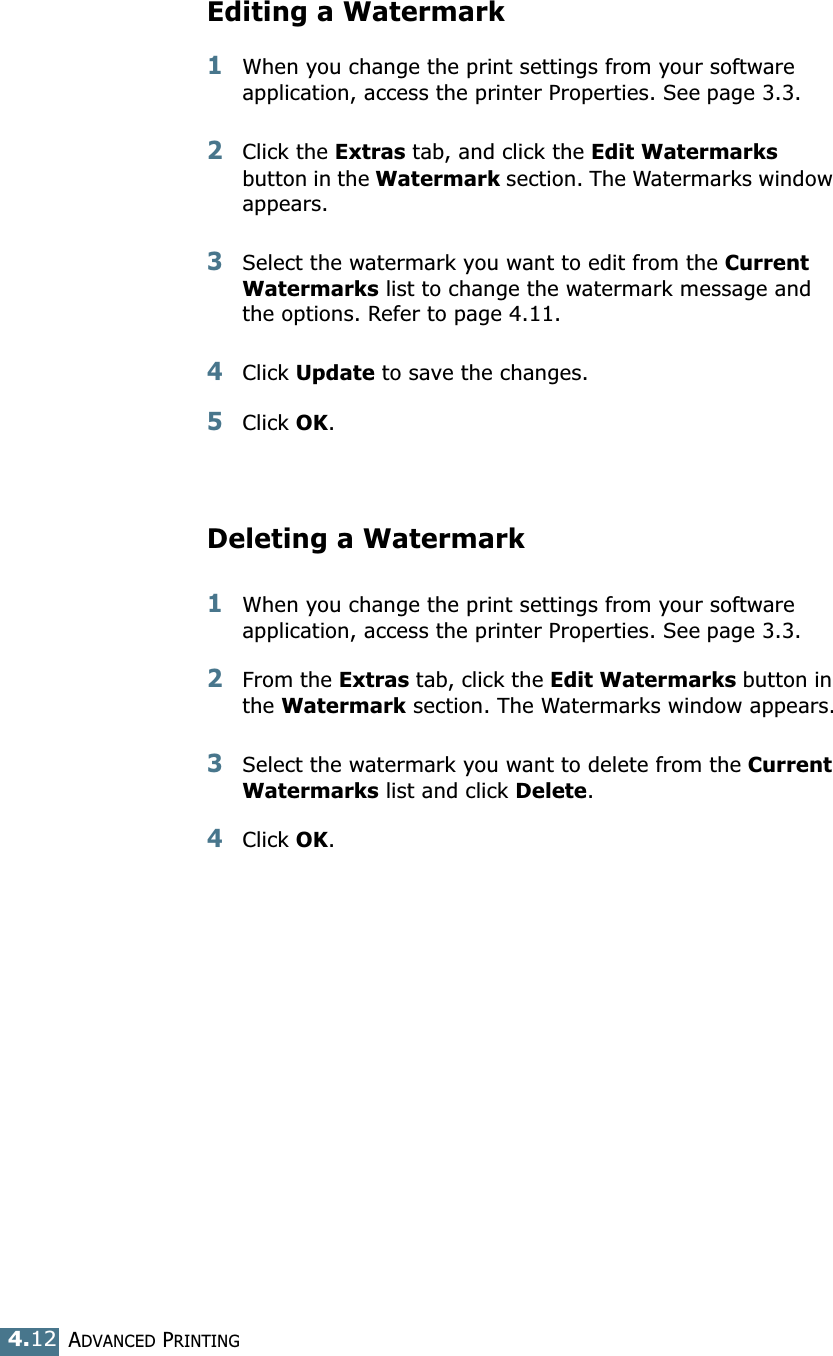

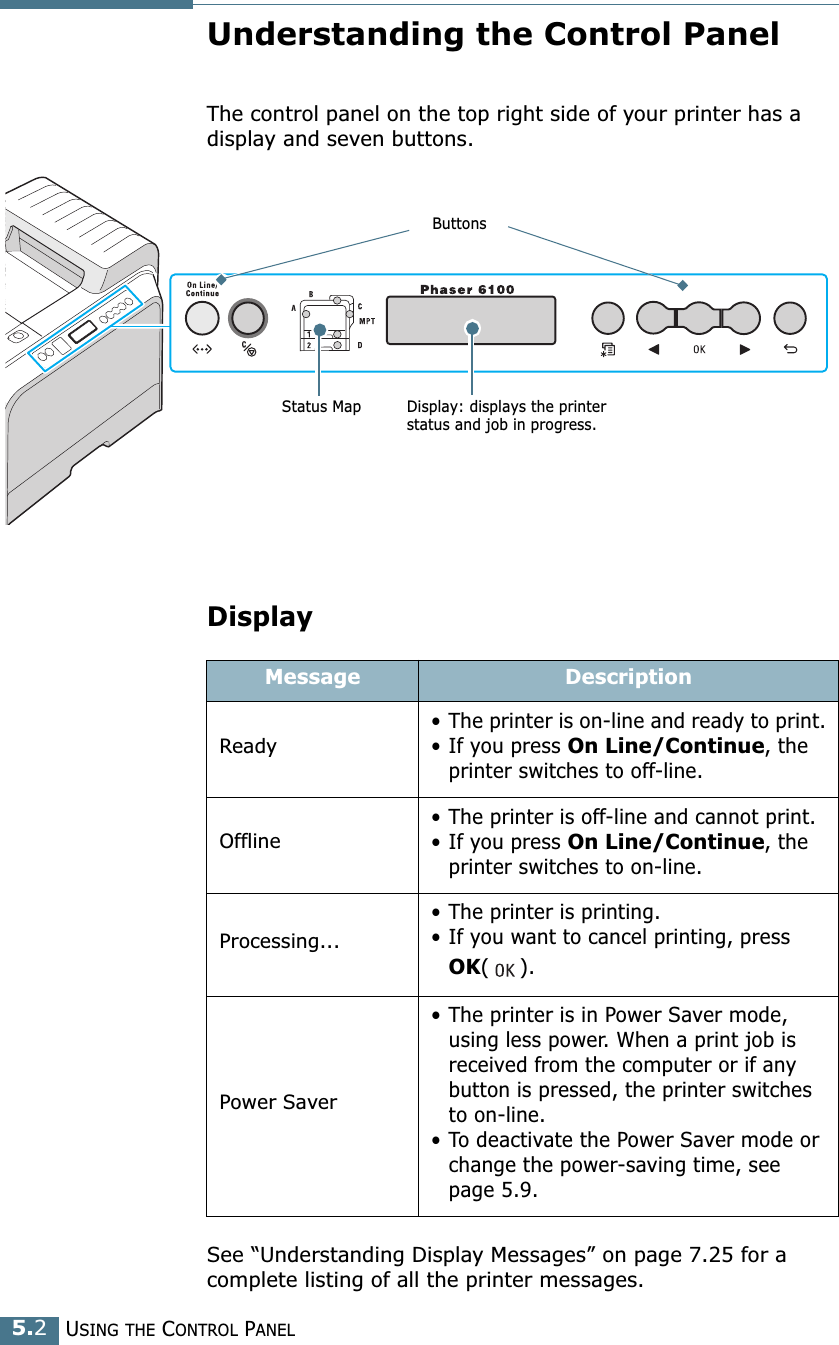
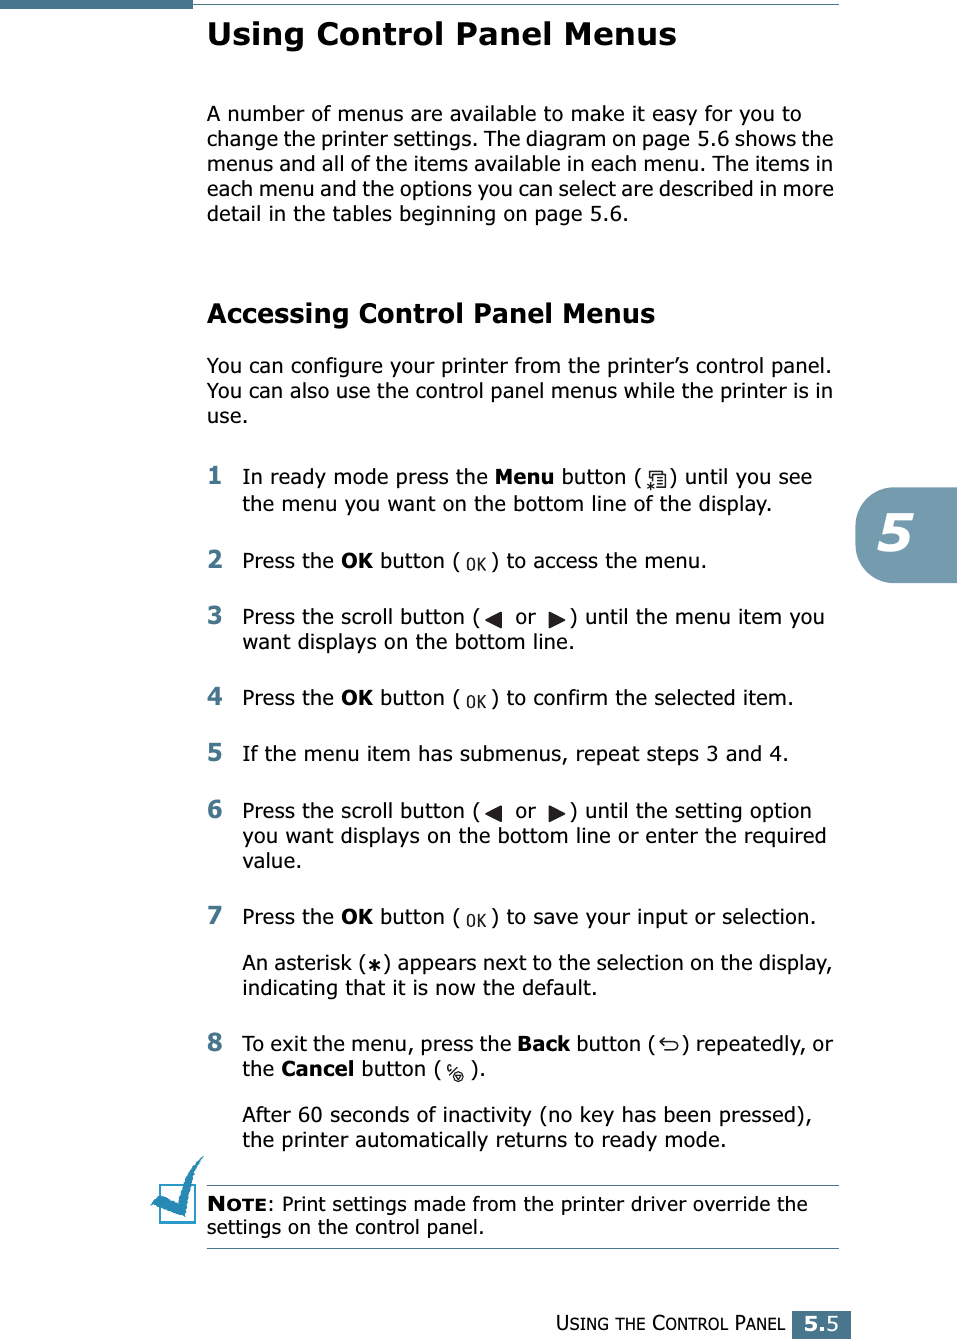
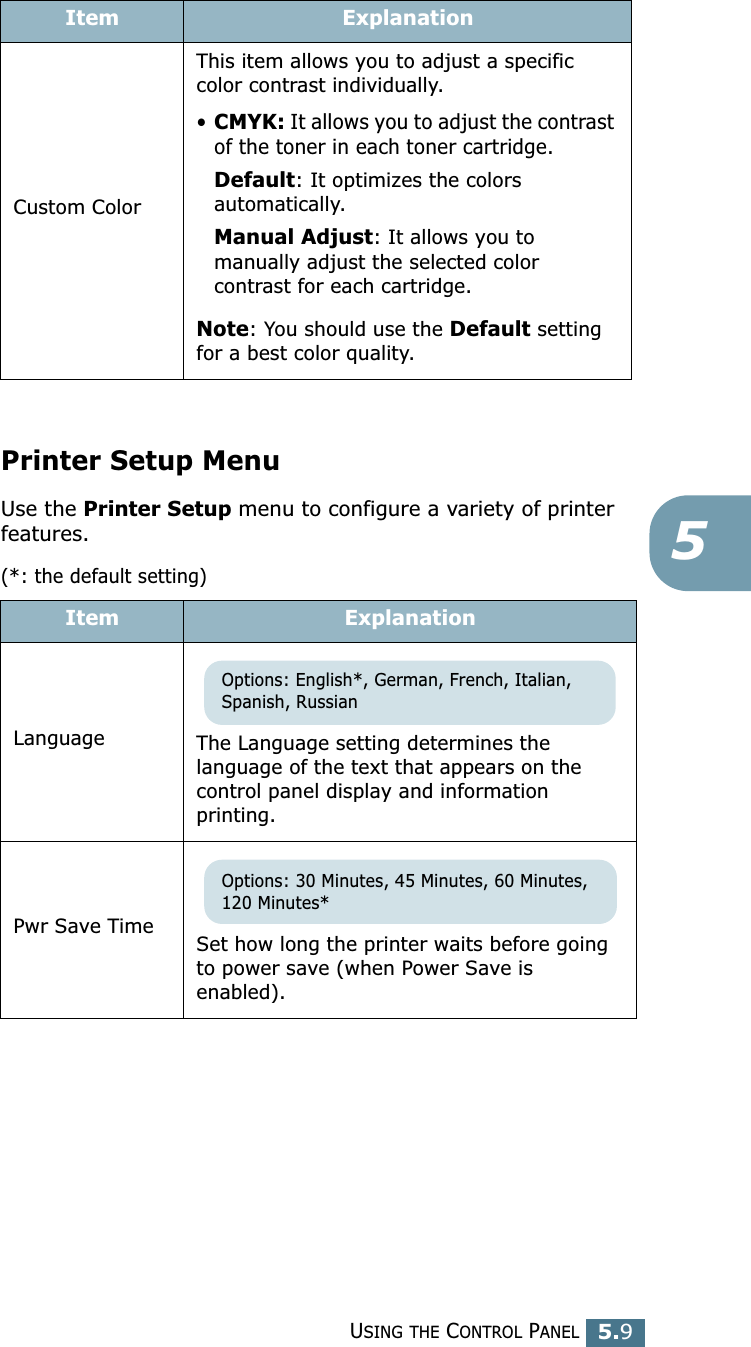
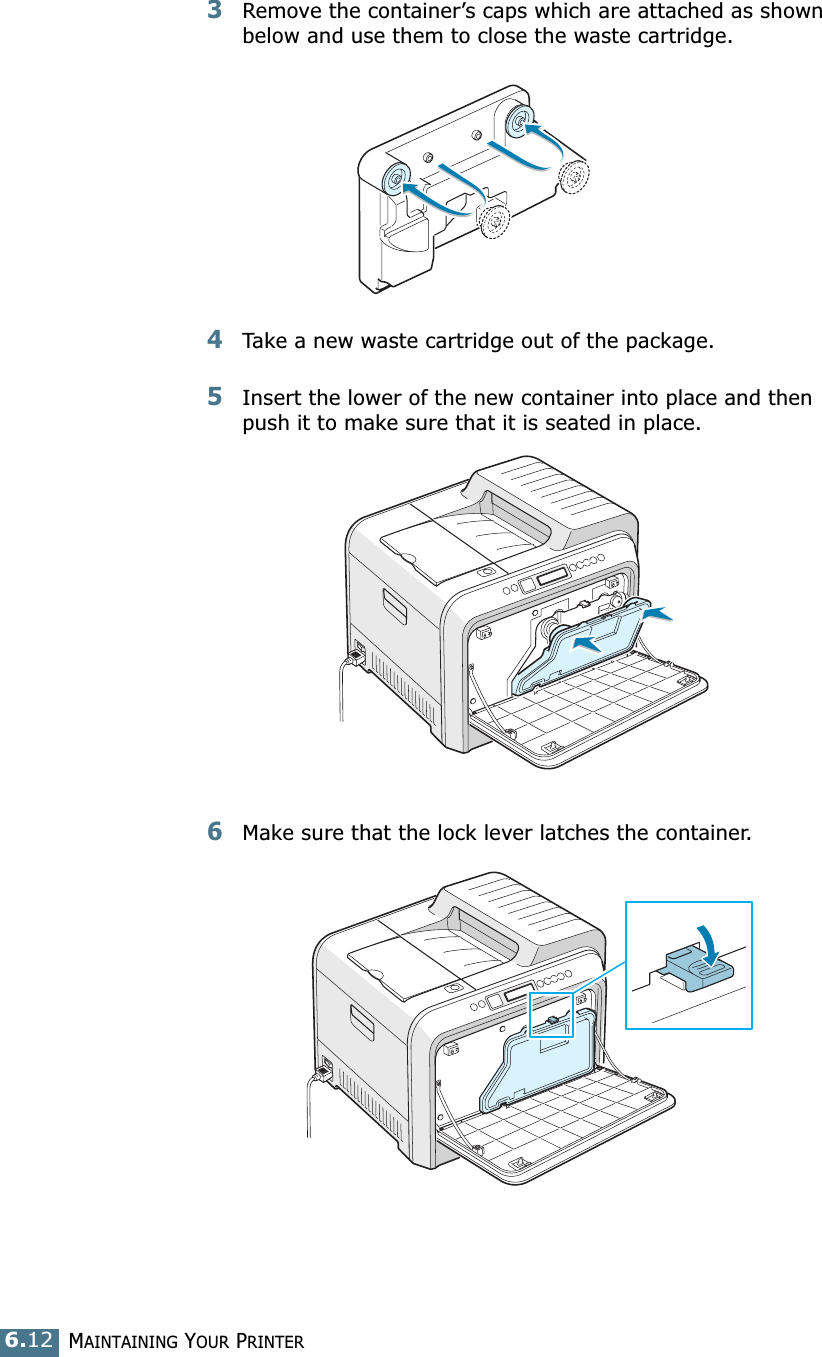
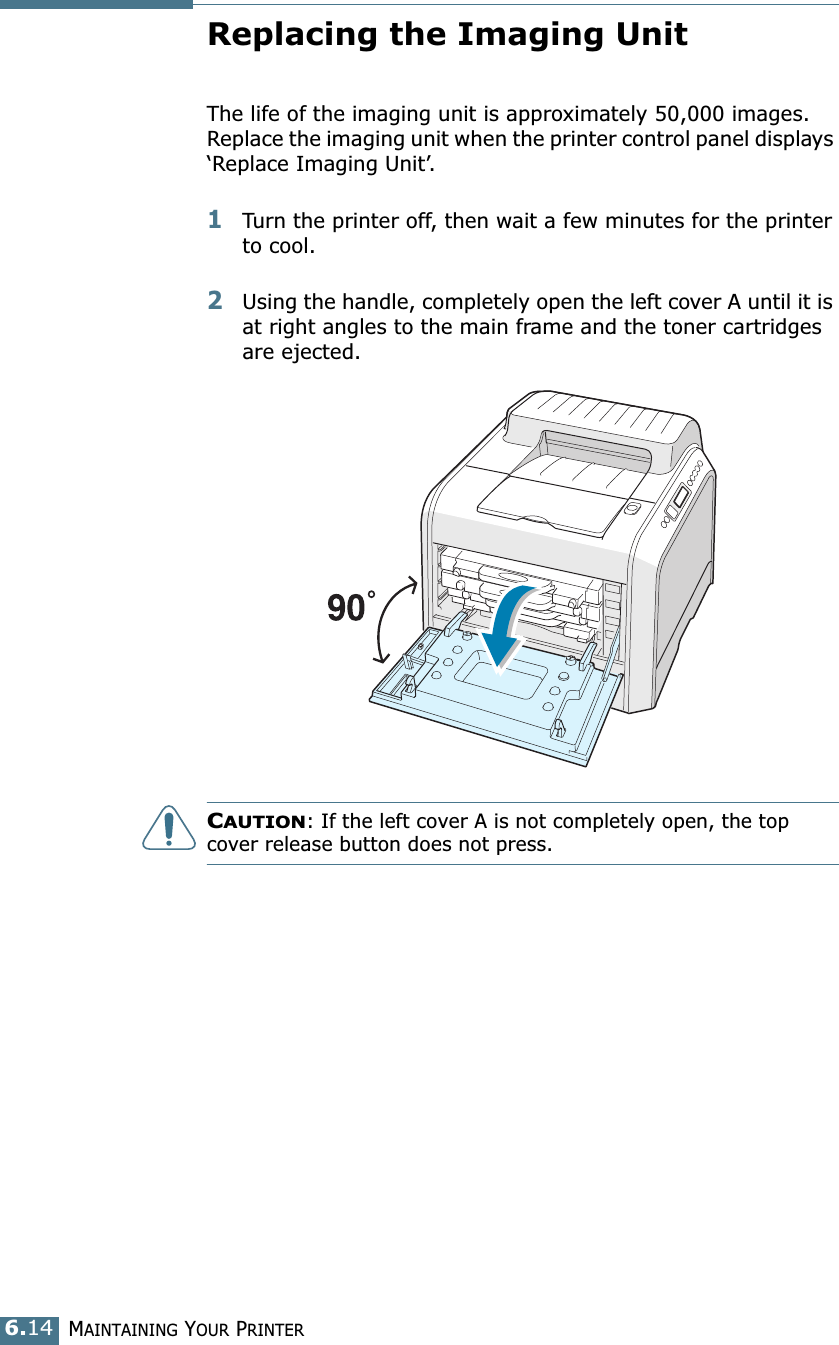
![MAINTAINING YOUR PRINTER6.36Replacing the SuppliesFrom time to time, you need to replace the following items to maintain top performance and to avoid print quality problems. Refer to the table below:Item(s) Printer message Pages Printed See pageBlack toner cartridgeReplace Black Toner3,000 pages* (standard capacity)*Average A4-/letter-sized pages counts based on 5% coverage of individual colors on each page. Usage conditions and print patterns may cause results to vary.6.8.7,000 pages (high capacity) 6.8.Color toner cartridgesReplace [Color] Toner2,000 pages*(standard capacity)6.8. 5,000 pages (high capacity) 6.8.Waste cartridgeWaste Box Full/Not Install3,000 to 5,000 pages**6.11.Imaging Unit Replace Imaging Unit50,000 images**6.14.Transfer Belt Replace Transfer Belt50,000 images****Image counts are based on one color on each page. If you print documents in full colors (Cyan, Magenta, Yellow, Black) then 1 page is equivalent to 4 images and these three items are reduced to 25% of the indicated value.6.22.Fuser Replace Fuser100,000 monochrome pages50,000 color pagesTransfer Roller ReplaceTransfer Roller50,000 pages](https://usermanual.wiki/Samsung-Electronics-Co/P6100.Users-Manual-1/User-Guide-392918-Page-88.png)
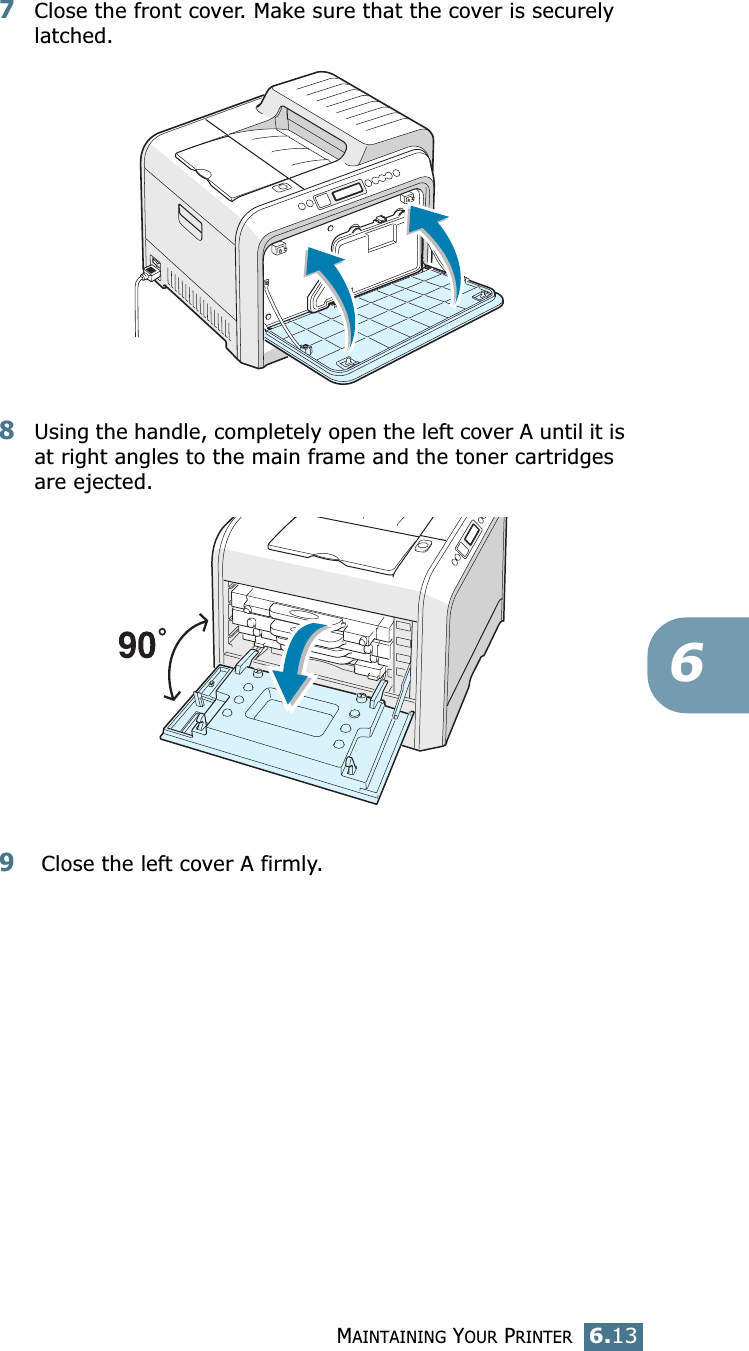
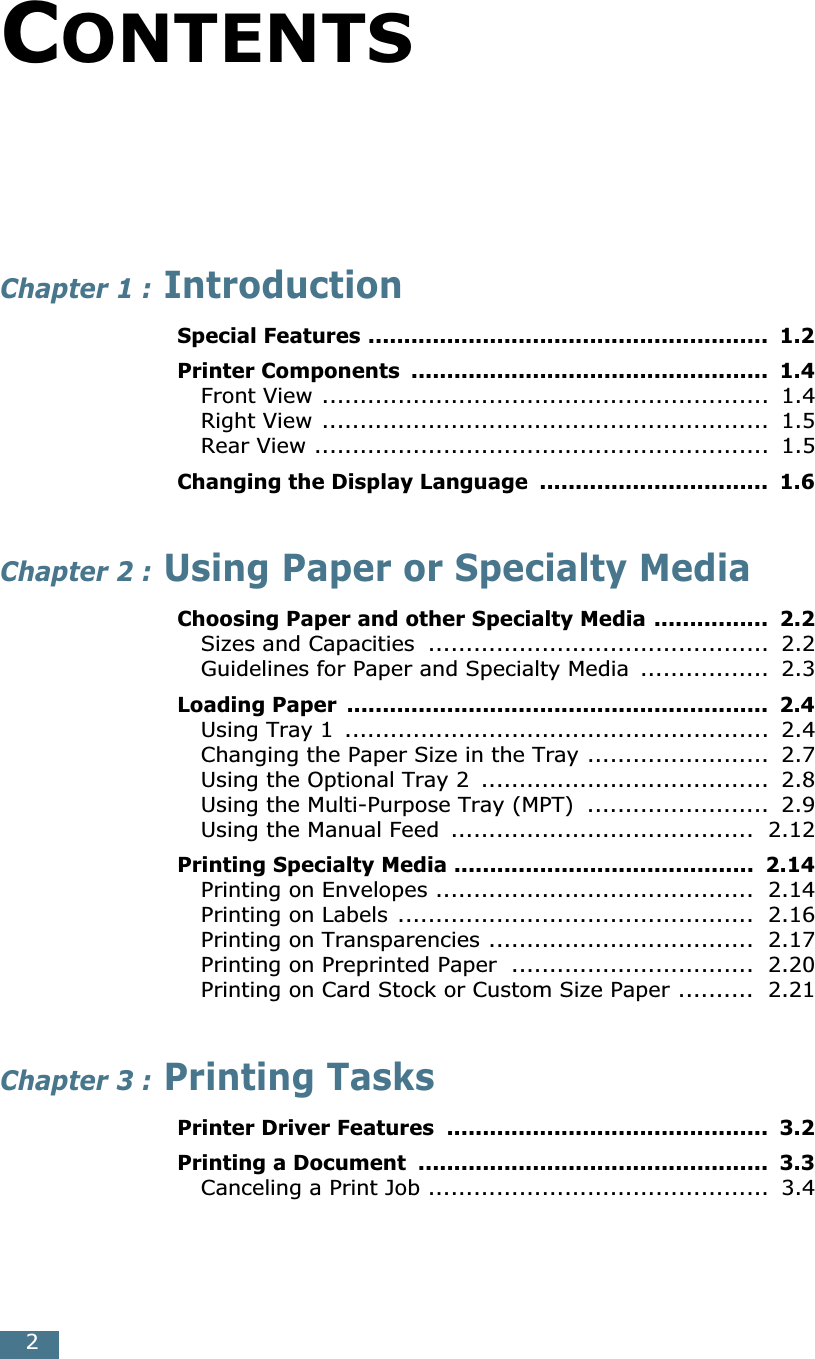
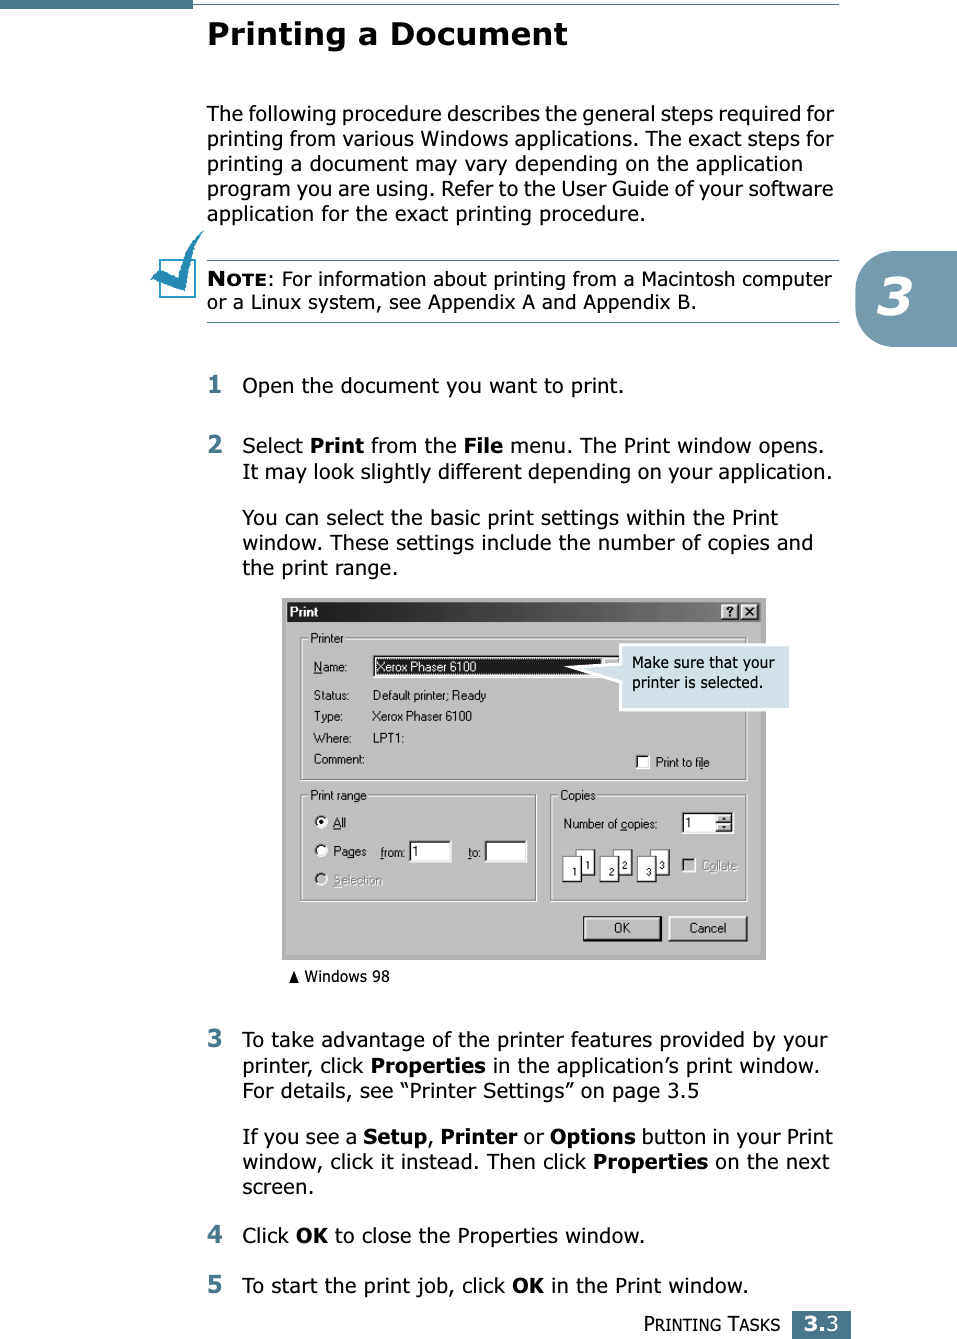
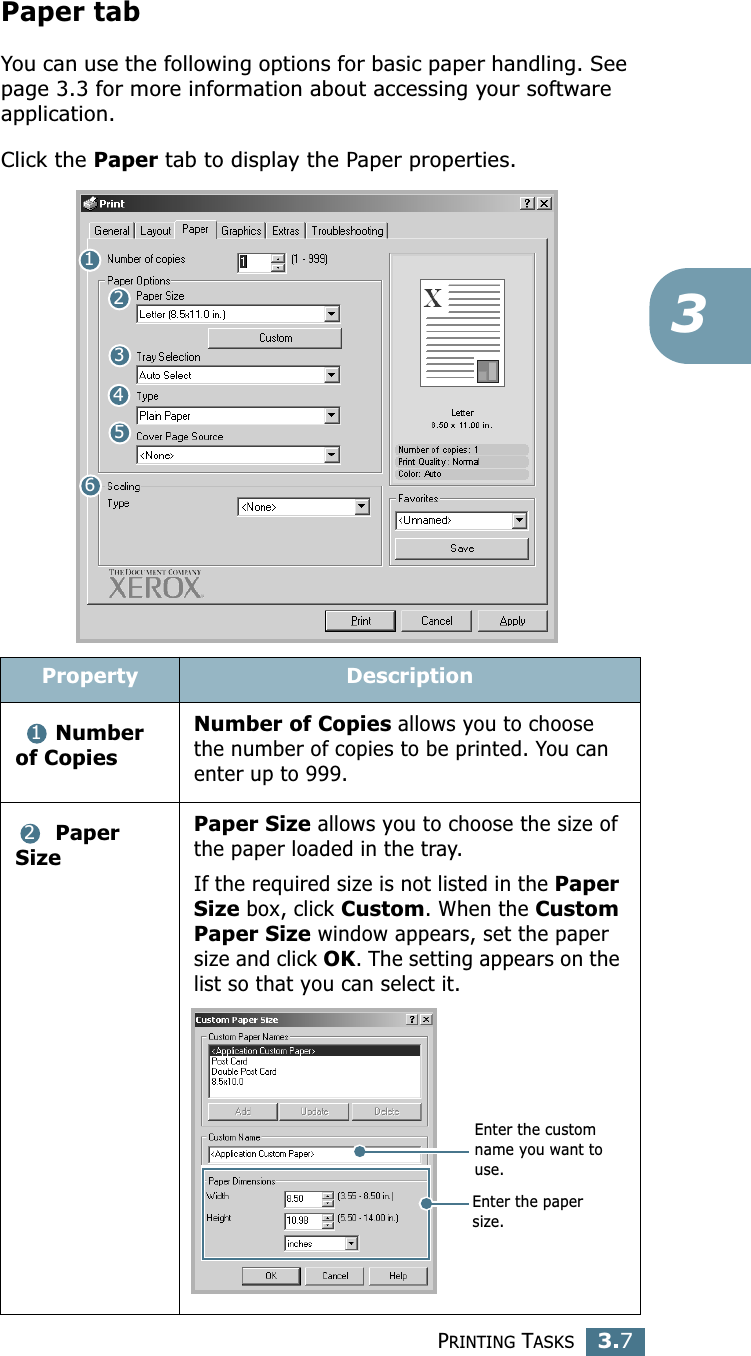
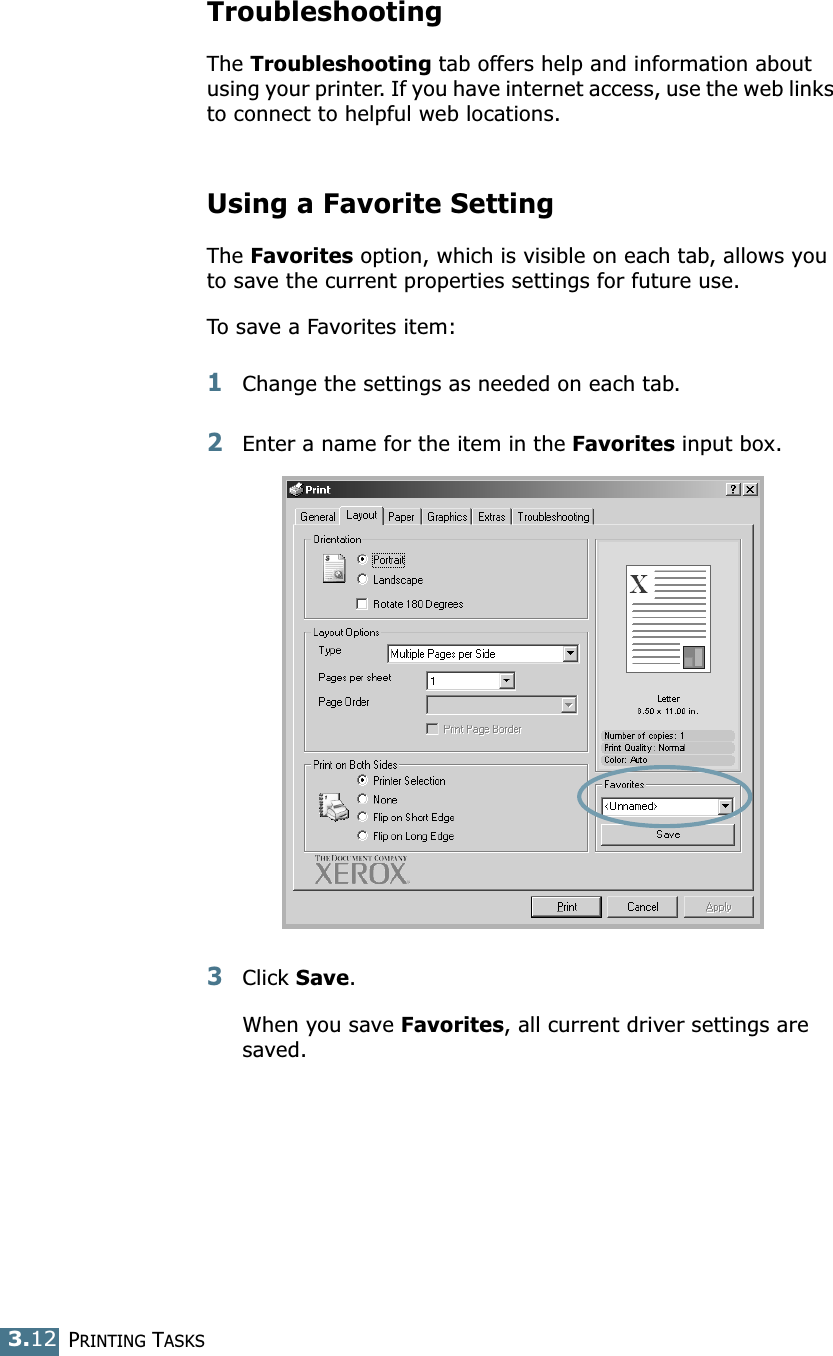
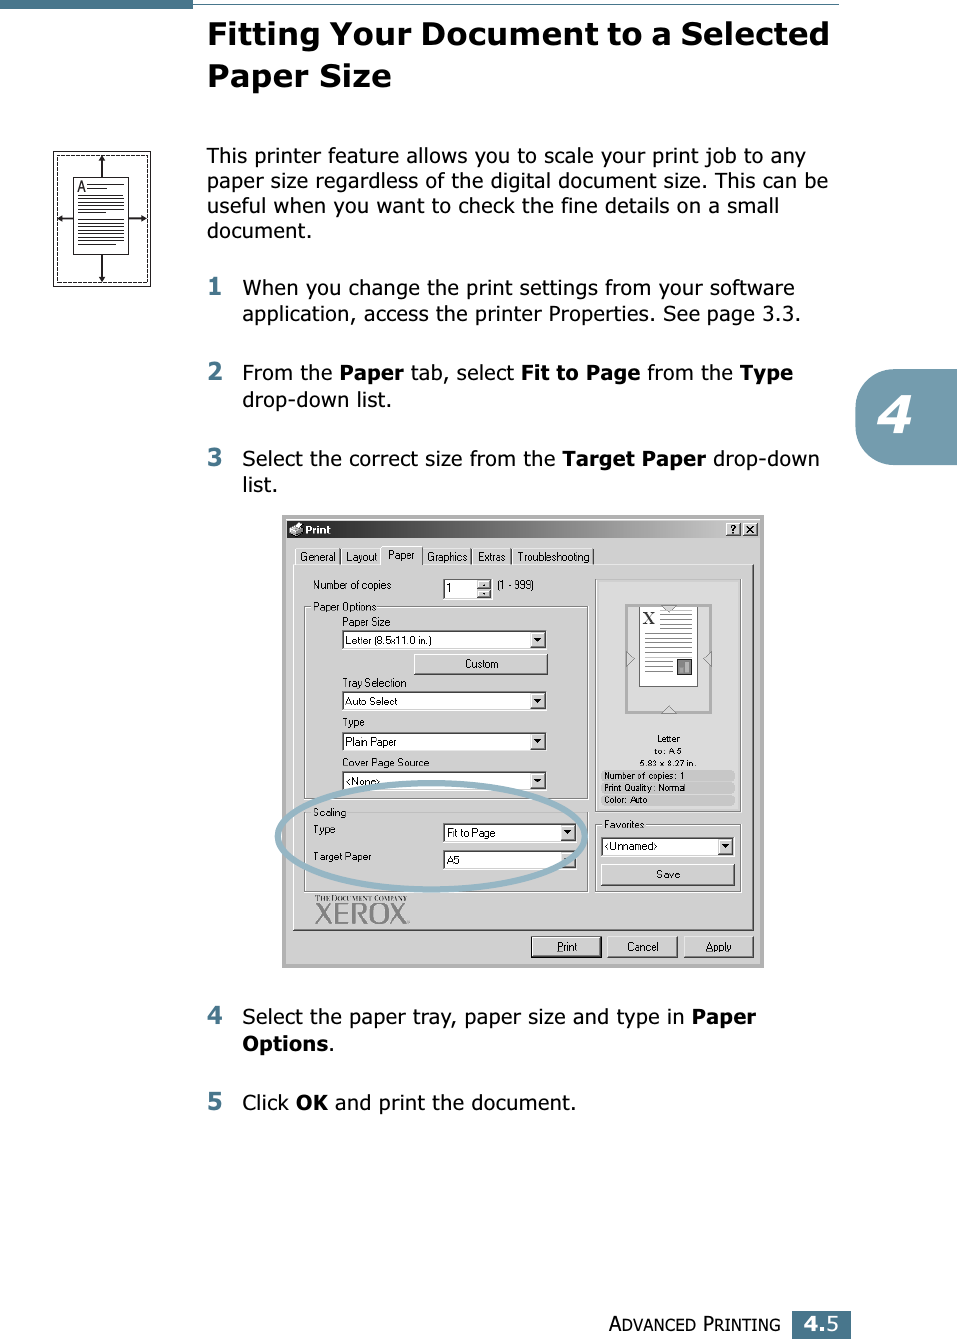
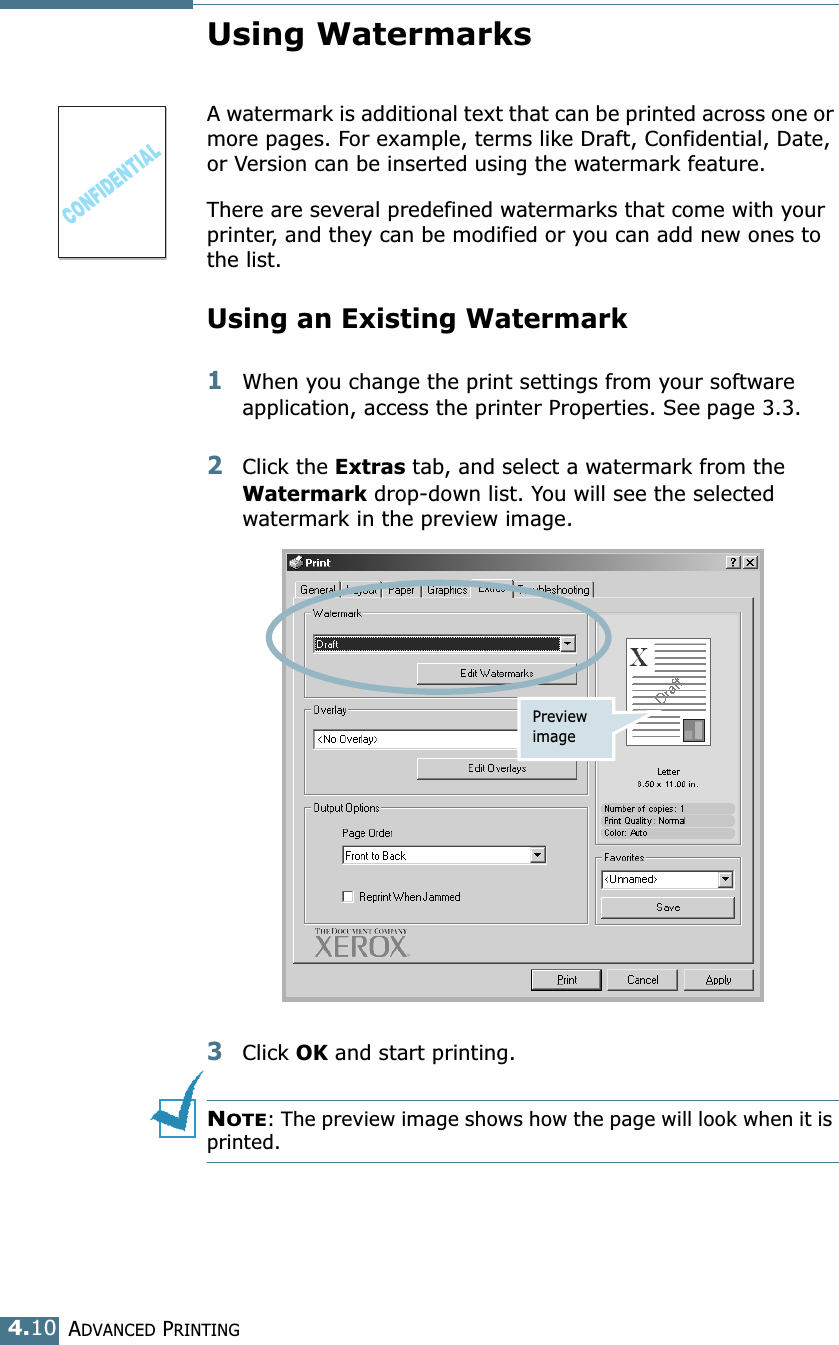
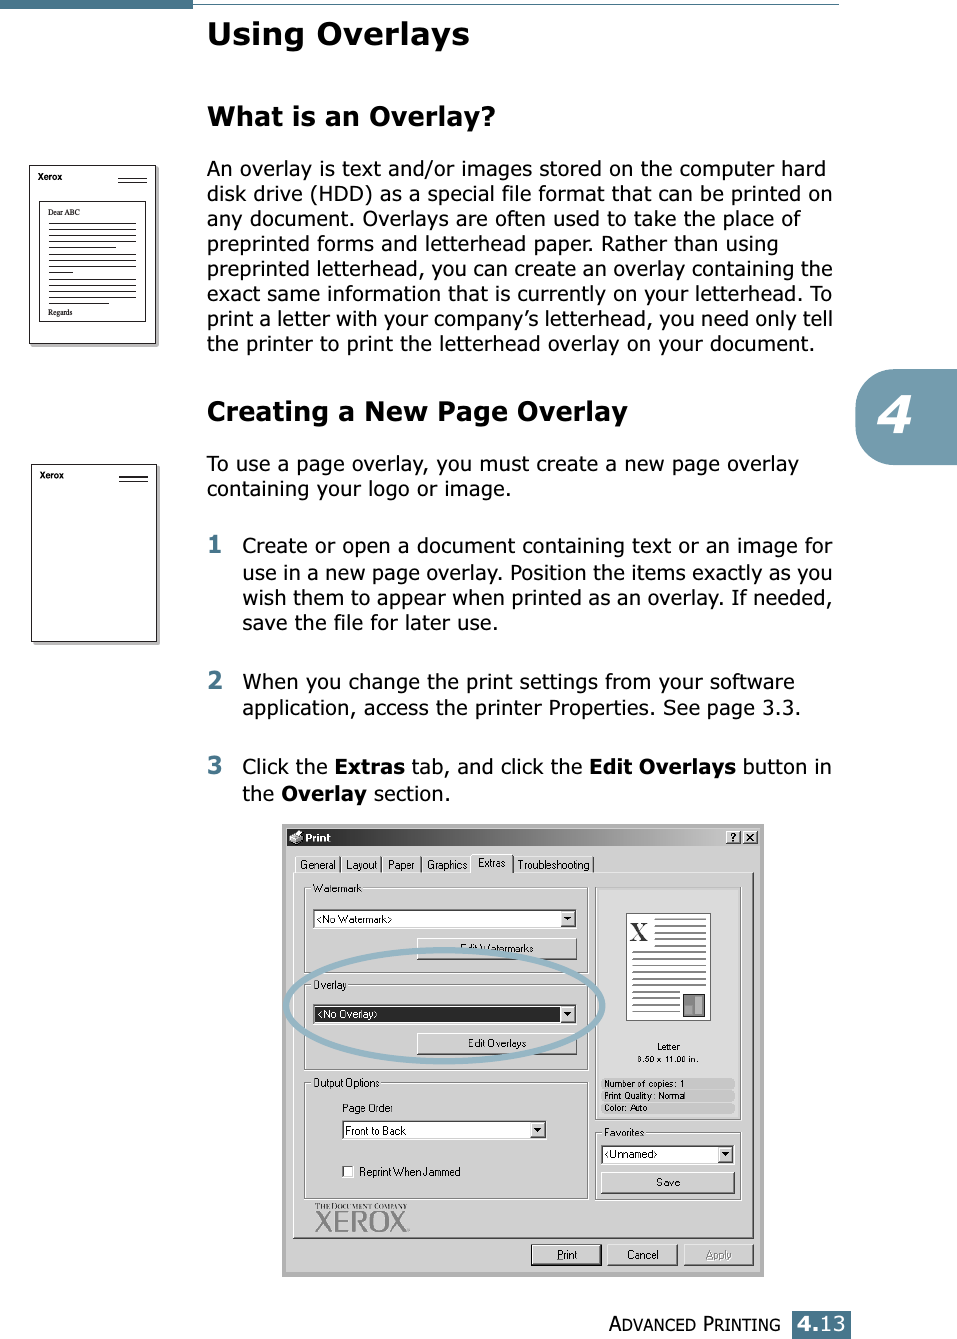
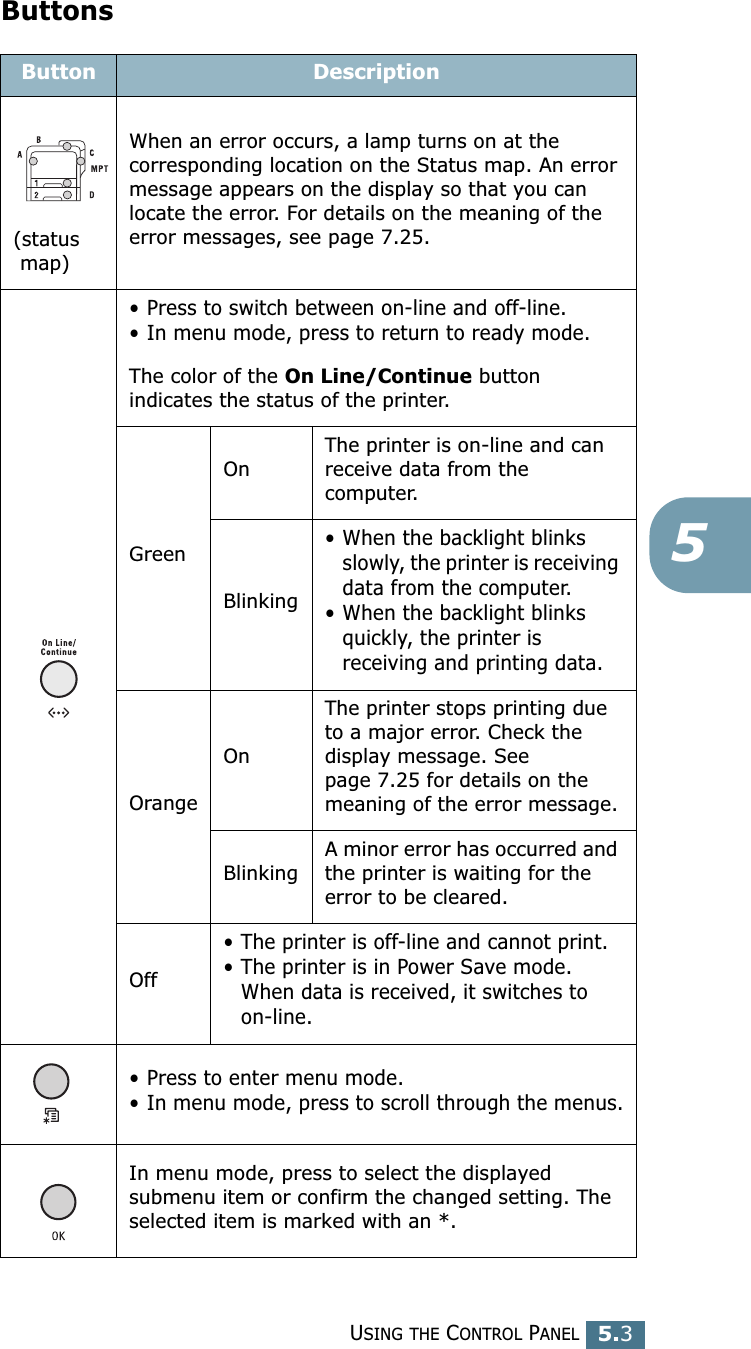
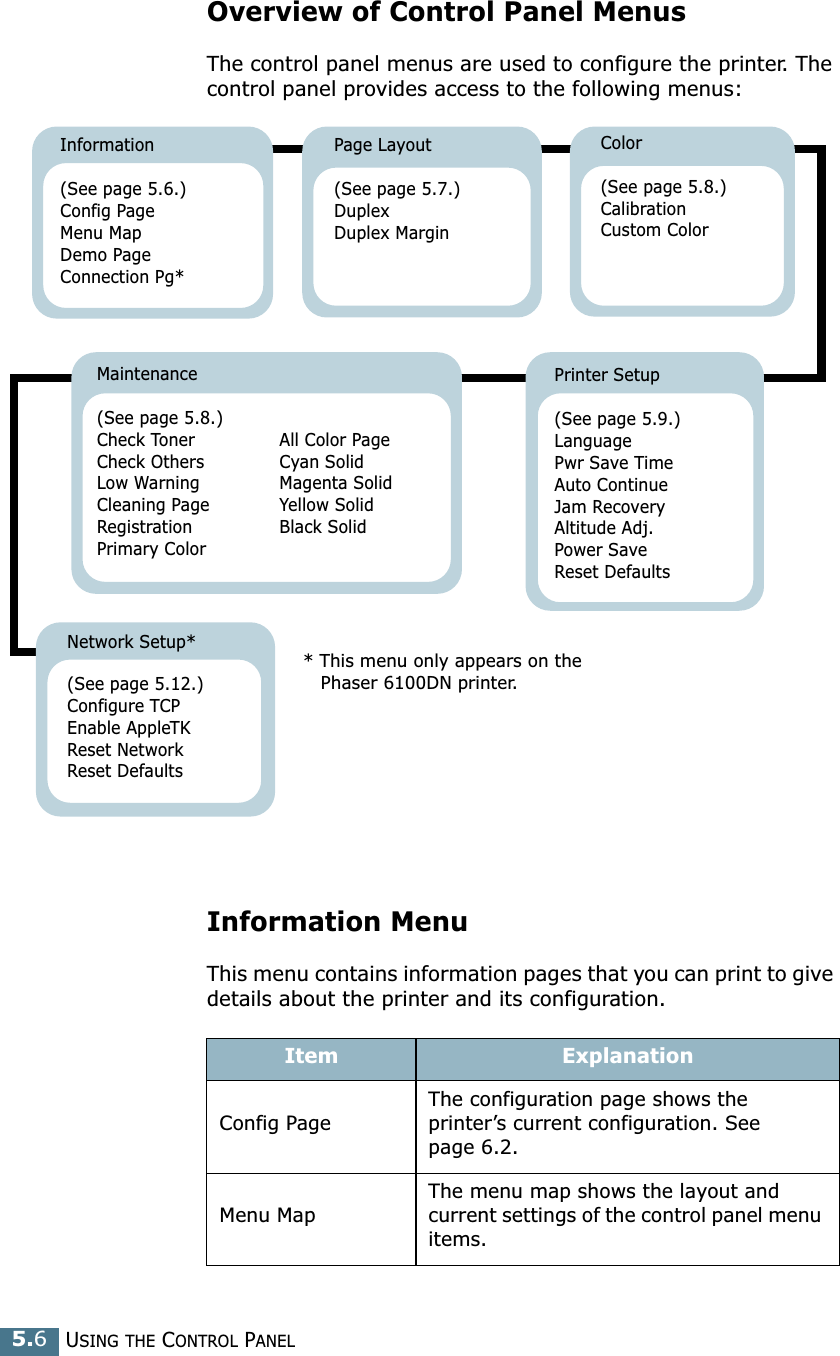
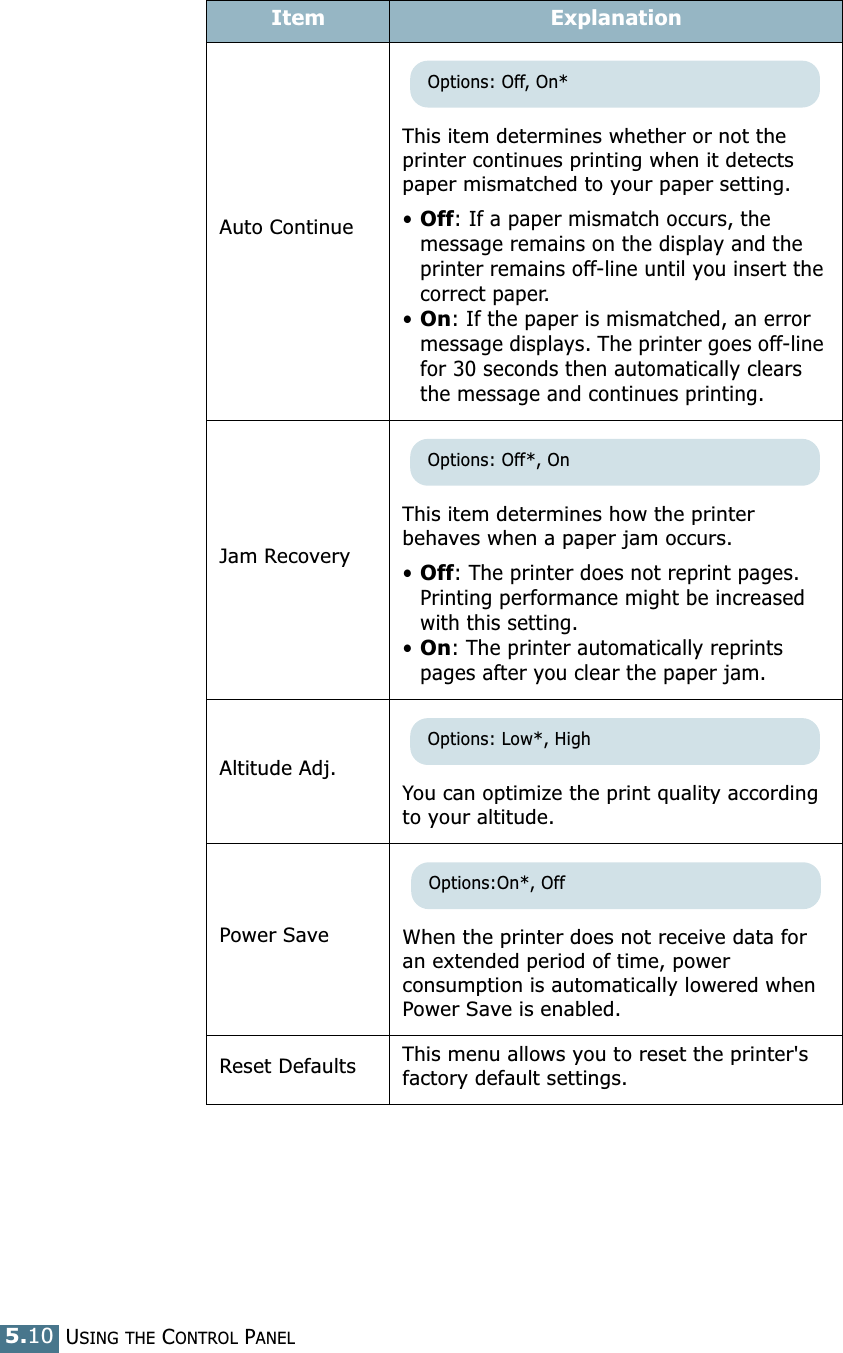
![MAINTAINING YOUR PRINTER6.565Press the OK button ( ).The display shows the percentage of the remaining toner.Redistributing the TonerWhen a toner cartridge is nearly empty, faded or light areas may appear. Equally it is possible that colored images may have incorrect colors due to incorrect mixing of the toner colors when one of the colored toner cartridge is nearly empty. 'Ready [Color] Low Toner' appears on the display. The printer can continue to print using the current toner cartridge until the control panel displays a message telling you to replace the cartridge. You may be able to temporarily improve the print quality by redistributing the toner. The control panel display tells you which color cartridge is low in toner.1Using the handle, completely open the left cover A until it is at right angles to the main frame and the toner cartridges are ejected.](https://usermanual.wiki/Samsung-Electronics-Co/P6100.Users-Manual-1/User-Guide-392918-Page-90.png)
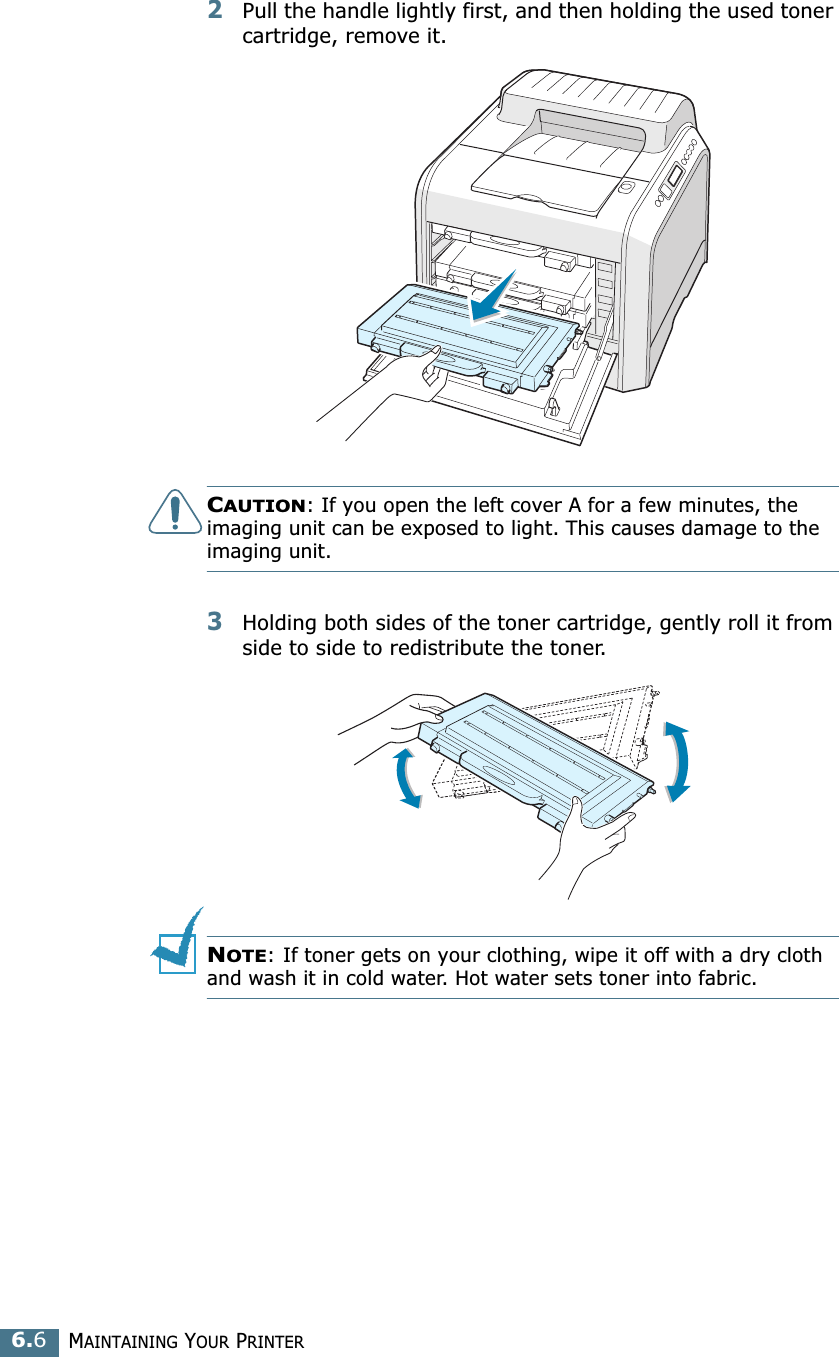
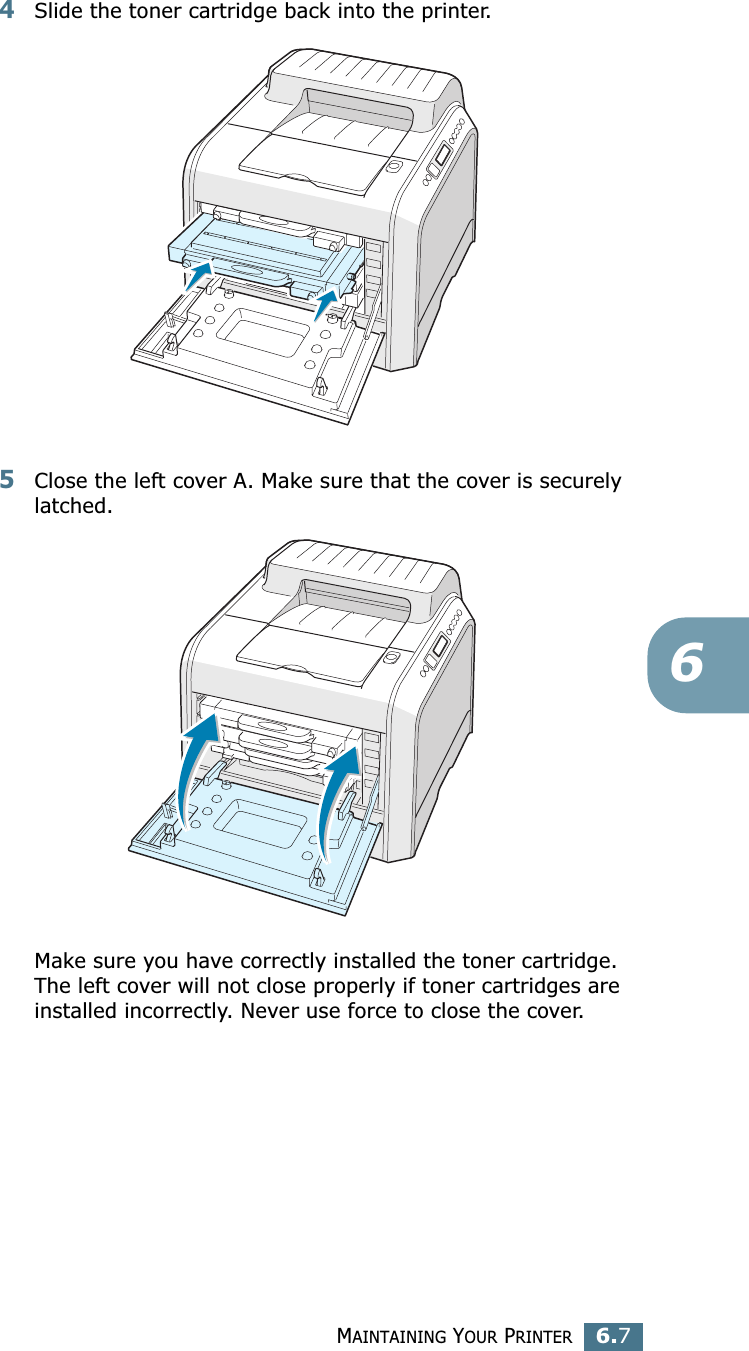
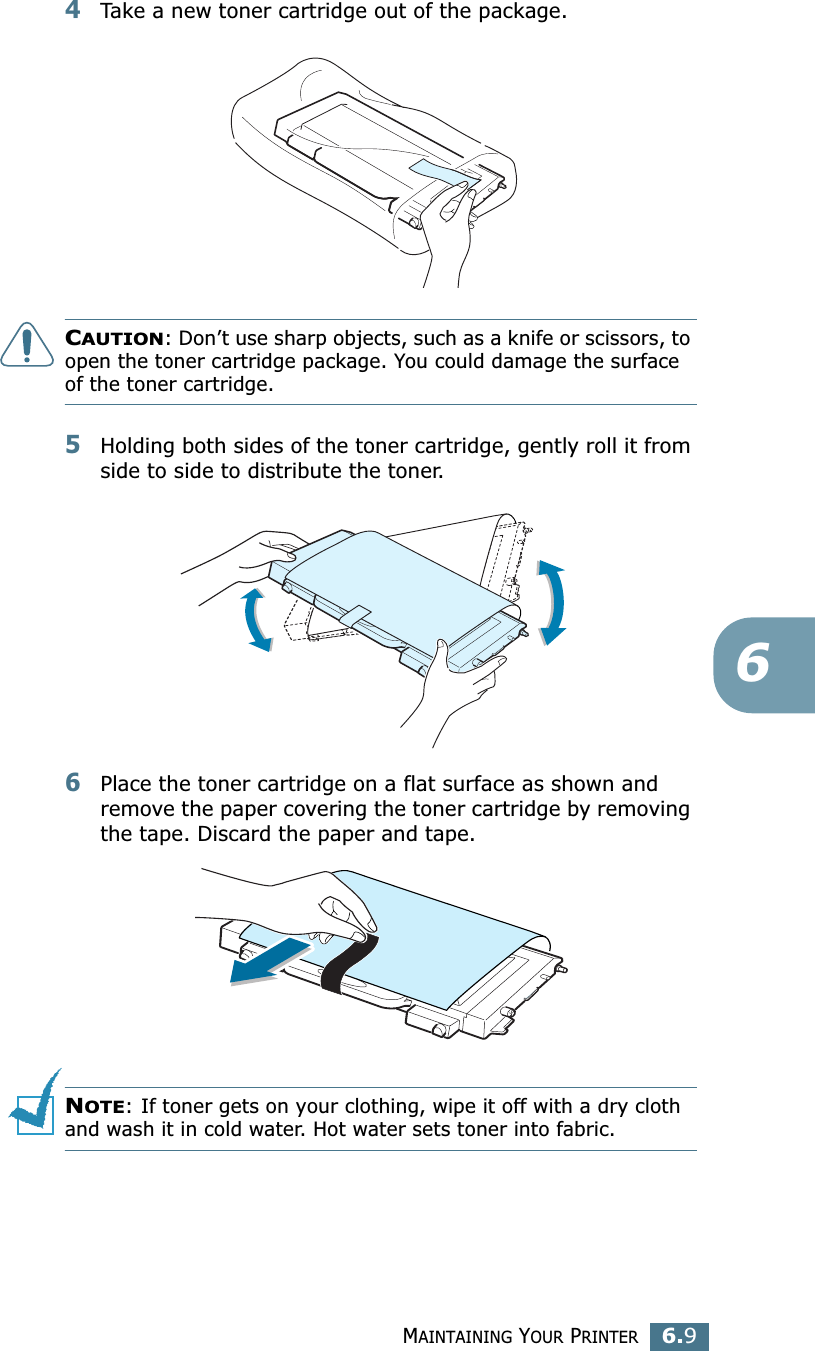
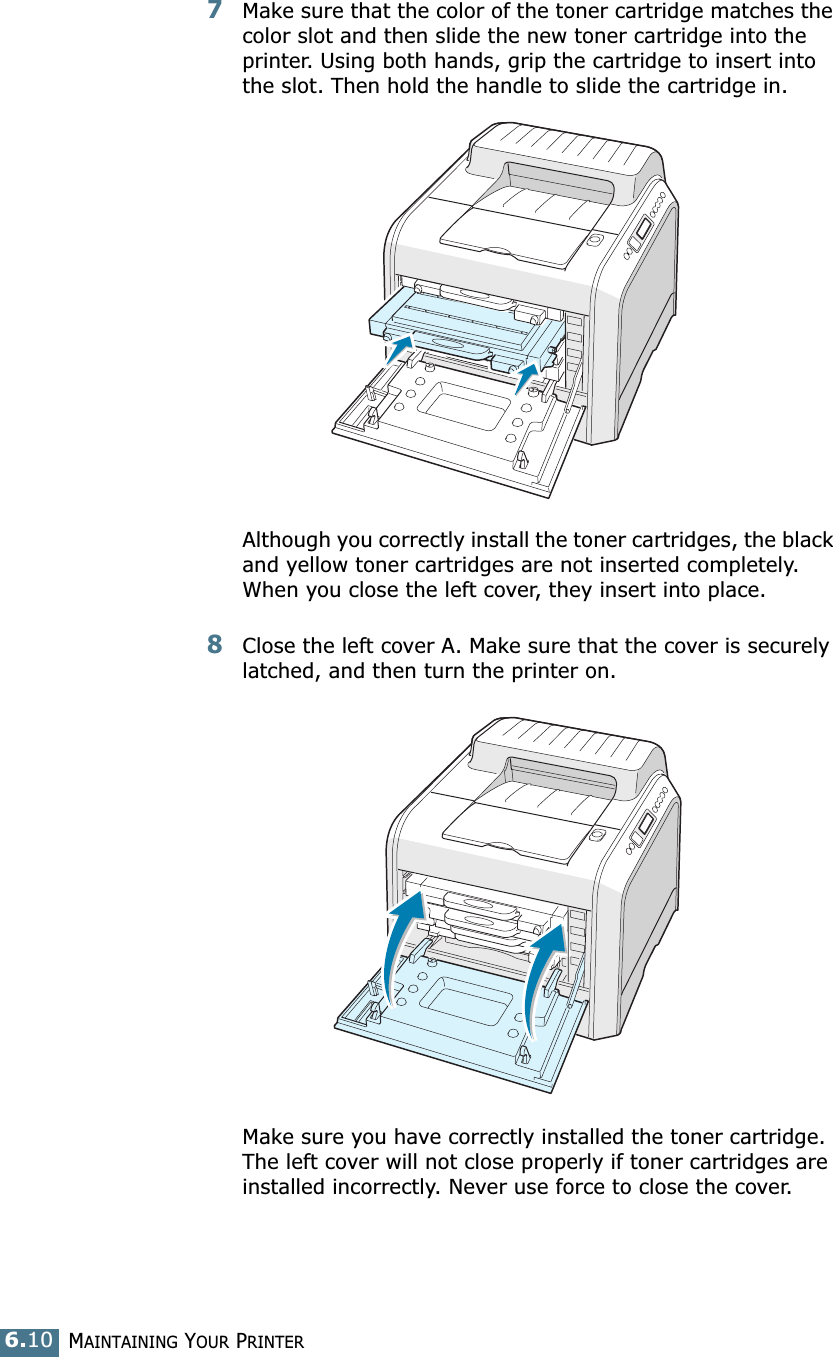
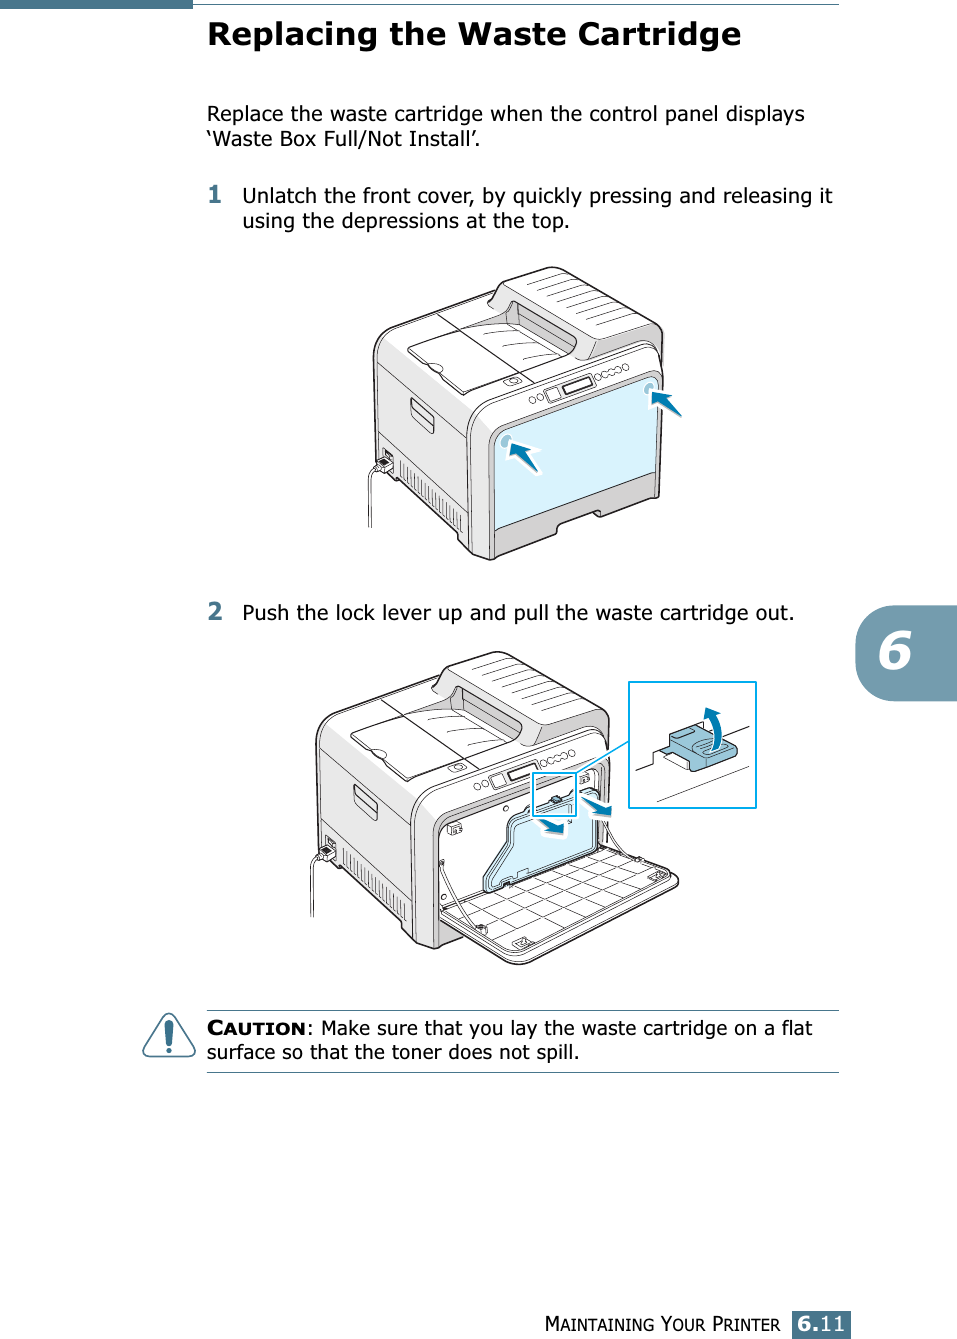
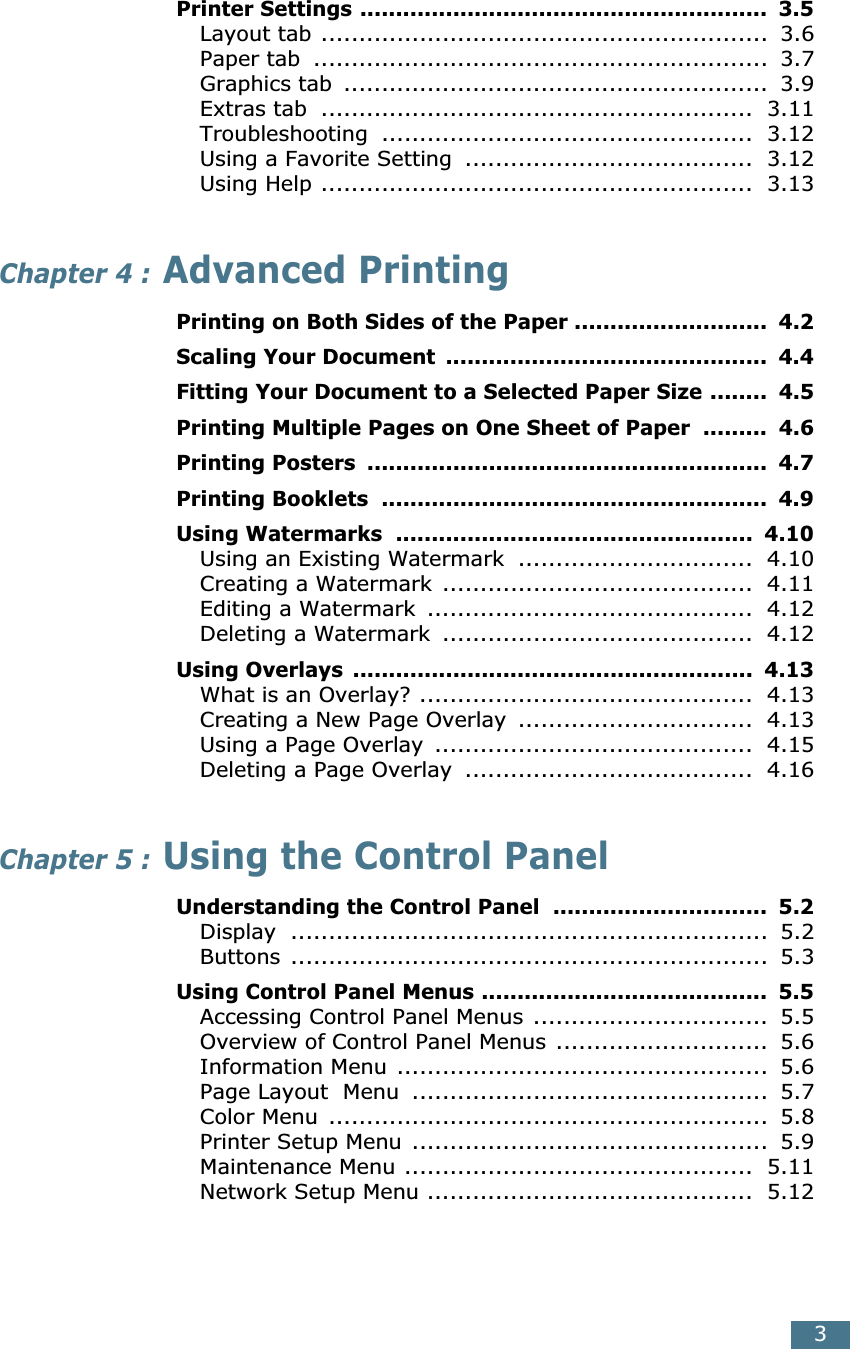
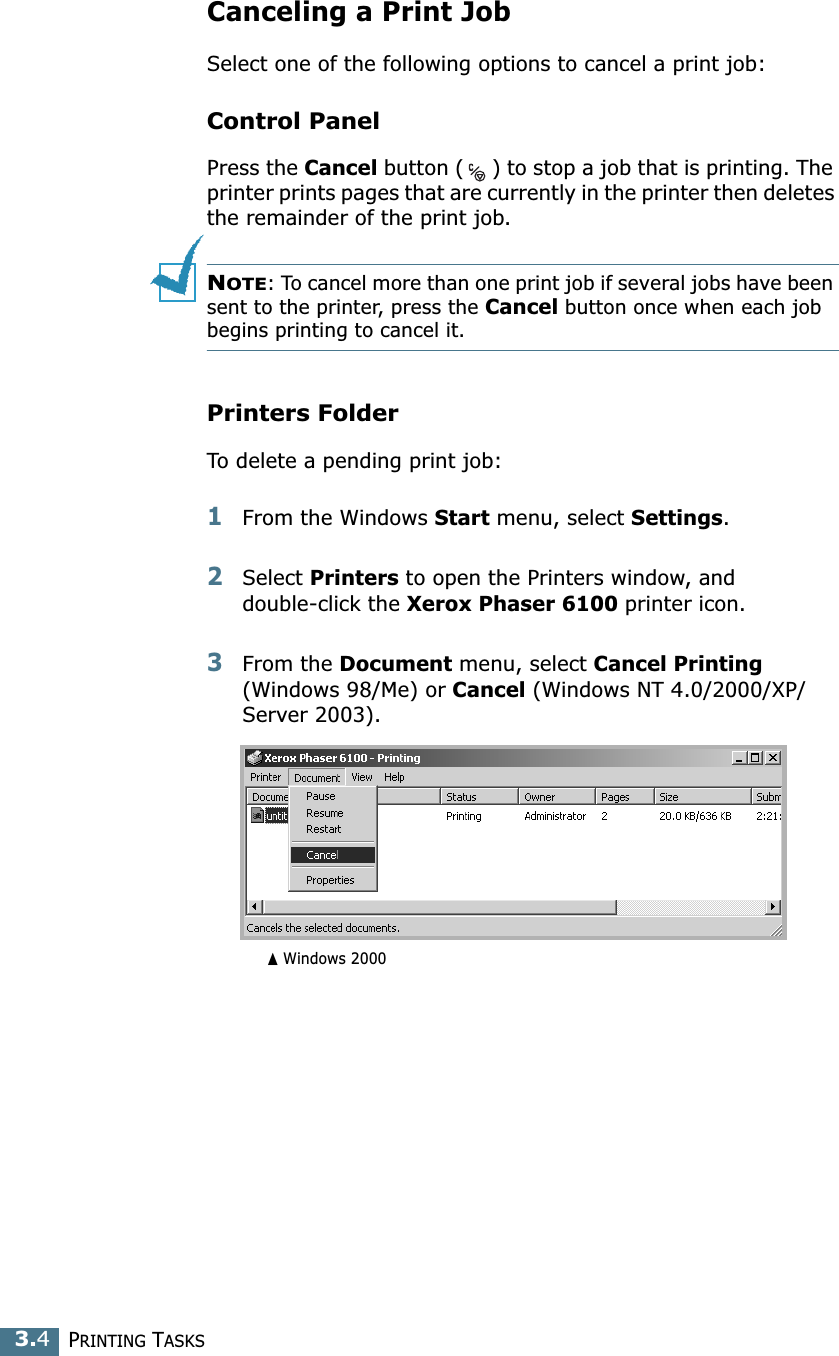
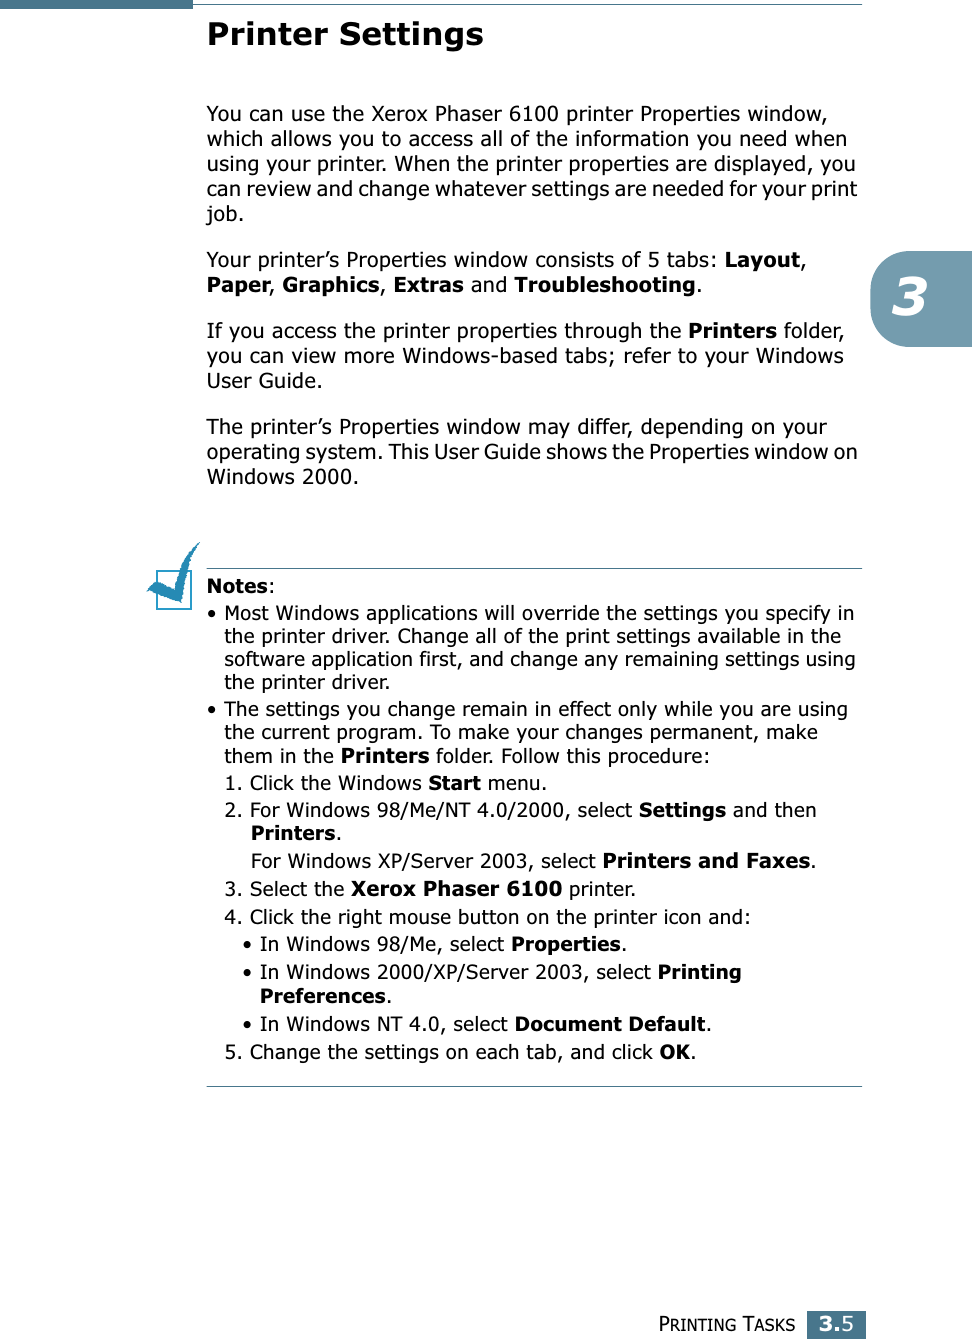
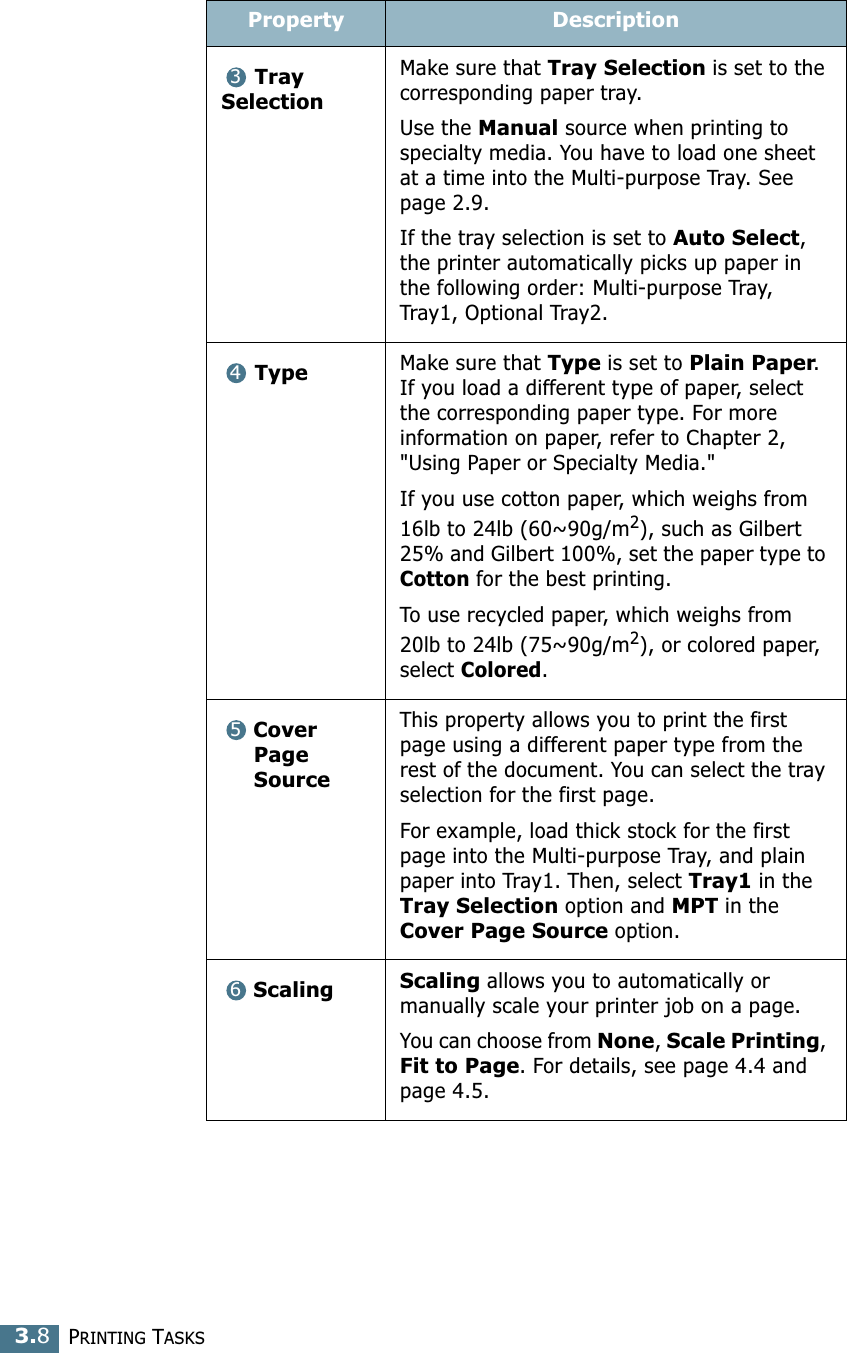
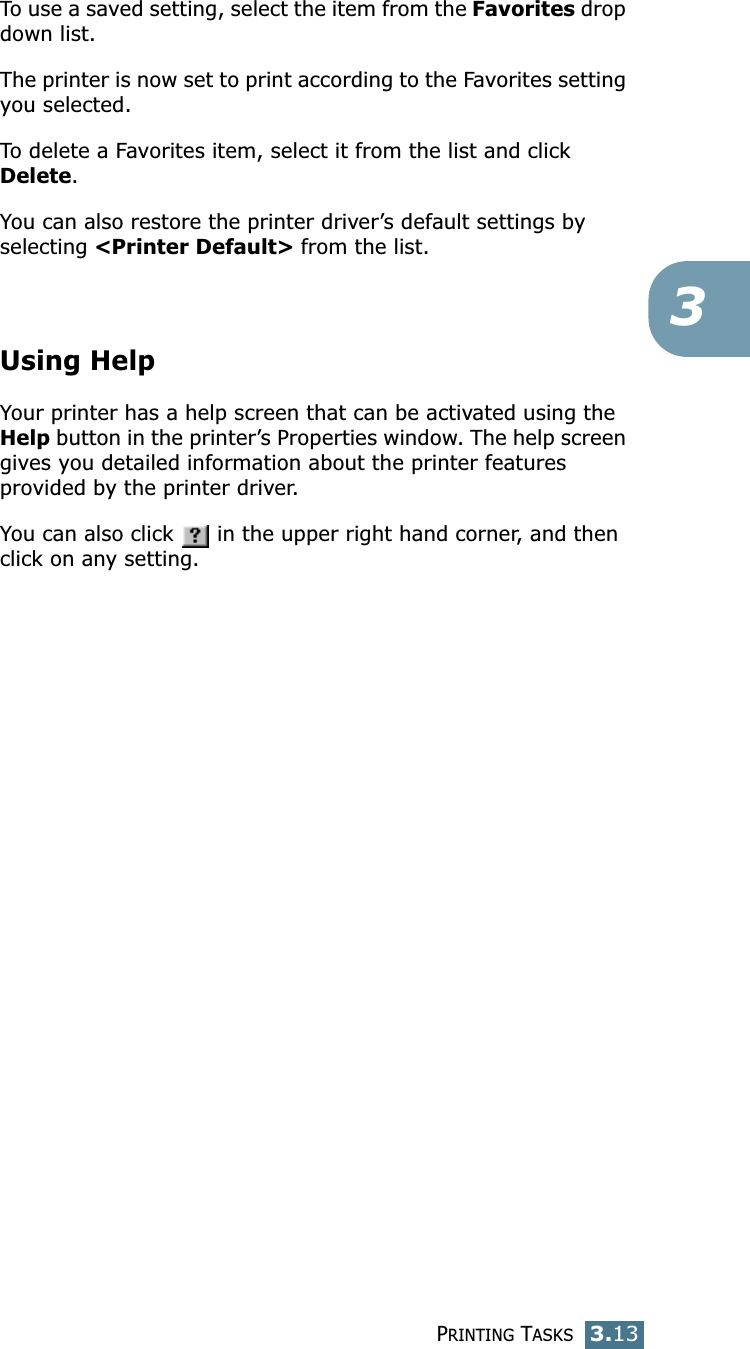
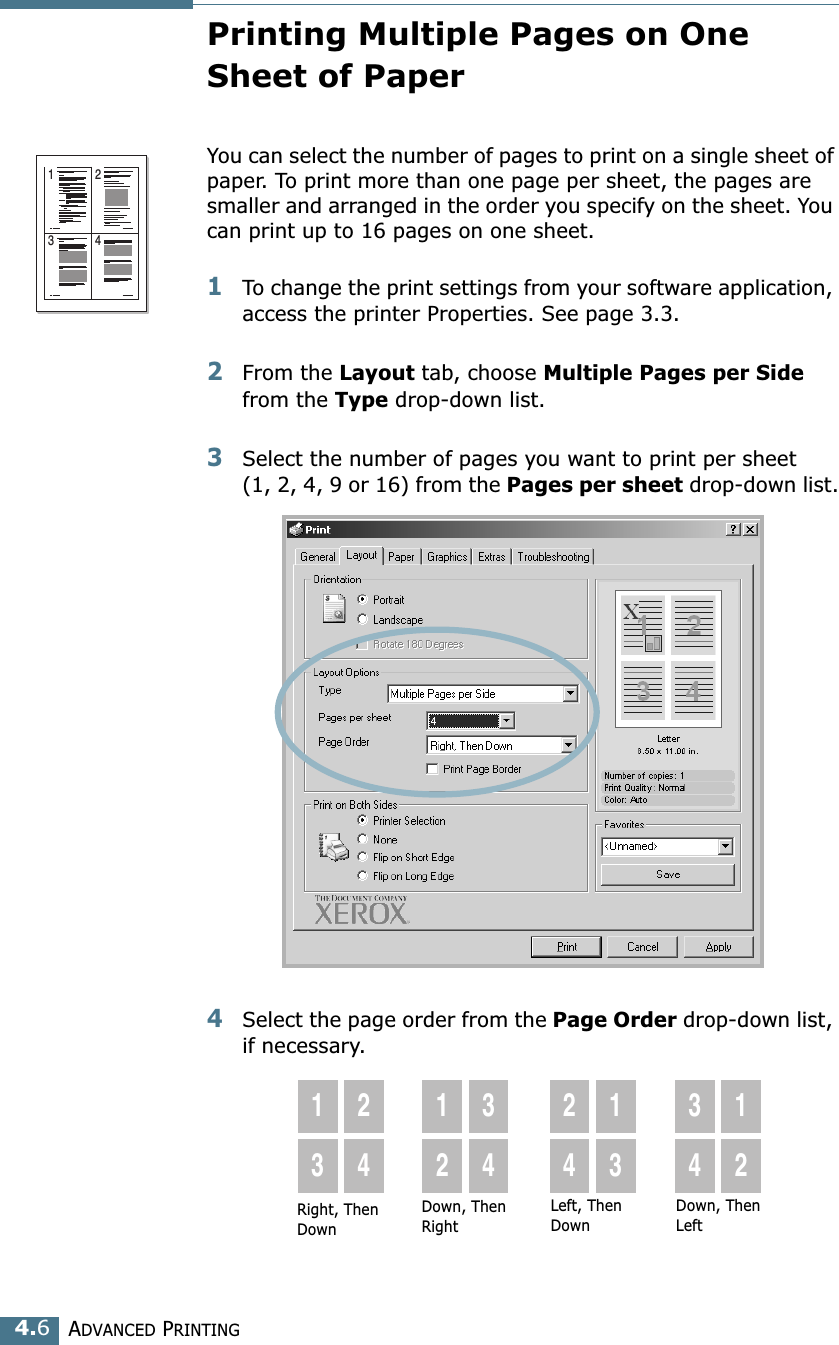
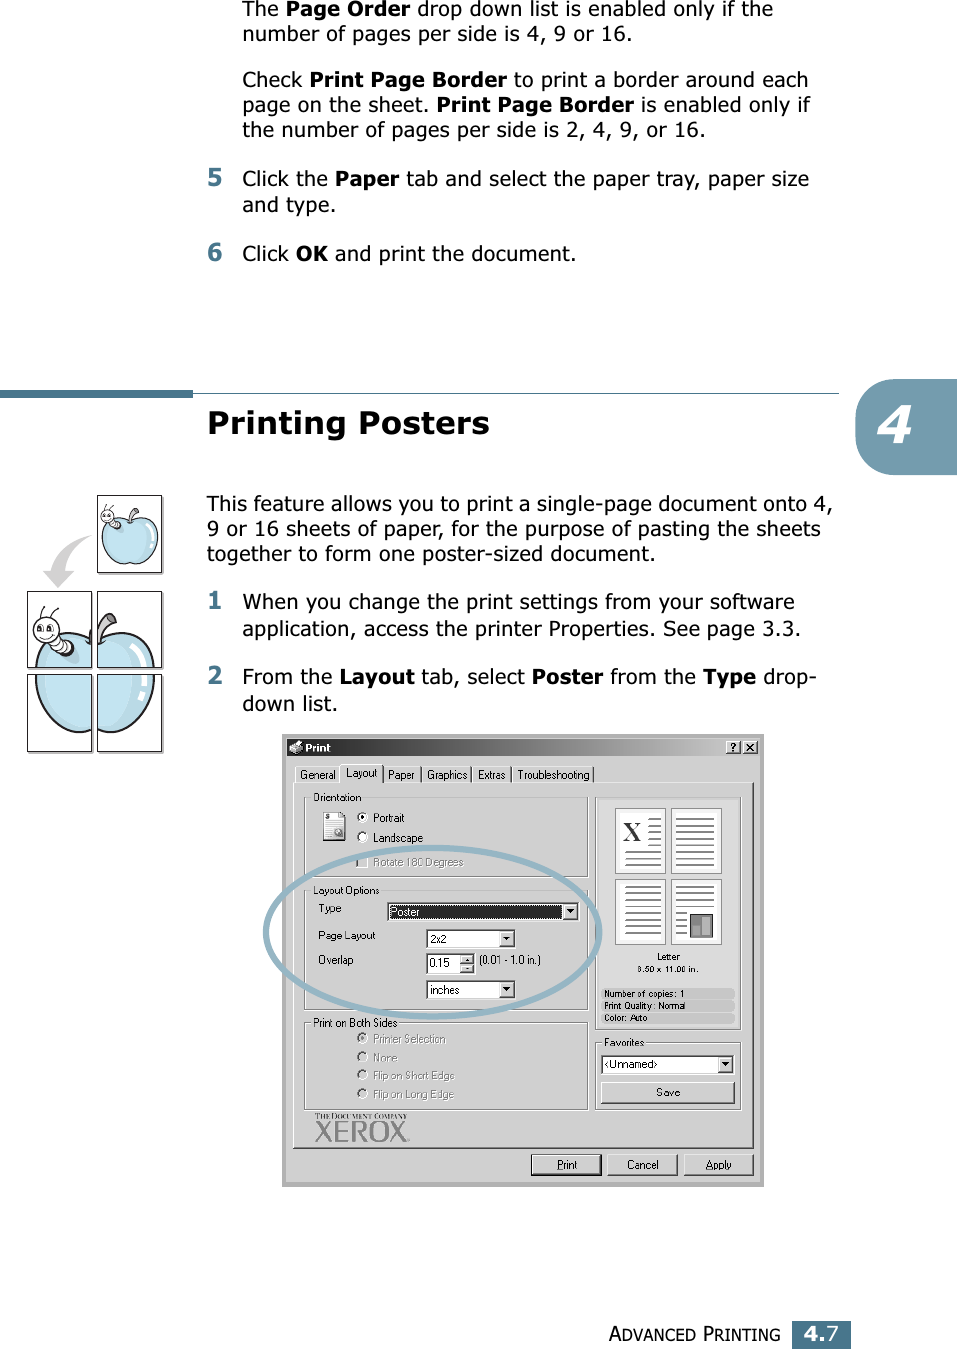
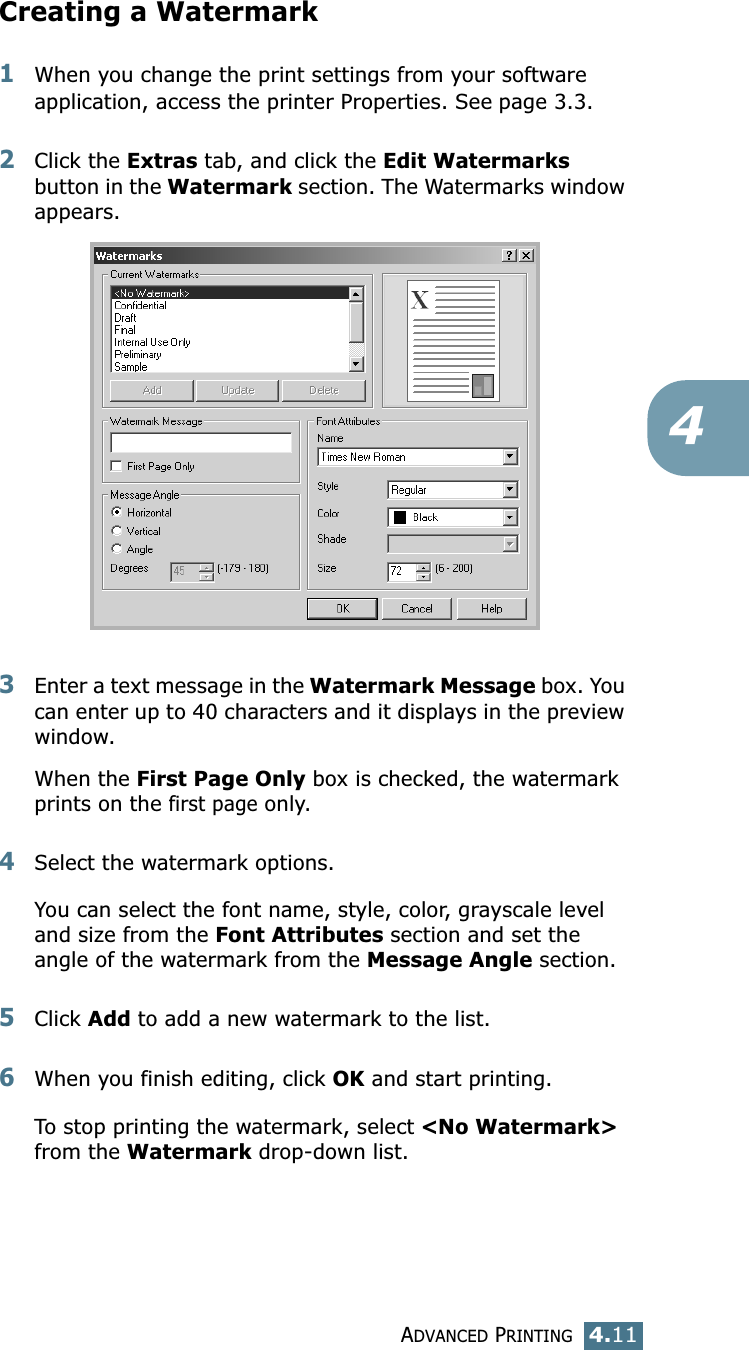
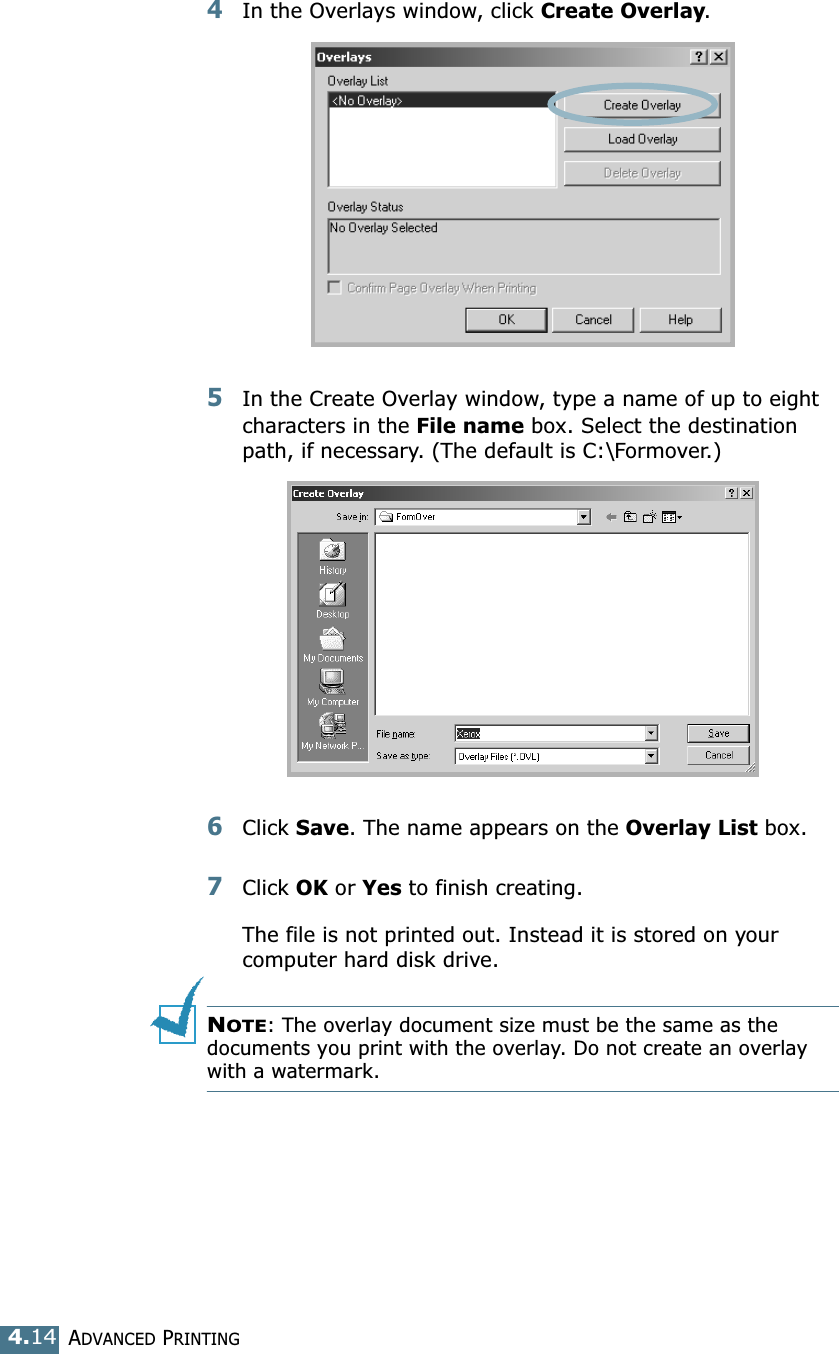
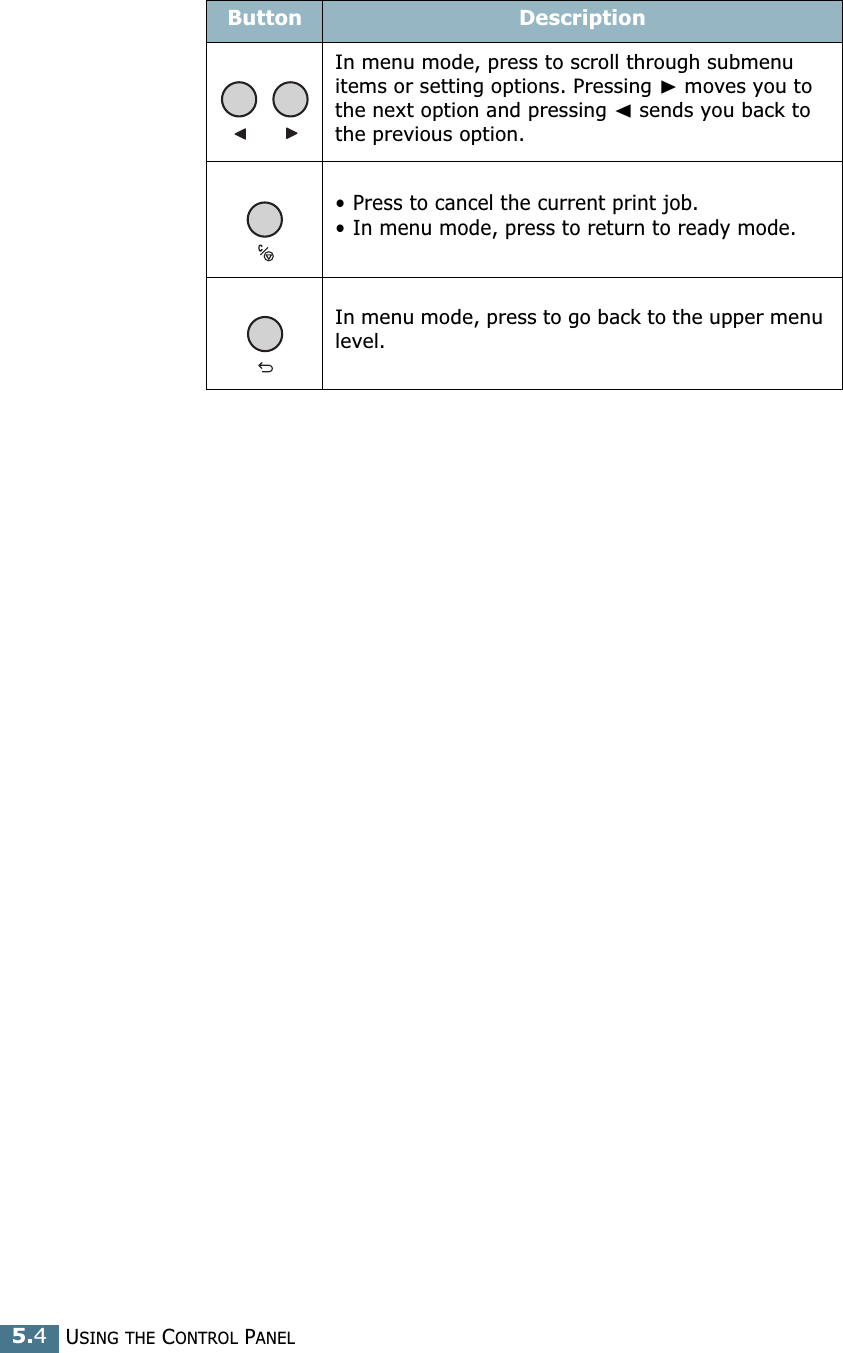
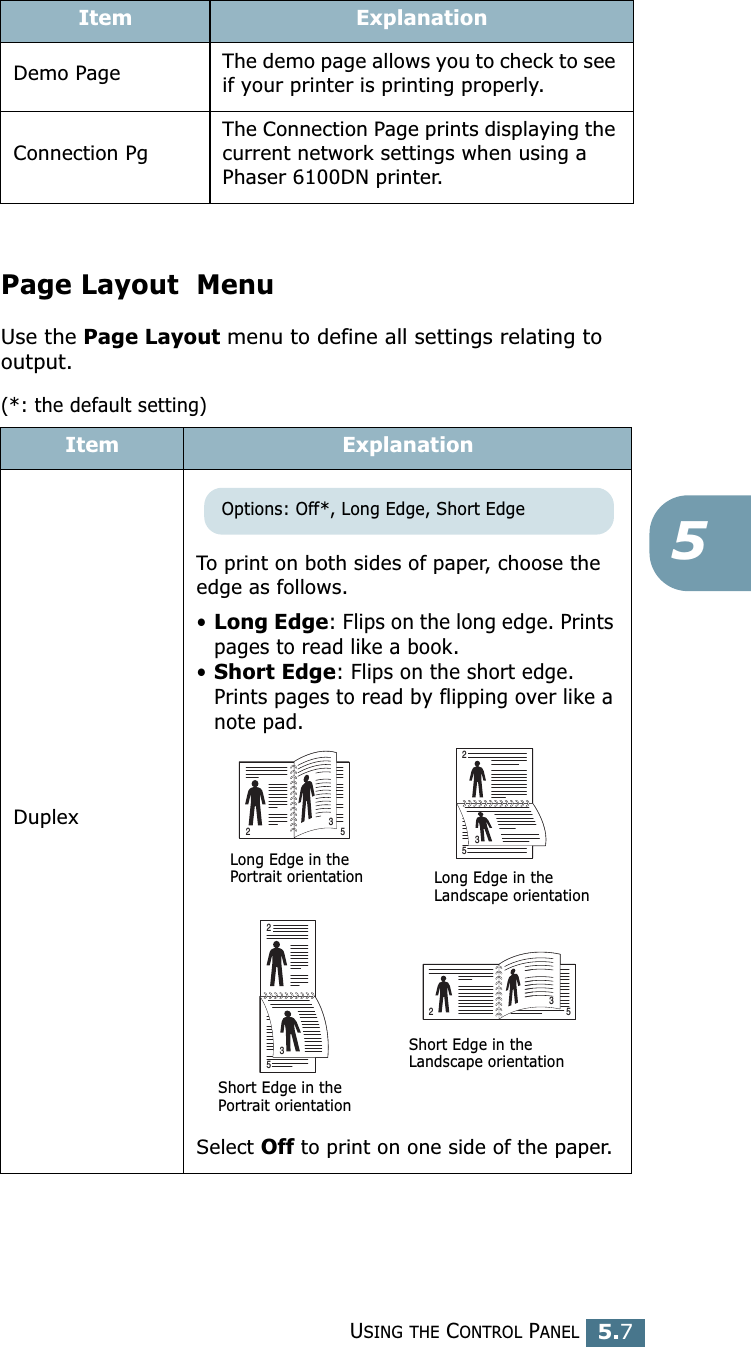
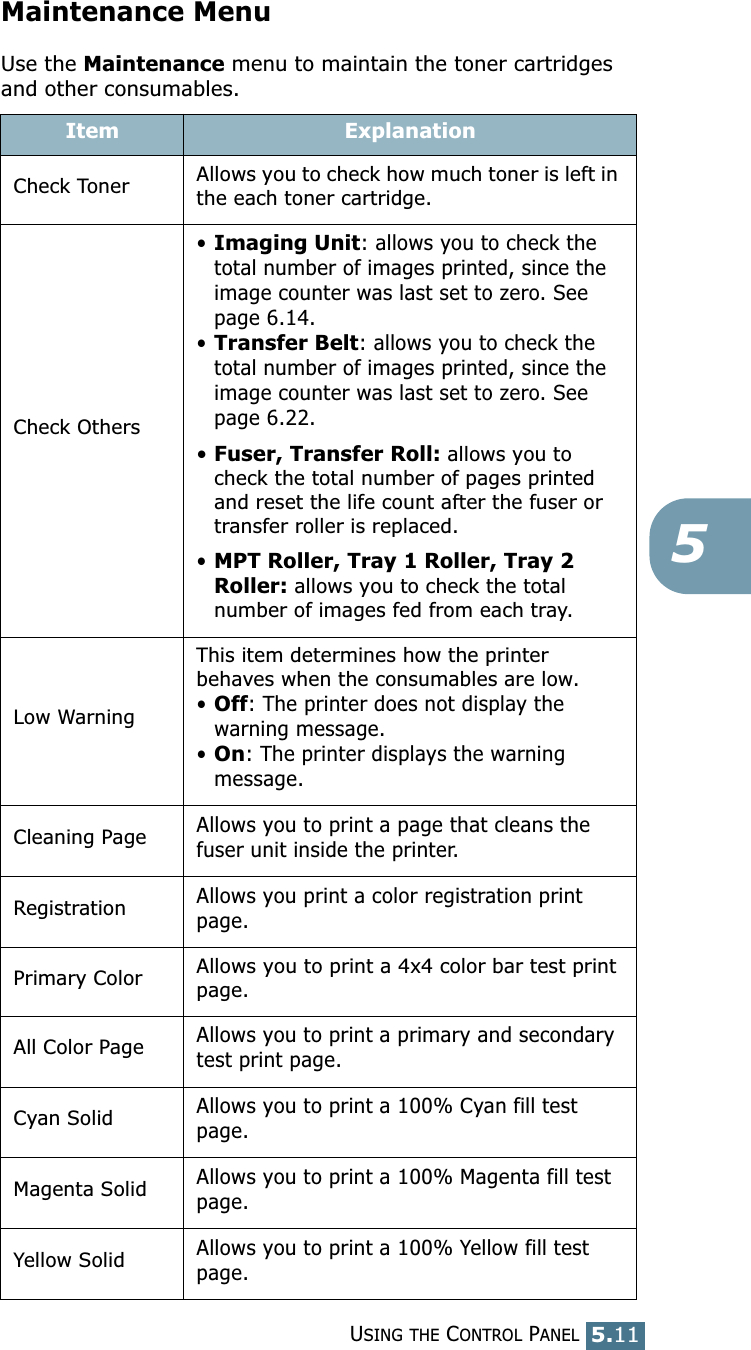
![MAINTAINING YOUR PRINTER6.8Replacing the Toner CartridgesThe printer uses four colors and has a different toner cartridge for each one: cyan (C), magenta (M), yellow (Y), and black (K).Replace a toner cartridge when the printer control panel displays ‘Replace [Color] Toner’. The control panel display tells you which color needs to be replaced. 1Turn the printer off, then wait a few minutes for the printer to cool.2Using the handle, completely open the left cover A until it is at right angles to the main frame and the toner cartridges are ejected.3Pull the handle lightly first, and then holding the used toner cartridge, remove it.CAUTION: If you open the left cover A for a few minutes, the imaging unit can be exposed to light. This causes damage to the imaging unit. Close the top and left cover A should the setup need to be halted for any reason.](https://usermanual.wiki/Samsung-Electronics-Co/P6100.Users-Manual-1/User-Guide-392918-Page-93.png)