Samsung Electronics Co S200 Web Pad User Manual Ver 4 iZZi CE
Samsung Electronics Co Ltd Web Pad Ver 4 iZZi CE
UserManual.wiki
>
Samsung Electronics Co
>
S200 User Manual
User Manual
Navigation menu
Upload a User Manual
Namespaces
Wiki Guide
HTML
PDF
Info
Views
User Manual
Discussion / Help
Navigation
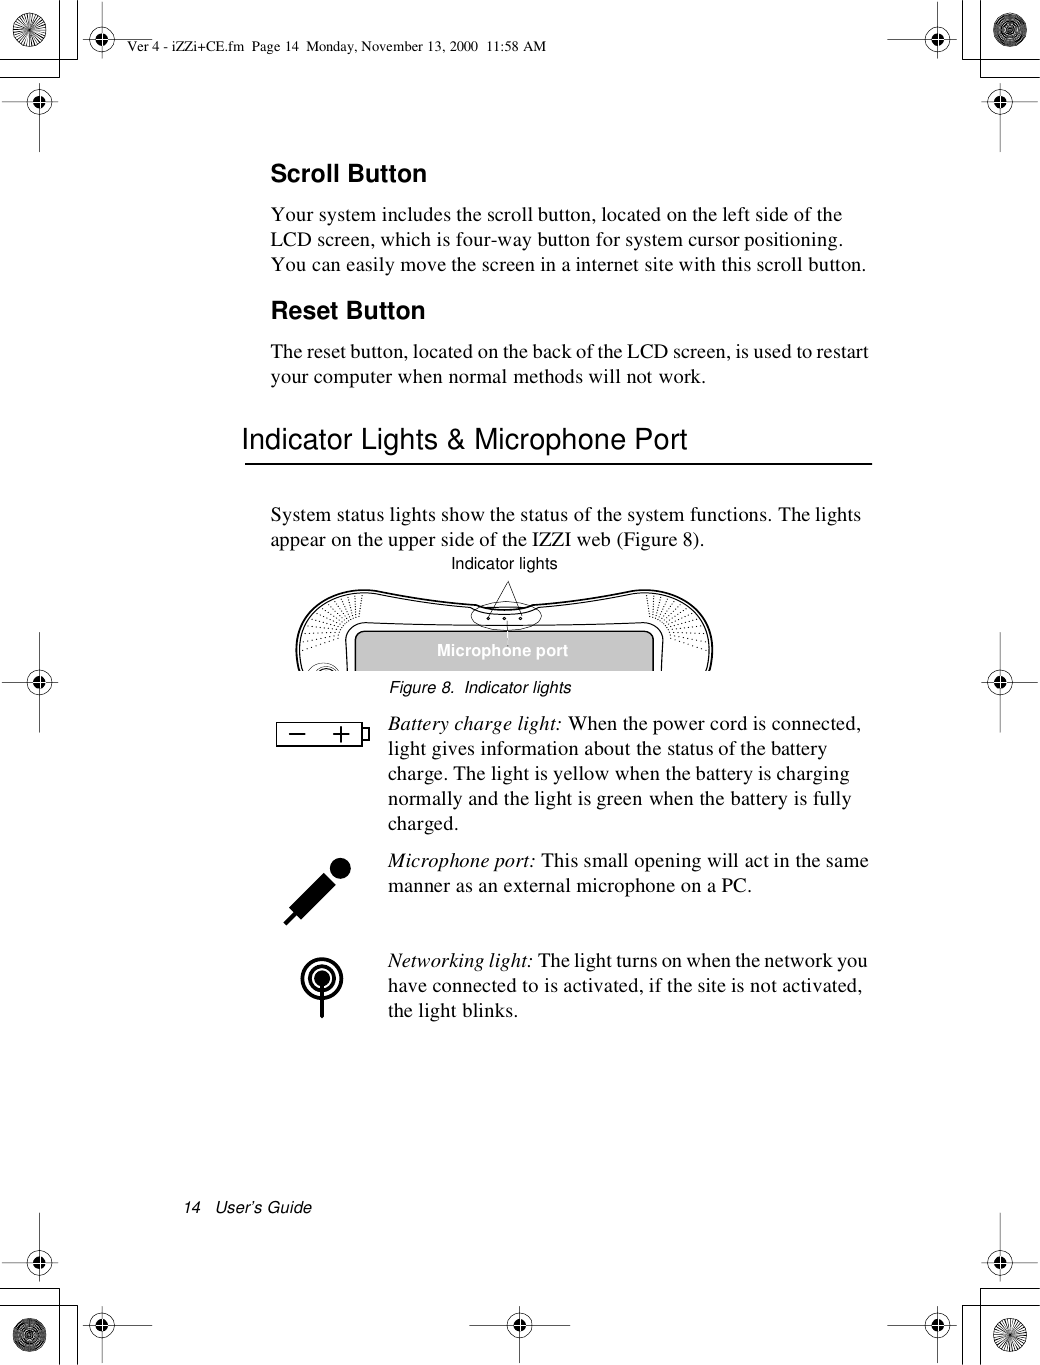
![6User’s Guide3. When the power cord is installed properly, the left indicatorlight turns amber. This means that the battery is charging.Leave the IZZI web plugged in for several hours until theindicator light turns green, meaning that the battery is fullycharged.The battery will fully recharge in about three hours with thesystem is turned off and three and half hours with the system on.All batteries eventually wear out and lose the ability tohold a charge. If you notice your normal operating time onthe battery significantly decrease you should replace thebattery.4. Installing the Access Point’s power is completed using theinstructions provided in the Access Point manual provided withyour IZZI web.For Installation of Access Point, Please see the enclosedmanual.5. Press the IZZI web power button. In approximately 1-3 secondsMicrosoft Windows CE starts.6. Next the [Ethernet Driver Settings] window appears. There aretwo options described below.a.YoumayallowtheIZZIwebtofinditsownIPaddressbyselecting the “Obtain an IP address via DHCP” radiobutton.b. Or you may assign your own network IP address by clickingon the “Specify an IP address” radio button. To get thecorrect IP address for your area, ask your networkadministrator.Now your IZZI web setup is complete. If you want to makechanges, click Start > Setting > Control Panel and use theNetworkicon.Ver 4 - iZZi+CE.fm Page 6 Monday, November 13, 2000 11:58 AM](https://usermanual.wiki/Samsung-Electronics-Co/S200/User-Guide-133712-Page-6.png)
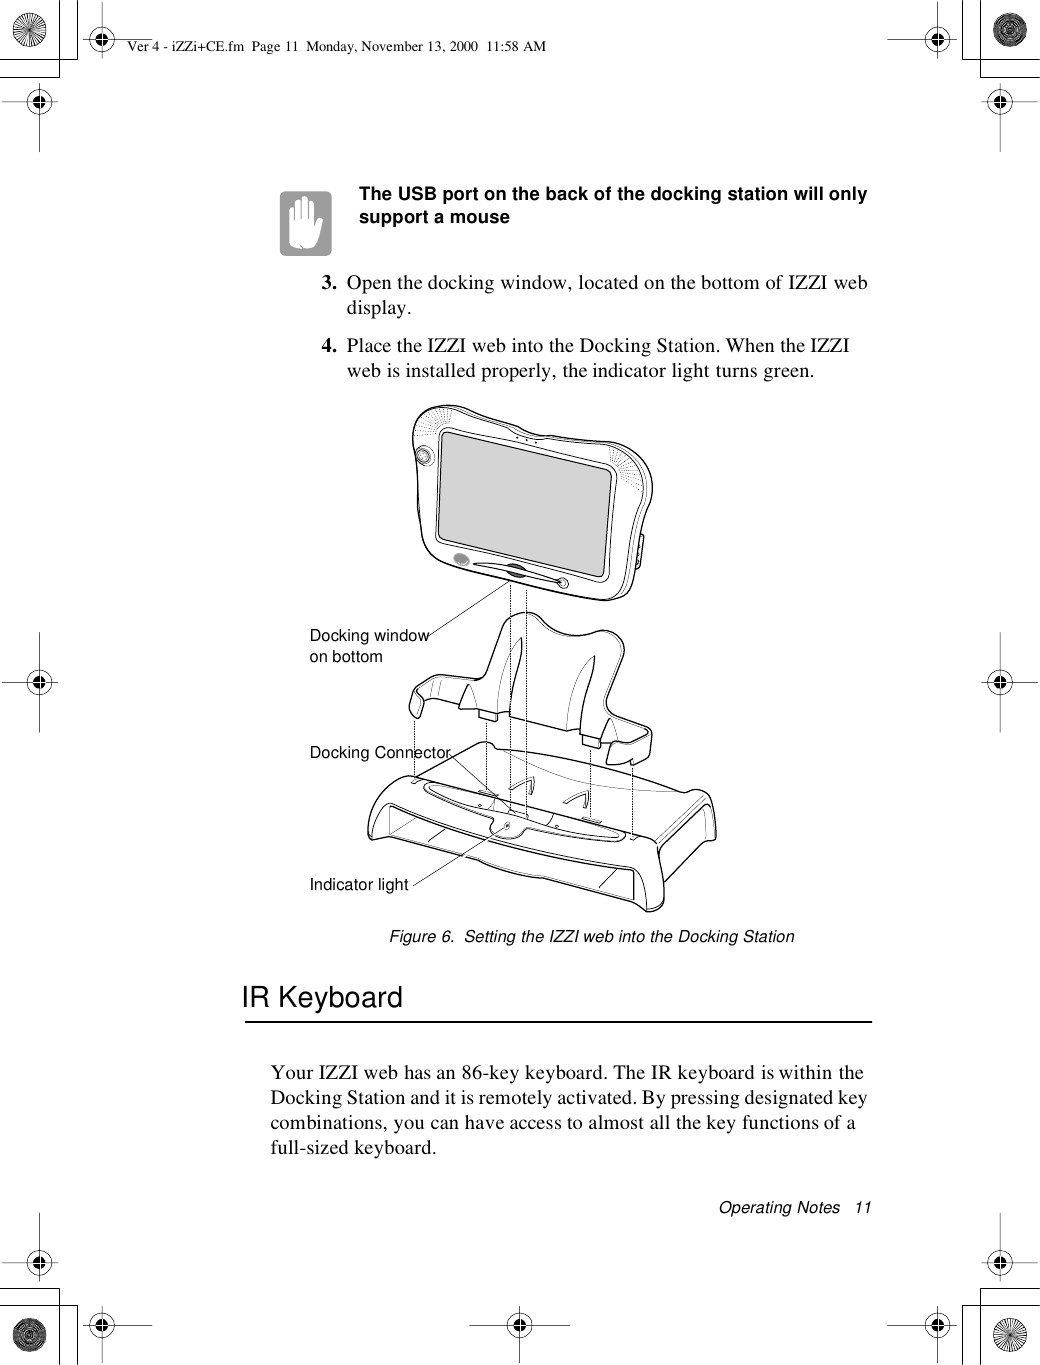
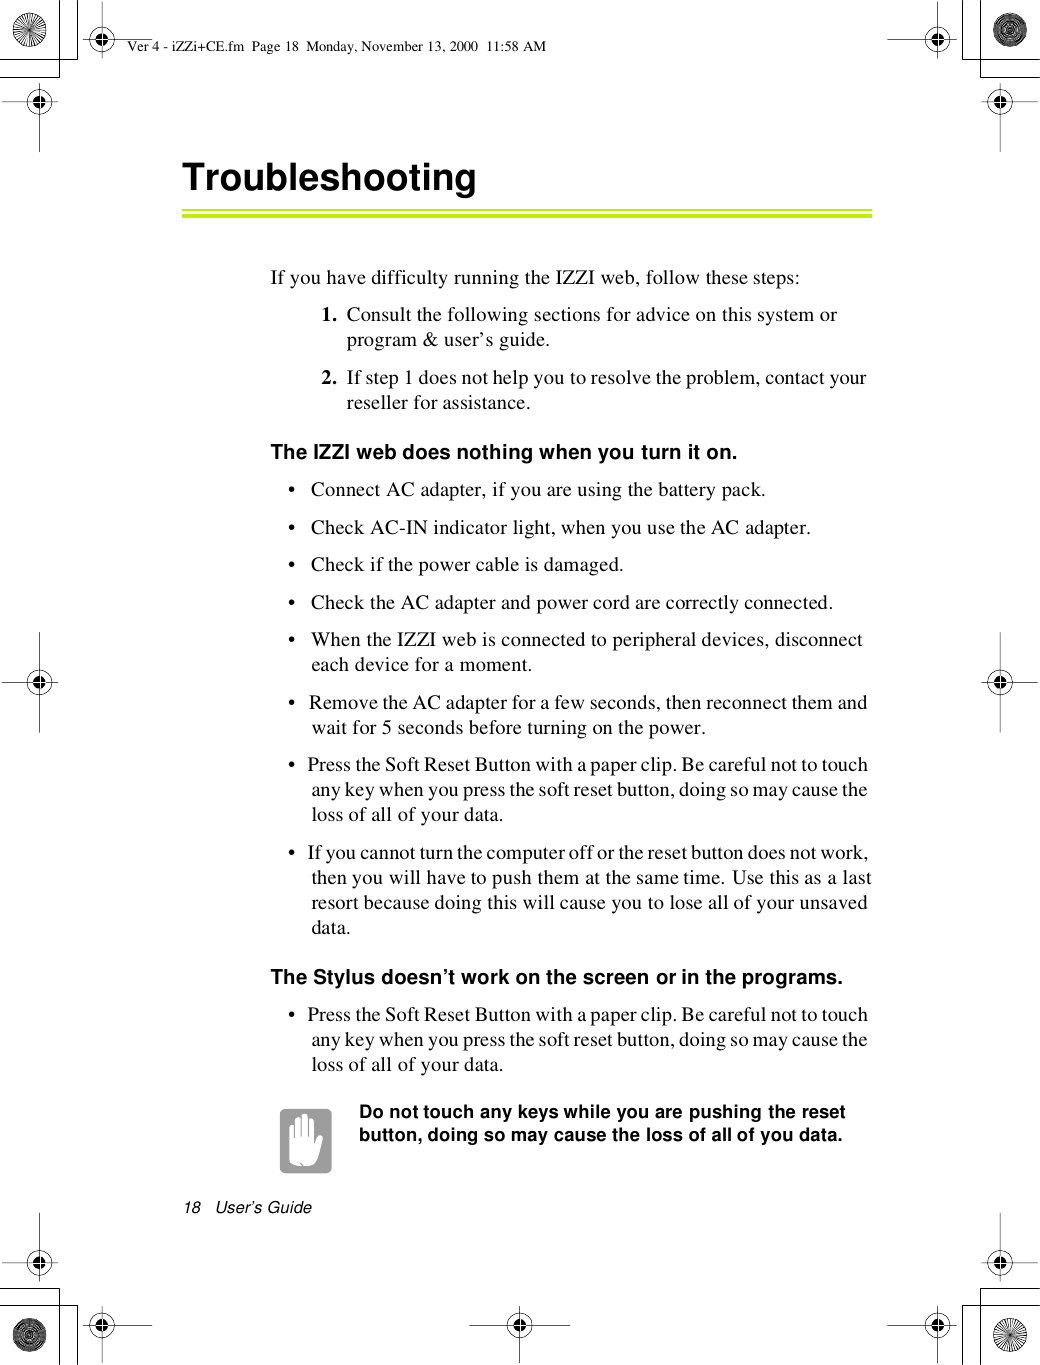
![10User’s GuideOperating NotesThis section provides you with the basic understanding of the IZZI web.Docking StationIf you bump or jar the docking station the connection baybecome broken. To insure a proper connection verify thedocking indicator light is on and green.You can place the IZZI web into the Docking Station for more functionsand a more stable working platform.To set the IZZI web into the Docking Station;1. Remove the power cord from the IZZI web. Separate the powercord from the AC adapter.2. Plug the power cord into the back of the Docking Station.When the power cord is installed properly, the indicator lightturns amber. When the power cord is disconnected, the lightgoes off.You can connect USB device and PS/2 keyboard only [nomouse] to back of the Docking Station, see next figure 4 formore information.Figure 5. Portson theDocking StationMouse Only USB port PS/2 keyboard port AC-in PortVer 4 - iZZi+CE.fm Page 10 Monday, November 13, 2000 11:58 AM](https://usermanual.wiki/Samsung-Electronics-Co/S200/User-Guide-133712-Page-10.png)
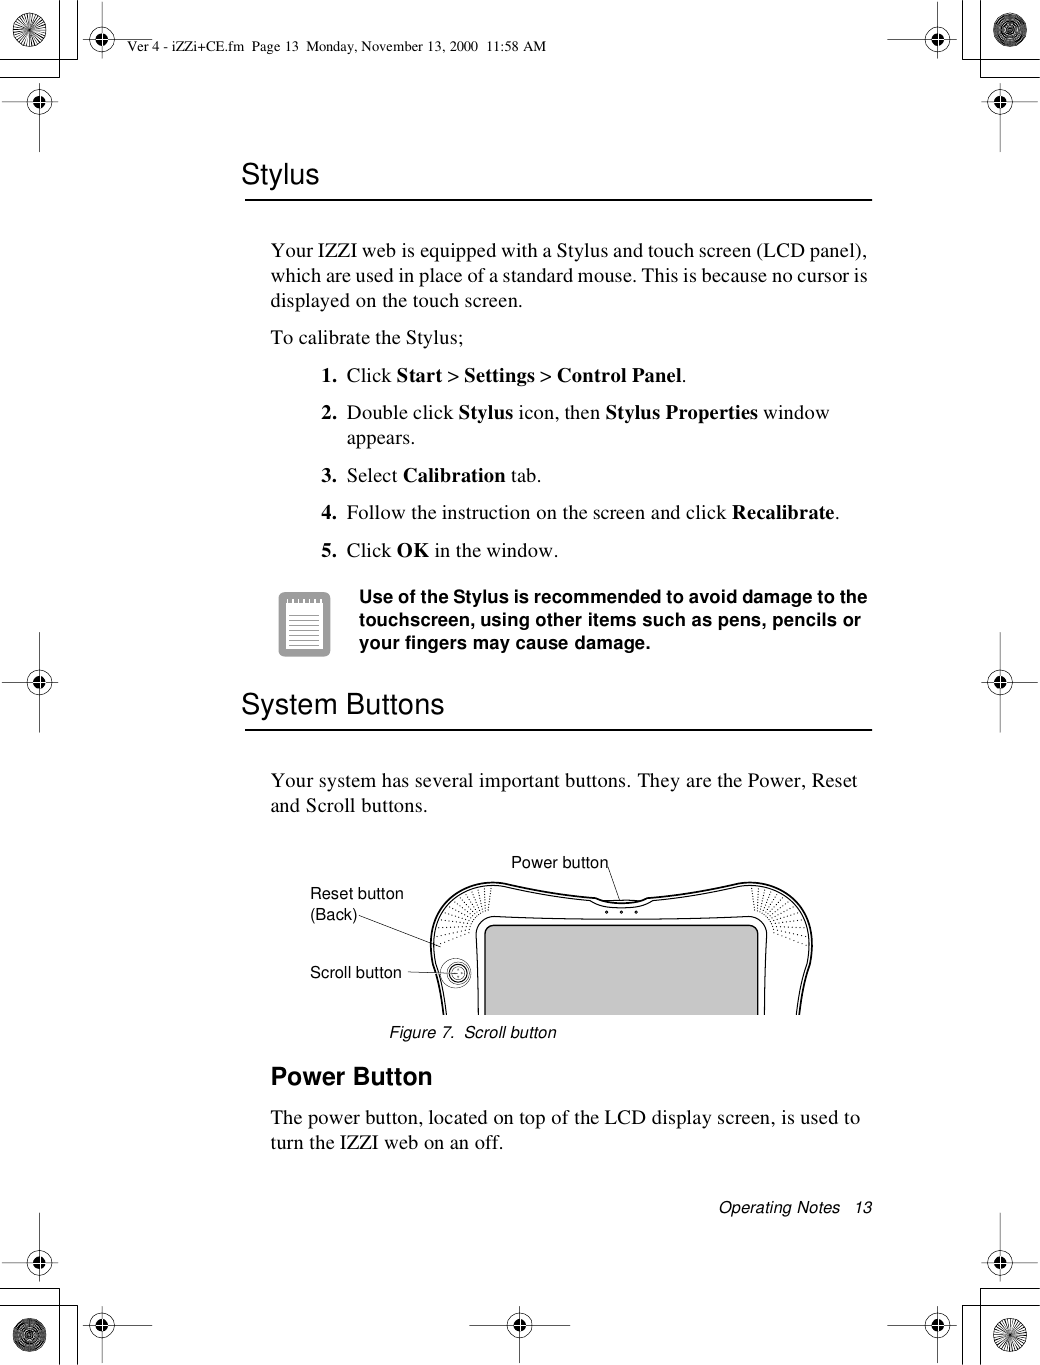
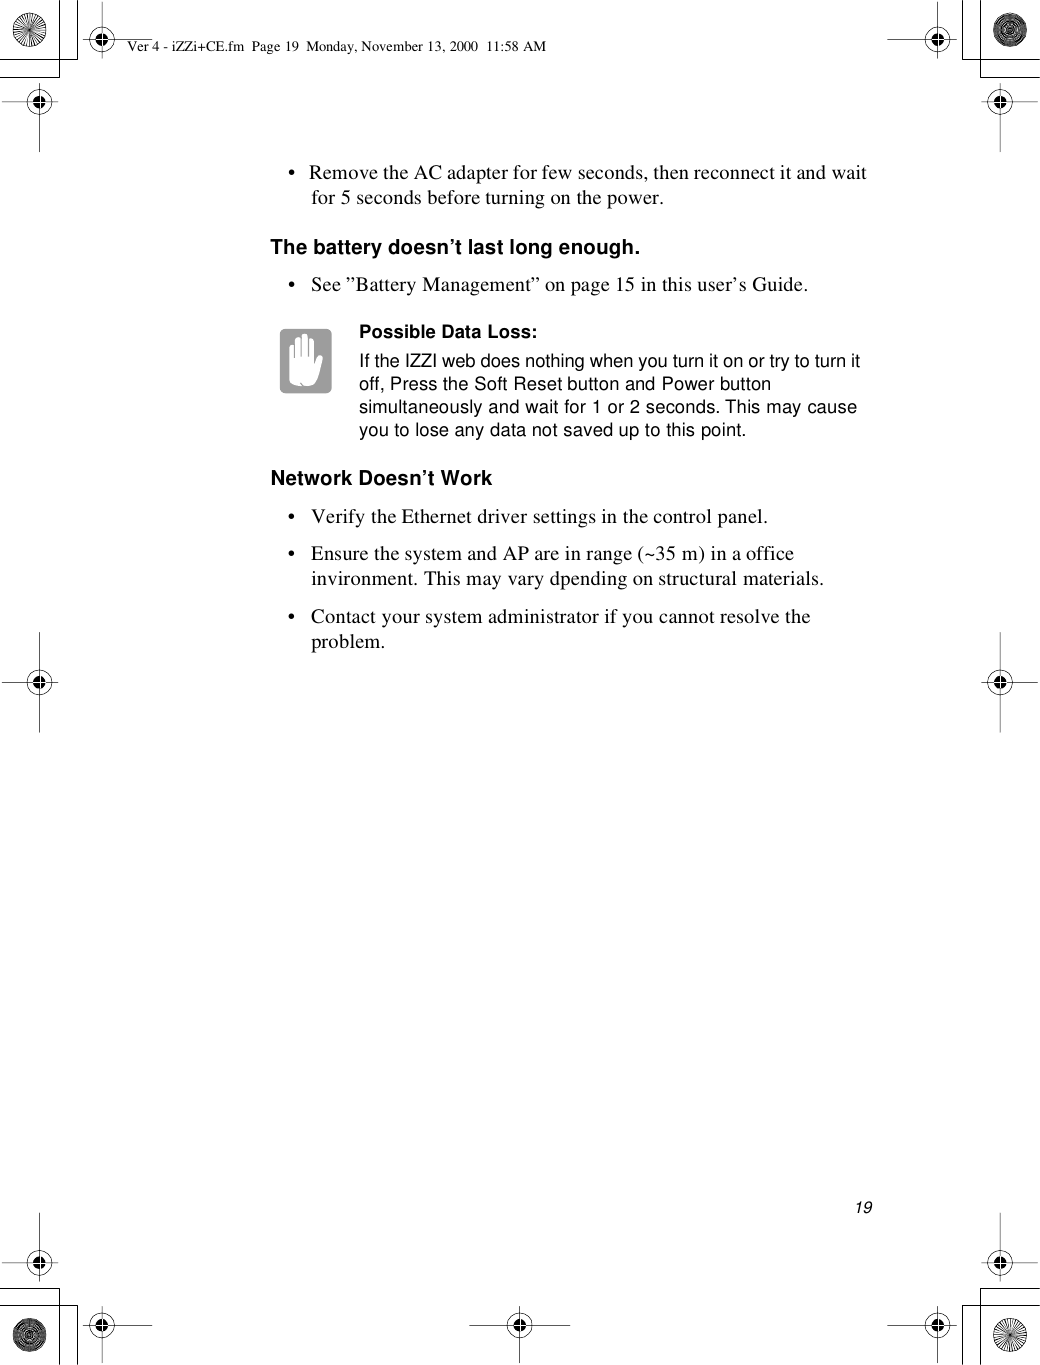
![12 User’s GuideTo use the keyboard insure the following is set;1. The angle between the IZZI web and the keyboard is +/- 40° ofparrallel.2. The distance from the IZZI web to the keyboard is a minimumof 10 Cm to maximum of 1 meter.Changing Keyboard BatteriesTo change the batteries, open the compartment on the bottom front of thekeyboard. Replace the 2 AAA size Alkaline batteries and replace thecover. The batteries will last about 3 months with an average use of 3hours per day.To clean the keyboard, use slightly damp cotton swabs. Scrub the keysand the surface around the keys.Do not allow liquid to drop into the keyboard. This maydamage the keyboard.Using the Special Functions KeysThe <Fn> key activates special functions when it is pressed incombination with another key. Table 2 shows these special keycombinations.Table1.Description of [Fn +] Special Function Keys<Fn> KeyCombination Function<Fn +F1> Prt Sc:Print Screen.<Fn +F2> Sys Rq :System Request<Fn +F3> :Decrease LCD Brightness<Fn +F4> :Increase LCD Brightness<Fn +F5> Mute:Mute<Fn +F6> :Decrease Speaker/Headset Volume<Fn +F7> :Increase Speaker/Headset Volume<Fn +F8> Rest :Suspend to RAM<Fn +F12> Scroll :Scroll LockVer 4 - iZZi+CE.fm Page 12 Monday, November 13, 2000 11:58 AM](https://usermanual.wiki/Samsung-Electronics-Co/S200/User-Guide-133712-Page-12.png)
![Operating Notes 15Infrared CommunicationsYou can use infrared (SIR) beaming for wireless transfer of informationbetween your IZZI web and any other device [PC, Printer or another IZZIweb] that is IR-ready.The infrared beaming is SIRwith a transfer rate of 115 K-bps Maximum.To use infrared beaming:•Position the IZZI web IR port and the IR port of the otherdevice so that they are lined up and within three feet (onemeter) of each other without blocking.•Some fluorescent lights will interfere with the transmission ofdata. If this occurs turn off / reduce the amount of fluorescentlights in the immediate area or move to a location withdifferent lighting such as incandescent lights.Battery ManagementThe IZZI web has three basic battery states, Normal, Low and Very Low.The Normal state is from 50% to 100%. When the battery charge is lessthan 50% a warning message is displayed and you should follow the stepsbelow to conserve battery life.Follow these tips to conserve your battery and extend its life:•Recharge the batteries while you are on the road by using theIZZI web with the AC adapter whenever circumstances permit.•Change the default shut-off time when running on batteries.The default is three minutes. Choose Start >Settings >Control Panel > - Double -Click Power and select Power Offtab, then select a shorter time.•Reduce LCD display brightness.•Disable sounds you don’t absolutely need to hear. ChooseStart >Settings >Control Panel - Double -Click the Volume&Soundsicon, then select the sounds as needed.Ver 4 - iZZi+CE.fm Page 15 Monday, November 13, 2000 11:58 AM](https://usermanual.wiki/Samsung-Electronics-Co/S200/User-Guide-133712-Page-15.png)
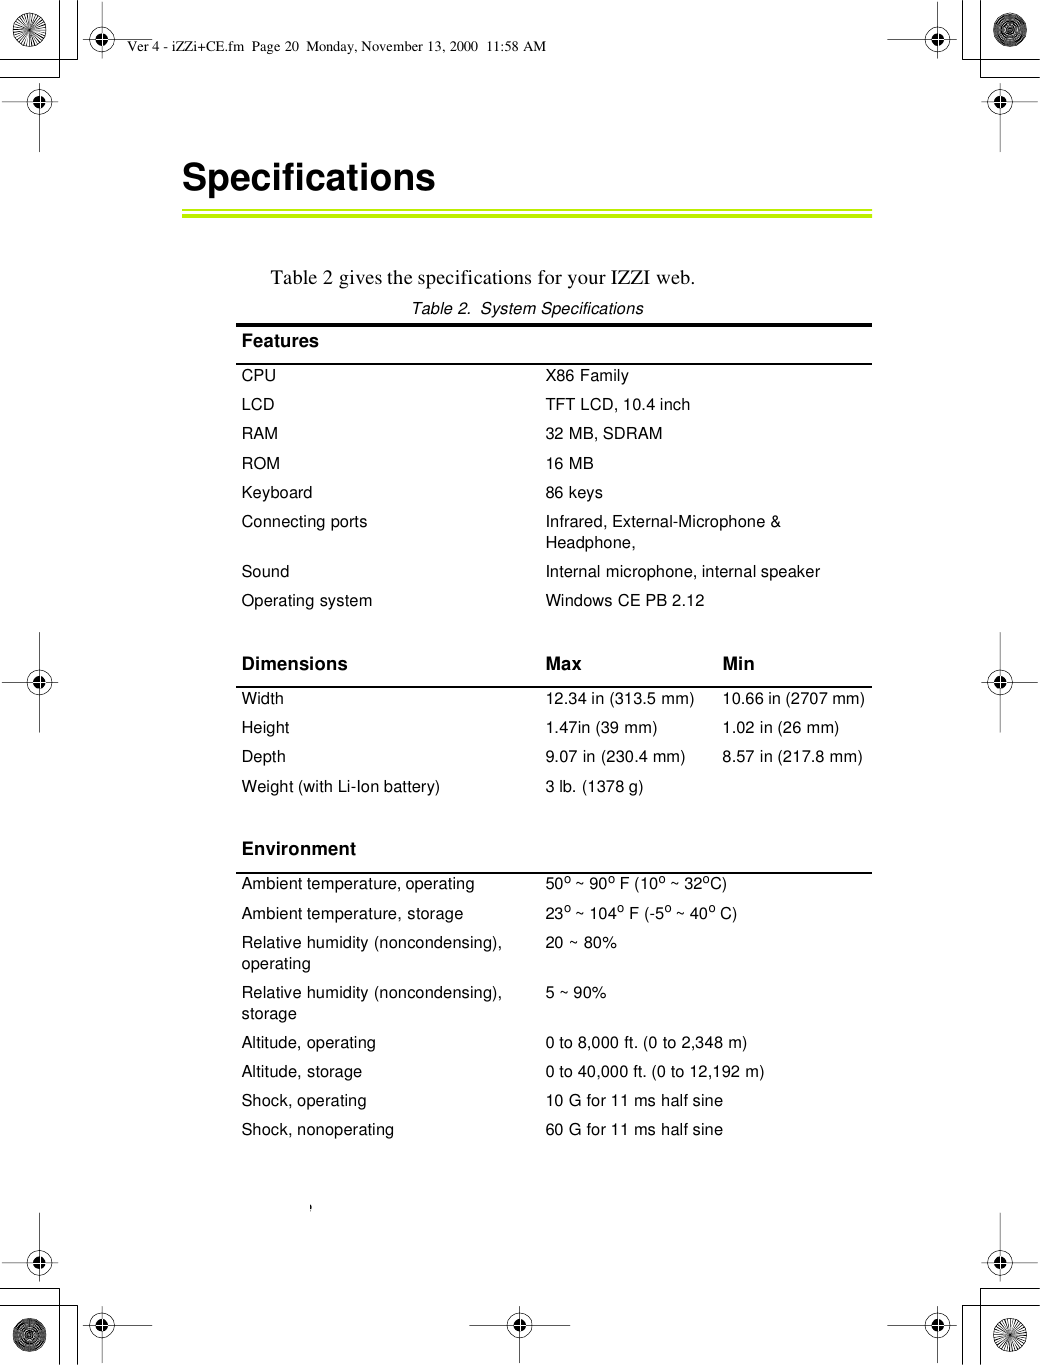
![16User’s GuideThe IZZI web will automacically enter suspend mode when the batterypower is less than 5%. When this happens the data you have will beretained in memory for about 48 hours if you do not plug in the ACadapter.Smart Media CardTo install a Smart Media card in the IZZI web, follow these steps:Figure 9. Inserting theSmartMediaCard1. Identify the connecting edge of the card [the one with thechamfered edge]. Insert the Smart Media card with the metallicchip toward the front of the IZZI web until you feel it seat itself.It will feel similar to a television on/off switch.2. Follow the enclosed documentation included with the card.To remove the Smart Media card;1. Press the Smart Media card to pop it out.2. Remove the card.Connecting Peripheral DevicesThere are several external devices which you may wish to use with yourIZZI web. They are a external microphone and/or a set of headphones.You may also use an external power supply to reduce the load on thebatteries.Ver 4 - iZZi+CE.fm Page 16 Monday, November 13, 2000 11:58 AM](https://usermanual.wiki/Samsung-Electronics-Co/S200/User-Guide-133712-Page-16.png)


![Glossary45Command barThe combination toolbar and menu bar used in Windows CE.Communications portA serial communications port used to connect equipment, such asmobile devices, modems, and printers.Compact flash cardA modem, network, or storage card that you plug into your device.ConnectionThe ability to interact with another device, computer, or theInternet by means of a serial, IR, Ethernet, or dial-up connection.DataInformation that is stored in any of your Windows CE programfiles.Desktop computerA computer running Microsoft Windows 95/98/Me or WindowsNT to which you connect your device.Dial-up connectionA connection between your device and a remote computer bymeans of a modem. You connect to your Internet Service Provider[ISP].Direct connectionA connection between your device and another computer bymeans of an IR port.DioPenA handwriting recognition program that allows computer input viapen like writing device directly on the LED display screen.DownloadThe process of transferring data from your desktop computer toyour device.E-mailMessages and other items that you send and receive with Inbox.Ver 4 - iZZi+CE.fm Page 45 Monday, November 13, 2000 11:58 AM](https://usermanual.wiki/Samsung-Electronics-Co/S200/User-Guide-133712-Page-45.png)