Samsung Electronics Co SCHA301 Single-Mode Cellular Phone (CDMA) User Manual
Samsung Electronics Co Ltd Single-Mode Cellular Phone (CDMA) Users Manual
UserManual.wiki
>
Samsung Electronics Co
>
SCHA301 User Manual
Users Manual
Navigation menu
Upload a User Manual
Namespaces
Wiki Guide
HTML
PDF
Info
Views
User Manual
Discussion / Help
Navigation

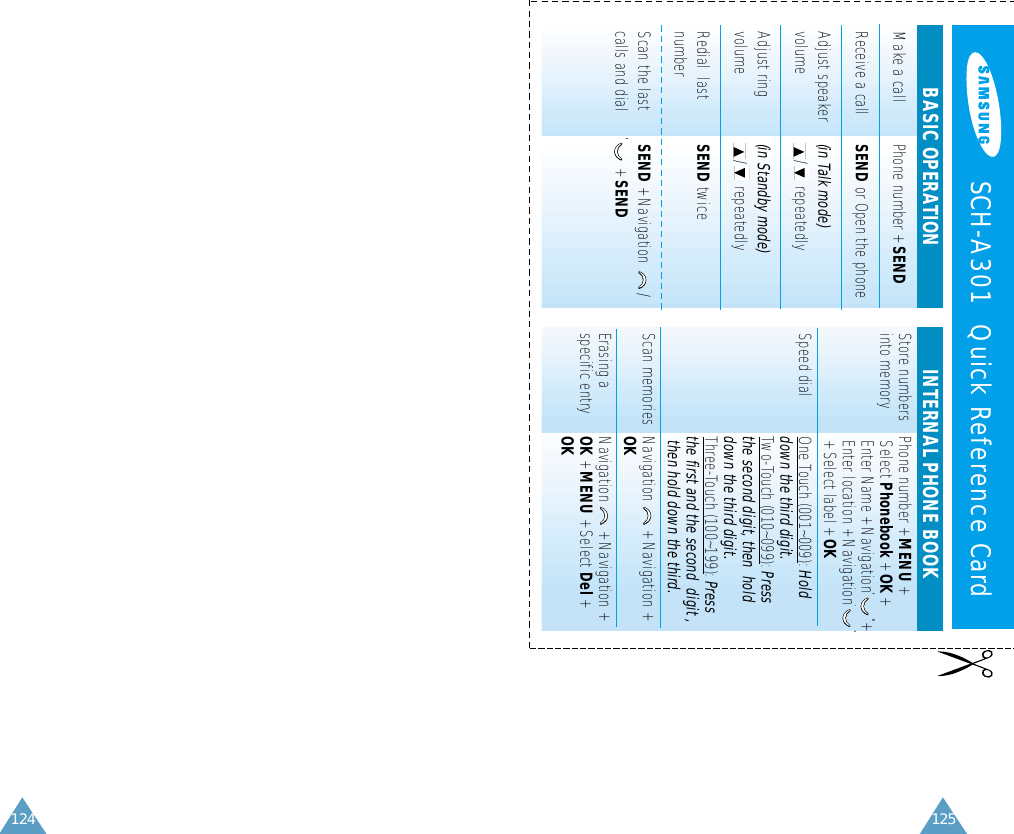
![Low Battery IndicatorWhen the battery charge level is almost empty andonly a few minutes of talk time remain, an emptybattery icon (no bars displayed) blinks in the top rightcorner of the display. You will hear a warning tone.When the battery becomes too weak for the phoneto operate, it switches off automatically.17GGeettttiinngg SSttaarrtteedd16GGeettttiinngg SSttaarrtteedd1. With the battery in position on the phone, connectthe lead from the travel charger to the jack on thebottom of the phone.2. Plug the power cord of the charger into a standardwall outlet. 3. When charging finished (the indicator on theconnector of the charger turns green), disconnectthe charger from the power outlet and remove itfrom the phone by squeezing the two tabs on thelead(➀) and unplug the lead (➁).SAMSUNG05/03[THU] 10:08A➀➁➀](https://usermanual.wiki/Samsung-Electronics-Co/SCHA301/User-Guide-155676-Page-11.png)
![19GGeettttiinngg SSttaarrtteedd18GGeettttiinngg SSttaarrtteeddSwitching the Phone On/Off1. Open the phone.2. Press and hold down to switch the phone on.The service light of the phone flashes, and an alertsounds. When the system locates services, thegreeting message displays along with the date andtime. The external LCD shows the signal strength,battery strength and current time and date.• If the phone is out of service, the iconappears in the display. In this case, you cannotplace and receive calls. You can try again laterwhen service is available.• If your phone is locked, the Lock icon displays. Enter the four-digit lock code to use thephone.To unlock your phone, deactivate the Auto Lockmenu option (Menu 9- ). For details, see page111.3. When you wish to switch the phone off, press andhold down until the power off animationbegins to play.WARNING!Do not switch on the phone when the mobilephone use is prohibited or when it may causeinterference or danger.Note: Your phone has a built-in antenna. As withany other radio-transmitting device, do nottouch the antenna unnecessarily when thephone is switched on. Contact with theantenna affects call quality and may causethe phone to operate at a higher power levelthan otherwise needed.Your Phone’s ModesStandby ModeStandby is the most basic state of your phone. Thephone goes into Standby mode soon after you turn iton, or whenever you briefly press . When yourphone is in Standby mode, you will typically see thegreeting message and current date and time. If youenter a phone number, you can press to dial it.Press at any time to return to Standby mode. Becareful; if you are on a call when you press , youwill return to Standby mode, but it also disconnectsthe call. Press several times or hold it down toreturn to Standby mode without ending the call.SAMSUNG05/03[THU] 12:25P12:25 PM5/03 THU](https://usermanual.wiki/Samsung-Electronics-Co/SCHA301/User-Guide-155676-Page-12.png)

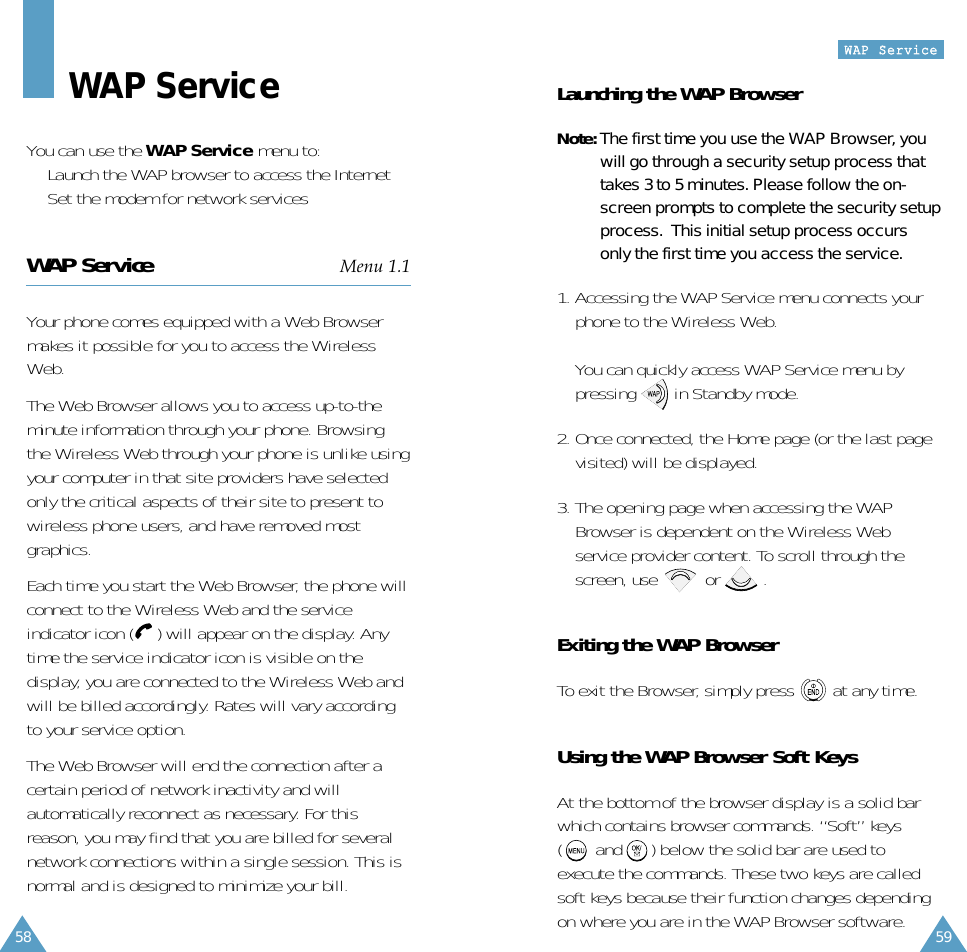

![63WWAAPP SSeerrvviiccee62WWAAPP SSeerrvviicceeEntering Text, Numbers or Symbols in theWeb BrowserWhen prompted, you can enter text, numbers orsymbols using the same way as in the phone mode.See page 34 on how to enter letters.Using LinksLinks have several purposes, including jumping to adifferent page, jumping to a different site, or eveninitiating a phone call from some sites. Links areshown inside of brackets ( [ ] ), and you cannormally use the left soft key to select a link when itis highlighted.Initiating a Phone Call during a WebBrowser SessionYou may initiate a phone call from the Web Browserif the site you are using supports this feature (thephone number may be highlighted and the left softkey will appear as “Call.”). In most cases, you canalso use to call the number. The browserconnection will be terminated when you initiate thecall. After you end the call, your phone will return toStandby mode.Using BookmarksYou can bookmark many individual pages for easyaccess at a later time. Bookmarks save you time byreducing the number of steps it takes to access adesired page.To Create a Bookmark1. Go to the page that you want to mark.2. Press and hold . A list of options appears.3. Select Mark Site.4. If the page has a title, it will be automatically usedfor the name of the bookmark. You can also changethe bookmark name. Selecting Save will save thename and add the page to your list of bookmarks.5. A message will appear confirming that the bookmarkwas added to the list. Select OK to return to thescreen that you marked to resume navigation withinthe Web Browser.6. The new bookmark is added to the bottom of yourbookmark list.Finding a Bookmark1. From the Home Page, select Bookmarks.2. Select the bookmark you want and press .Or, from the Home Page, press and hold the numberassociated with the bookmark in the bookmark list.](https://usermanual.wiki/Samsung-Electronics-Co/SCHA301/User-Guide-155676-Page-34.png)