Samsung Electronics Co SCHE159 Single-Band Cellular CDMA Phone User Manual C s and Settings Admi
Samsung Electronics Co Ltd Single-Band Cellular CDMA Phone C s and Settings Admi
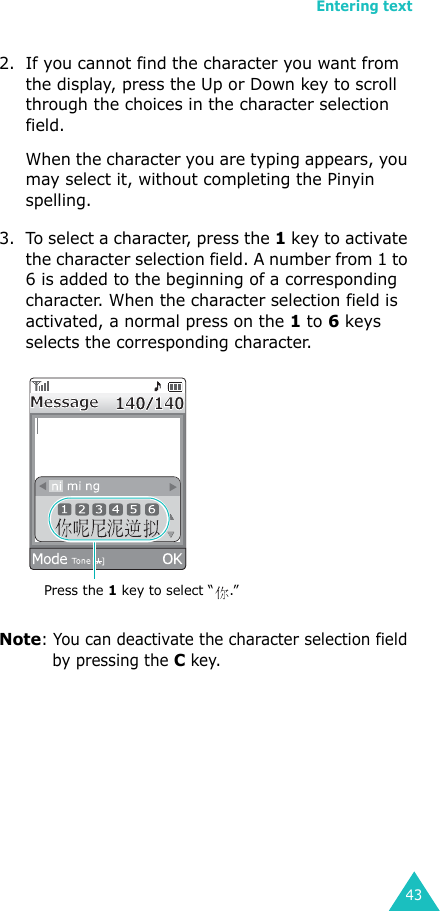
UserManual.wiki
>
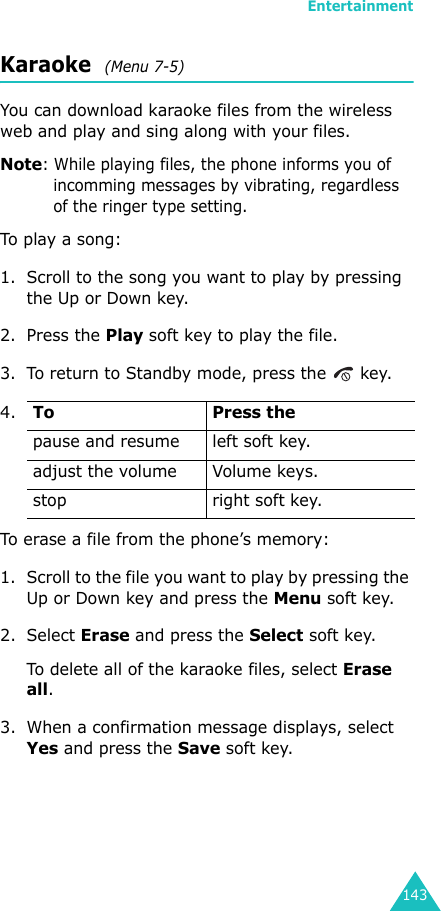
Samsung Electronics Co
>
SCHE159 User Manual
Users Manual
Navigation menu
Upload a User Manual
Namespaces
Wiki Guide
HTML
PDF
Info
Views
User Manual
Discussion / Help
Navigation

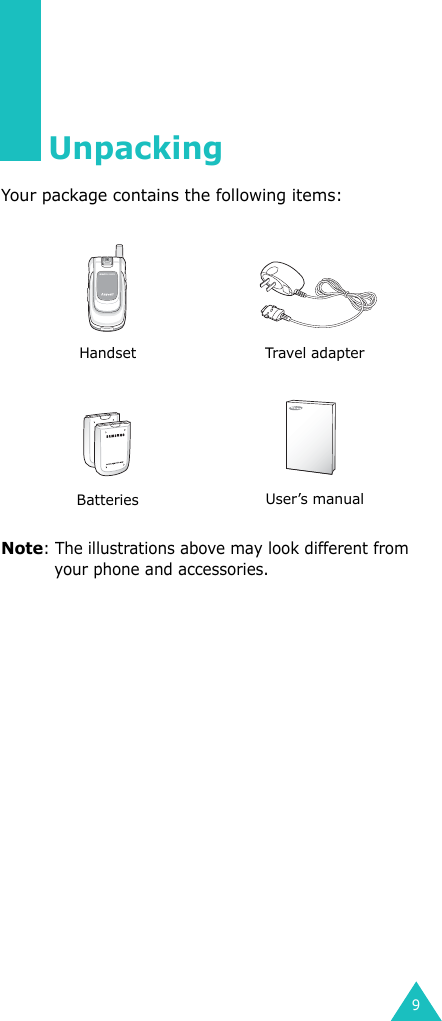

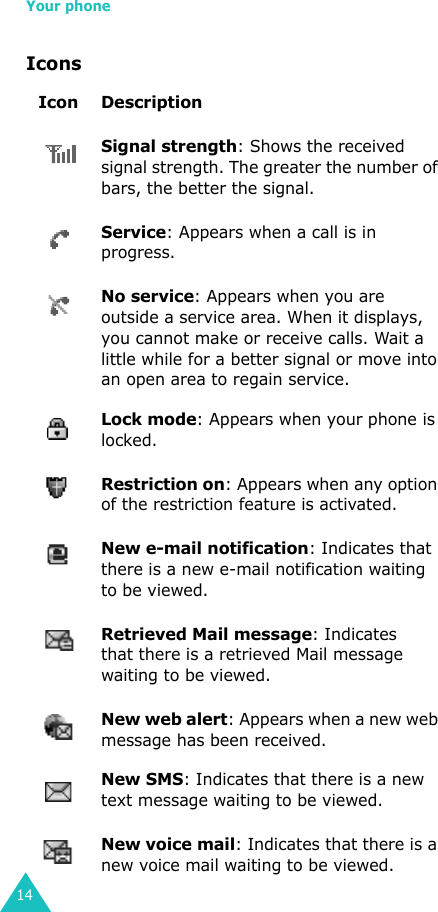


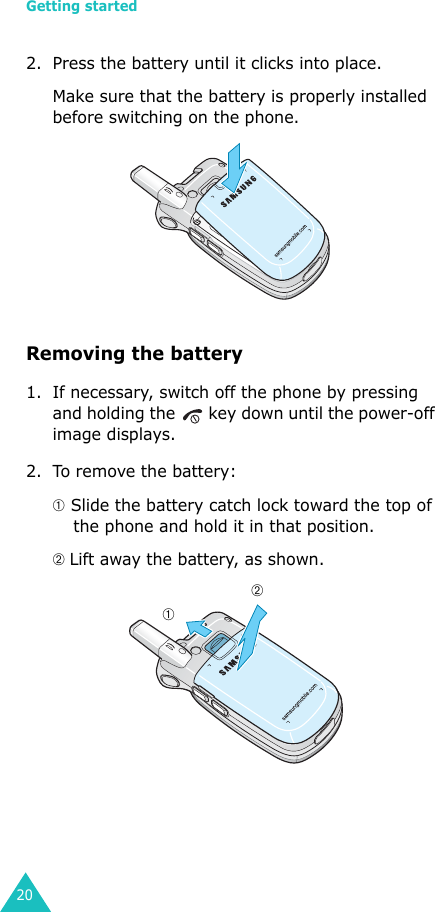

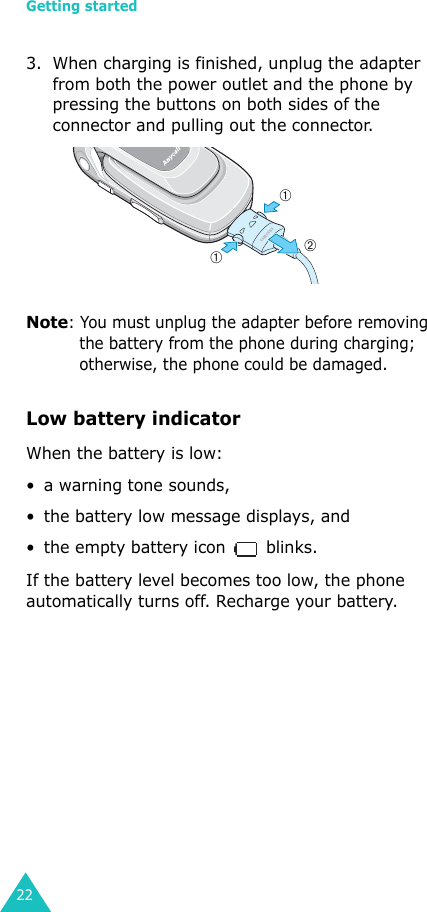
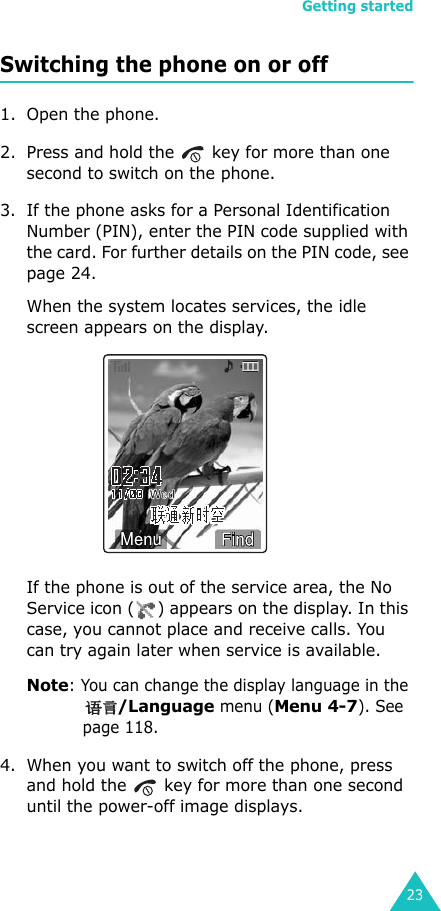


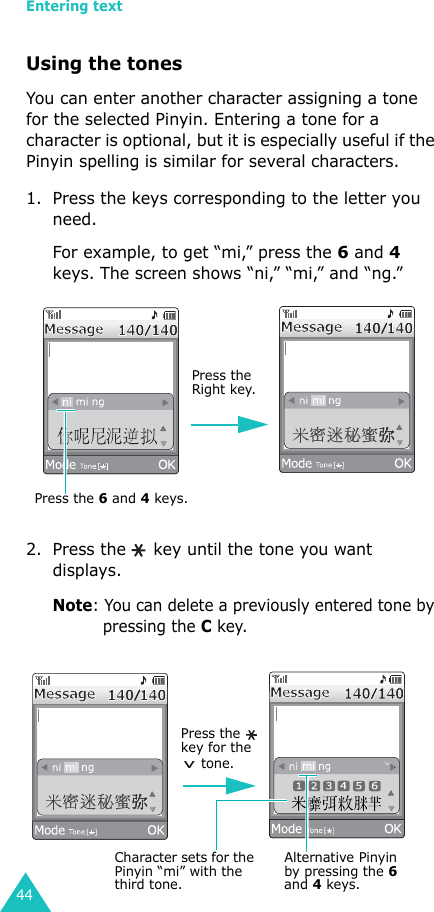
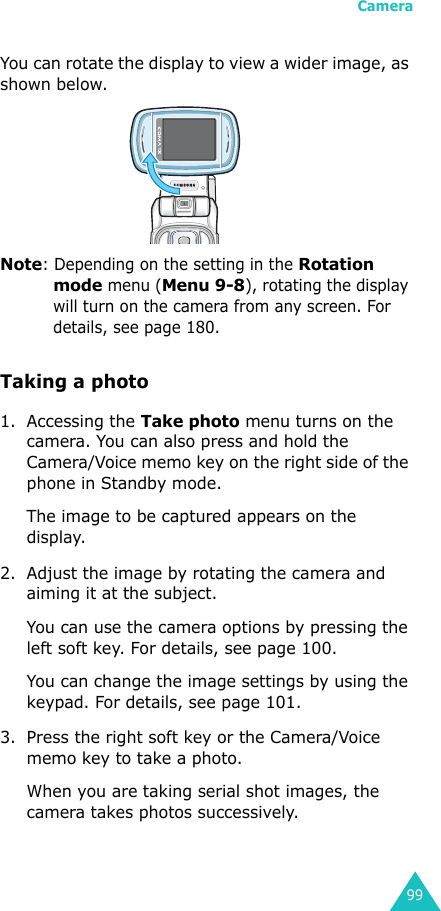
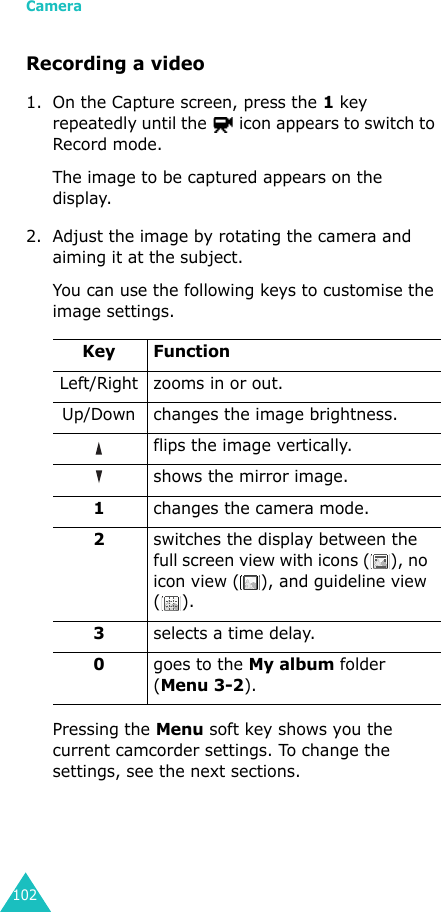
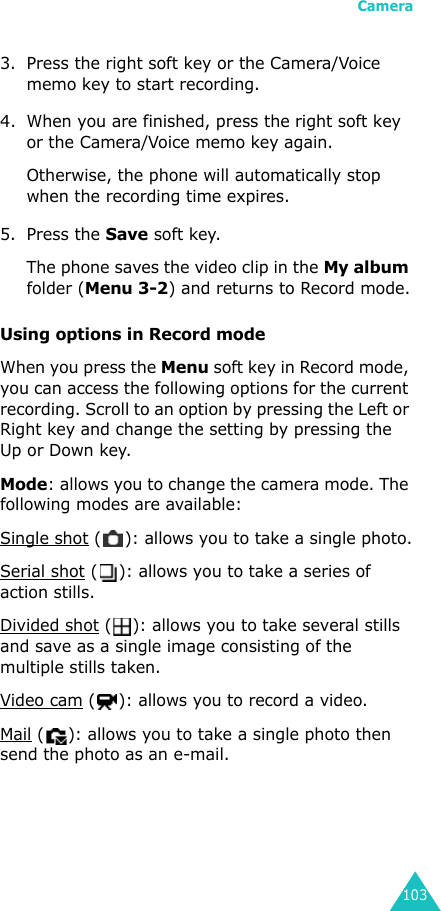
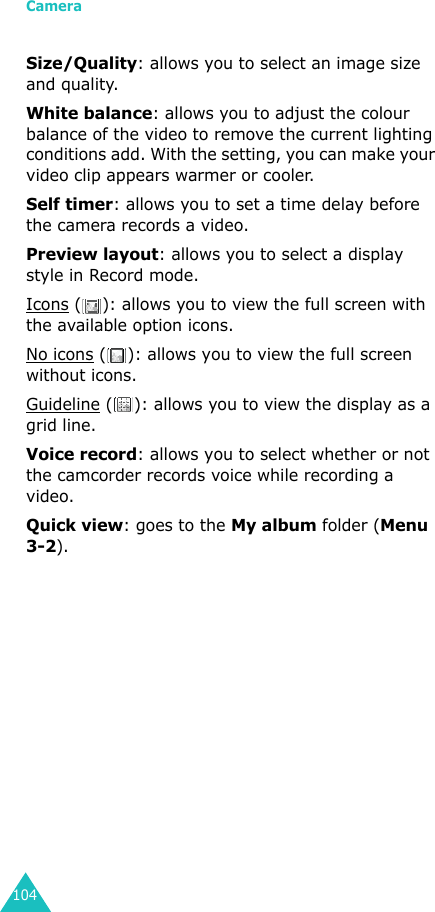
![Entering text50Refer to the table below for the list of characters assigned to each key.(Caps Lock mode)Changing the letter-caseTo shift the case of the next letter(s) that you type, press the key. There are three cases: •Abc: Initial Capital•abc: Lower Case•ABC: Capitals LockInserting a spacePress the key to insert a space between words.Including a numberYou can quickly include a number between letters. Press and hold the corresponding number key.Key Characters in the order displayed 1 2 3 4 5 6 7 8 9 0 . @ – _ / : ~ ? , 1 ; ' ( ) ! # % & * < > + = " \ { } $ [ ] ABC2DEF3GHI4JKL5MNO6P Q R S 7TUV8W X Y Z 90](https://usermanual.wiki/Samsung-Electronics-Co/SCHE159/User-Guide-598169-Page-52.png)