Samsung Electronics Co SCX4726FN Mono Laser Multifuction Printer User Manual Batian english
Samsung Electronics Co Ltd Mono Laser Multifuction Printer Batian english
UserManual.wiki
>
Samsung Electronics Co
>
SCX4726FN User Manual
>
Users Manual 2
Contents
1.
Users Manual 1
2.
Users Manual 2
Users Manual 2
Navigation menu
Upload a User Manual
Namespaces
Wiki Guide
HTML
PDF
Info
Views
User Manual
Discussion / Help
Navigation


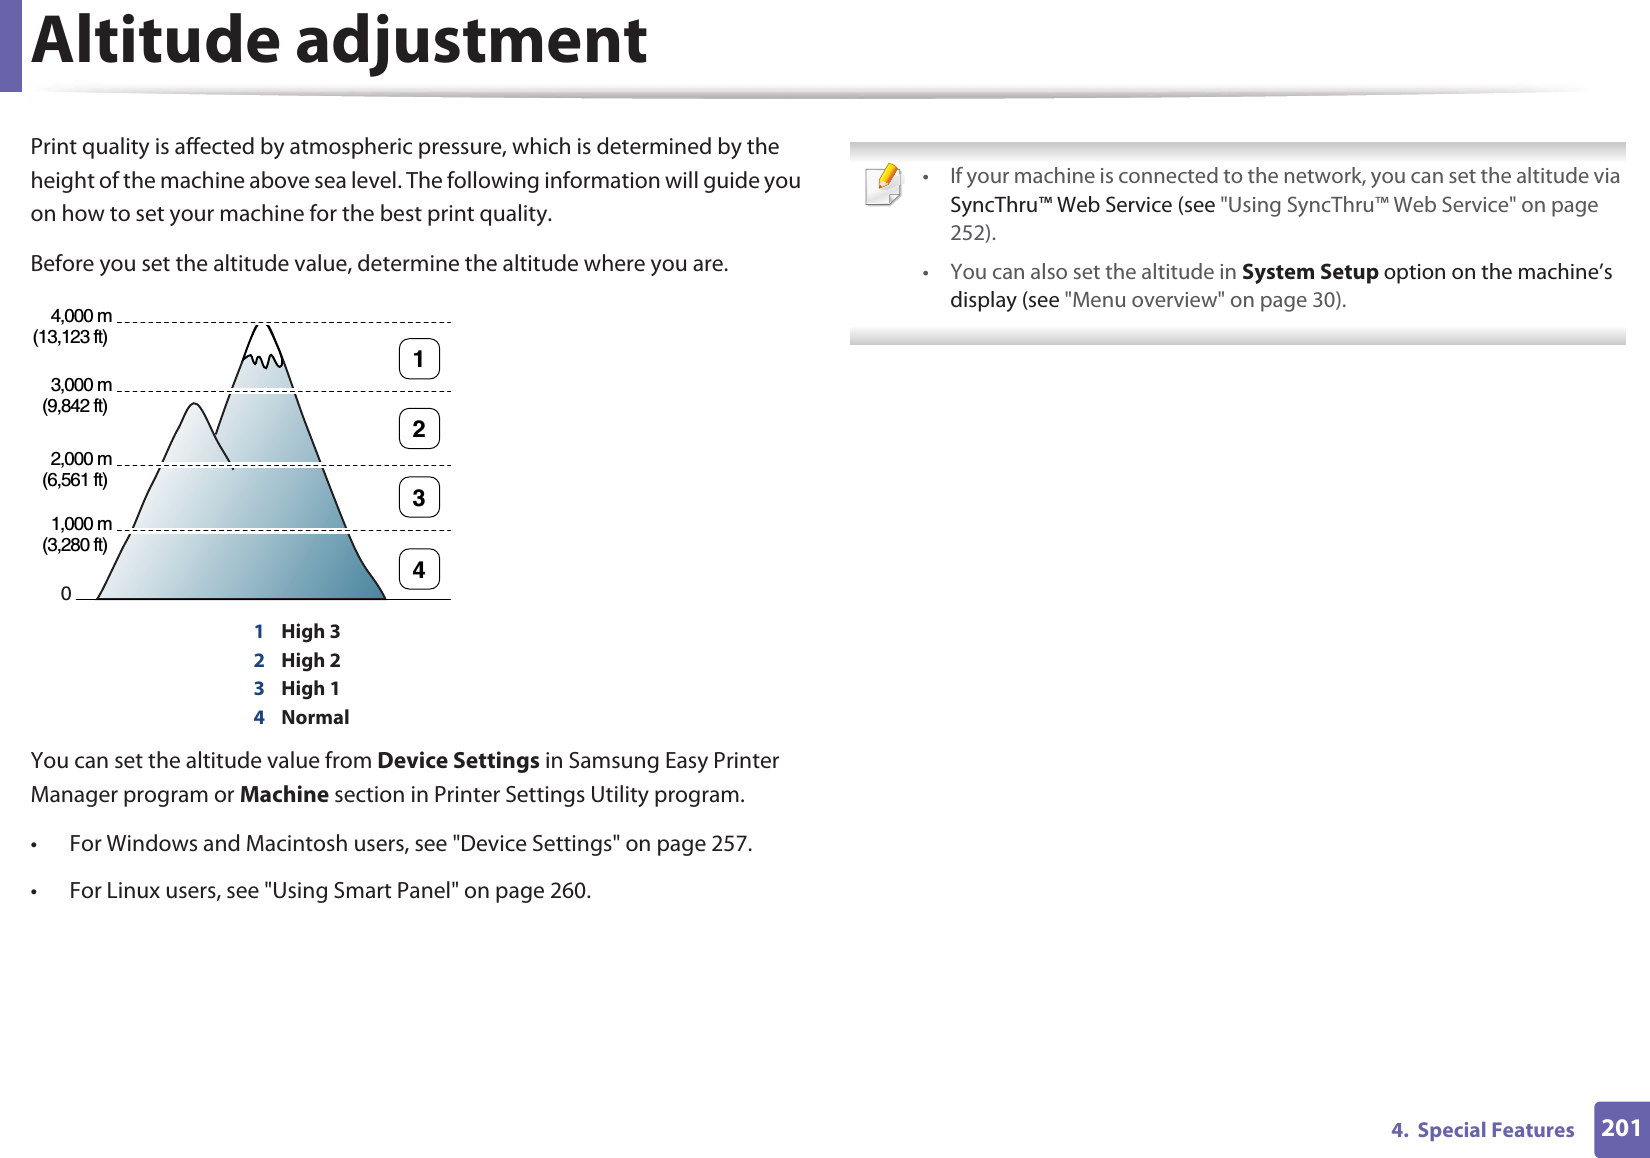
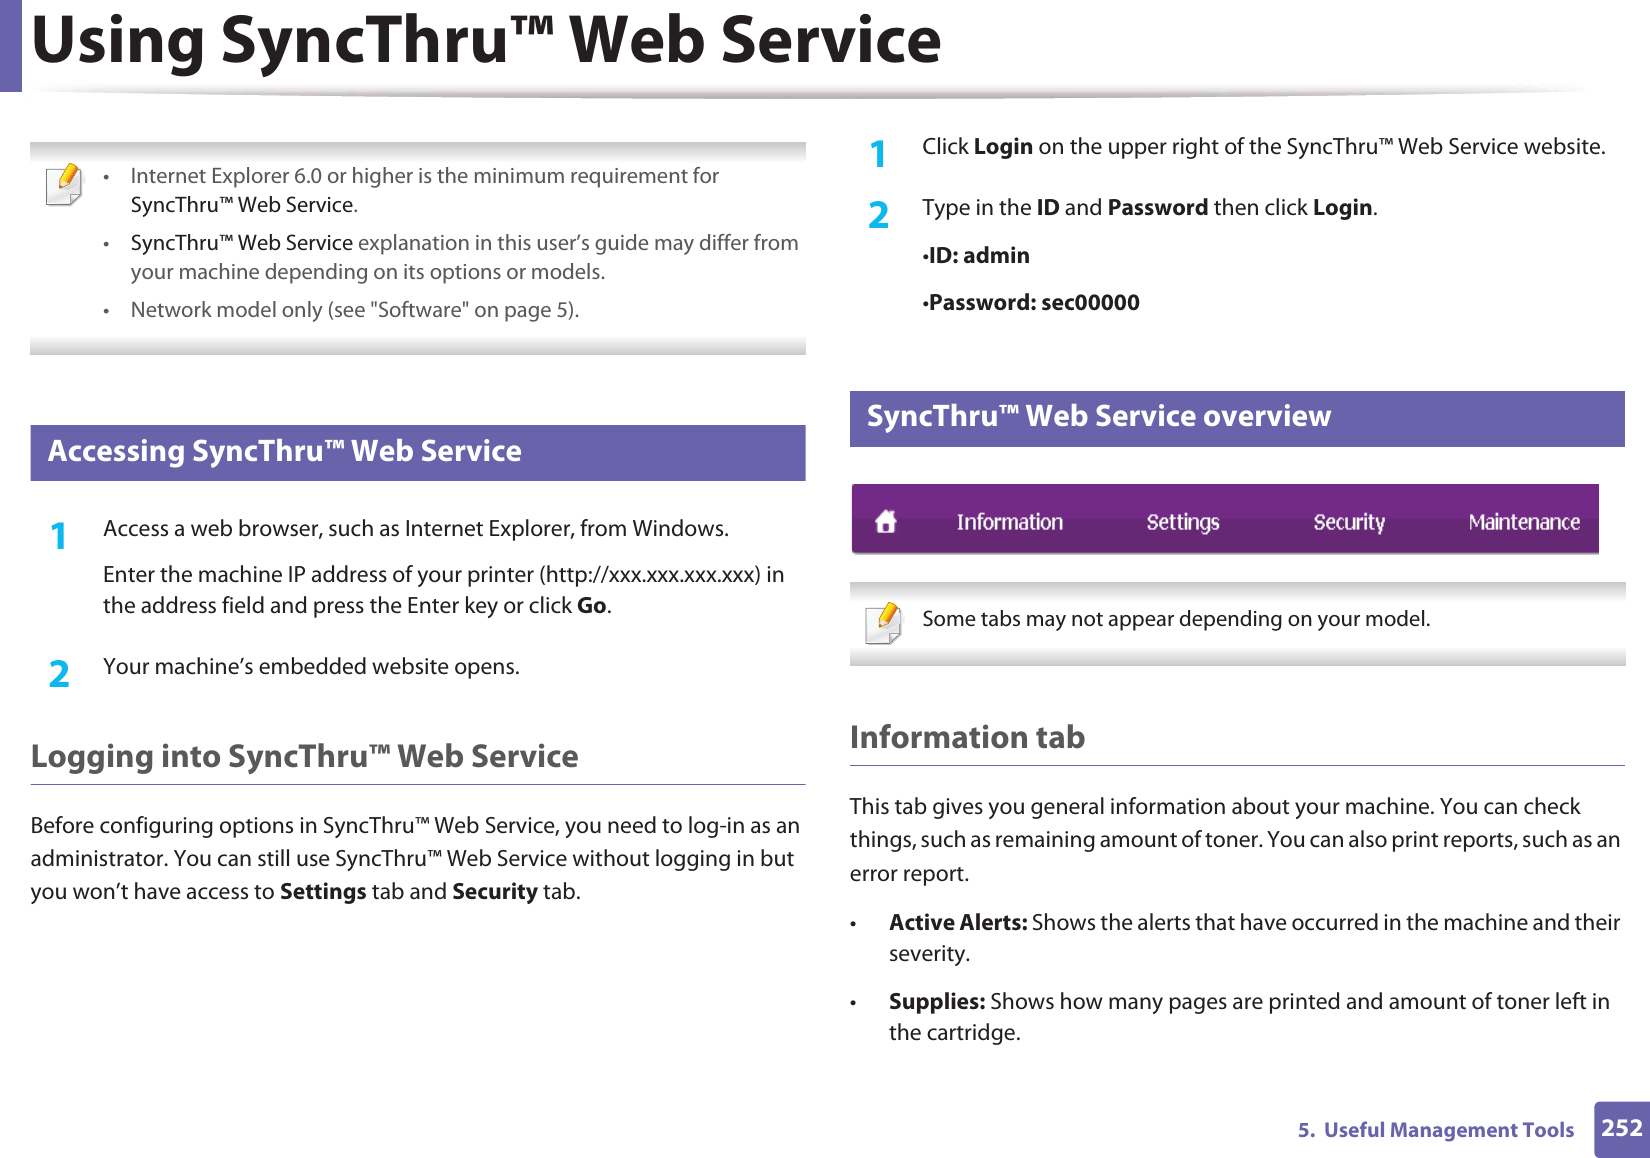
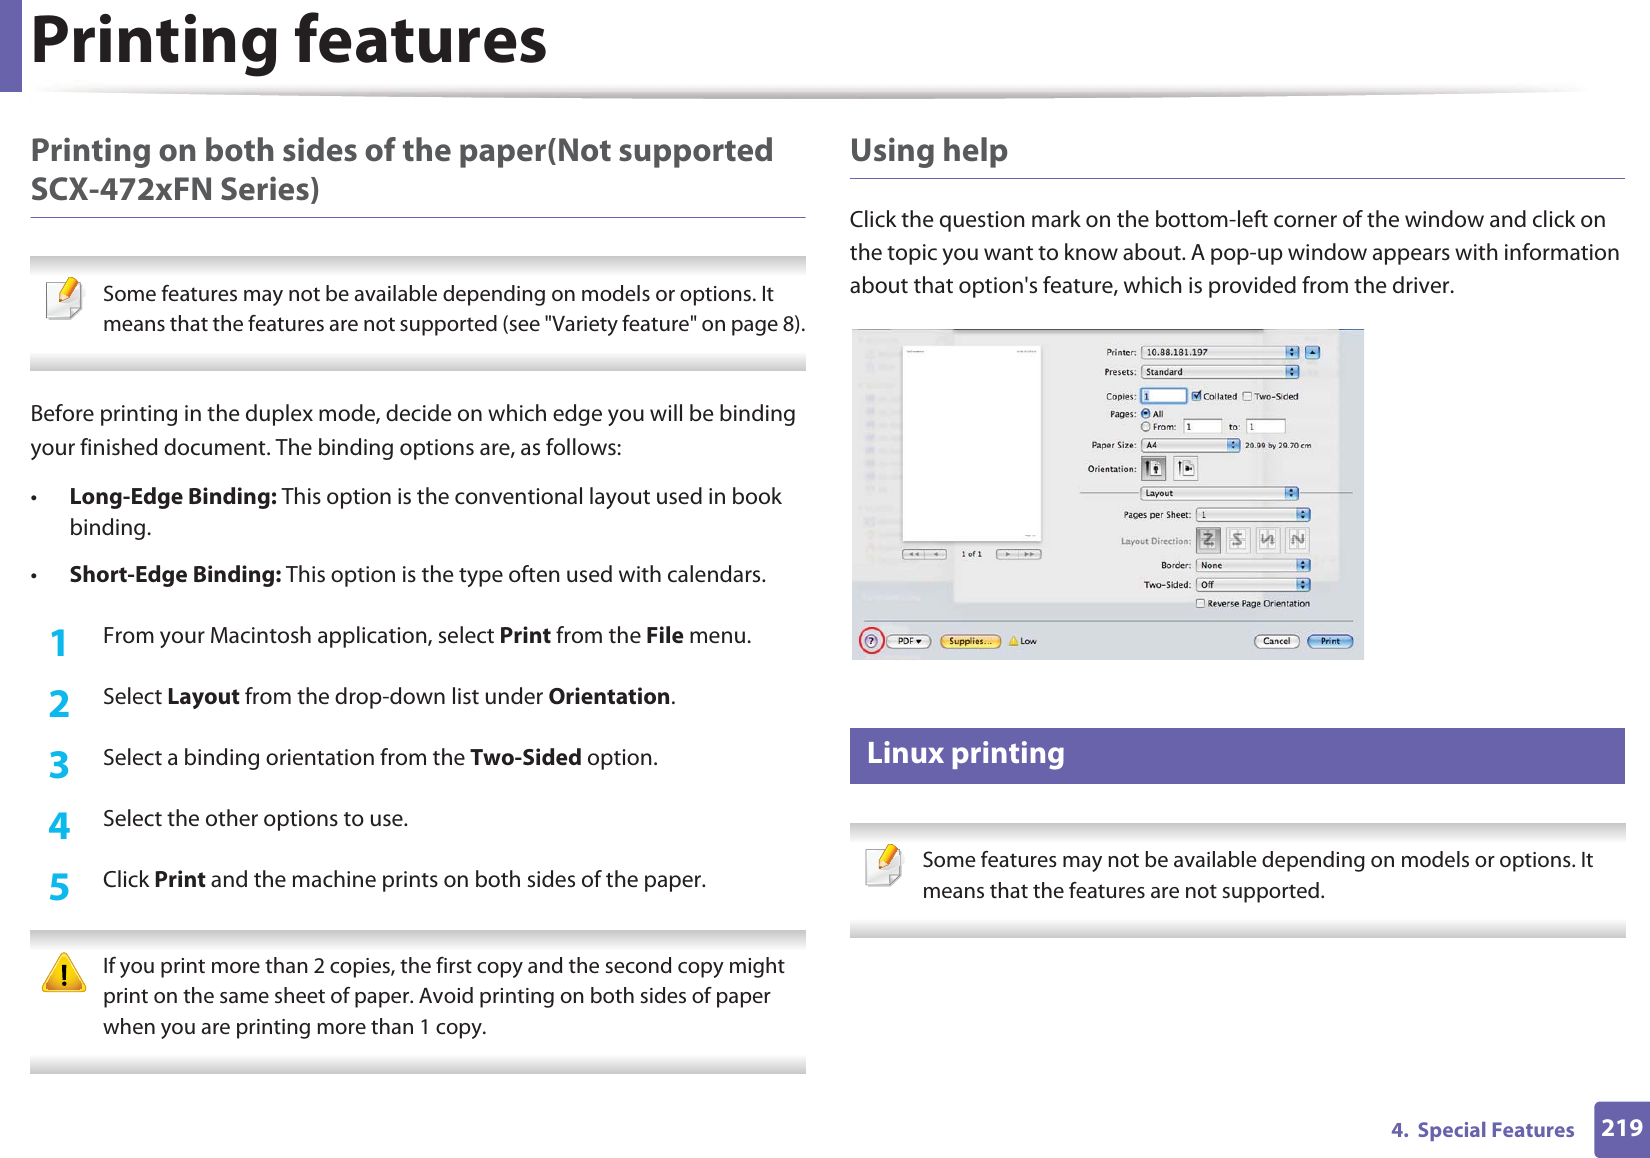
# # = | ? " : { } < > ;(These symbols are available when you type for network authentication.)](https://usermanual.wiki/Samsung-Electronics-Co/SCX4726FN.Users-Manual-2/User-Guide-1757813-Page-54.png)


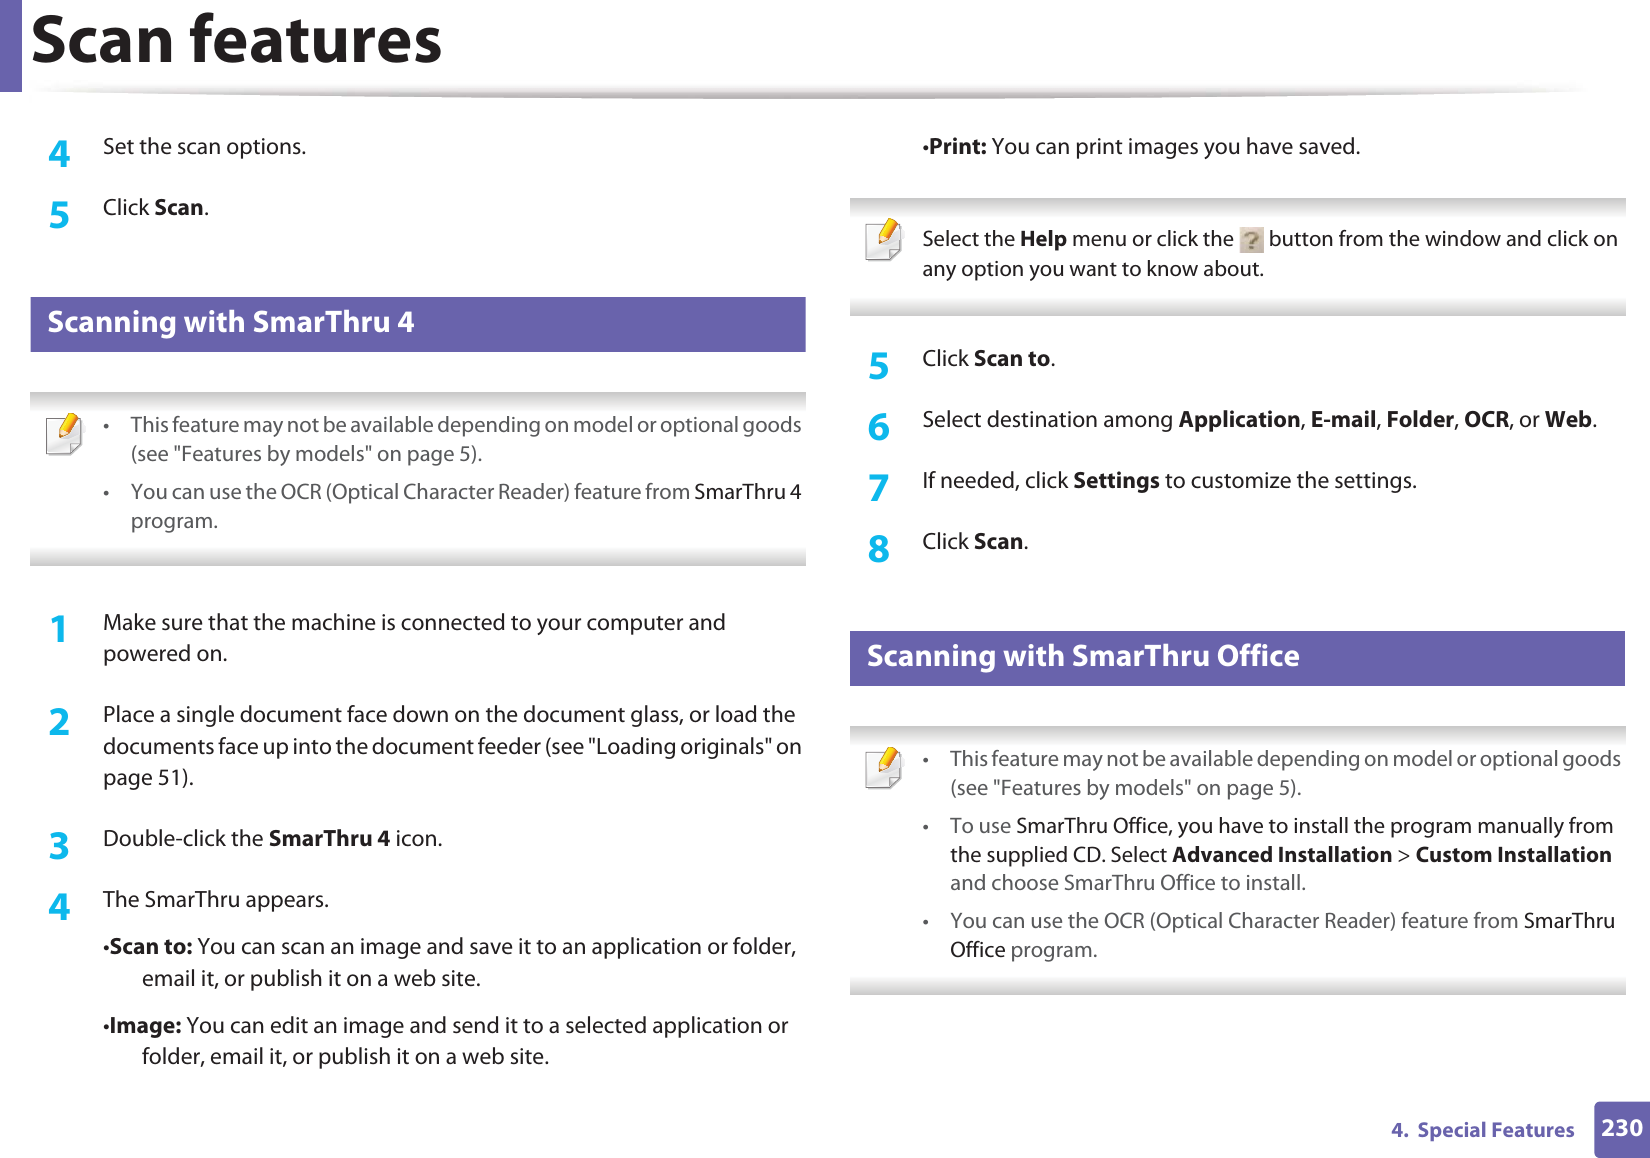


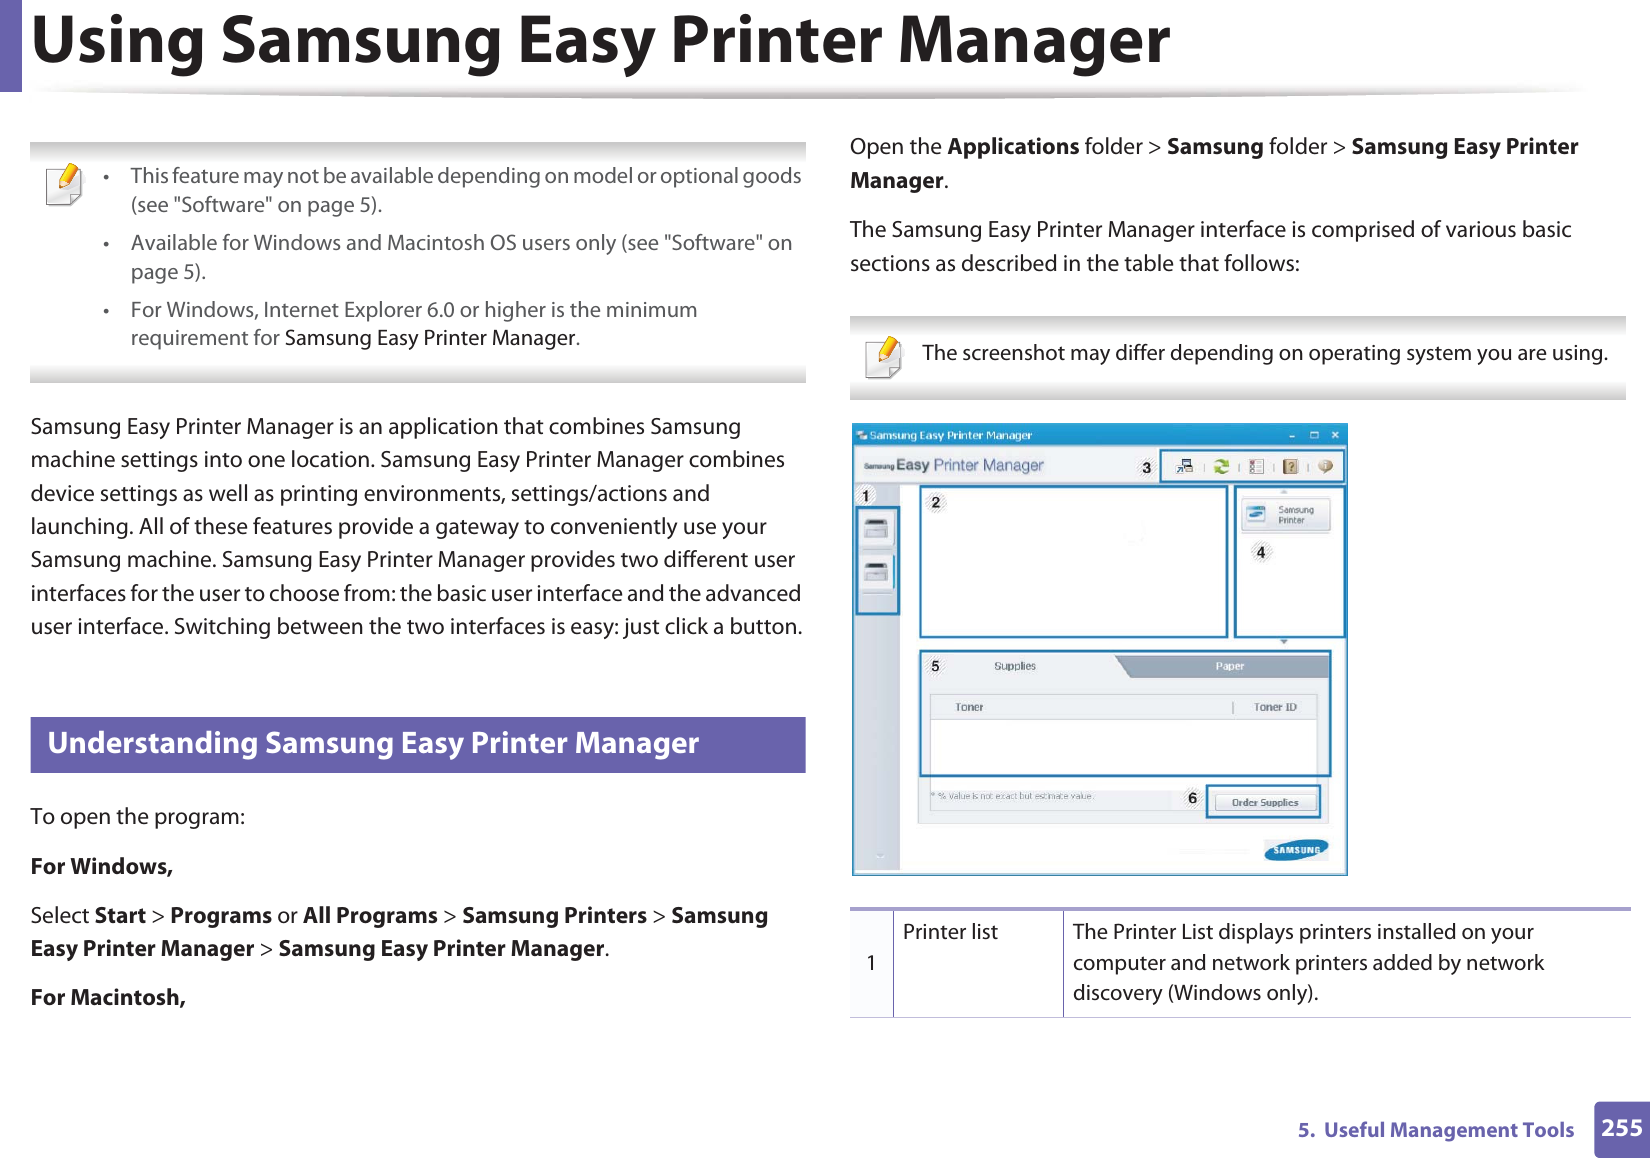
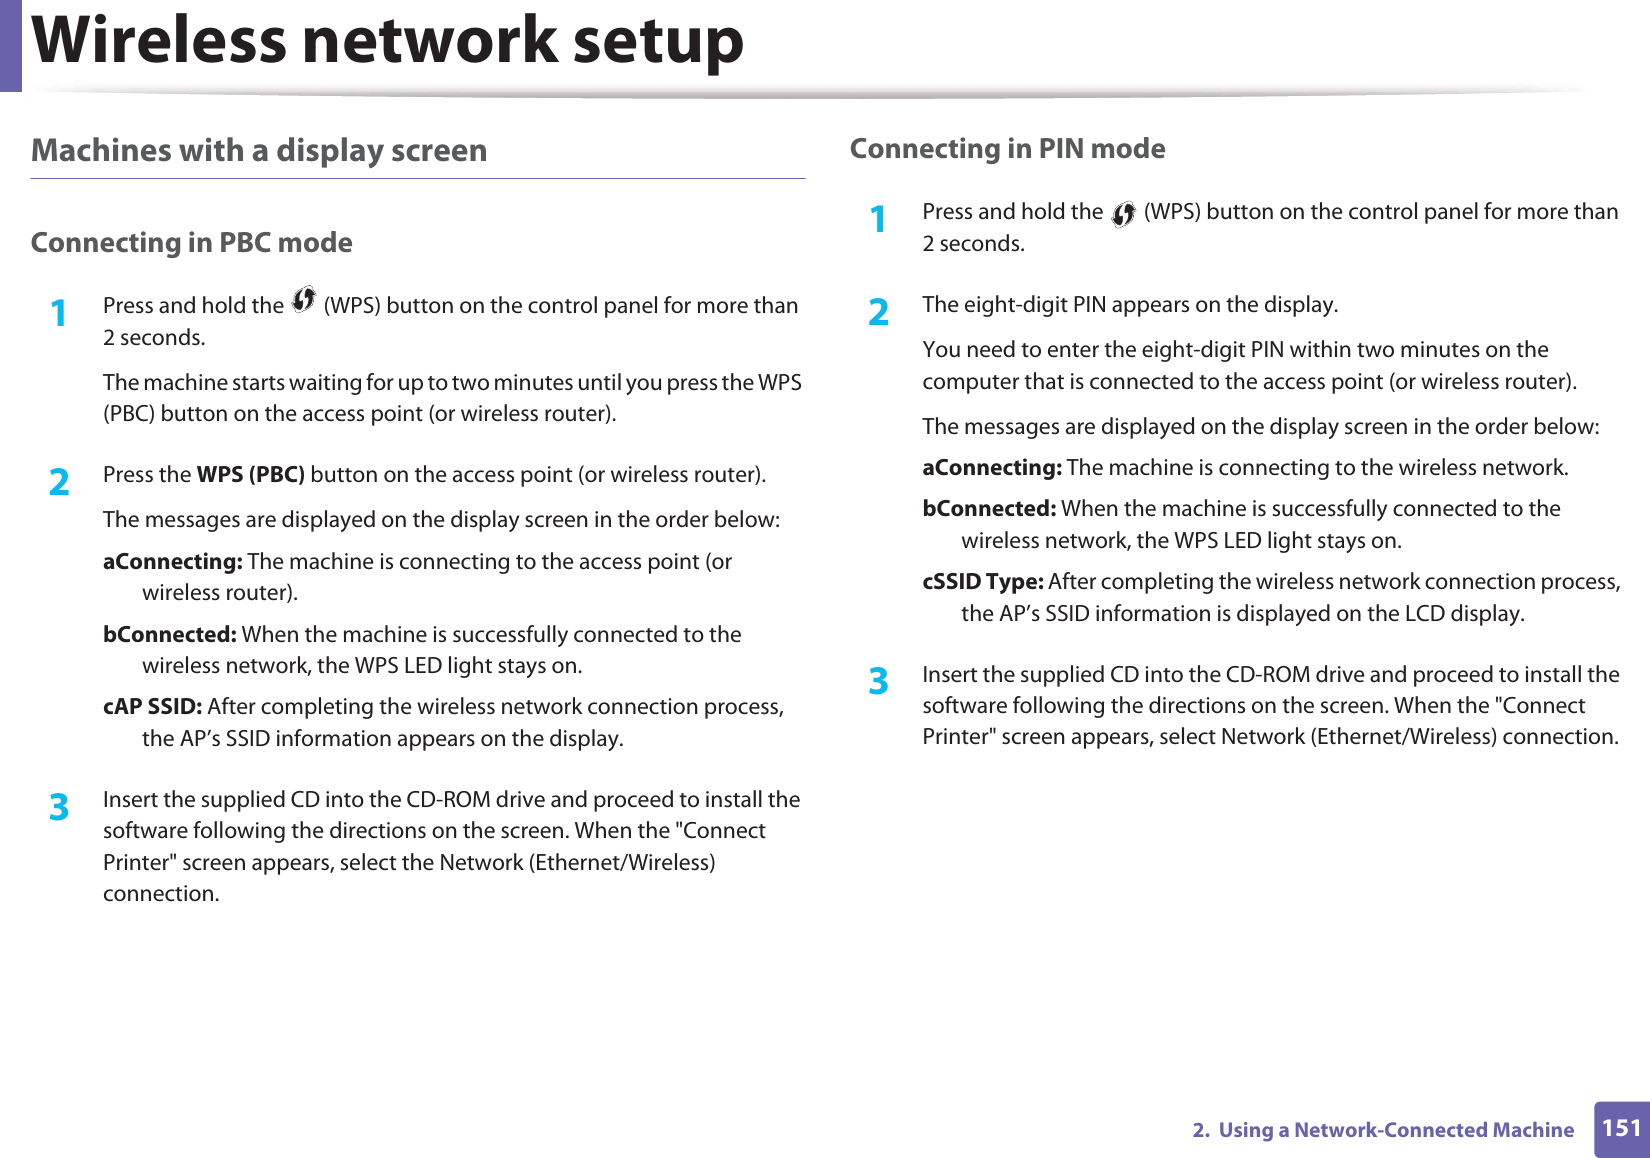
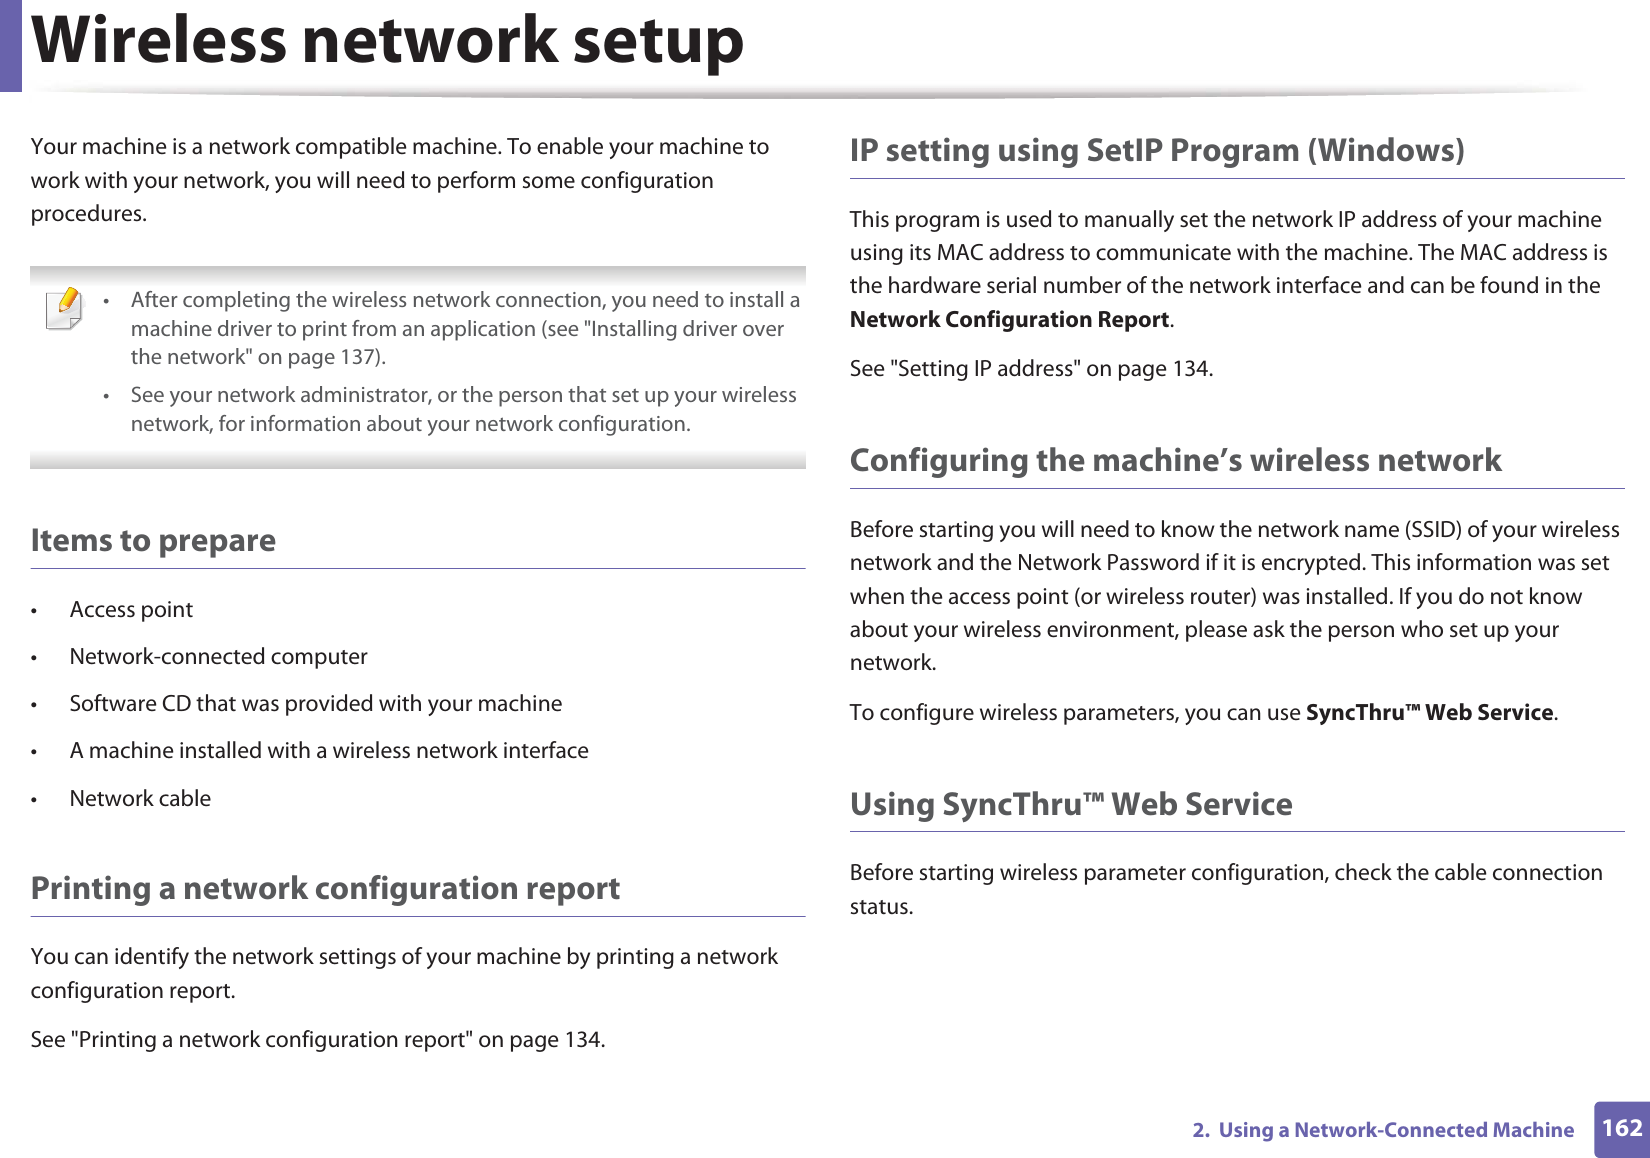
![2464. Special FeaturesUsing shared folder featuresThis feature allows you to use the machine’s memory as a shared folder. The advantage of this feature is that you can conveniently use the shared folder through your computer’s window. • This feature may not be available depending on model or optional goods (see "Features by models" on page 5).• You can use this feature in the models that have a mass storage device (see "Variety feature" on page 8).• The administrator can set the ID and password to restrict the user’ s access and also set the maximum number of simultaneous users. 50 Creating a shared folder1Open the Windows Explore window from the computer.2 Enter the printer’s \\[ip address] (example: \\169.254.133.42) in the address field, and press the Enter key or click Go.3 Create a new folder under nfsroot directory.51 Using the shared folderYou can use the shared folder in the same way exactly like the normal computer. Create, edit and delete the folder or file as a normal Windows folder. You also store the scanned data in the shared folder. You can directly print files stored on a the shared folder. You can print TIFF, BMP, JPEG and PRN files.](https://usermanual.wiki/Samsung-Electronics-Co/SCX4726FN.Users-Manual-2/User-Guide-1757813-Page-96.png)