Samsung Electronics Co SCX4726FN Mono Laser Multifuction Printer User Manual Batian english
Samsung Electronics Co Ltd Mono Laser Multifuction Printer Batian english
UserManual.wiki
>
Samsung Electronics Co
>
SCX4726FN User Manual
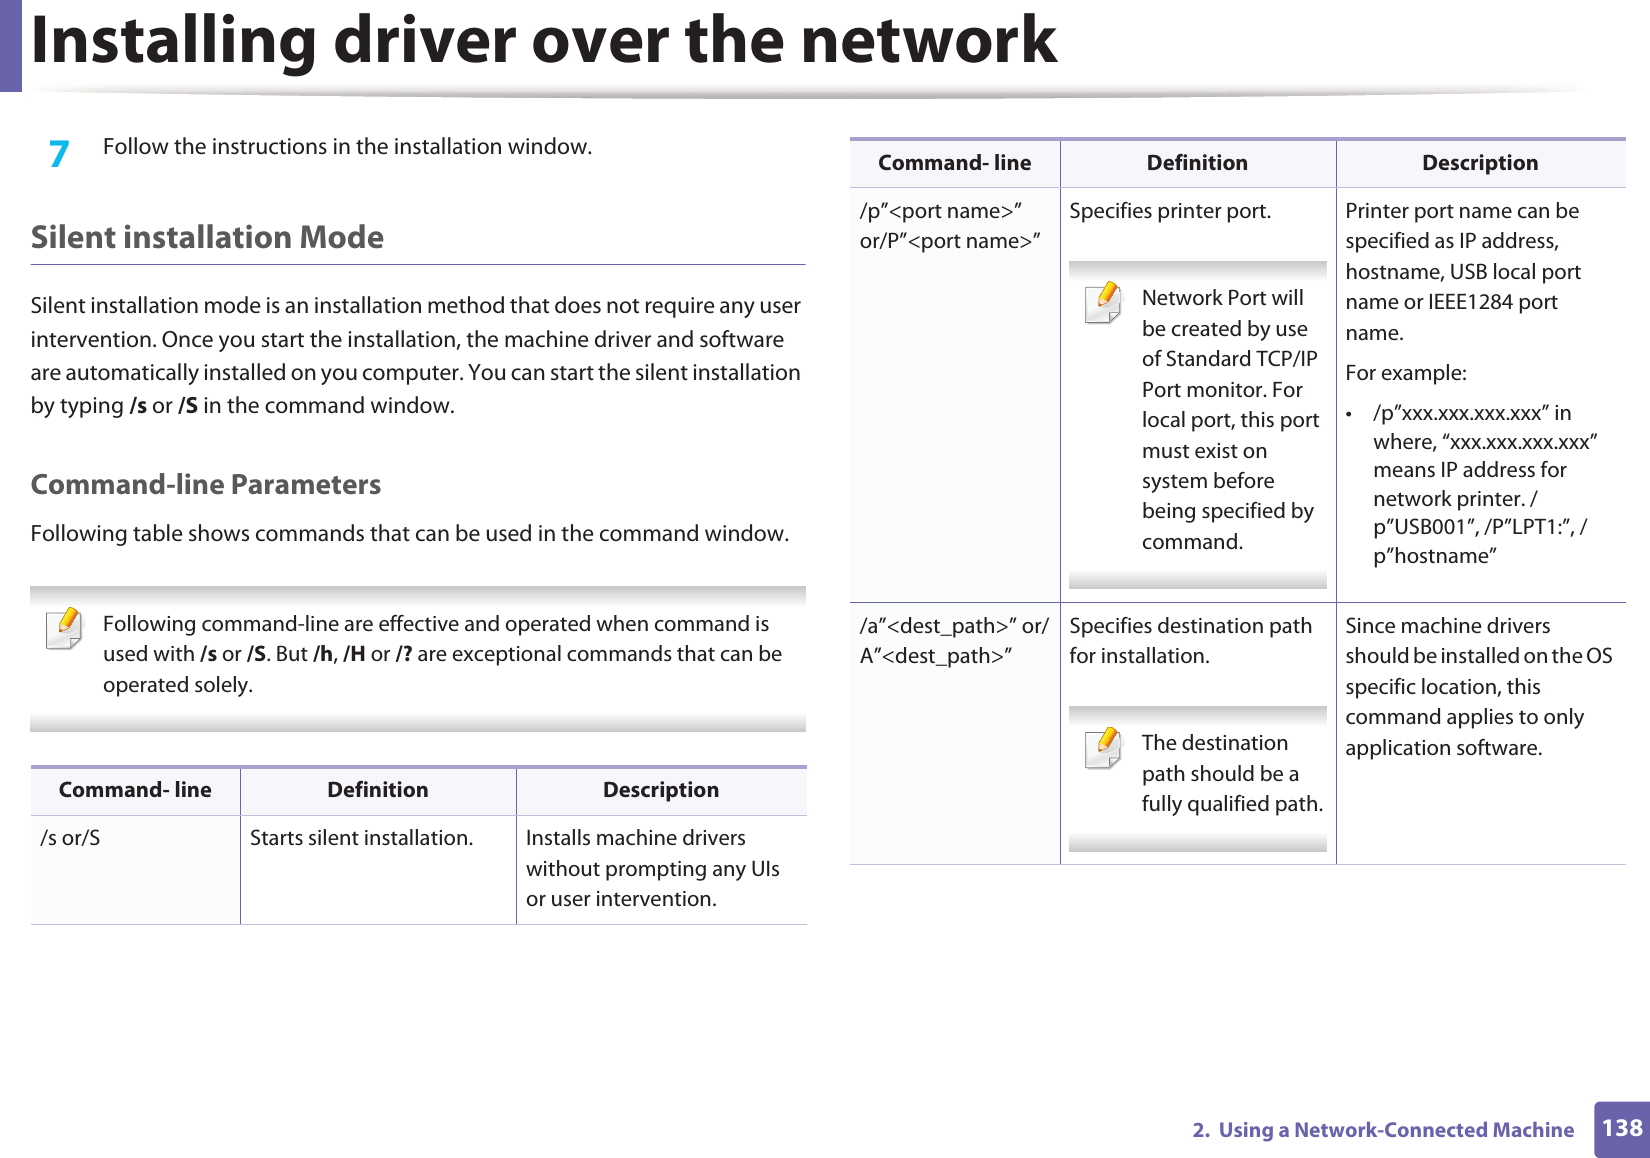
>
Users Manual 1
Contents
1.
Users Manual 1
2.
Users Manual 2
Users Manual 1
Navigation menu
Upload a User Manual
Namespaces
Wiki Guide
HTML
PDF
Info
Views
User Manual
Discussion / Help
Navigation

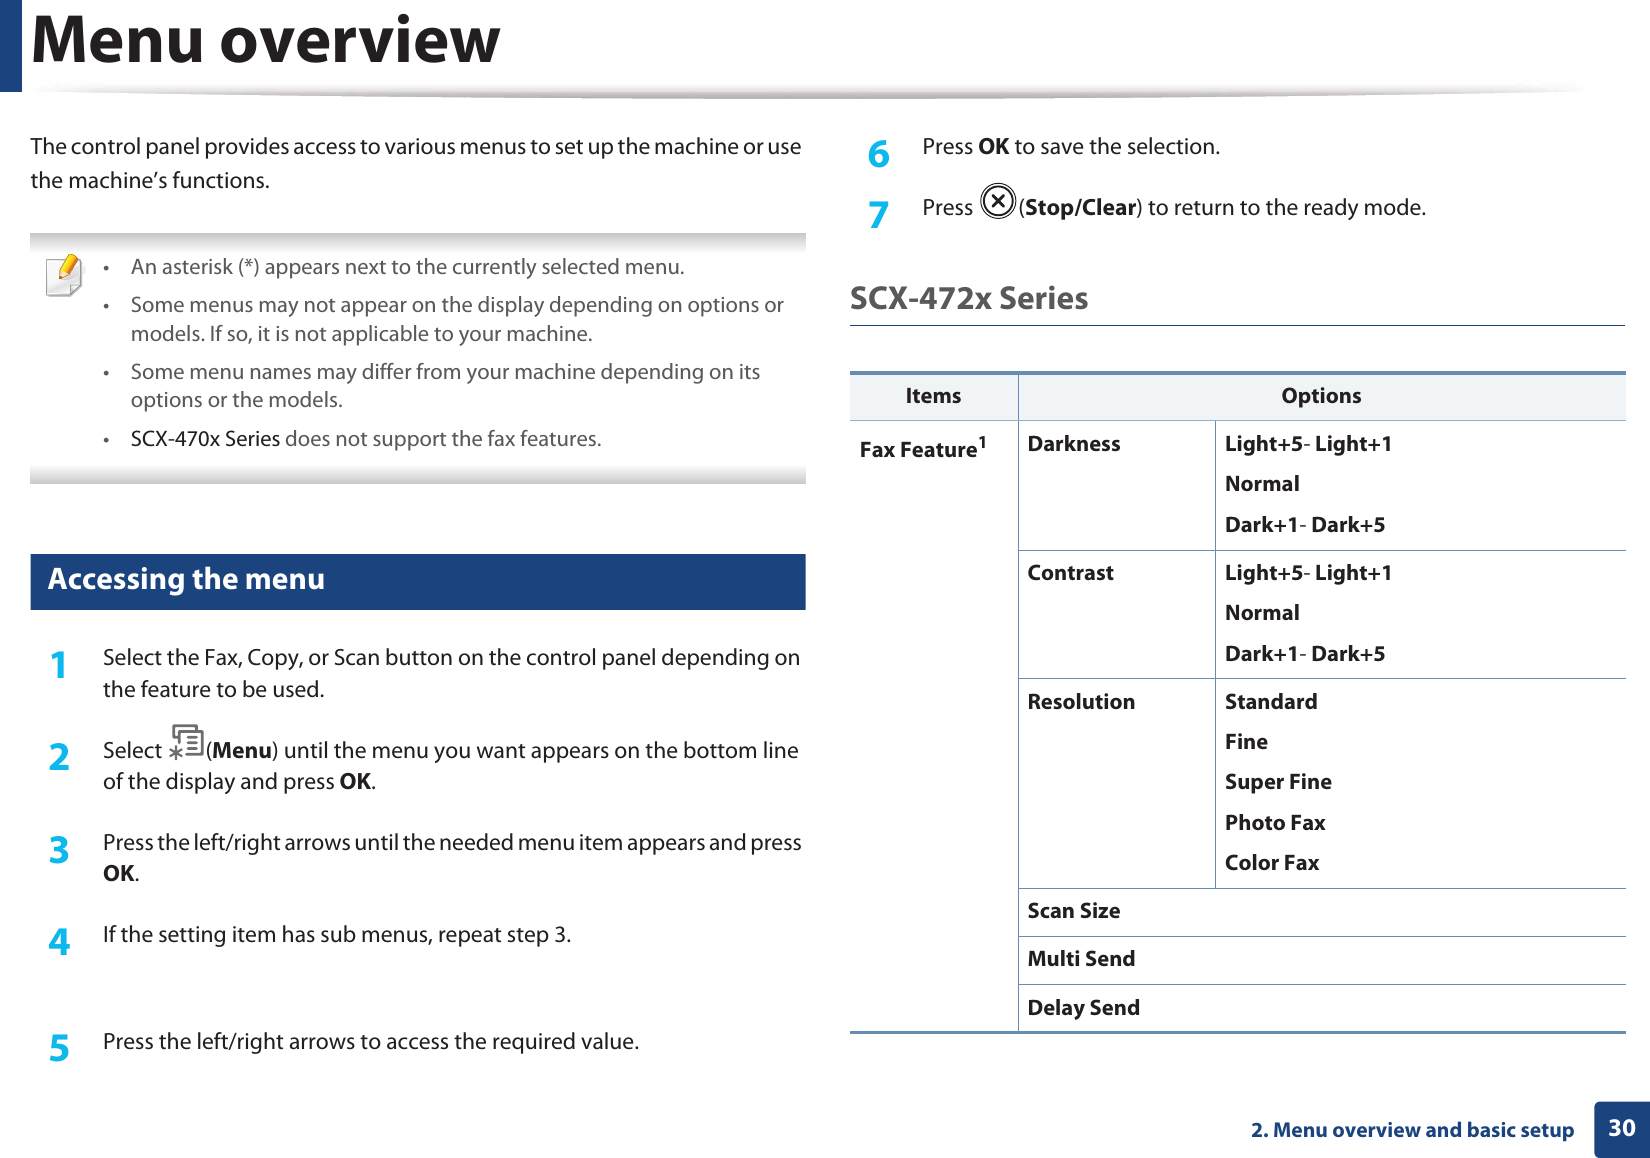
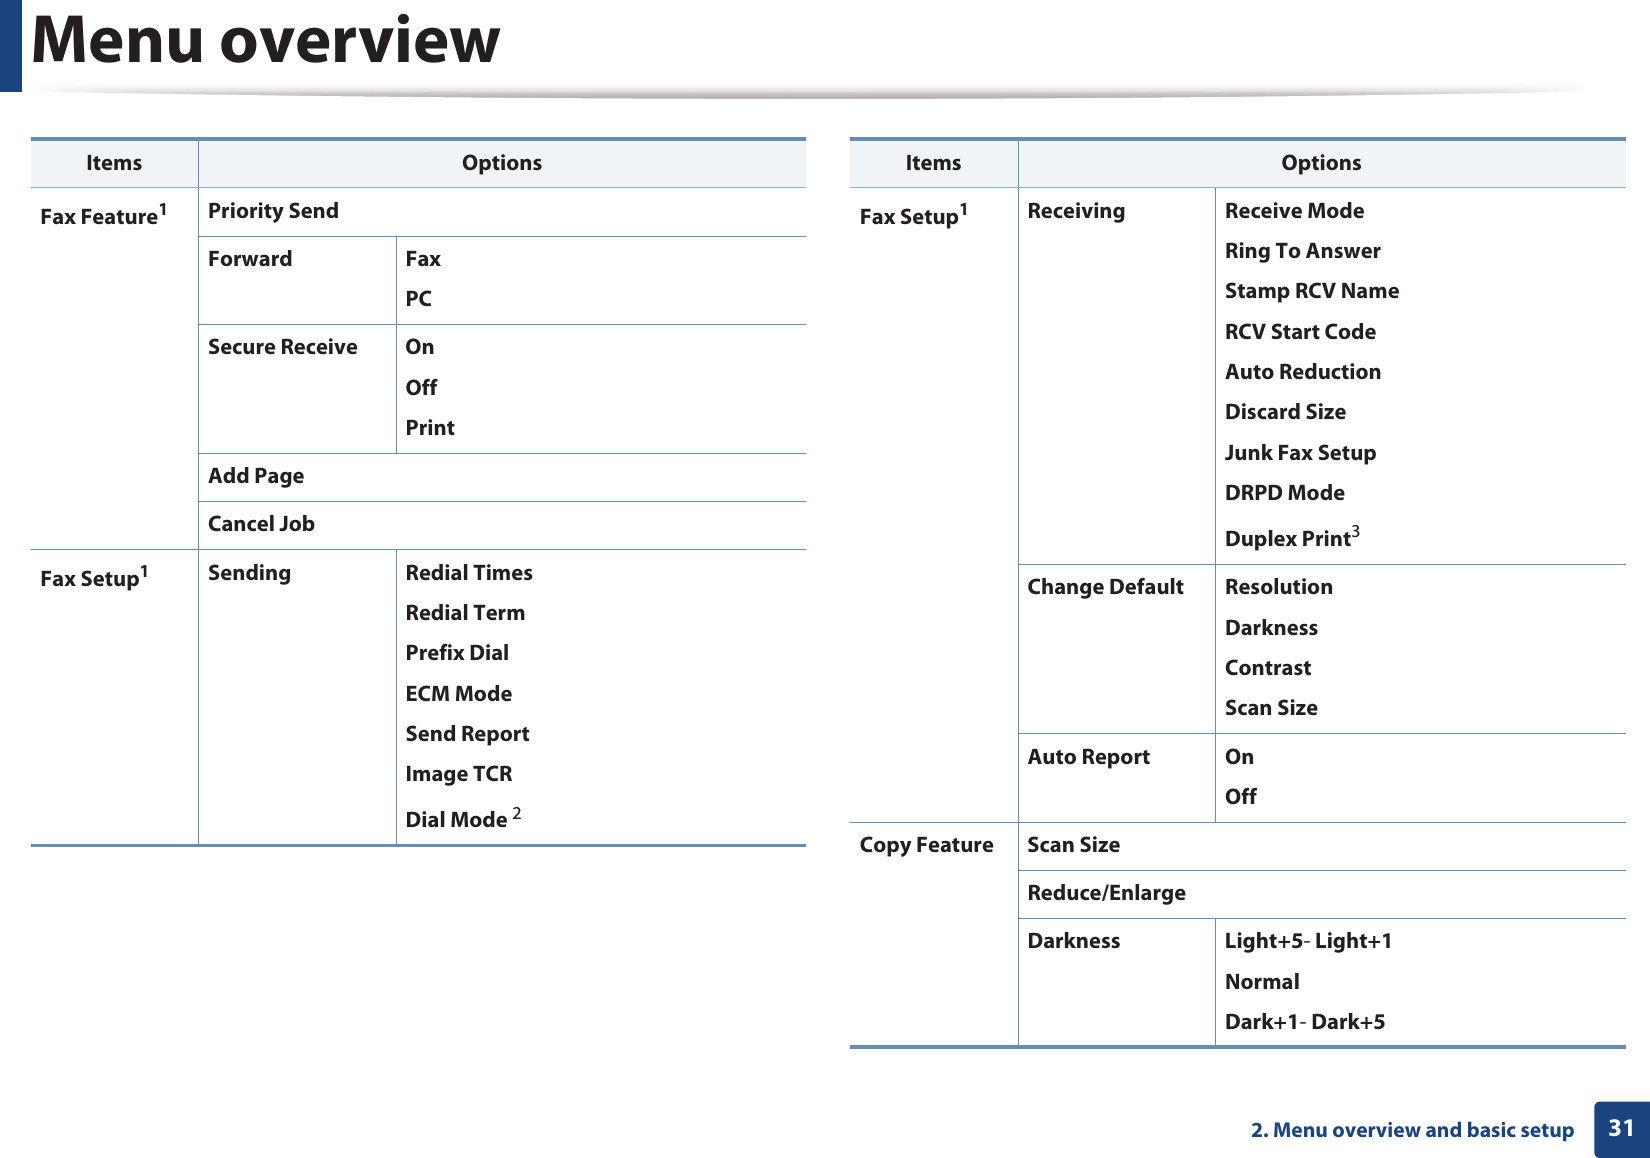
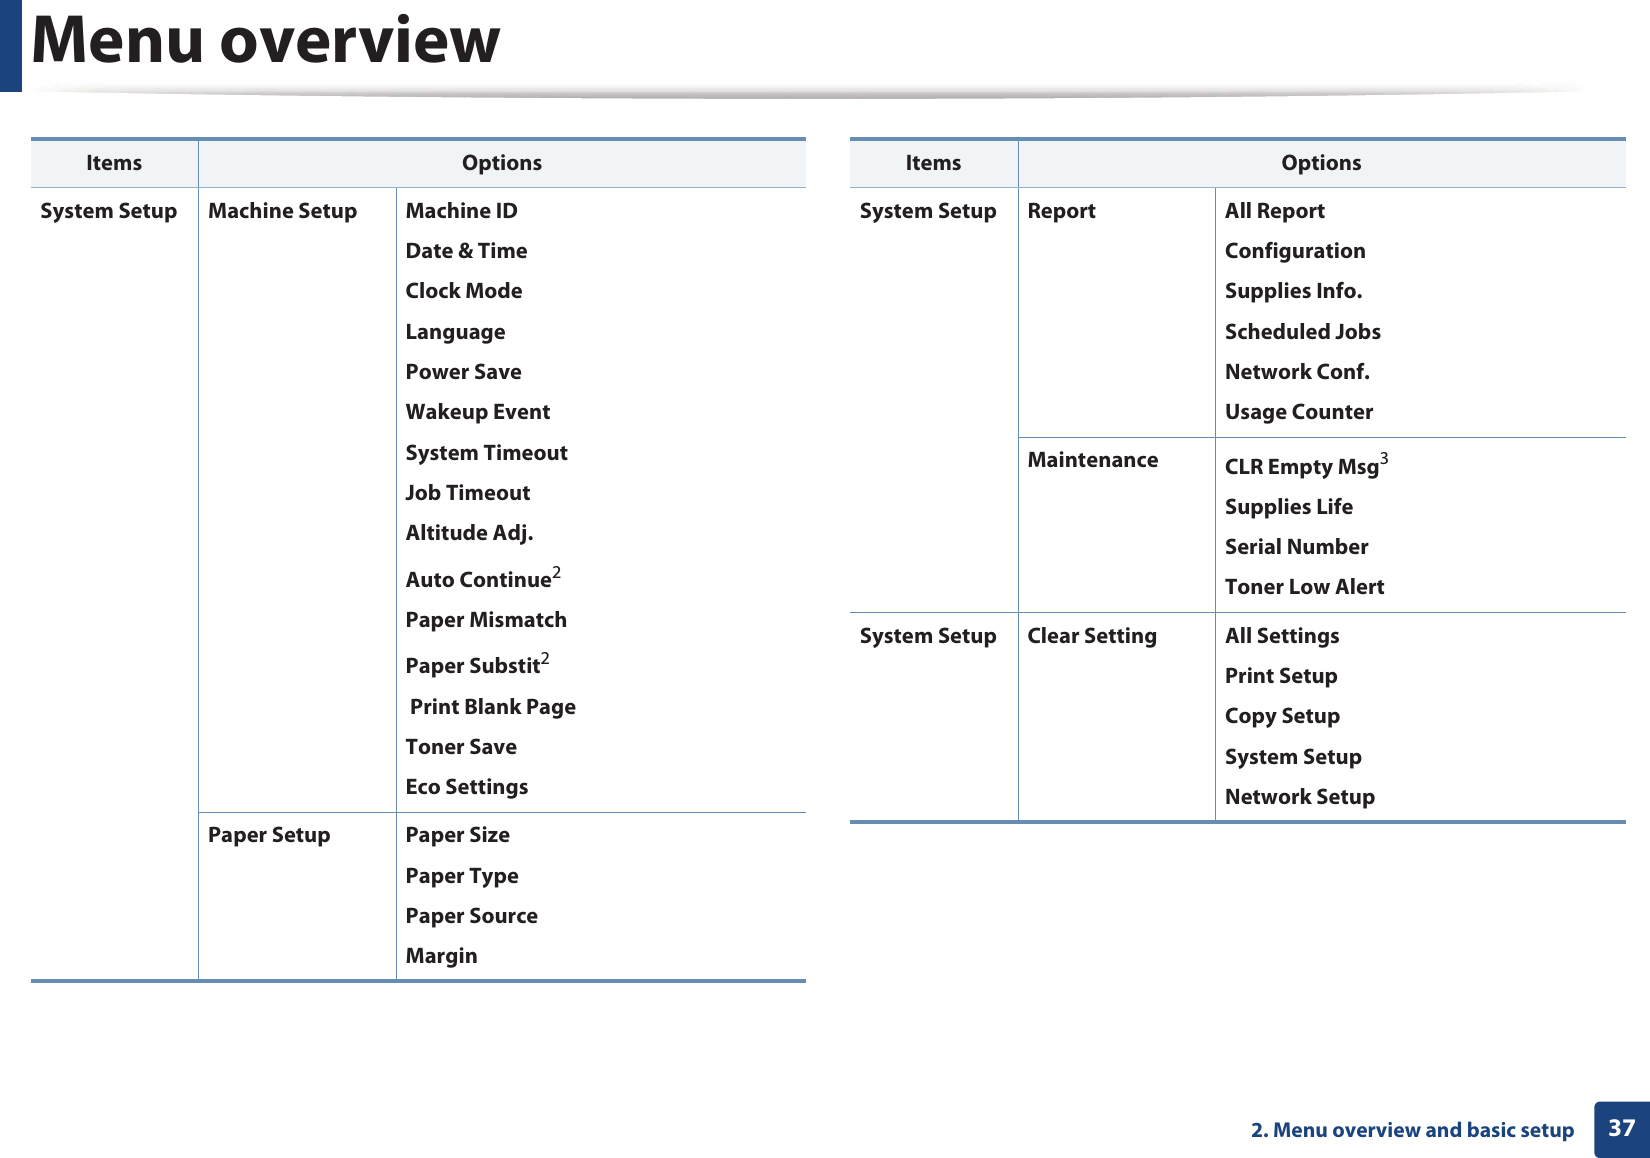
![Menu overview322. Menu overview and basic setupCopy Feature Contrast Light+5- Light+1NormalDark+1- Dark+5Original Type TextText/PhotoPhotoLayout Normal2-Up4-UpID copyPoster CopyClone CopyAdjust Bkgd. OffAutoEnhance Lev.1Enhance Lev.2Erase Lev.1- Erase Lev.4Duplex3Off 1 -> 2 Side Long1 -> 2 SideShortItems OptionsCopy Setup Change Default Scan SizeCopiesCopy CollationReduce/EnlargeDuplex3DarknessContrastOriginal TypeAdjust Bkgd.Print Setup Orientation PortraitLandscapeDuplex3Off 1 -> 2 Side Long1 -> 2 SideShortCopies [1-999]:1Resolution 600dpi-Normal1200dpi-BestDarkness NormalLightDarkItems Options](https://usermanual.wiki/Samsung-Electronics-Co/SCX4726FN.Users-Manual-1/User-Guide-1757812-Page-32.png)
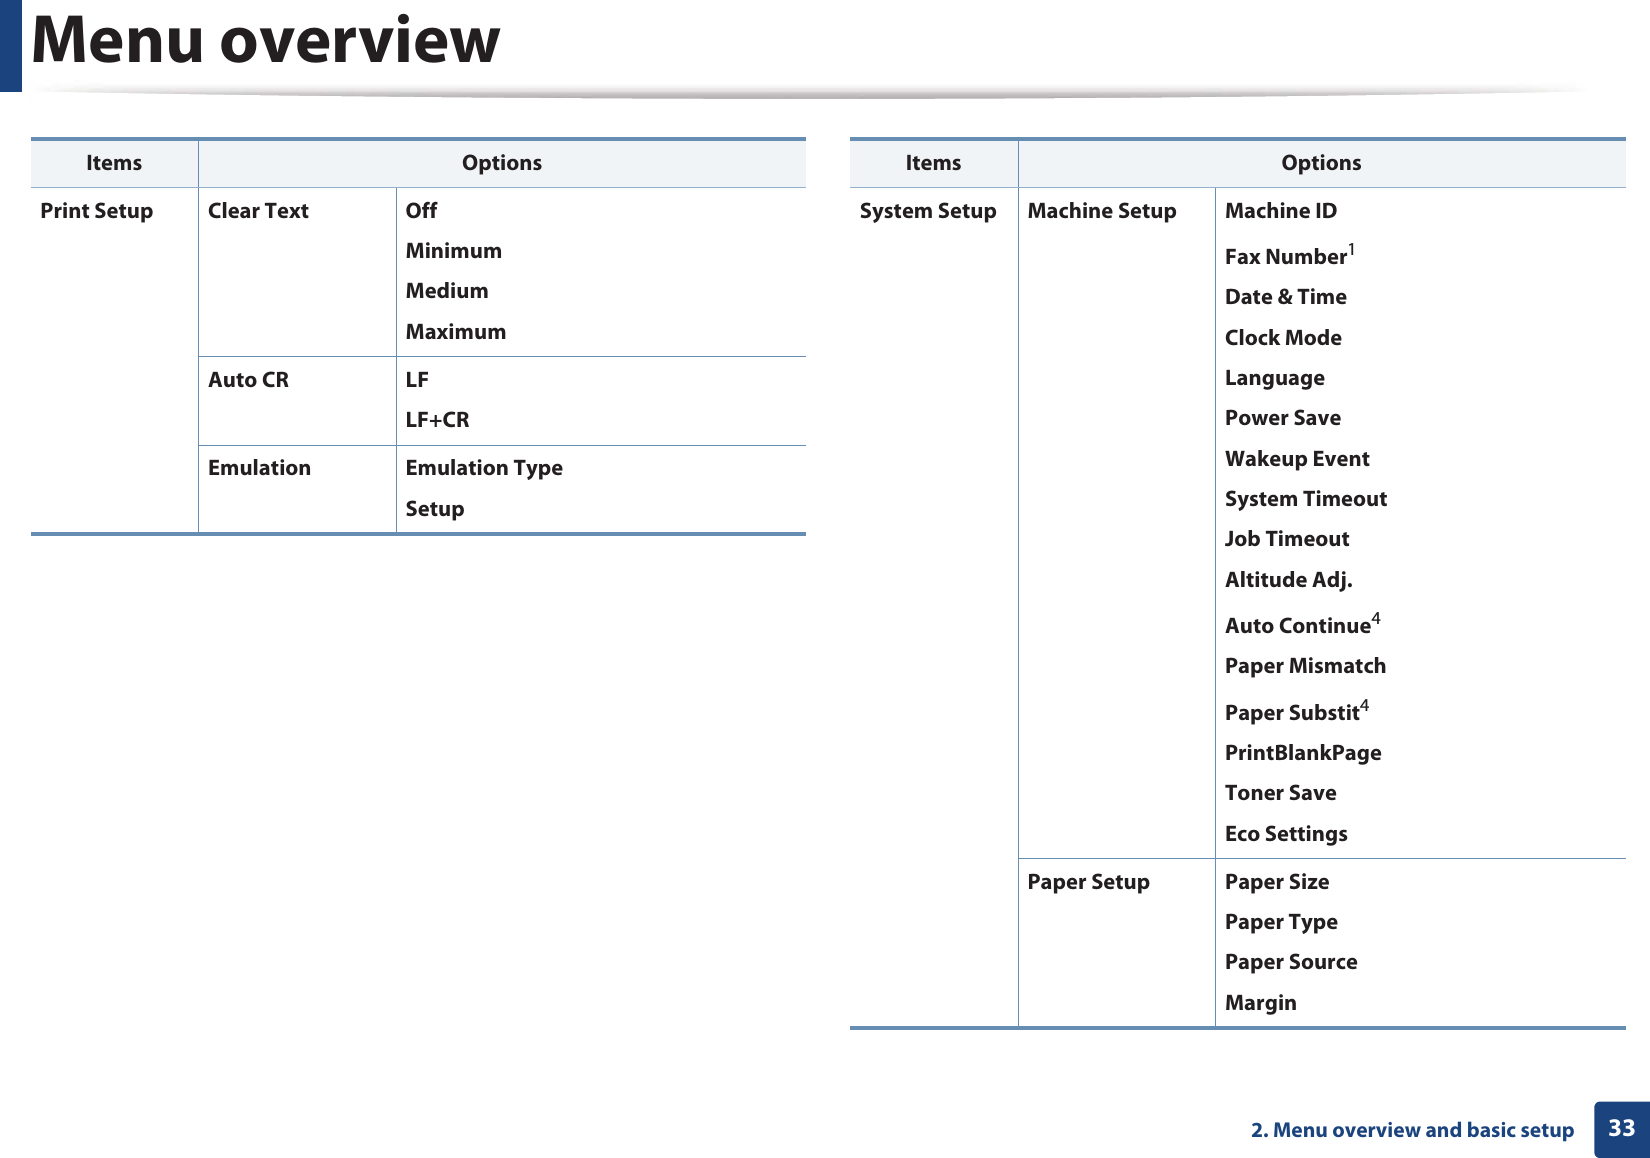
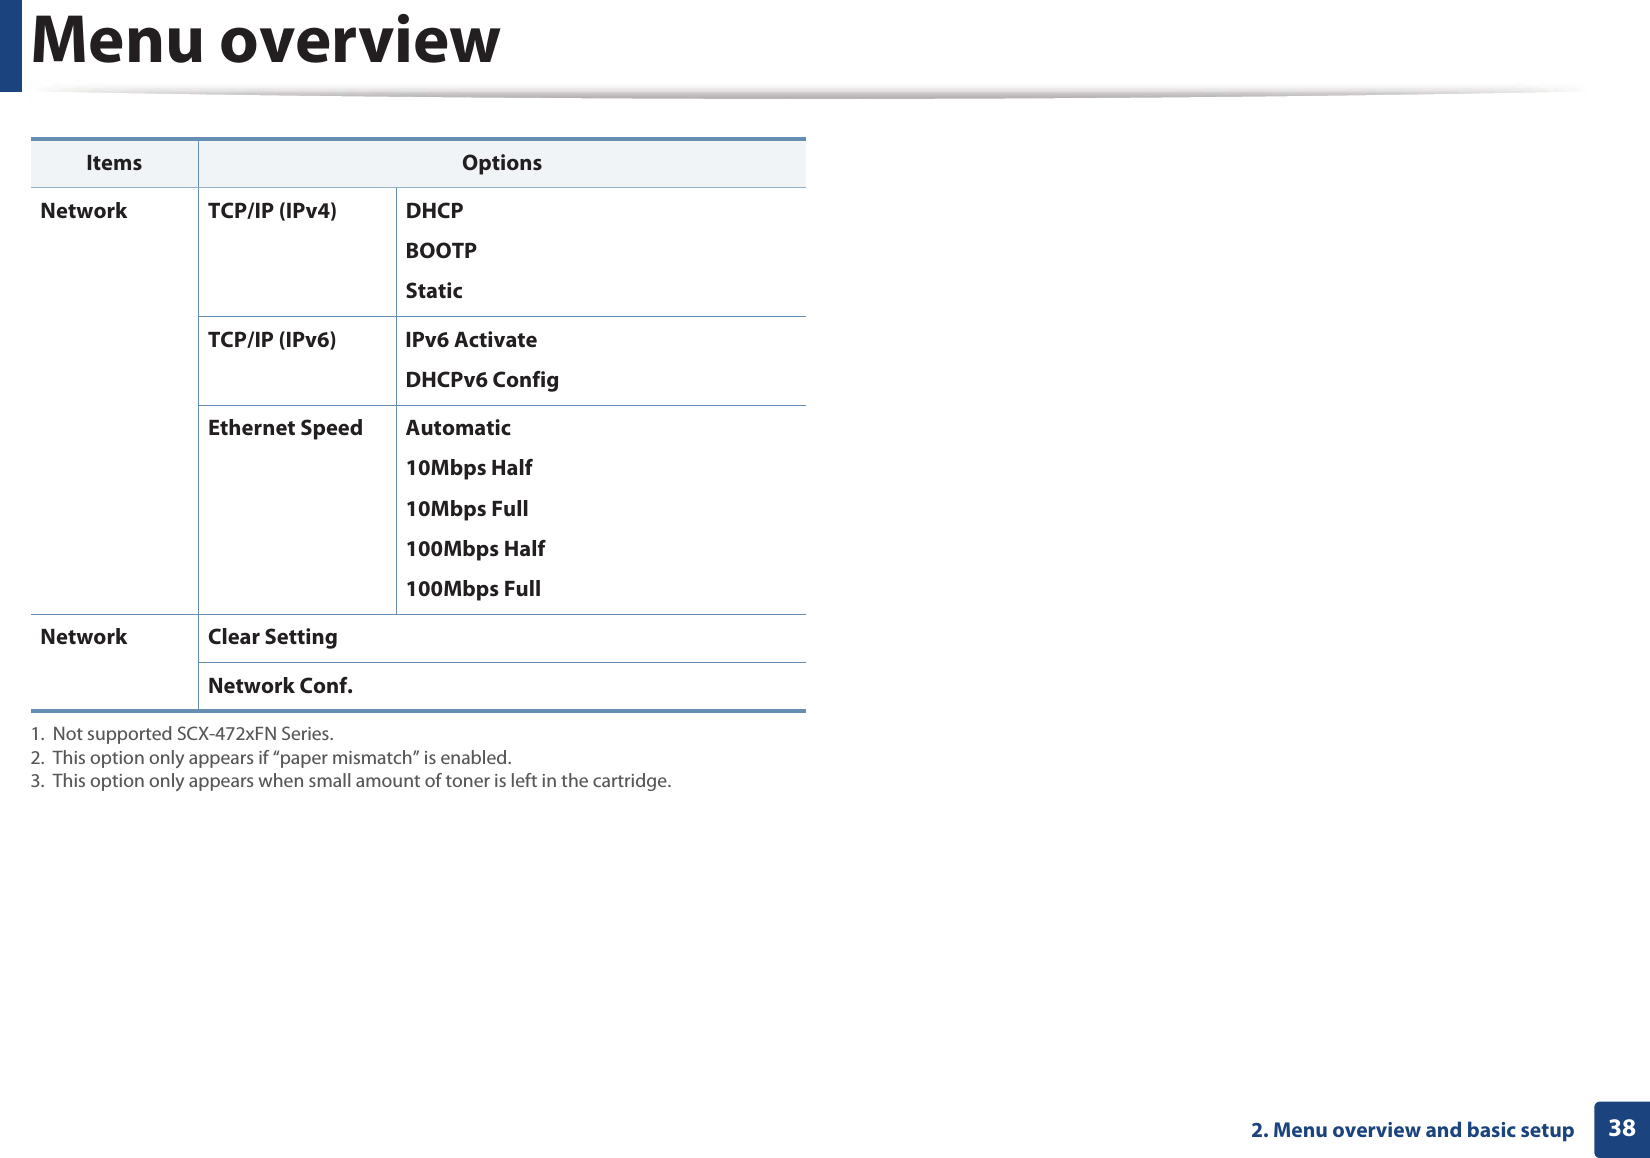
![Menu overview362. Menu overview and basic setupCopy Setup Change Default Scan SizeCopiesCopy CollationReduce/EnlargeDuplex1DarknessContrastOriginal TypeAdjust BkgdPrint Setup Orientation PortraitLandscapeDuplex1Off 1 -> 2 Side Long1 -> 2 SideShortCopies [1-999]:1Resolution 600dpi-Normal1200dpi-BestDarkness NormalLightDarkItems OptionsPrint Setup Clear Text OffMinimumMediumMaximumAuto CR LF LF+CREmulation Emulation TypeSetupItems Options](https://usermanual.wiki/Samsung-Electronics-Co/SCX4726FN.Users-Manual-1/User-Guide-1757812-Page-36.png)
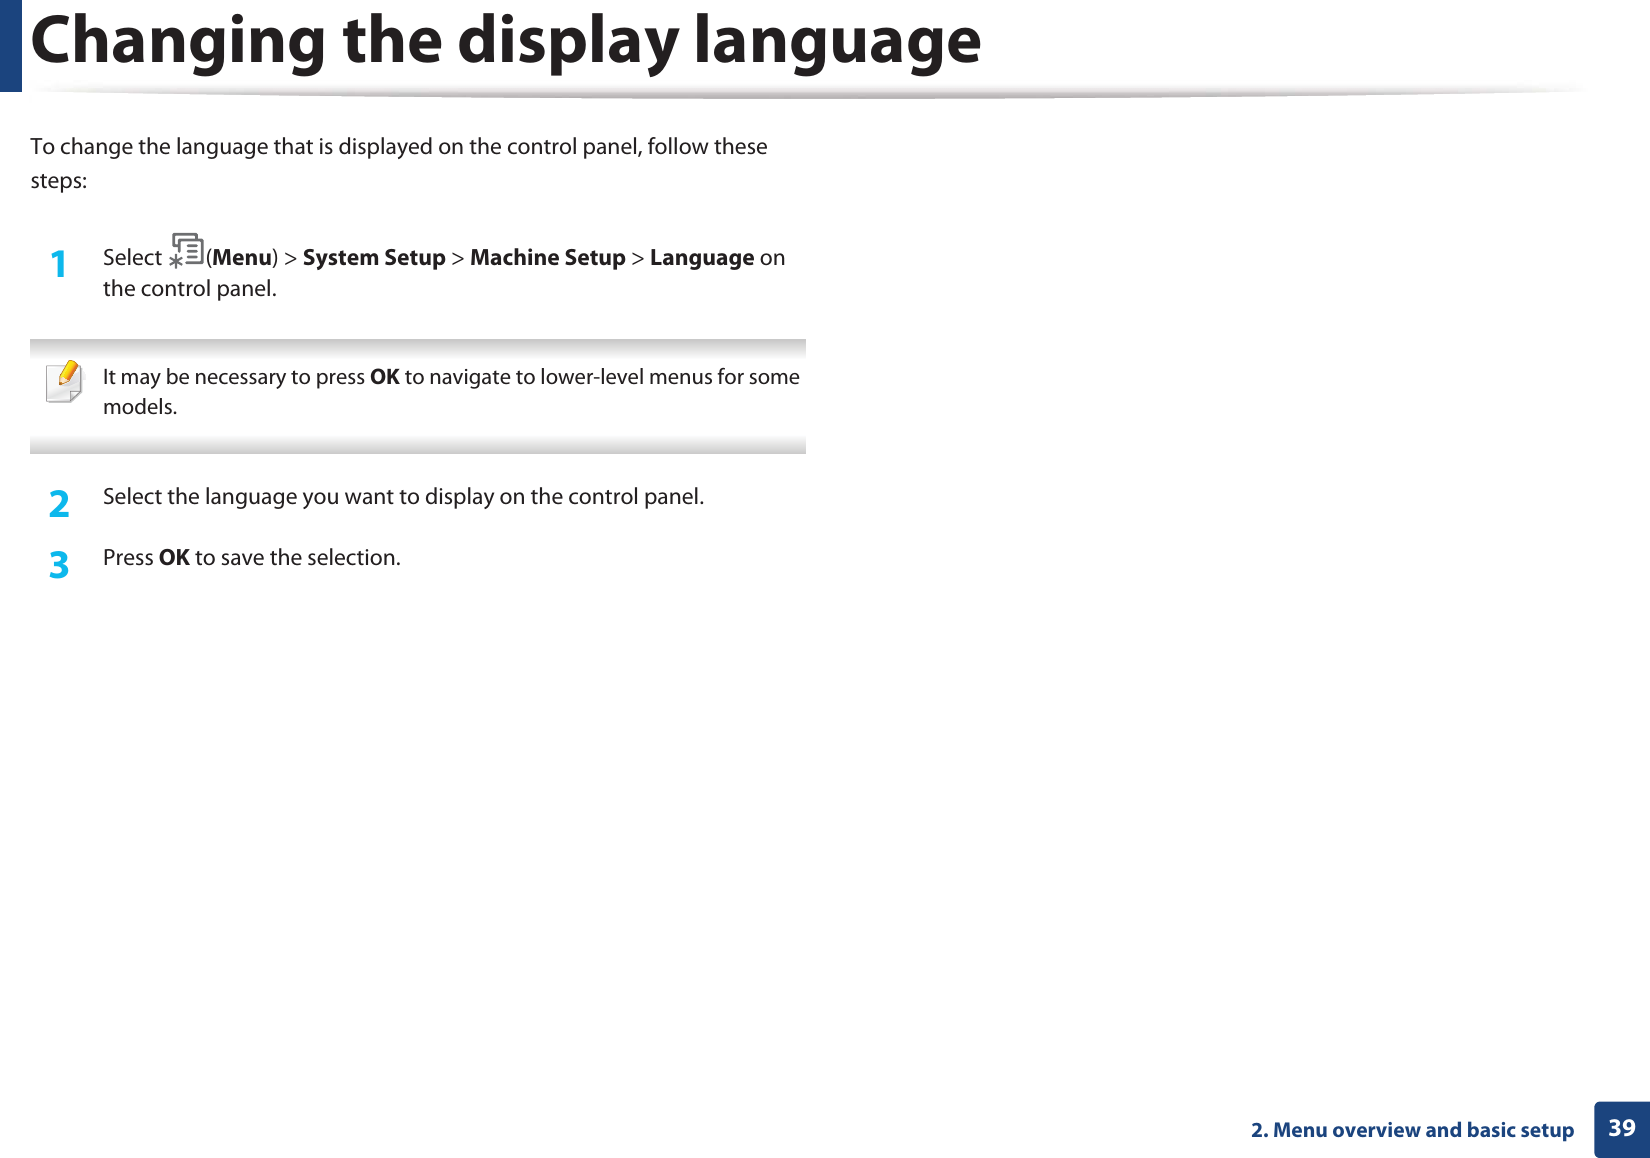


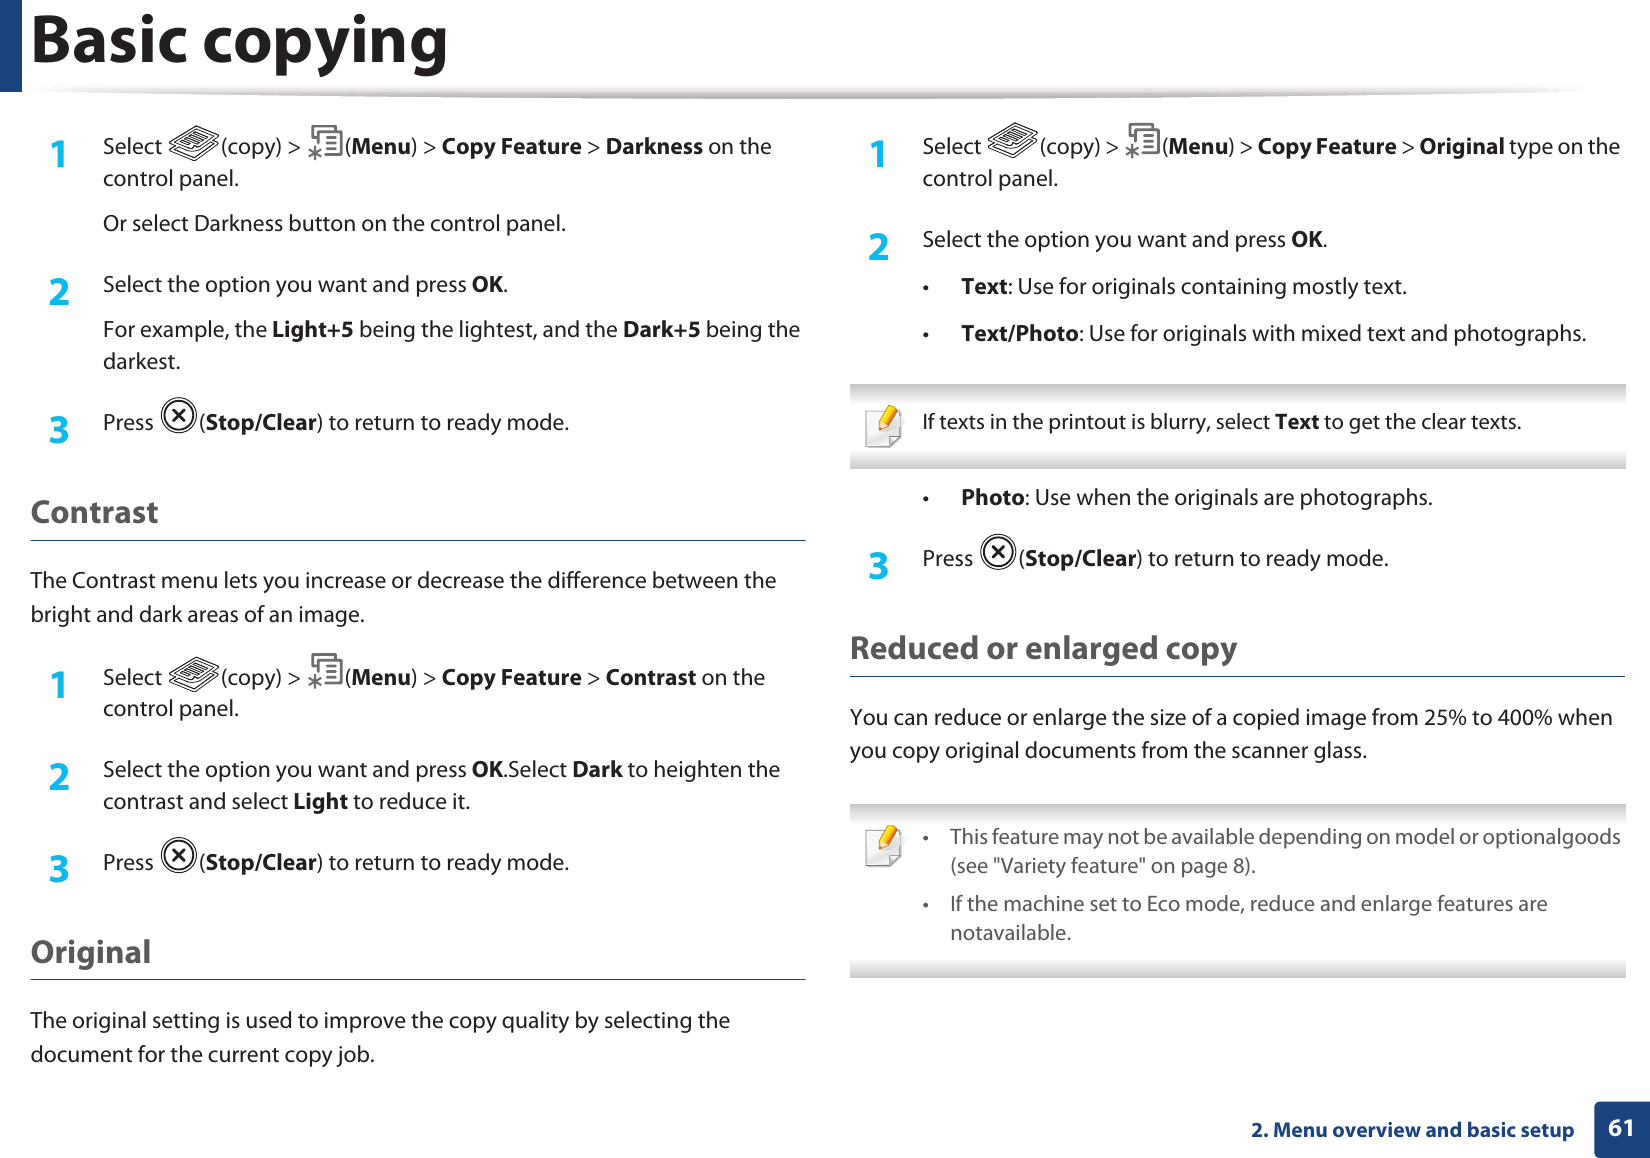
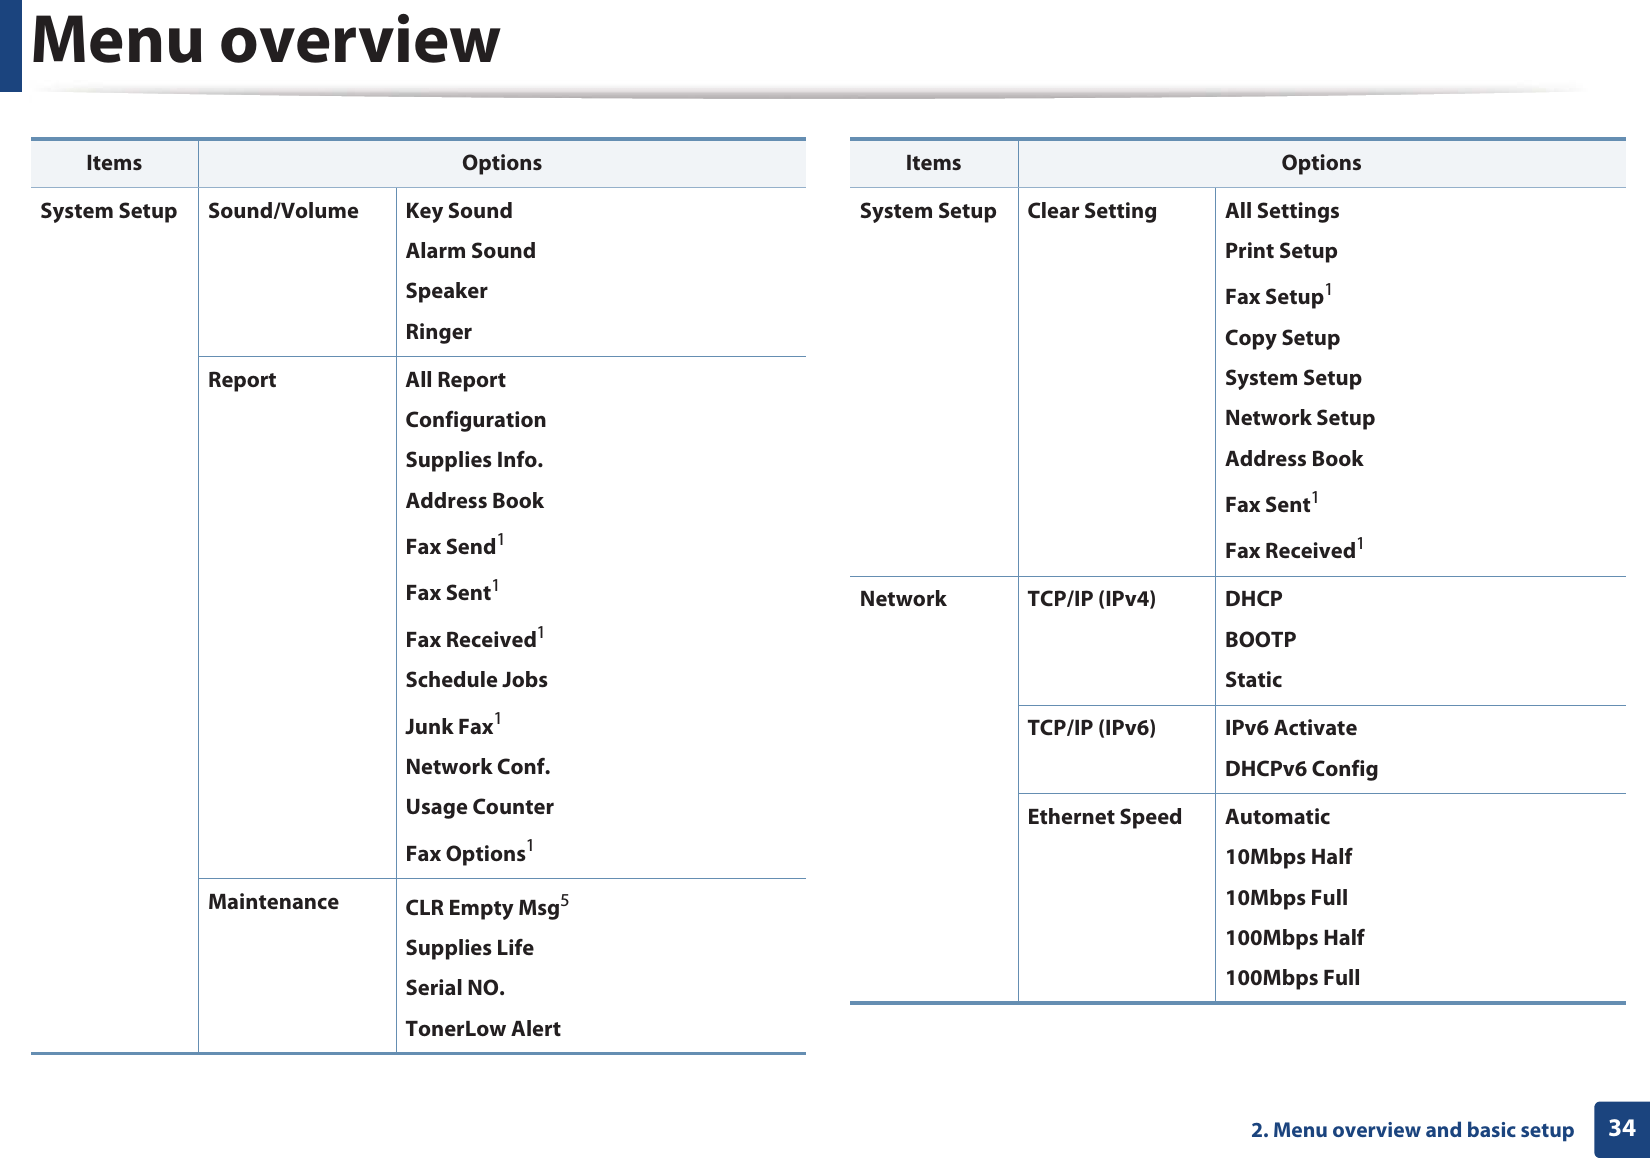
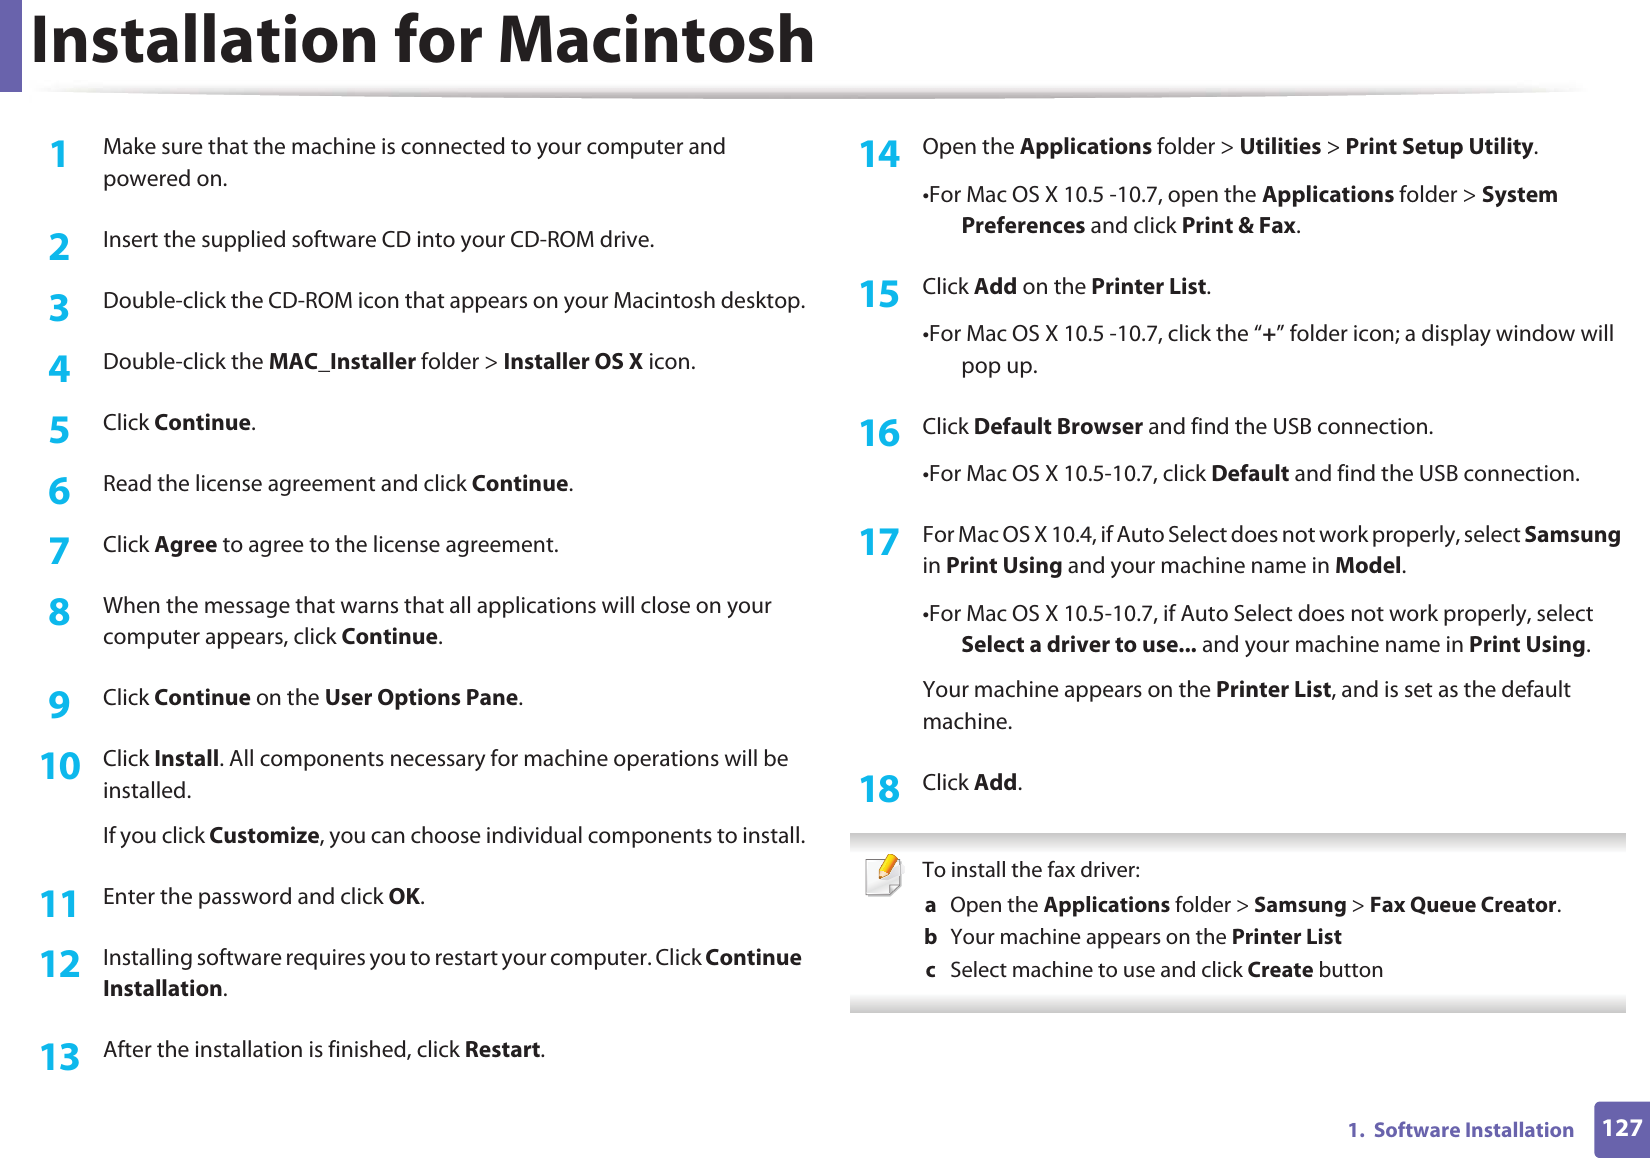
![Basic copying622. Menu overview and basic setupTo select from the predefined copy sizes1Select (copy) > (Menu) > Copy Feature > Reduce/Enlarge on the control panel.2 Select the option you want and press OK.3 Press (Stop/Clear) to return to ready mode.To scale the copy by directly entering the scale rate1Select (copy) > (Menu) > Copy Feature > Reduce/Enlarge > Custom on the control panel.2 Enter the copy size you want using the numeric keypad.3 Press OK to save the selection.4 Press (Stop/Clear) to return to ready mode. When you make a reduced copy, black lines may appear at the bottom of your copy. 16 ID card copyingYour machine can print 2-sided originals on one sheet.The machine prints one side of the original on the upper half of the paper and the other side on the lower half without reducing the size of the original. This feature is helpful for copying a small-sized item such as business card. • The original must be placed on the scanner glass to use this feature.• If the machine set to Eco mode, this feature is not available.• For better image quality, Select (copy) > (Menu) > Copy Feature > Original Type > Photo on the control panel. 1Press ID Copy on the control panel. 2 Place the front side of an original facing down on the scanner glass where arrows indicate as shown. Then, close the scanner lid.3 Place Front Side and Press [Start] appears on the display.](https://usermanual.wiki/Samsung-Electronics-Co/SCX4726FN.Users-Manual-1/User-Guide-1757812-Page-62.png)
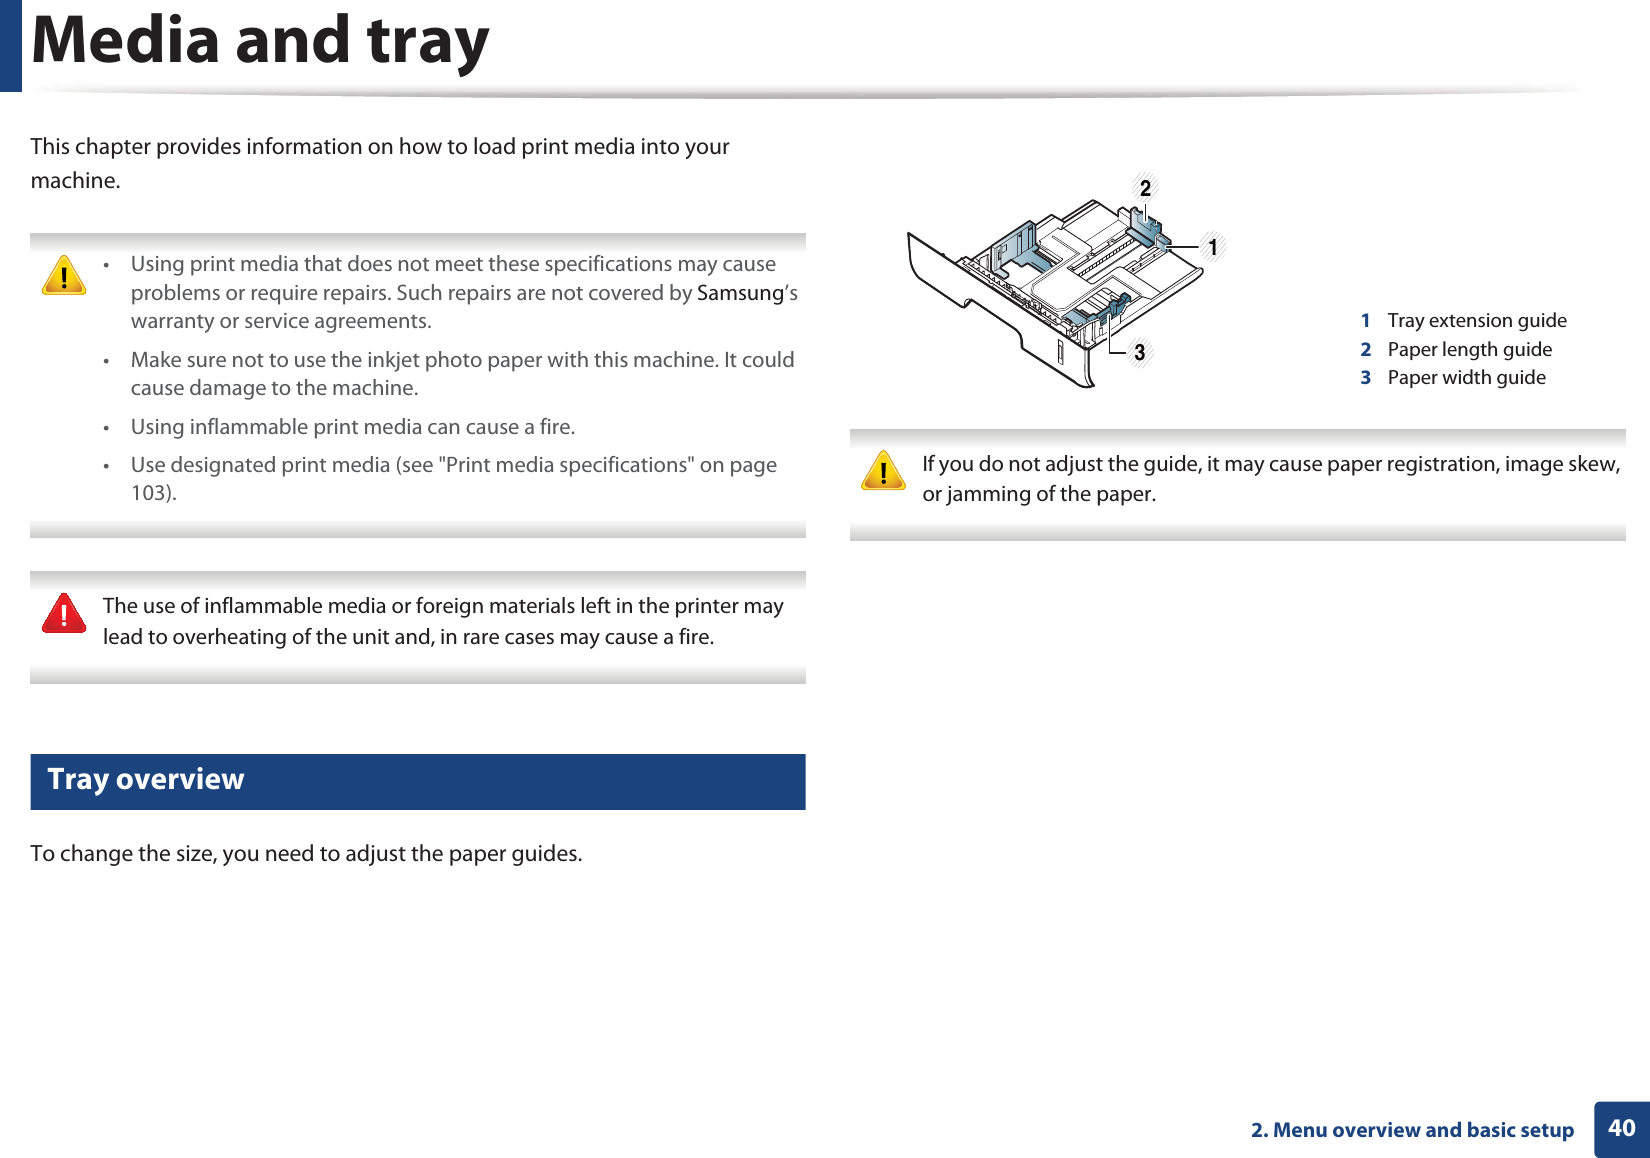
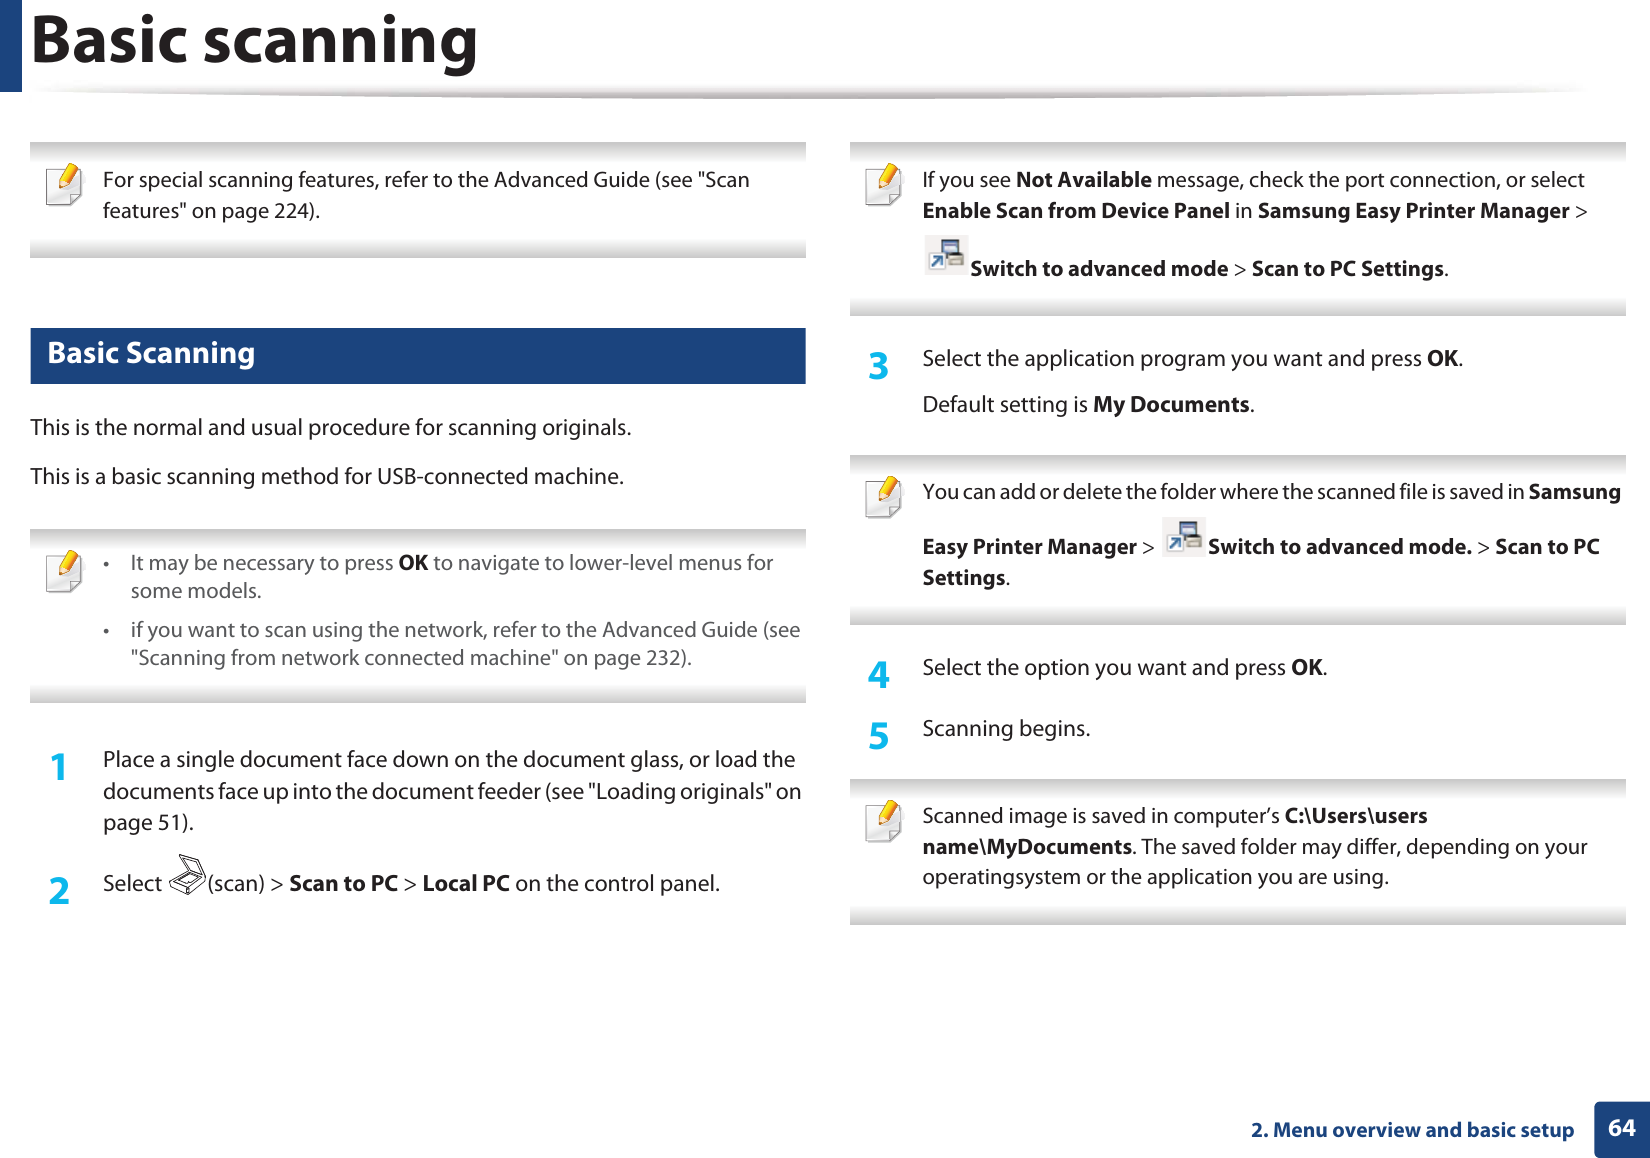
![Basic copying632. Menu overview and basic setup4 Press Start.Your machine begins scanning the front side and shows Place Back Side and Press [Start].5 Turn the original over and place it on the scanner glass where arrows indicate as shown. Then, close the scanner lid.6 Press Start. • If you do not press the (Start) button, only the front side will be copied.• If the original is larger than the printable area, some portions may not be printed.](https://usermanual.wiki/Samsung-Electronics-Co/SCX4726FN.Users-Manual-1/User-Guide-1757812-Page-63.png)


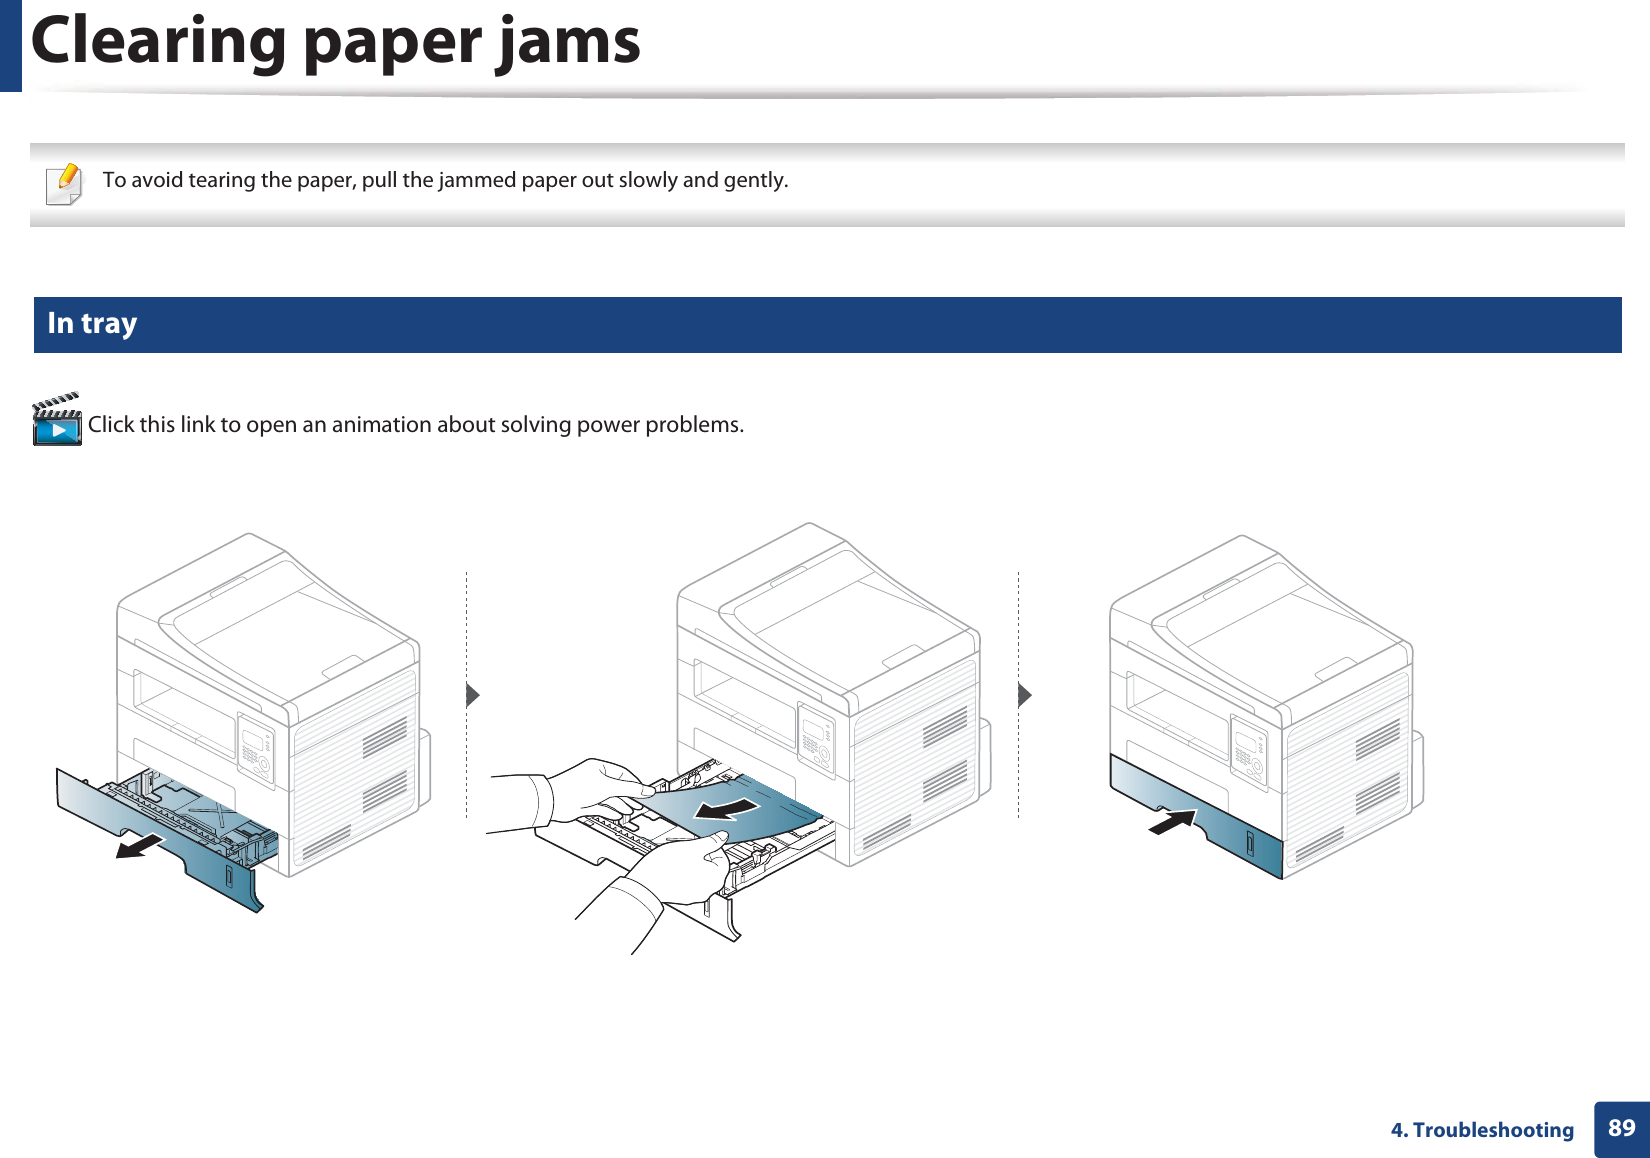
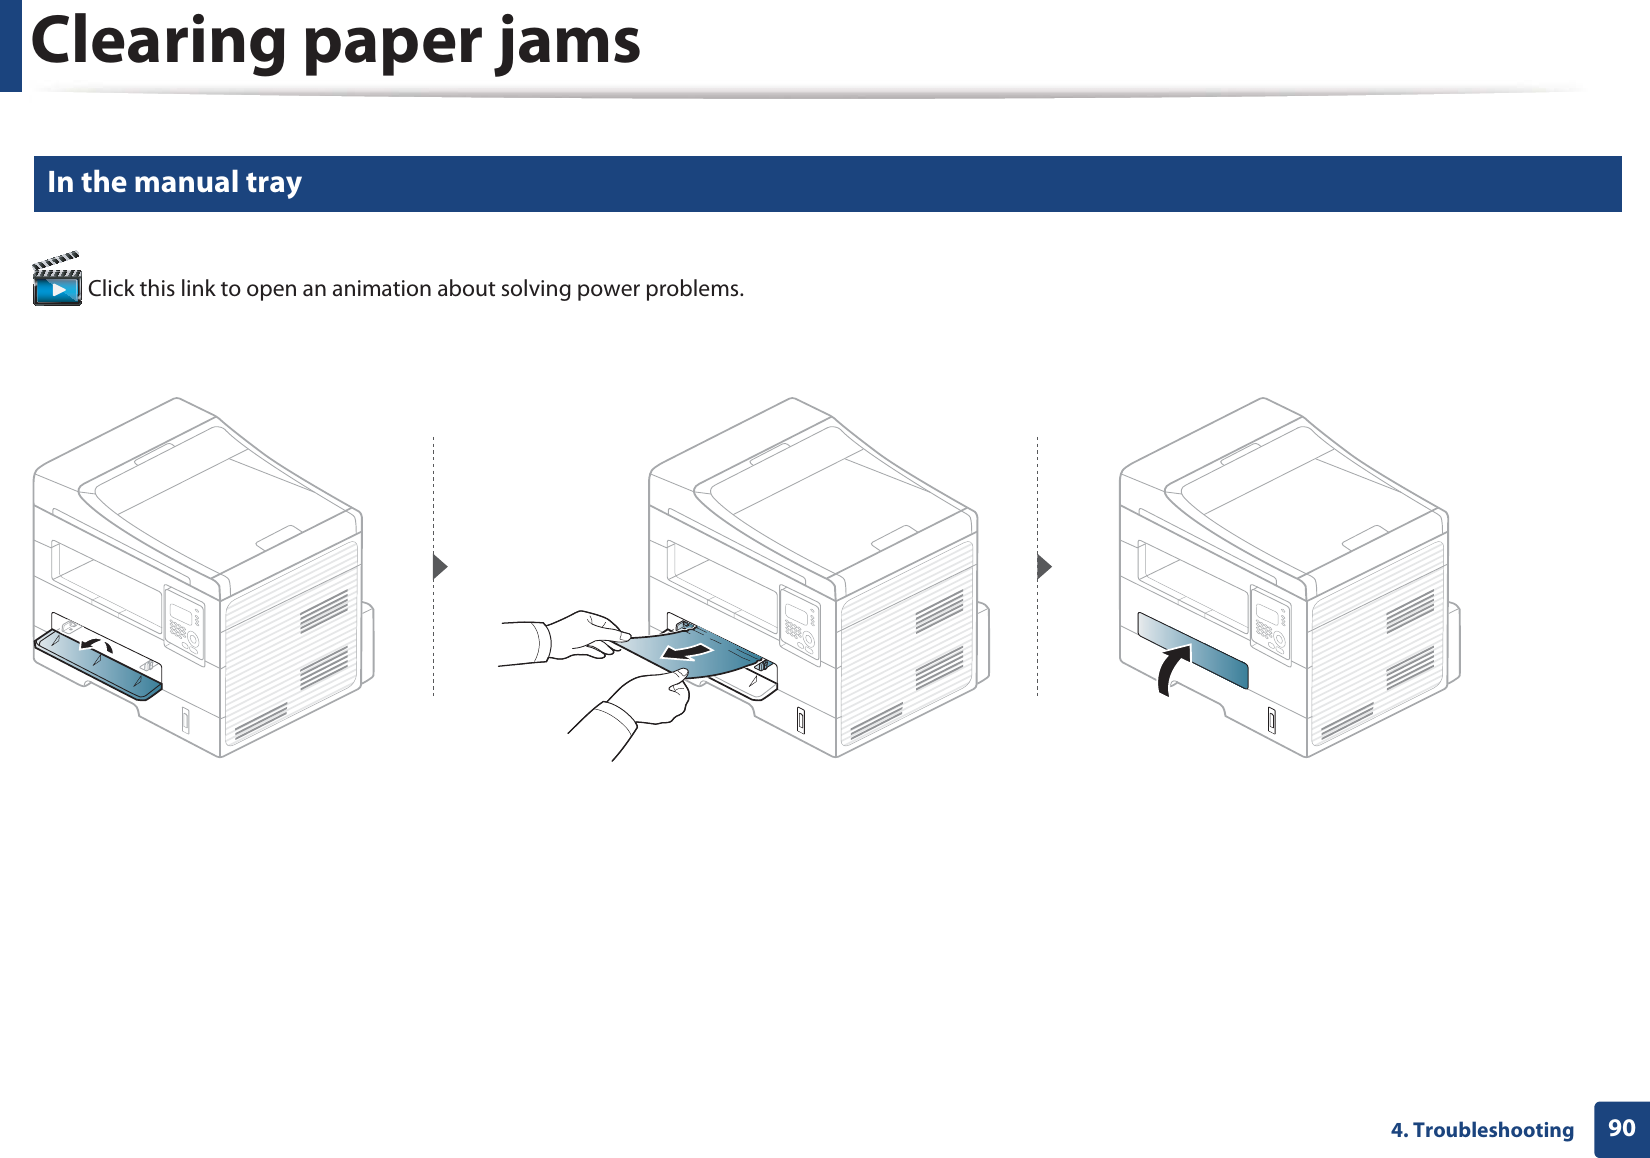
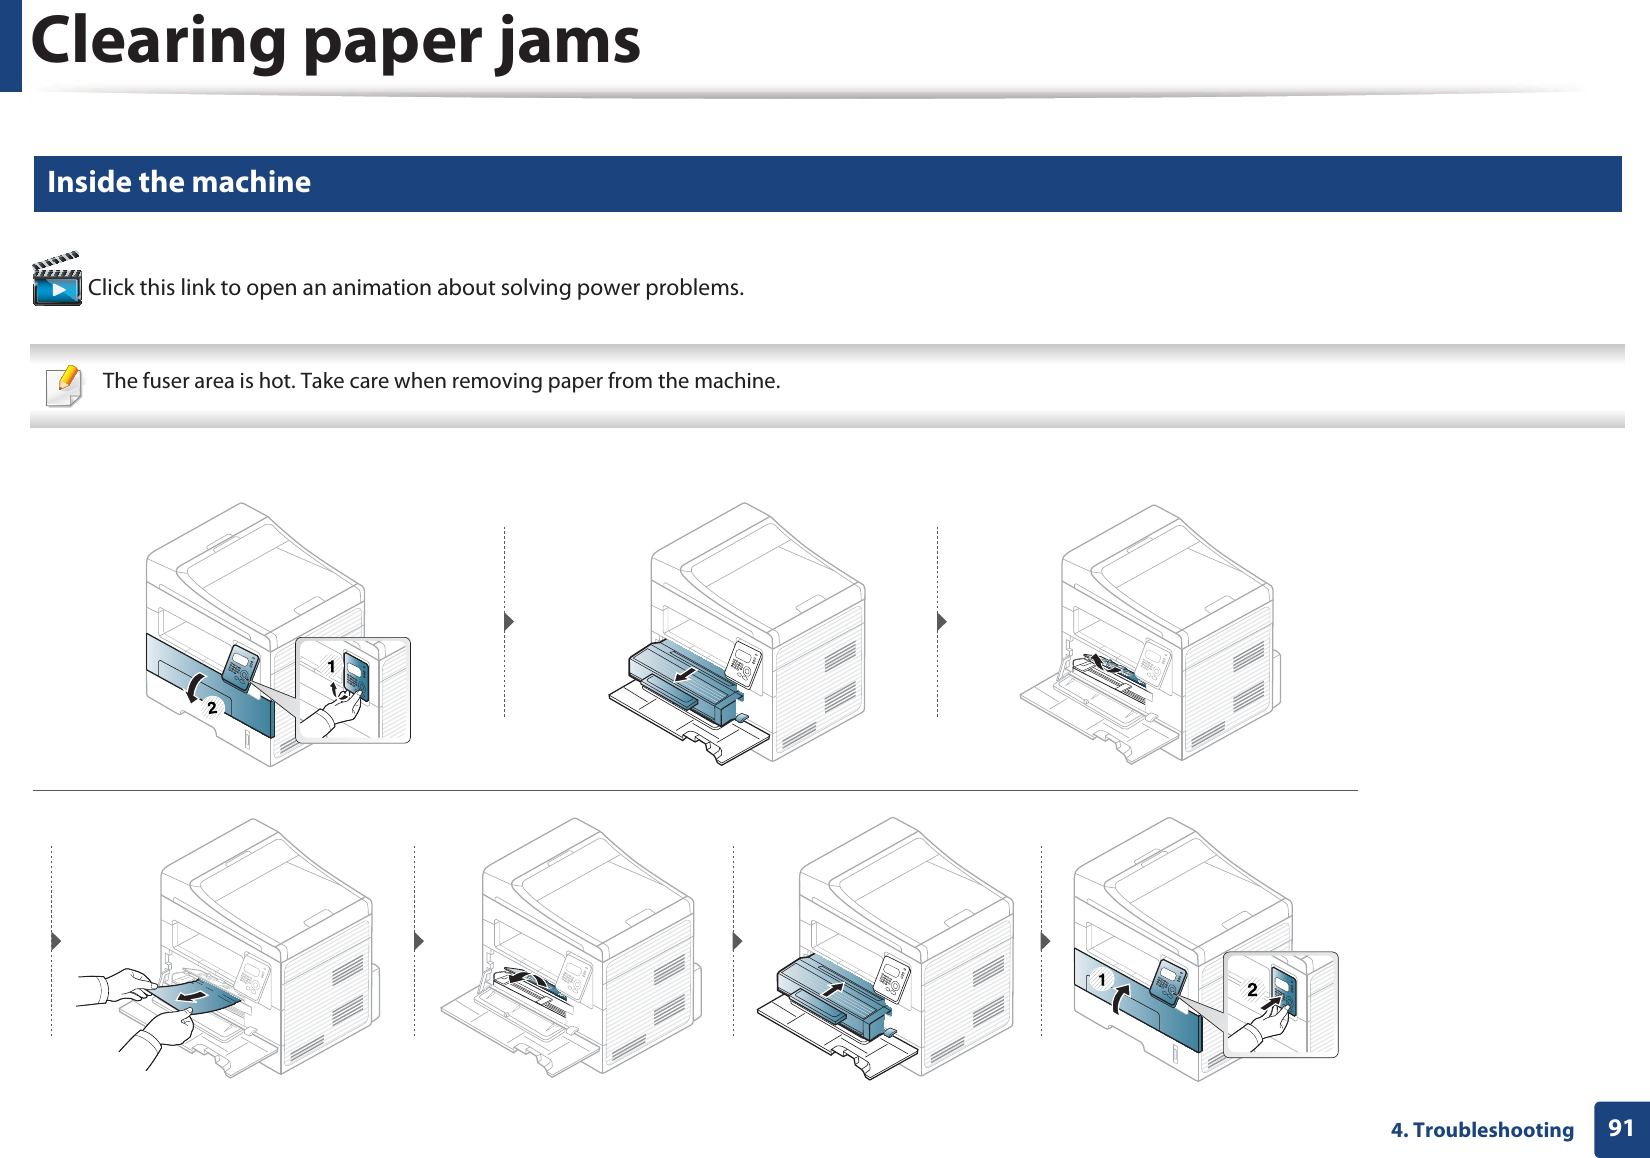
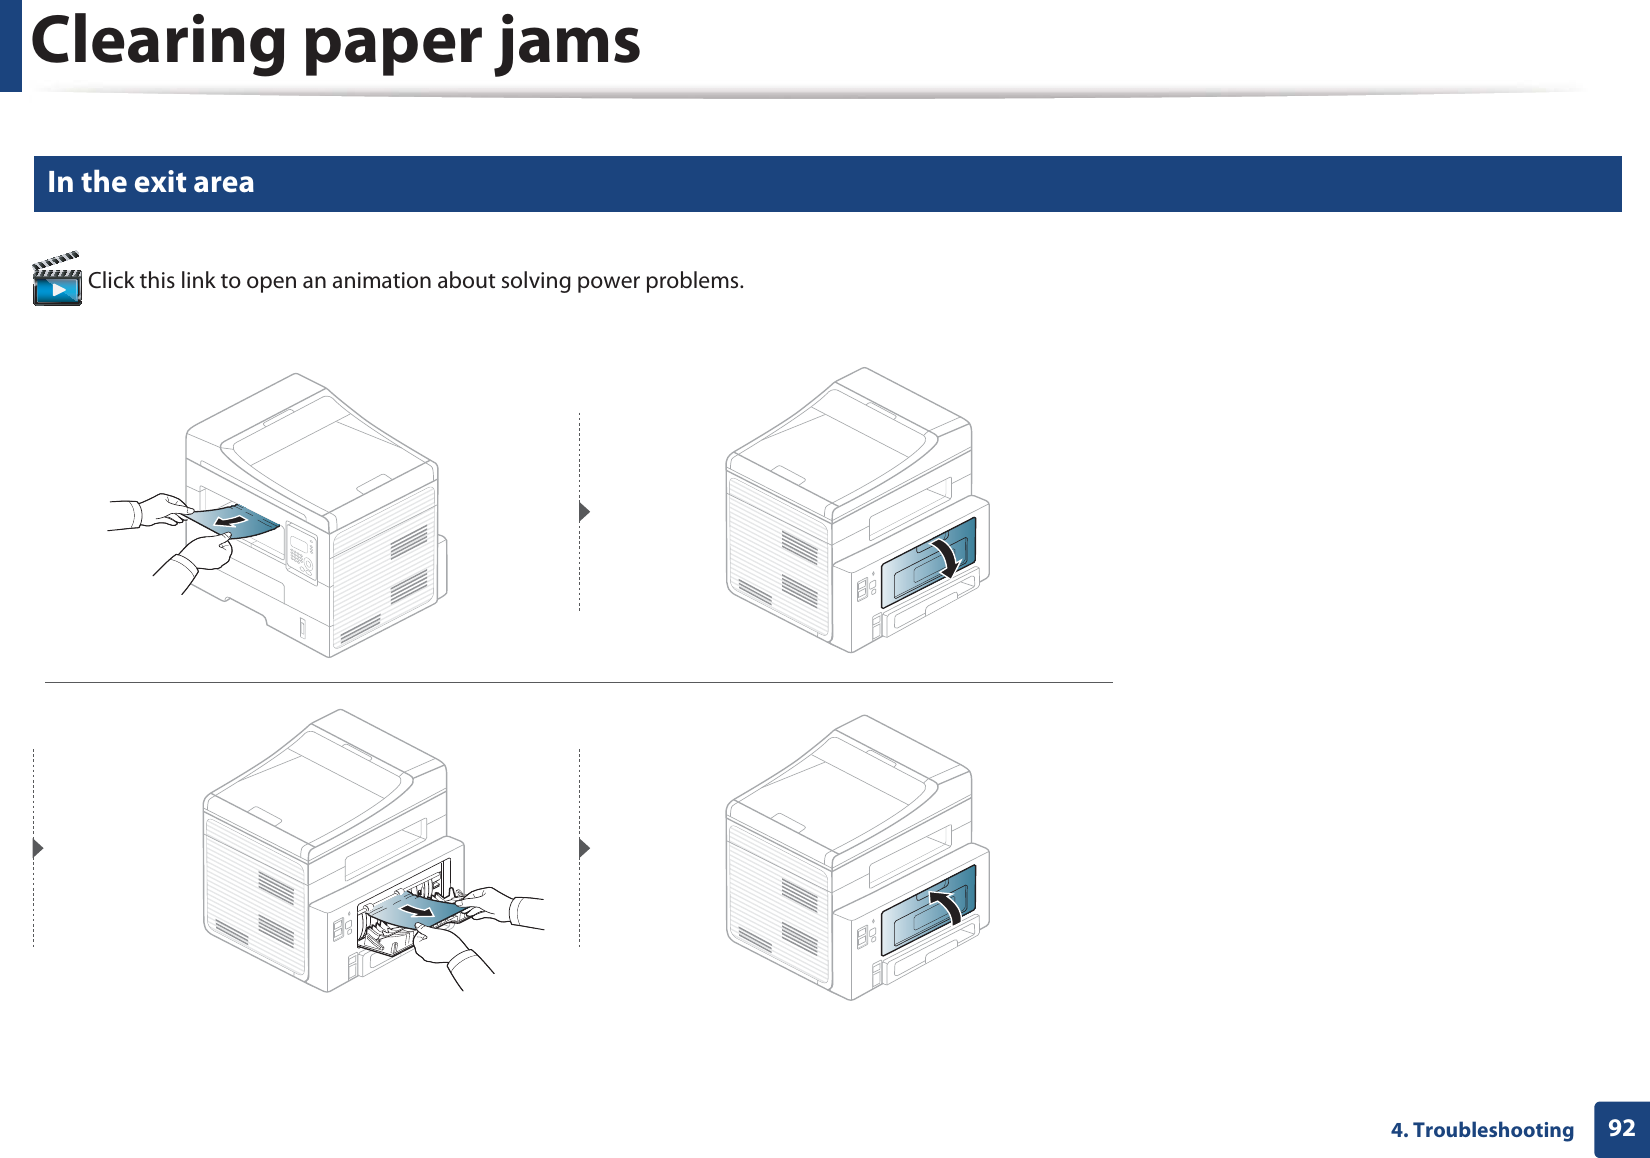
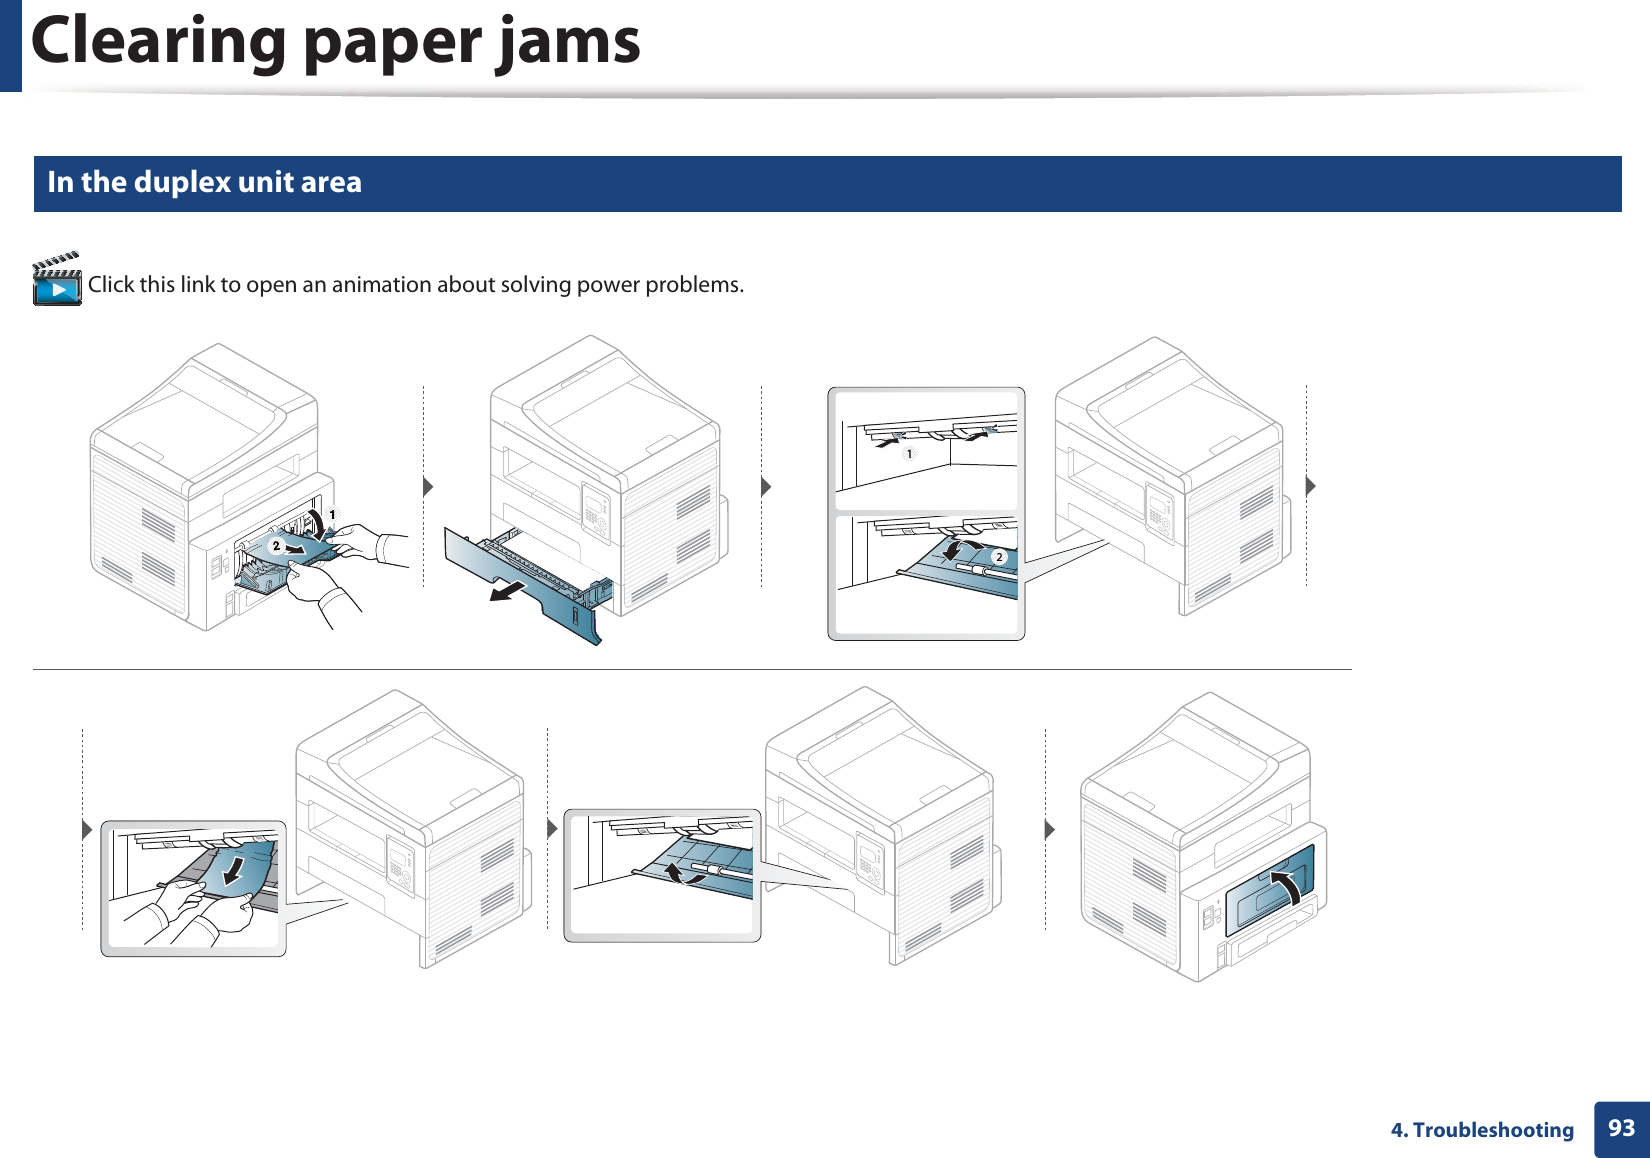
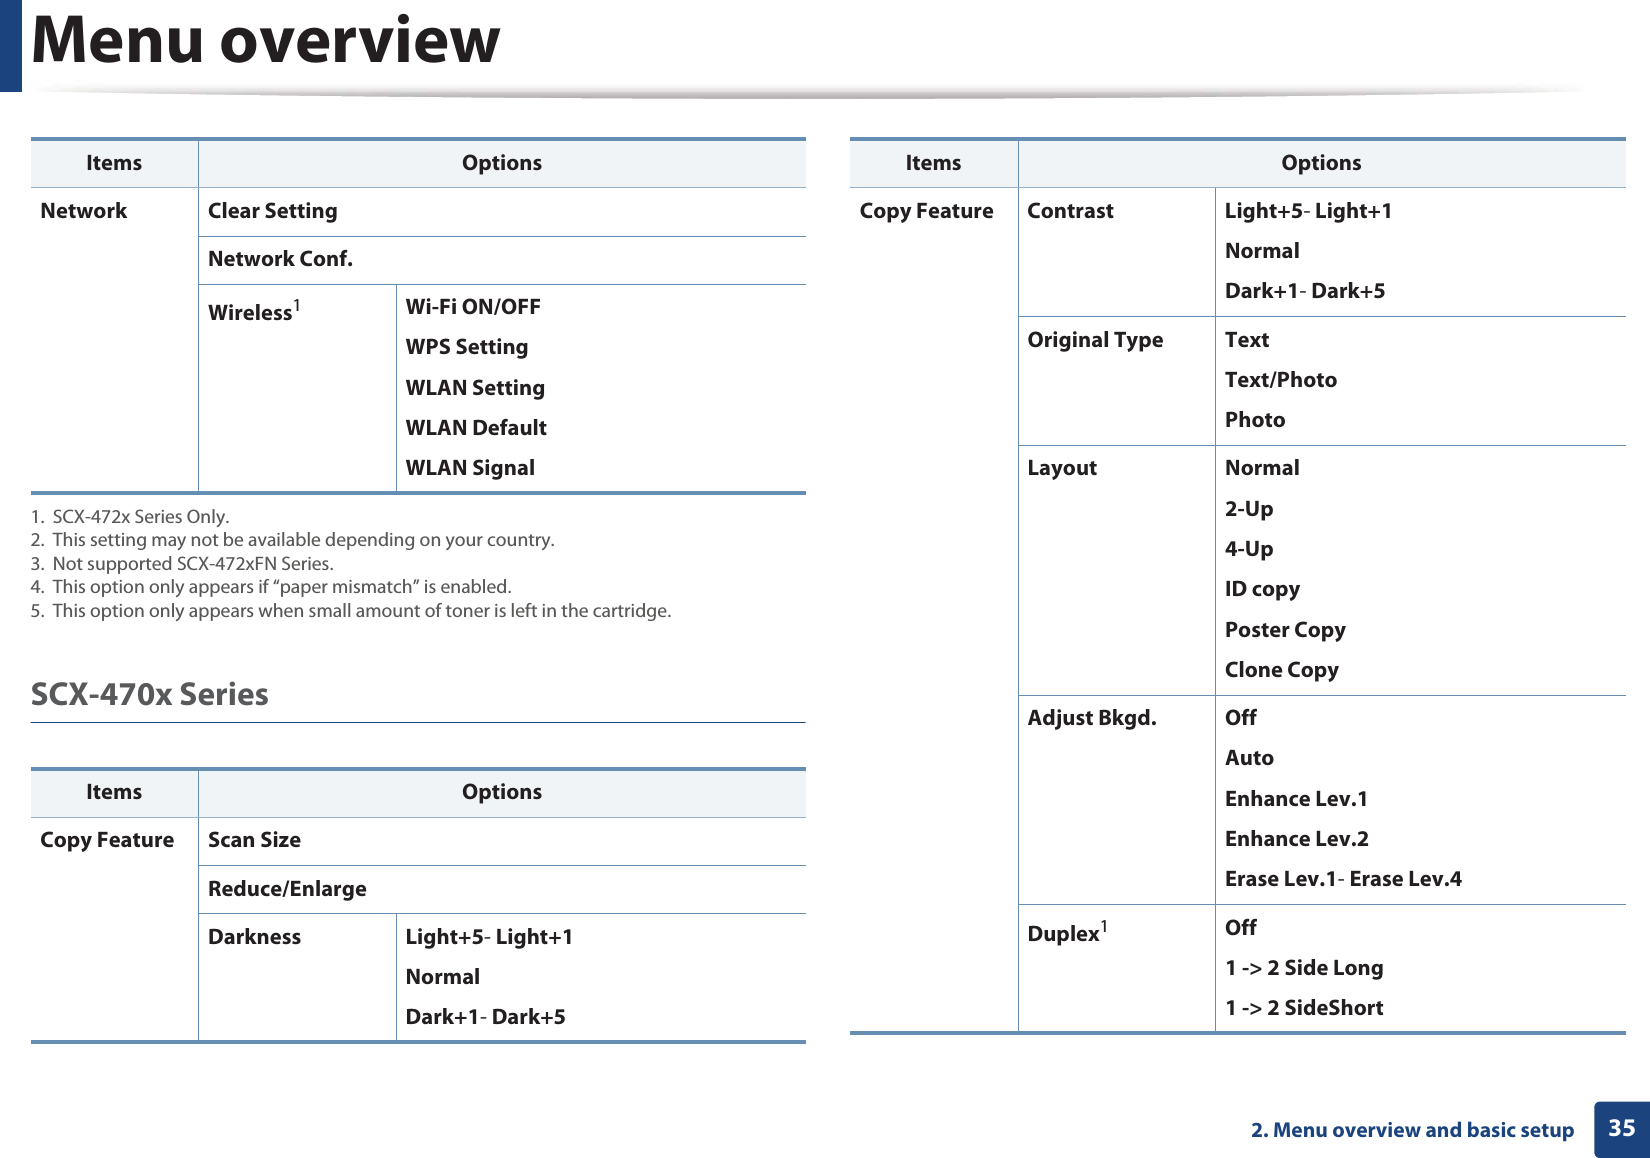
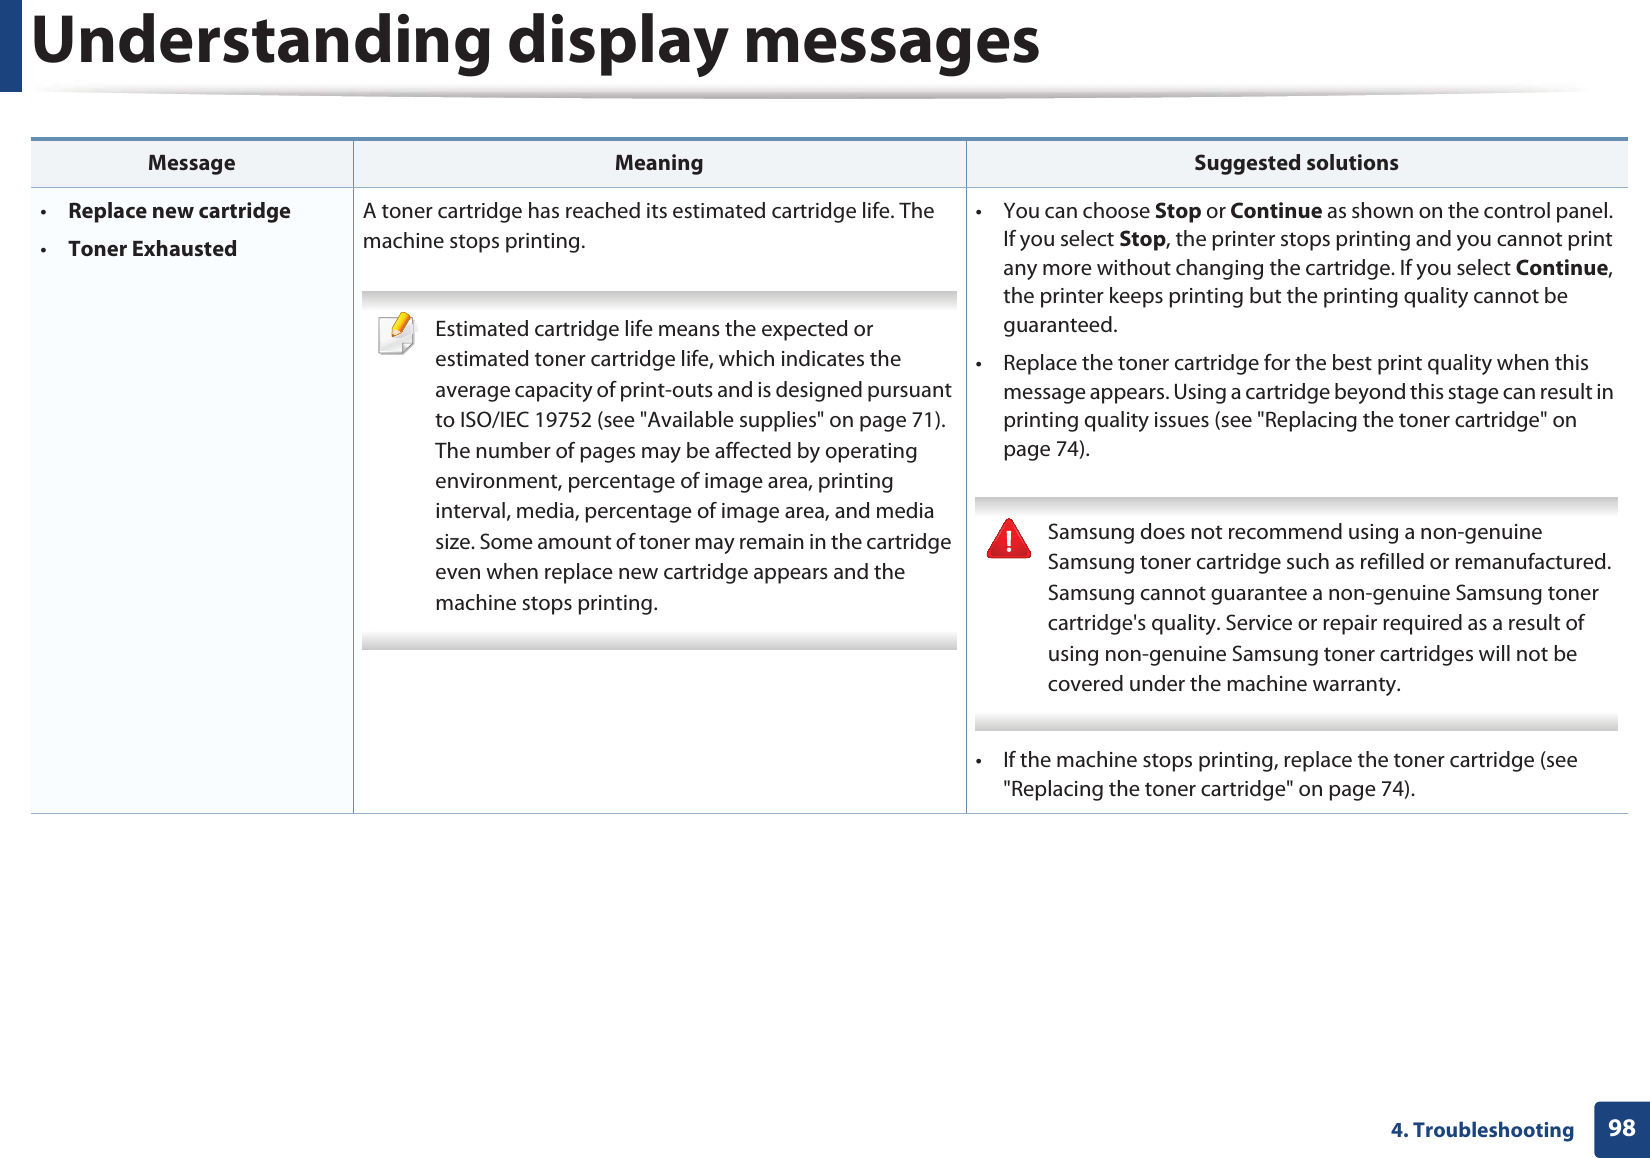
![964. TroubleshootingUnderstanding display messagesMessages appear on the control panel display to indicate the machine’s status or errors. Refer to the tables below to understand the messages’ and their meaning, and correct the problem, if necessary. • If a message is not in the table, reboot the power and try the printing job again. If the problem persists, call a service representative.• When you call for service, provide the service representative with the contents of display message.• Some messages may not appear on the display depending on the options or models.• [error number] indicates the error number. • [tray type] indicates the tray number. 9 Paper Jam-related messagesMessage Meaning Suggested solutions•Document jamRemove jamThe loaded original document has jammed in the document feeder.Clear the jam (see "Clearing original document jams" on page 85).•Paper Jamin trayPaper has jammed in the paper feed area.Clear the jam (see "In tray" on page 89).•Paper Jamin Manual FeederPaper has jammed in the manual feeder.Clear the jam (see "In the manual tray" on page 90).•Paper Jaminside machinePaper has jammed in the inside machine.Clear the jam (see "Inside the machine" on page 91).•Paper Jamin exit areaPaper has jammed in the paper exit area.Clear the jam (see "In the exit area" on page 92).•Paper Jambottom of duplex•Paper Jam top of duplexPaper has jammed in the duplex area.Clear the jam (see "In the duplex unit area" on page 93).Message Meaning Suggested solutions](https://usermanual.wiki/Samsung-Electronics-Co/SCX4726FN.Users-Manual-1/User-Guide-1757812-Page-96.png)
![Understanding display messages994. Troubleshooting11 Tray-related messages12 Network-related messages13 Misc. messagesMessage Meaning Suggested solutions•Output bin fullRemove paperThe output tray is full. Remove papers from the output tray, the printer resumes printing. •Paper Emptyin [tray type]There is no paper in tray or manual feeder. Load paper in tray (see "Loading paper in the tray" on page 42, "Loading paper in the tray" on page 42).•Tray Paper mismatch•Manual Paper mismatchThe paper size specified in the printer properties does not match the paper you are loading.Load the required size paper.Message Meaning Suggested solutions•Network Problem: IP ConflictThe network IP address you have set is being used by someone else. Check the IP address and reset it if necessary (see Advanced Guide).•WirelessNetwork ErrorWireless module is not installed.Call for service.Message Meaning Suggested solutions•Door of scanner is openThe document feeder cover is not securely latched.Close the cover until it locks into place. •Error [error number]Turn off then onThe machine unit cannot be controlled.Reboot the power and try the printing job again. If the problem persists, please call for service. •Memory Full Remove JobThe memory is full. Print or remove the received fax job in Secure Receive (see Advanced Guide).•Scanner Locked The scanner is locked. Reboot the power. If the problem persists, please call for service.Message Meaning Suggested solutions](https://usermanual.wiki/Samsung-Electronics-Co/SCX4726FN.Users-Manual-1/User-Guide-1757812-Page-99.png)

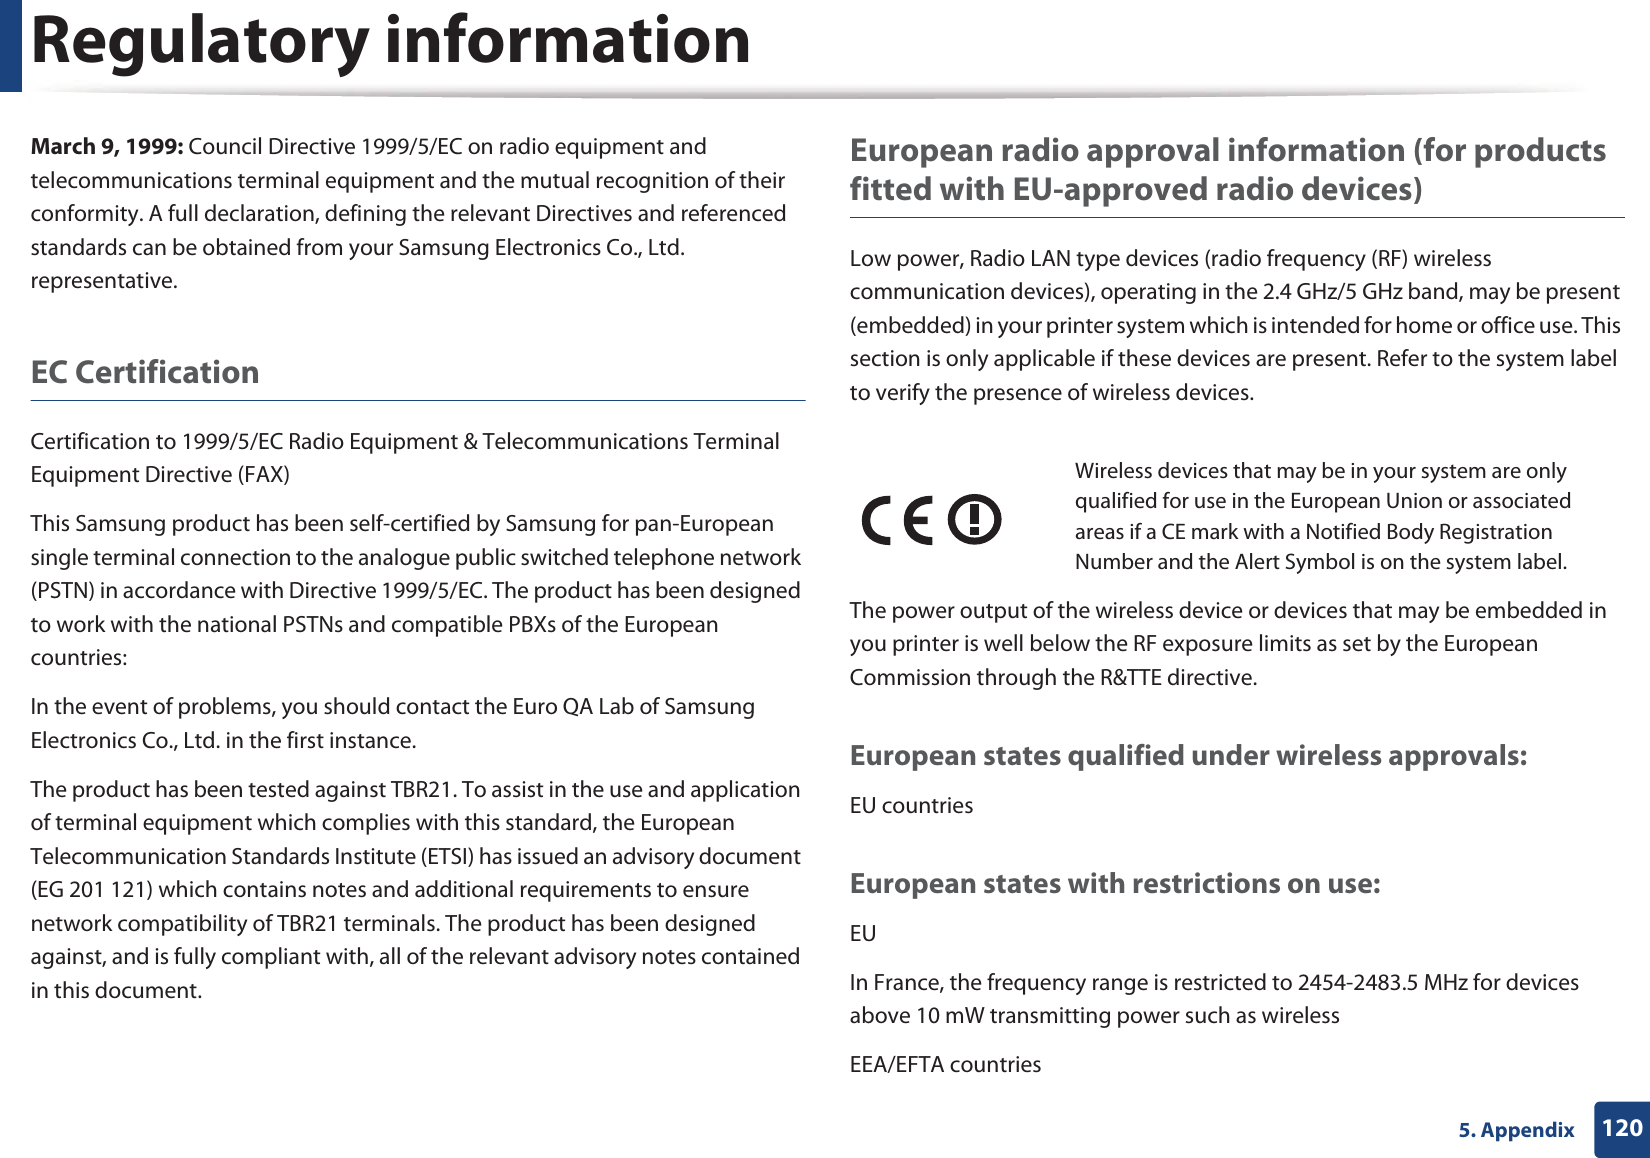
![Regulatory information1195. AppendixThe 13 amp plug is the most widely used in the UK and should be suitable. However, some buildings (mainly old ones) do not have normal 13 amp plug sockets. You need to buy a suitable plug adaptor. Do not remove the moulded plug. If you cut off the moulded plug, get rid of it straight away.You cannot rewire the plug and you may receive an electric shock if you plug it into a socket. Important warning: If the wires in the mains lead do not match the colors marked in your plug, do the following:You must connect the green and yellow wire to the pin marked by the letter “E” or by the safety ‘Earth symbol’ or colored green and yellow or green.You must connect the blue wire to the pin which is marked with the letter “N” or colored black.You must connect the brown wire to the pin which is marked with the letter “L” or colored red.You must have a 13 amp fuse in the plug, adaptor, or at the distribution board.23 Declaration of conformity (European countries)Approvals and CertificationsJanuary 1, 1995: Council Directive 2006/95/EC Approximation of the laws of the member states related to low voltage equipment.January 1, 1996: Council Directive 2004/108/EC, approximation of the laws of the Member States related to electromagnetic compatibility.You must earth this machine.The wires in the mains lead have the following color code:•Green and Yellow: Earth•Blue: Neutral•Brown: LiveHereby, Samsung Electronics, declares that this [SCX-470xND Series] is incompliance with the essential requirements and other relevantprovisions of Low Voltage Directive (2006/95/EC), EMC Directive (2004/108/EC).Hereby, Samsung Electronics, declares that this [SCX-472xFW Series, SCX-472xHW Series, SCX-472xFD Series, SCX-472xHD Series, SCX-472xHN Series, SCX-472xFN Series] is in compliance with the essential requirements and other relevant provisions of R&TTE Directive 1999/5/EC.The declaration of conformity may be consulted at www.samsung.com, go to Support > Download center and enter your printer (MFP) name to browse the EuDoC.](https://usermanual.wiki/Samsung-Electronics-Co/SCX4726FN.Users-Manual-1/User-Guide-1757812-Page-119.png)
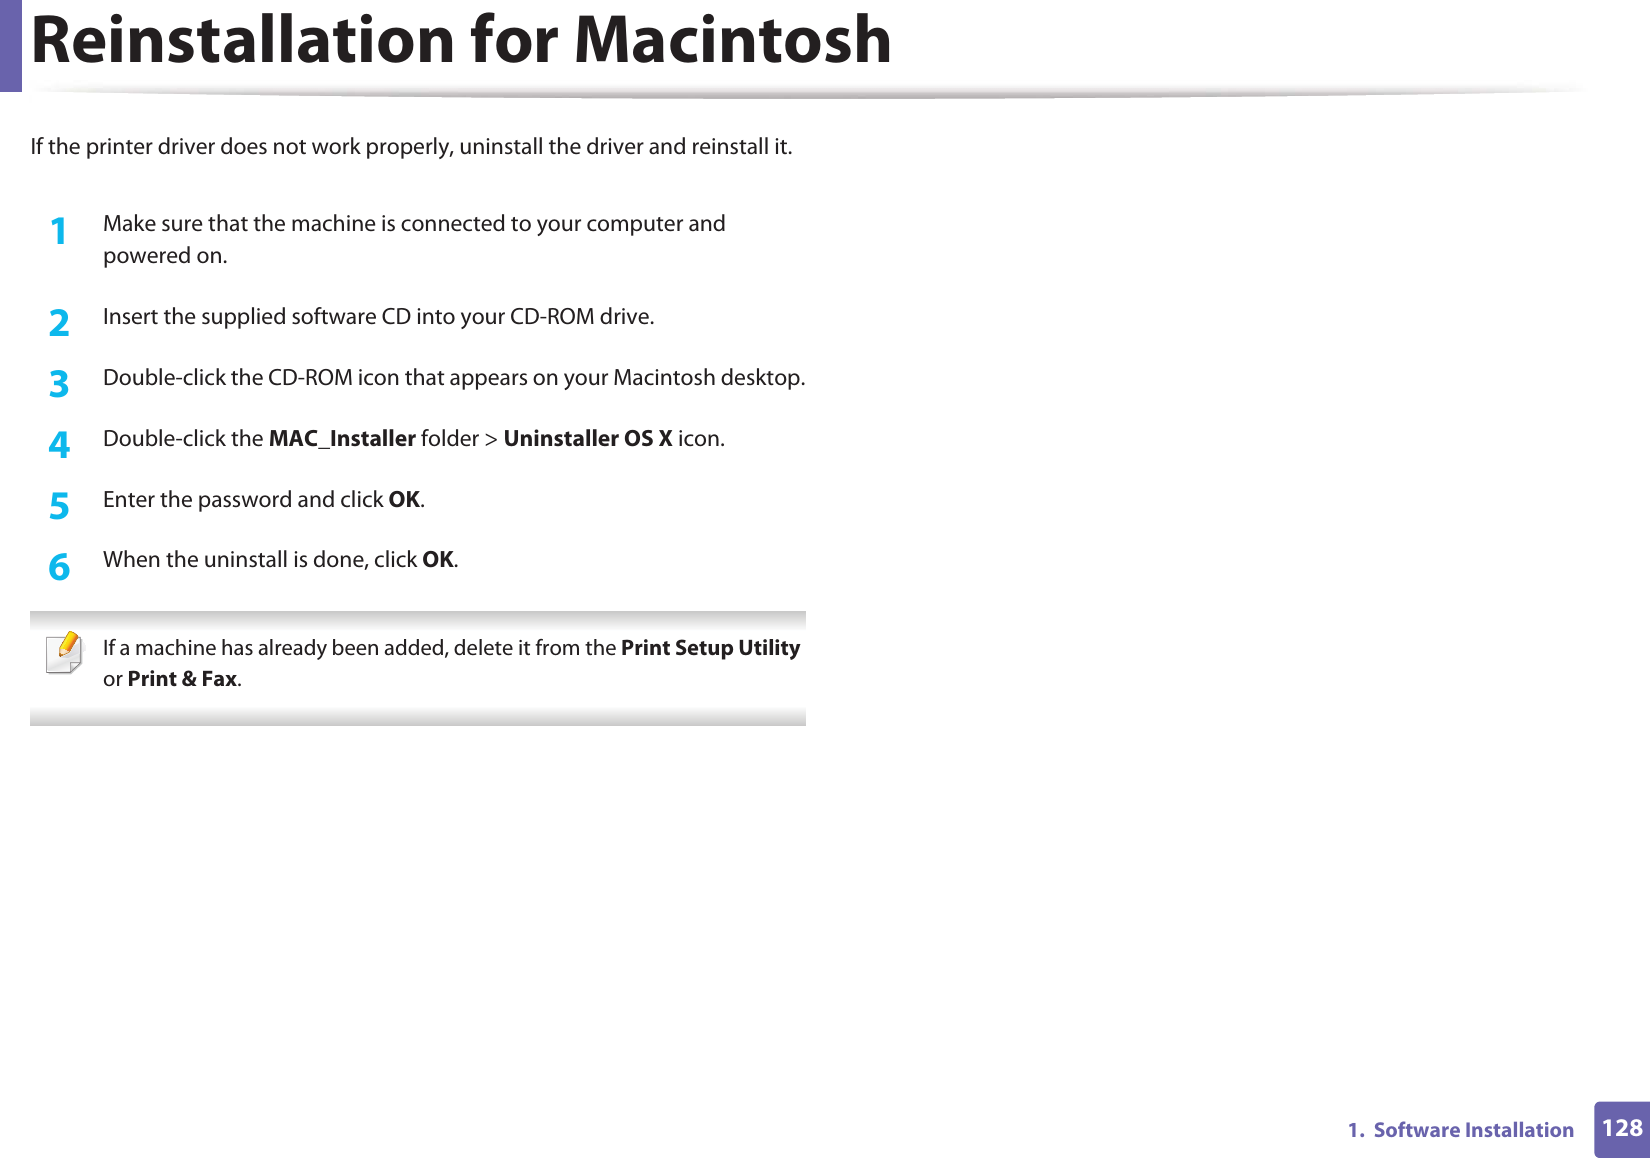
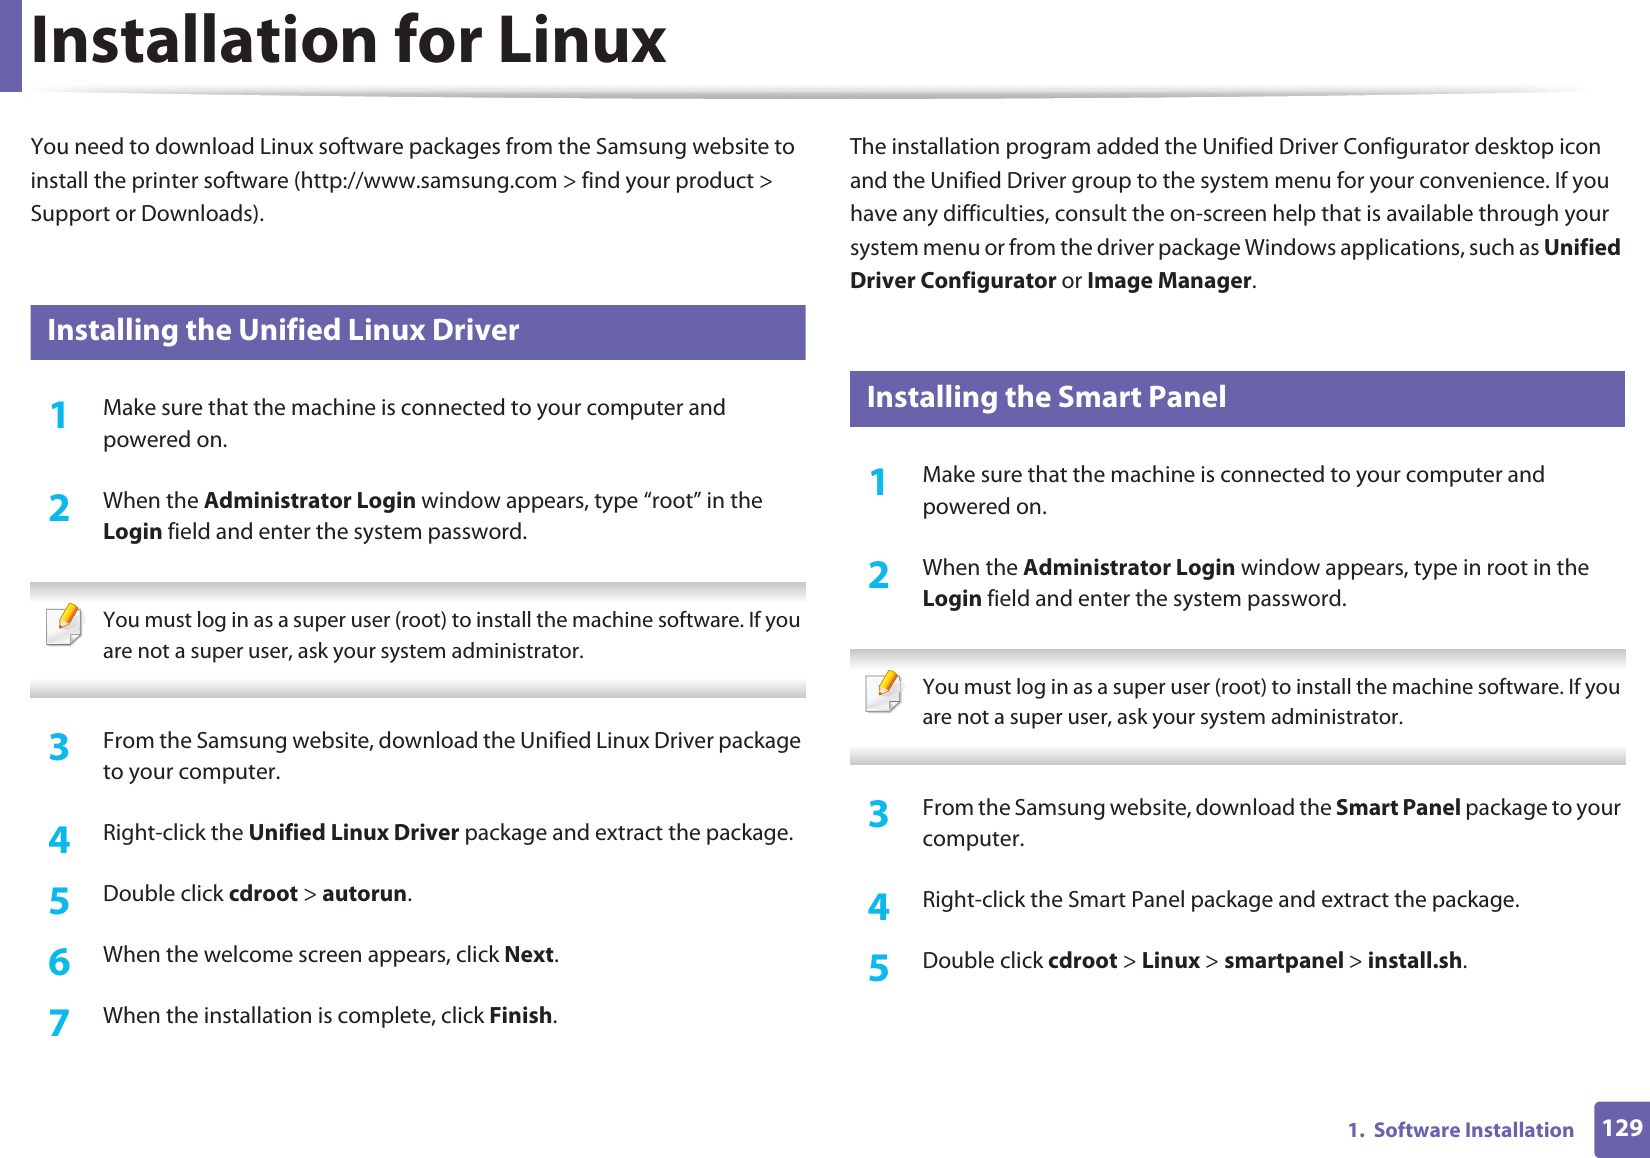
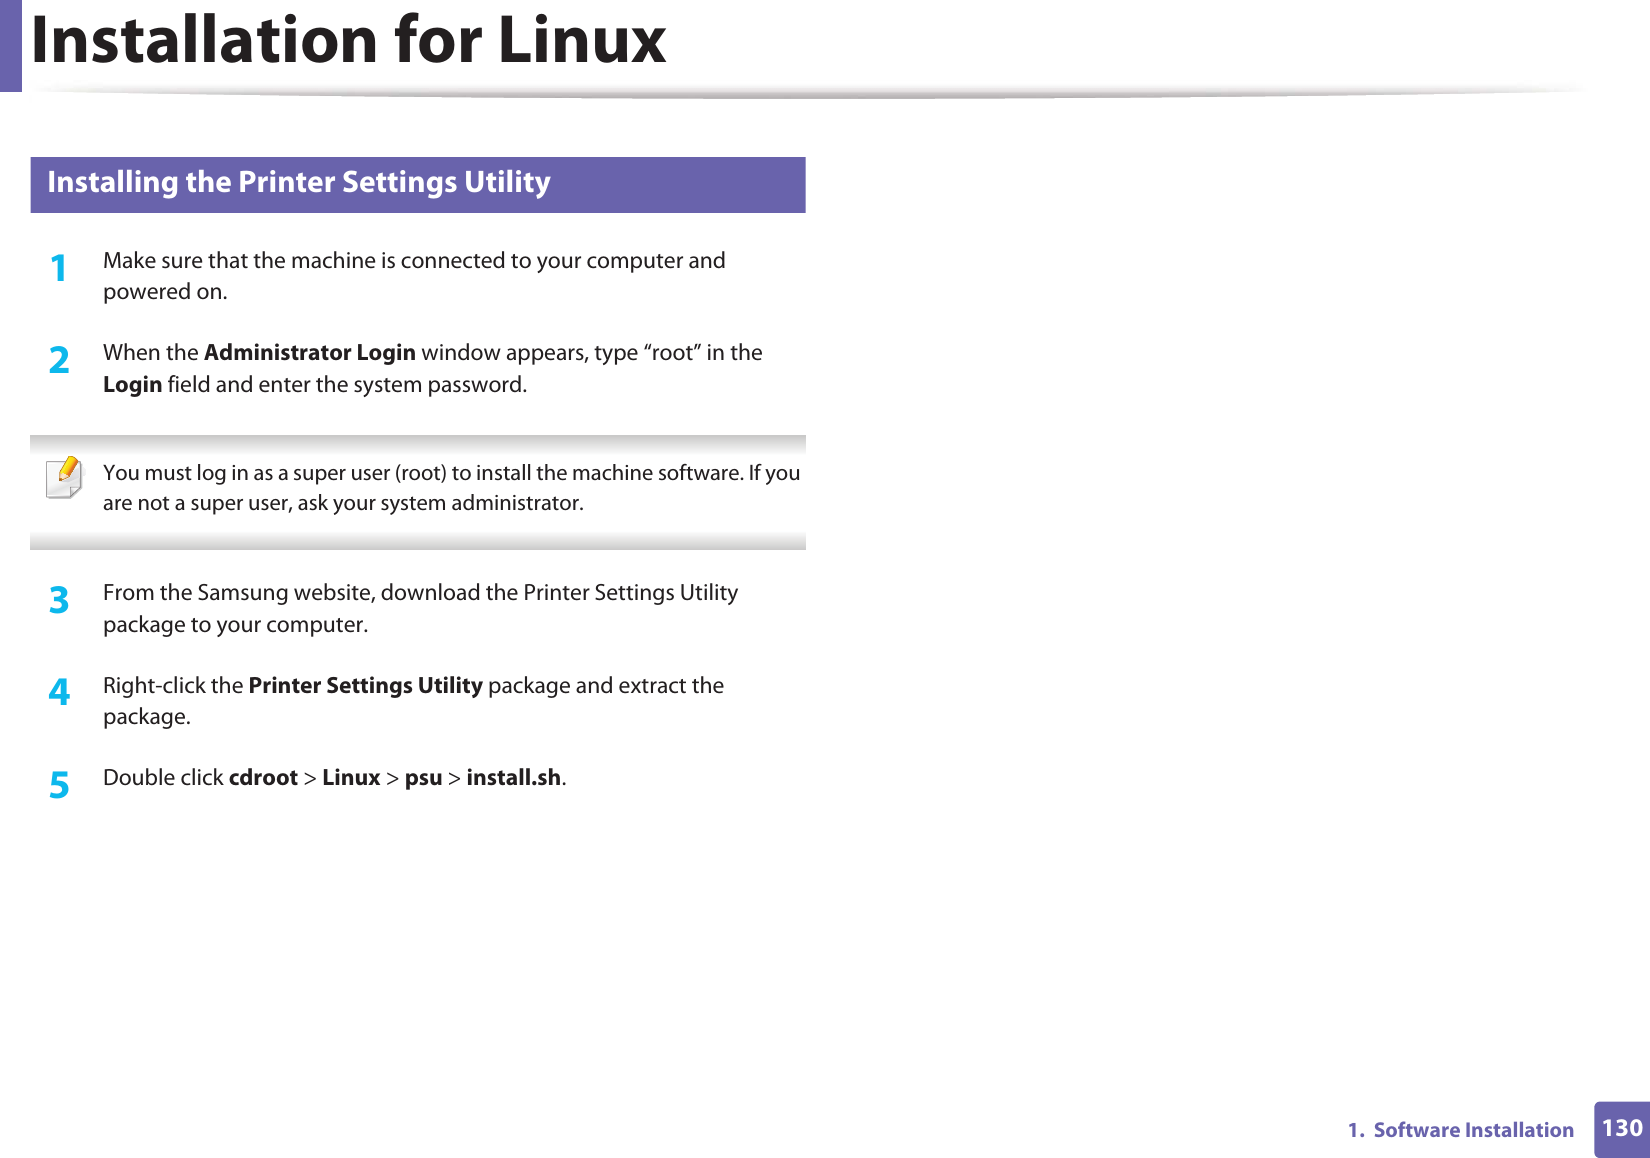
![1311. Software InstallationReinstallation for LinuxIf the printer driver does not work properly, uninstall the driver and reinstall it. 1Make sure that the machine is connected to your computer and powered on.2 When the Administrator Login window appears, type “root” in the Login field and enter the system password.You must log in as a super user (root) to uninstall the printer driver. If you are not a super user, ask your system administrator.3 Click the icon at the bottom of the desktop. When the Terminal screen appears, type in the following.[root@localhost root]#cd /opt/Samsung/mfp/uninstall/[root@localhost uninstall]#./uninstall.sh4 Click Uninstall.5 Click Next. 6 Click Finish.](https://usermanual.wiki/Samsung-Electronics-Co/SCX4726FN.Users-Manual-1/User-Guide-1757812-Page-131.png)
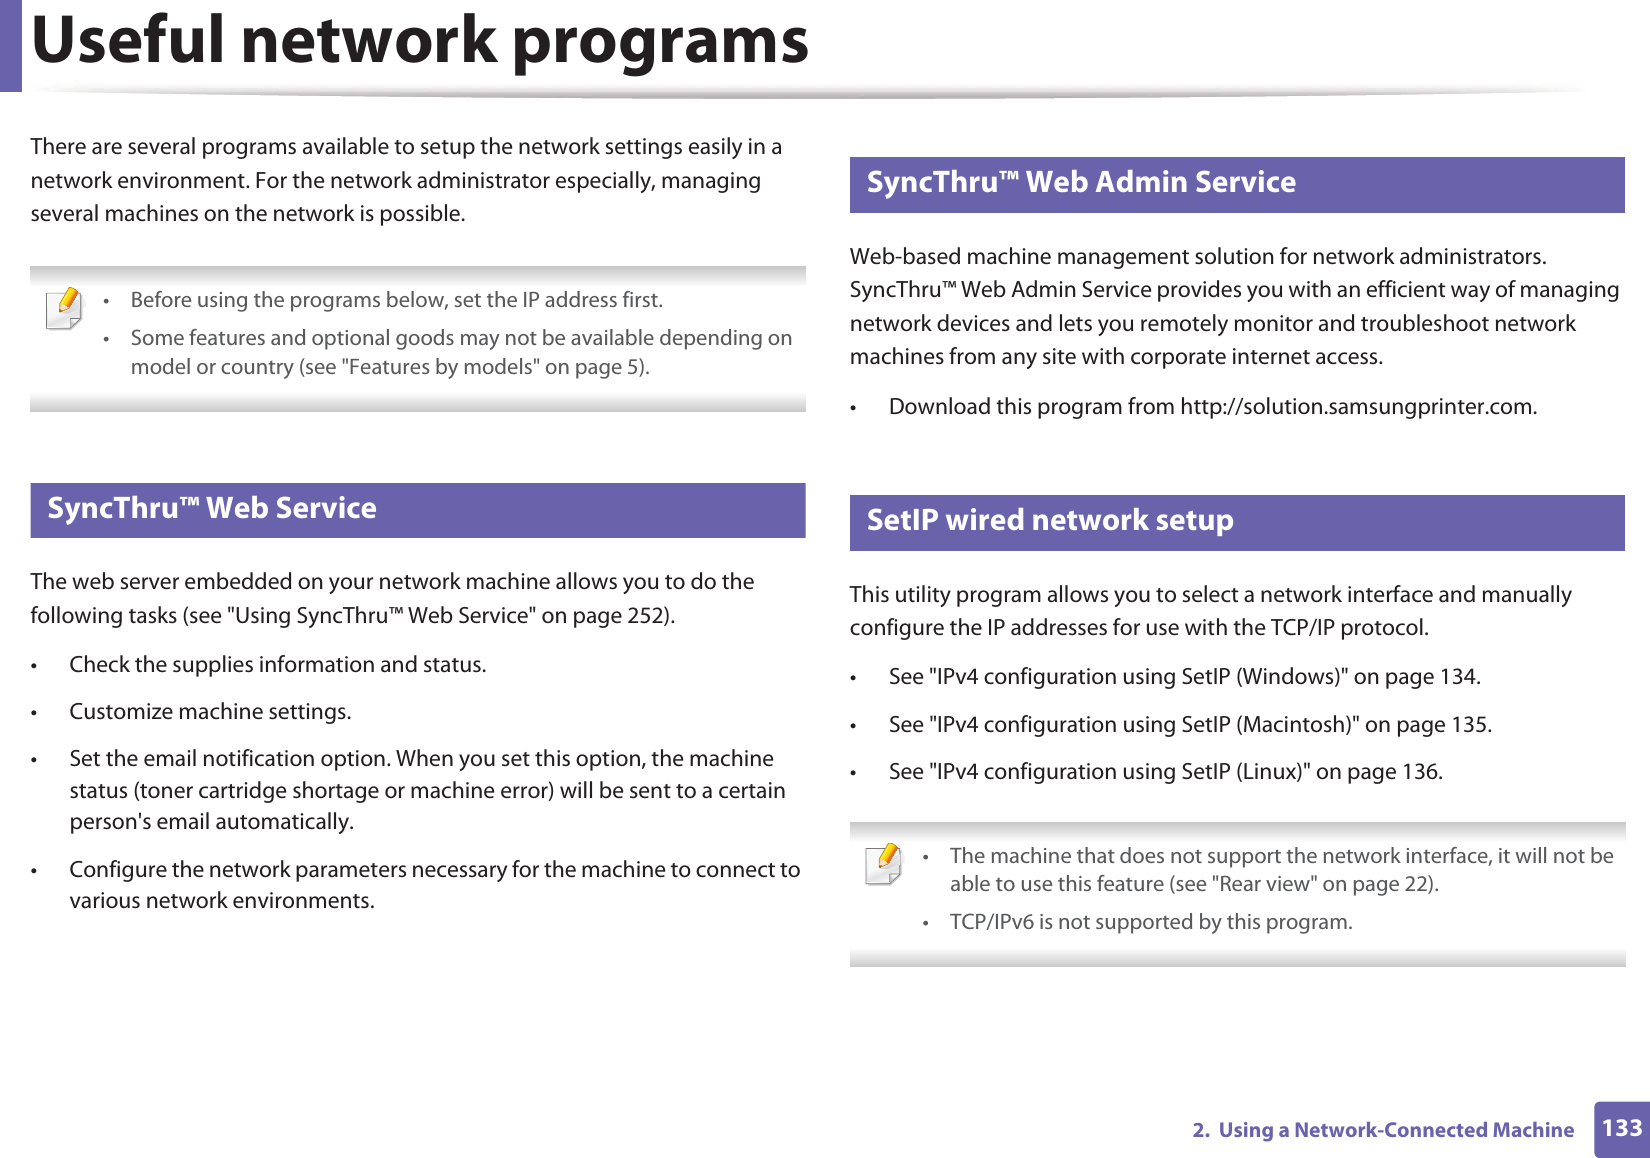
![IPv6 configuration1472. Using a Network-Connected Machine7 Enter the rest of the address (e.g.,:3FFE:10:88:194::AAAA. “A” is the hexadecimal 0 through 9, A through F).8 Choose the DHCPv6 configuration.9 Click the Apply button.Using SyncThru™ Web Service1Start a web browser, such as Internet Explorer, that supports IPv6 addressing as a URL.2 Select one of the IPv6 addresses (Link-local Address, Stateless Address, Stateful Address, Manual Address) from Network Configuration Report (see "Printing a network configuration report" on page 134).3 Enter the IPv6 addresses (e.g.,: http://[FE80::215:99FF:FE66:7701]). Address must be enclosed in '[ ]' brackets.](https://usermanual.wiki/Samsung-Electronics-Co/SCX4726FN.Users-Manual-1/User-Guide-1757812-Page-147.png)