Samsung Electronics Co SCX4833FD Laser Printer User Manual rainier basic english
Samsung Electronics Co Ltd Laser Printer rainier basic english
UserManual.wiki
>
Samsung Electronics Co
>
SCX4833FD User Manual
>
Users Manual 1
Contents
1.
Users Manual 1
2.
Users Manual 2
Users Manual 1
Navigation menu
Upload a User Manual
Namespaces
Wiki Guide
HTML
PDF
Info
Views
User Manual
Discussion / Help
Navigation
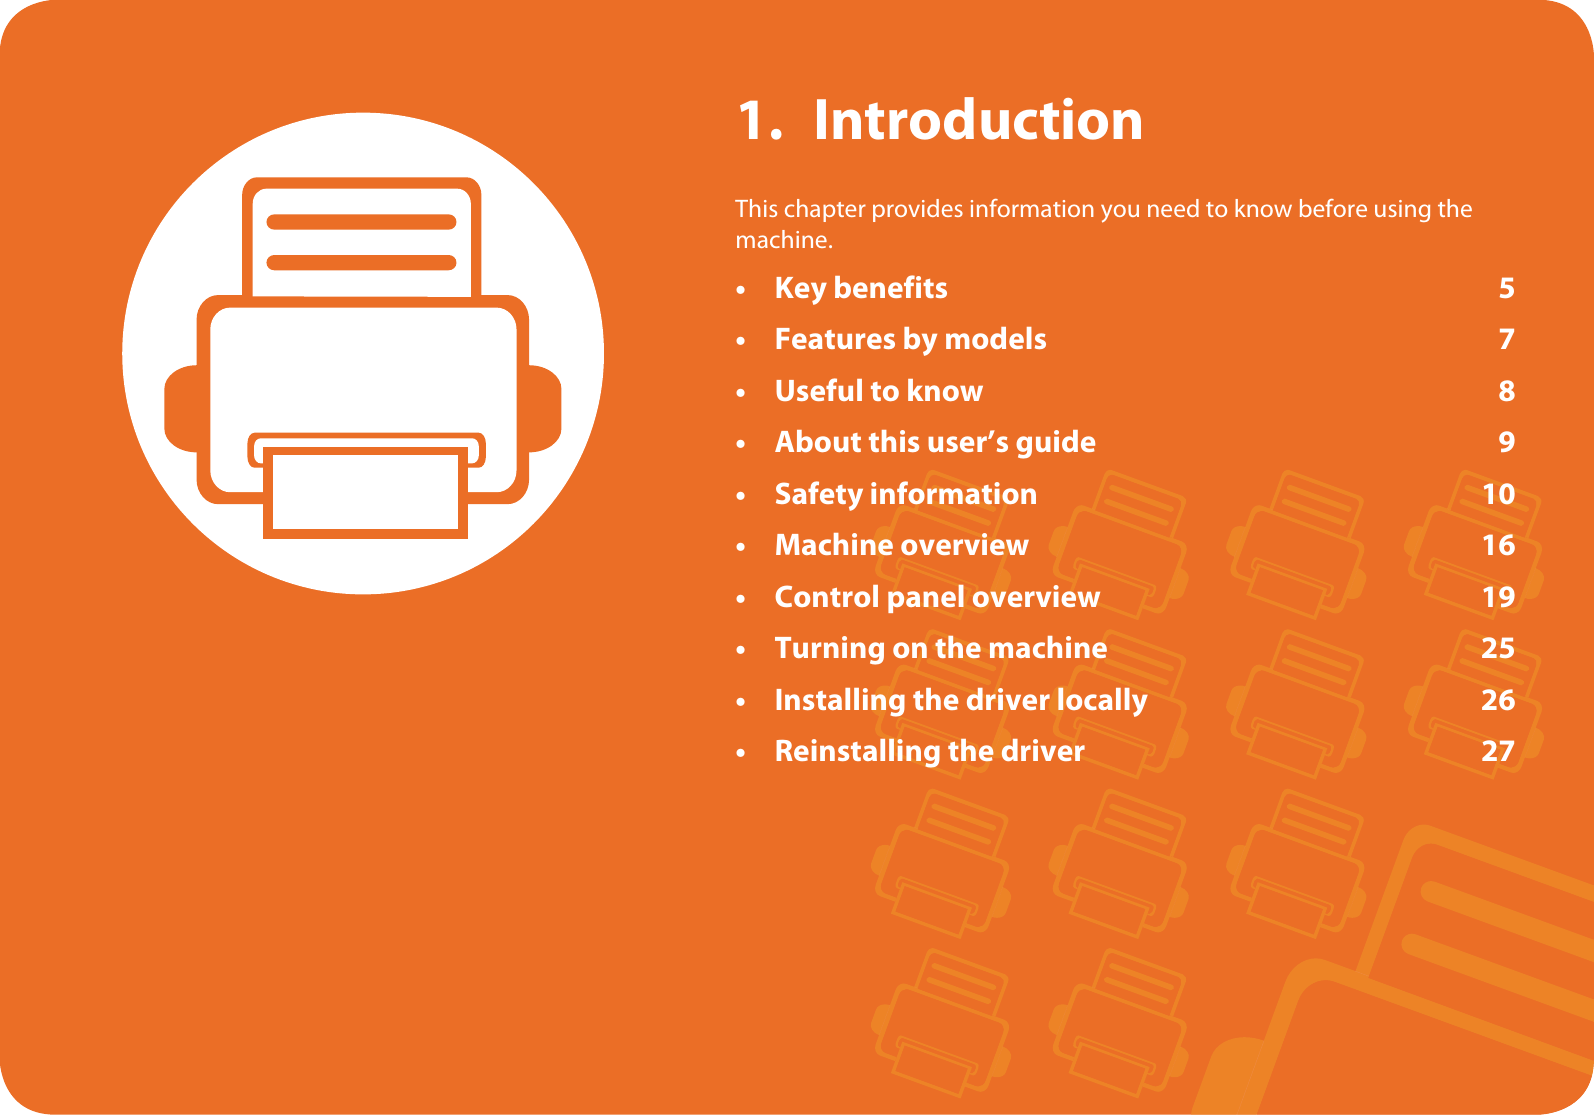
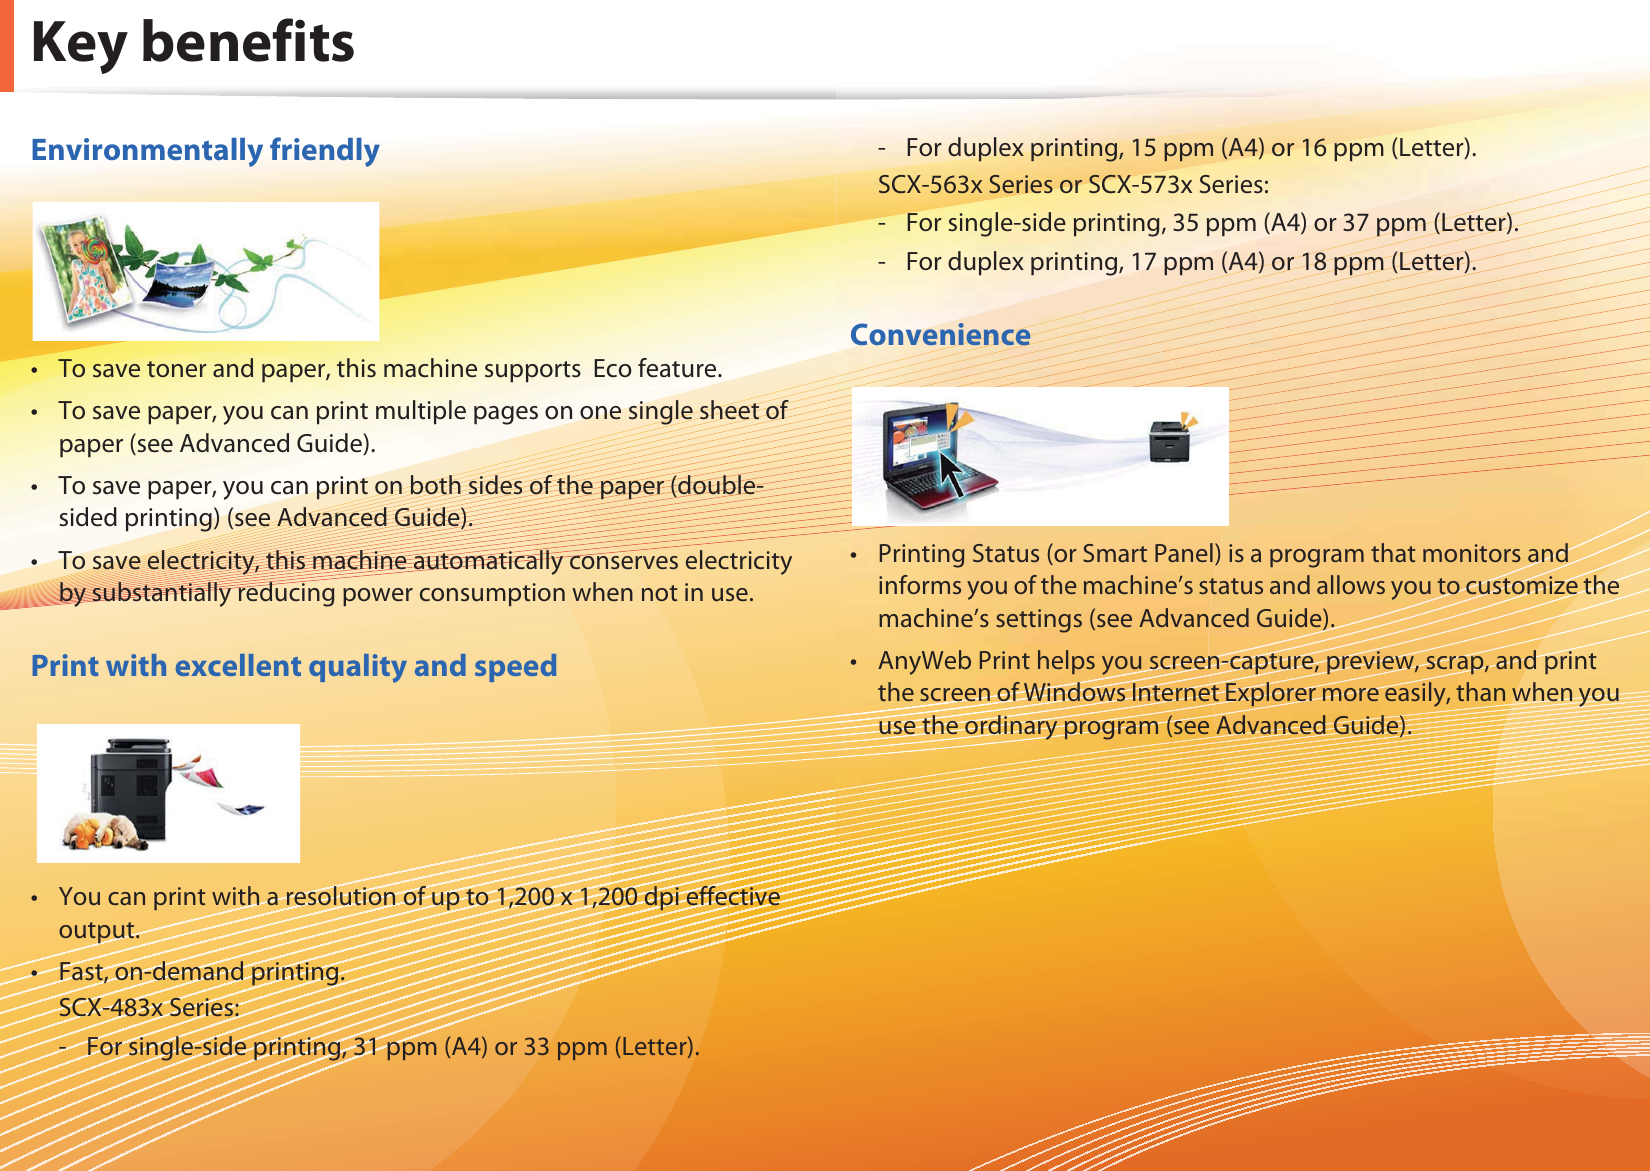
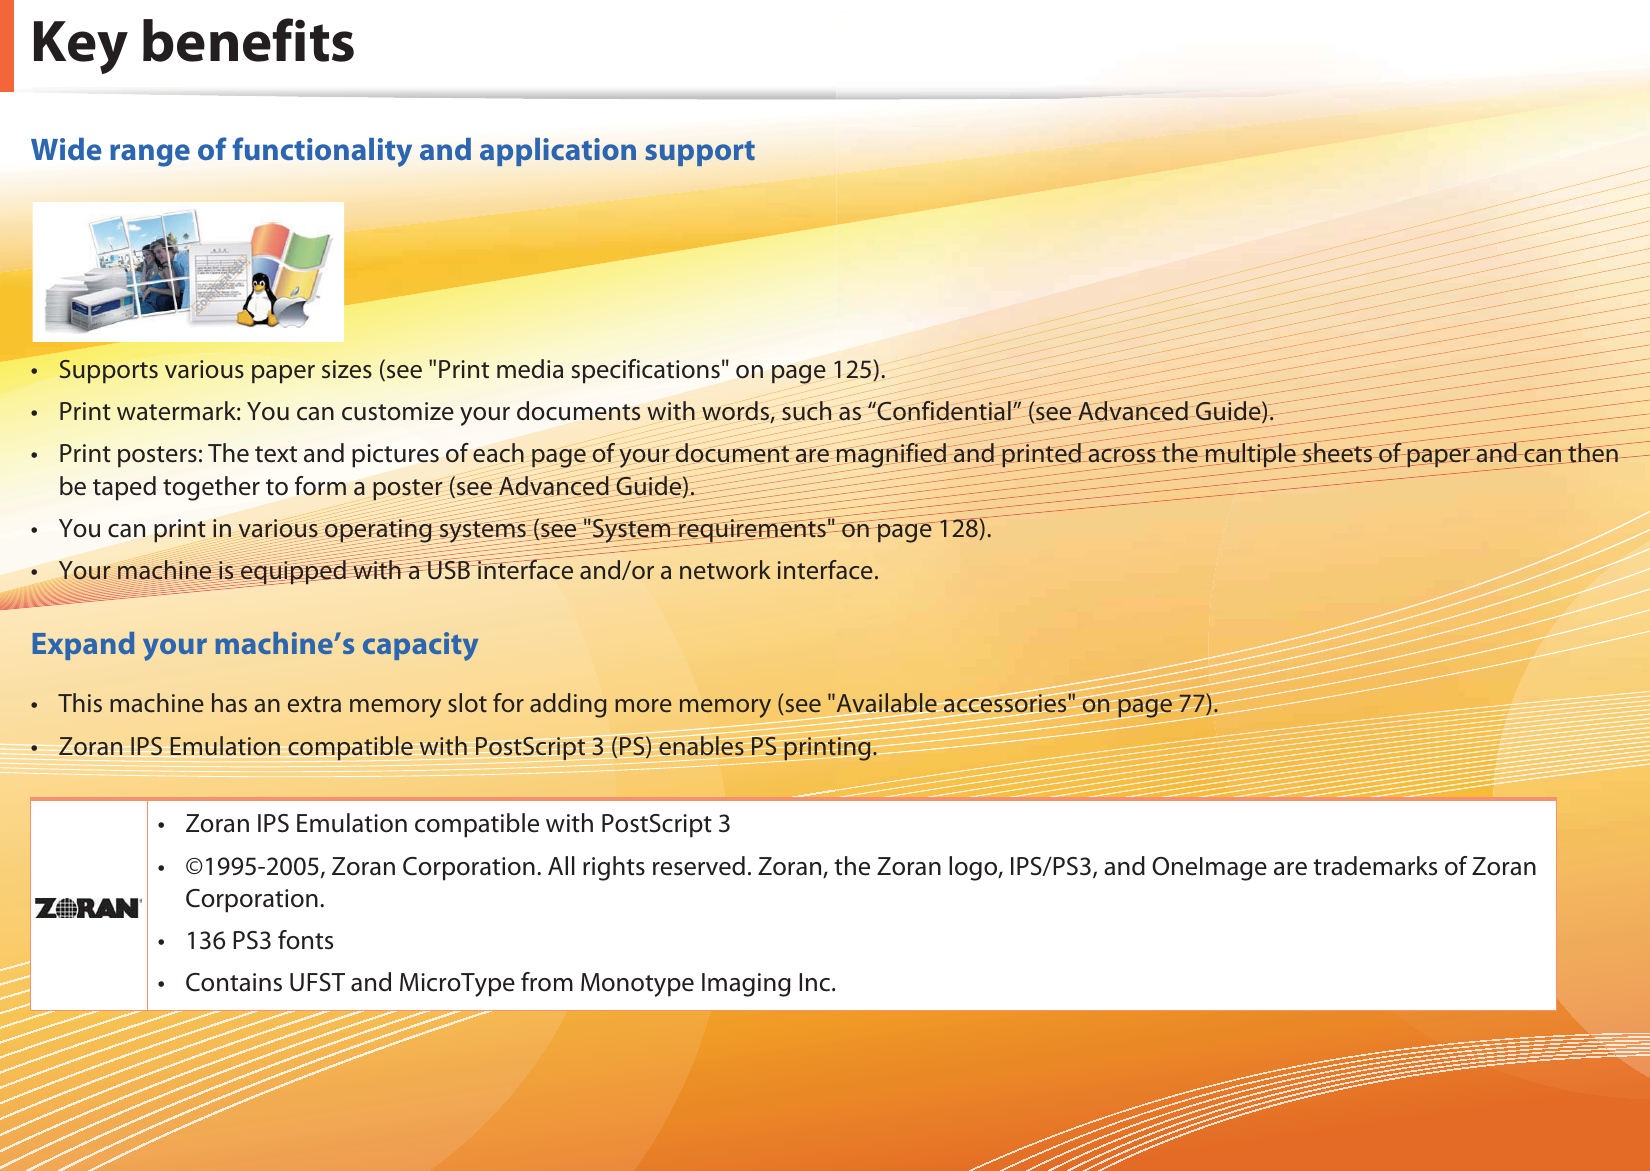
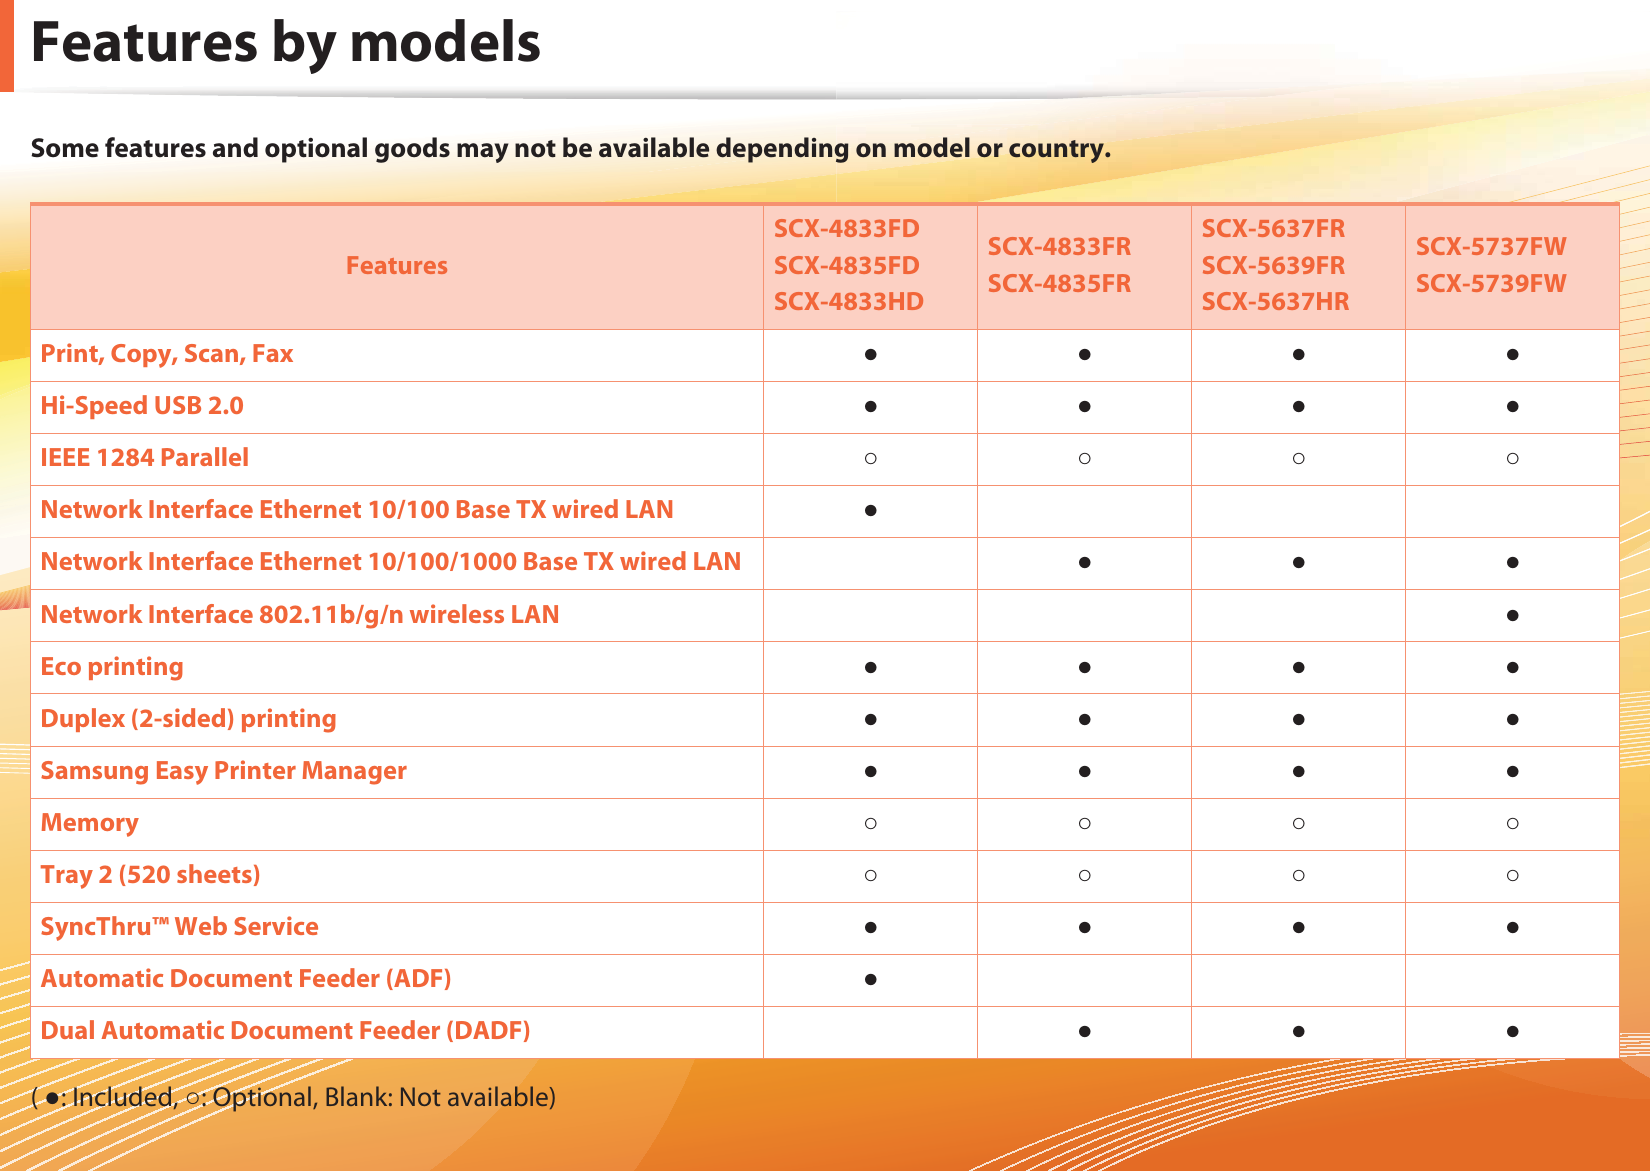
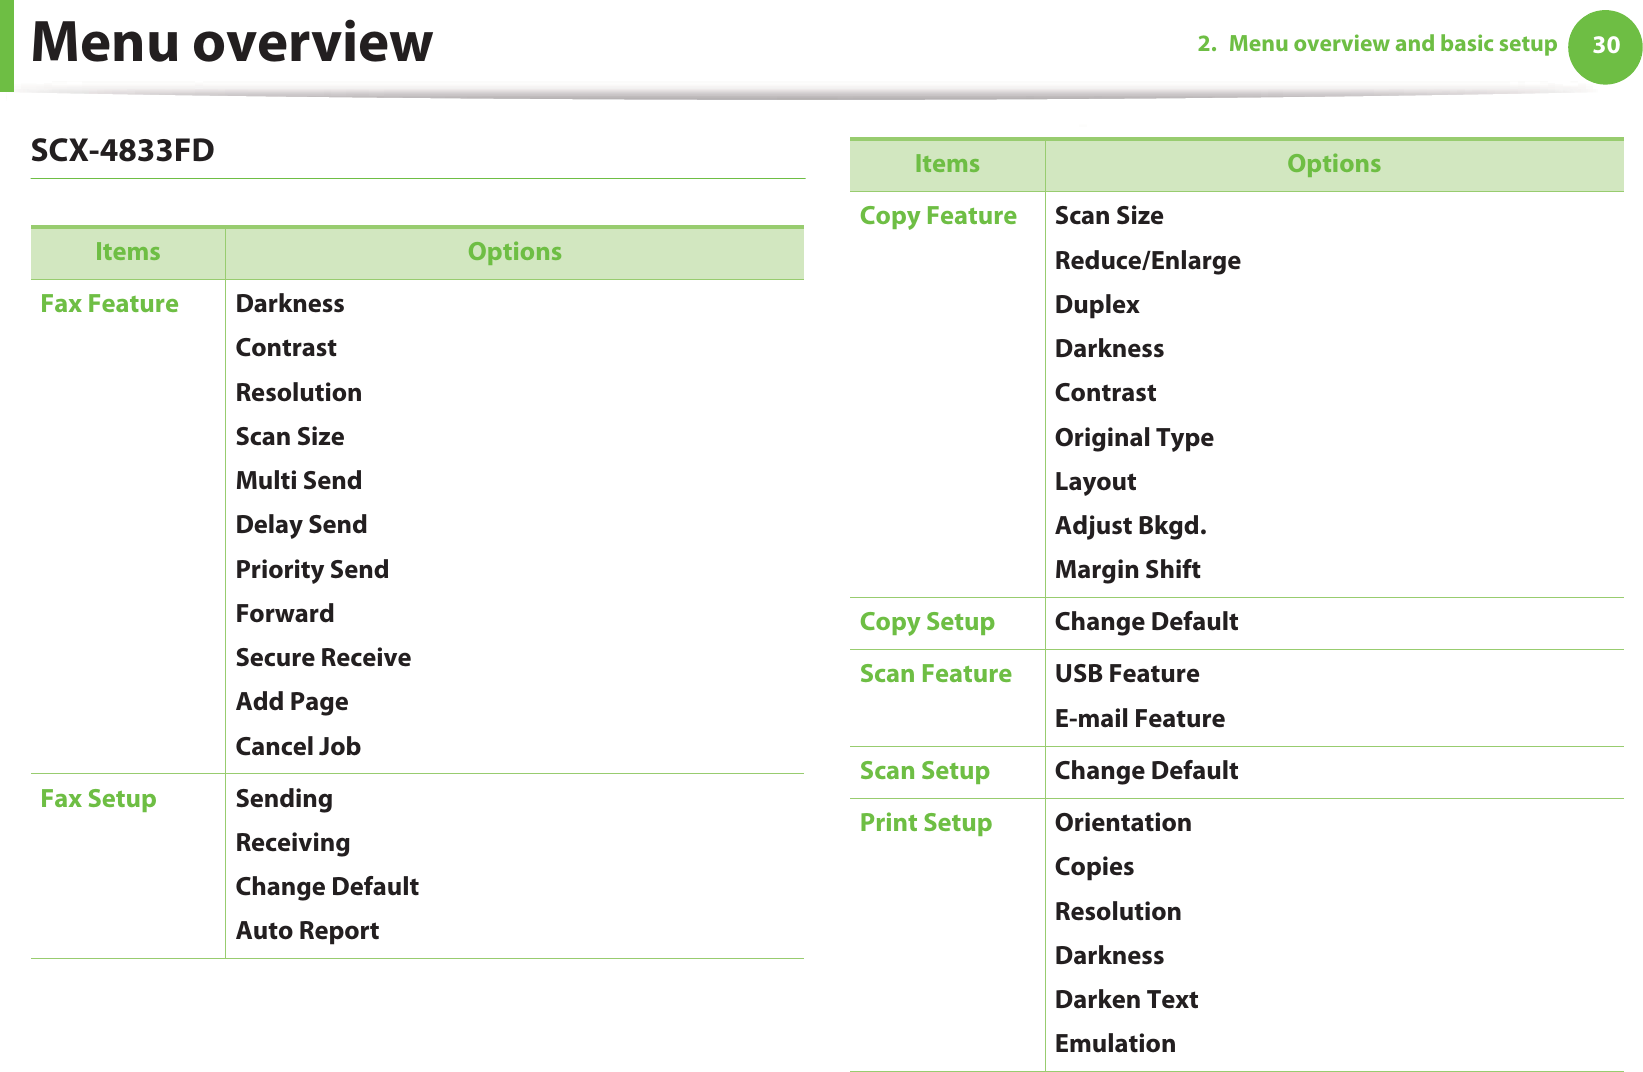
![YContentsXXUIntroduction\Key benefits^Features by models_Useful to know`About this user’s guideXWSafety informationX]Machine overviewX`Control panel overviewY\Turning on the machineY]Installing the driver locallyY^Reinstalling the driverYUMenu overview and basic setupY`Menu overviewZ[Changing the display languageZ\Media and tray\XBasic printing\^Basic copying]YBasic scanning]ZBasic faxing]_Using USB memory deviceZUMaintenance^\Ordering supplies and accessories^]Available supplies^^Available accessories^`Available maintenance parts_WRedistributing toner_YReplacing the toner cartridge_[Upgrading a memory module_]Monitoring the supplies life_^Setting the toner low alert__Cleaning the machine[UTroubleshooting`ZTips for avoiding paper jams`[Clearing original document jamsXWXClearing paper jamsXW_Understanding the status LEDXXWUnderstanding display messages](https://usermanual.wiki/Samsung-Electronics-Co/SCX4833FD.Users-Manual-1/User-Guide-1381483-Page-2.png)
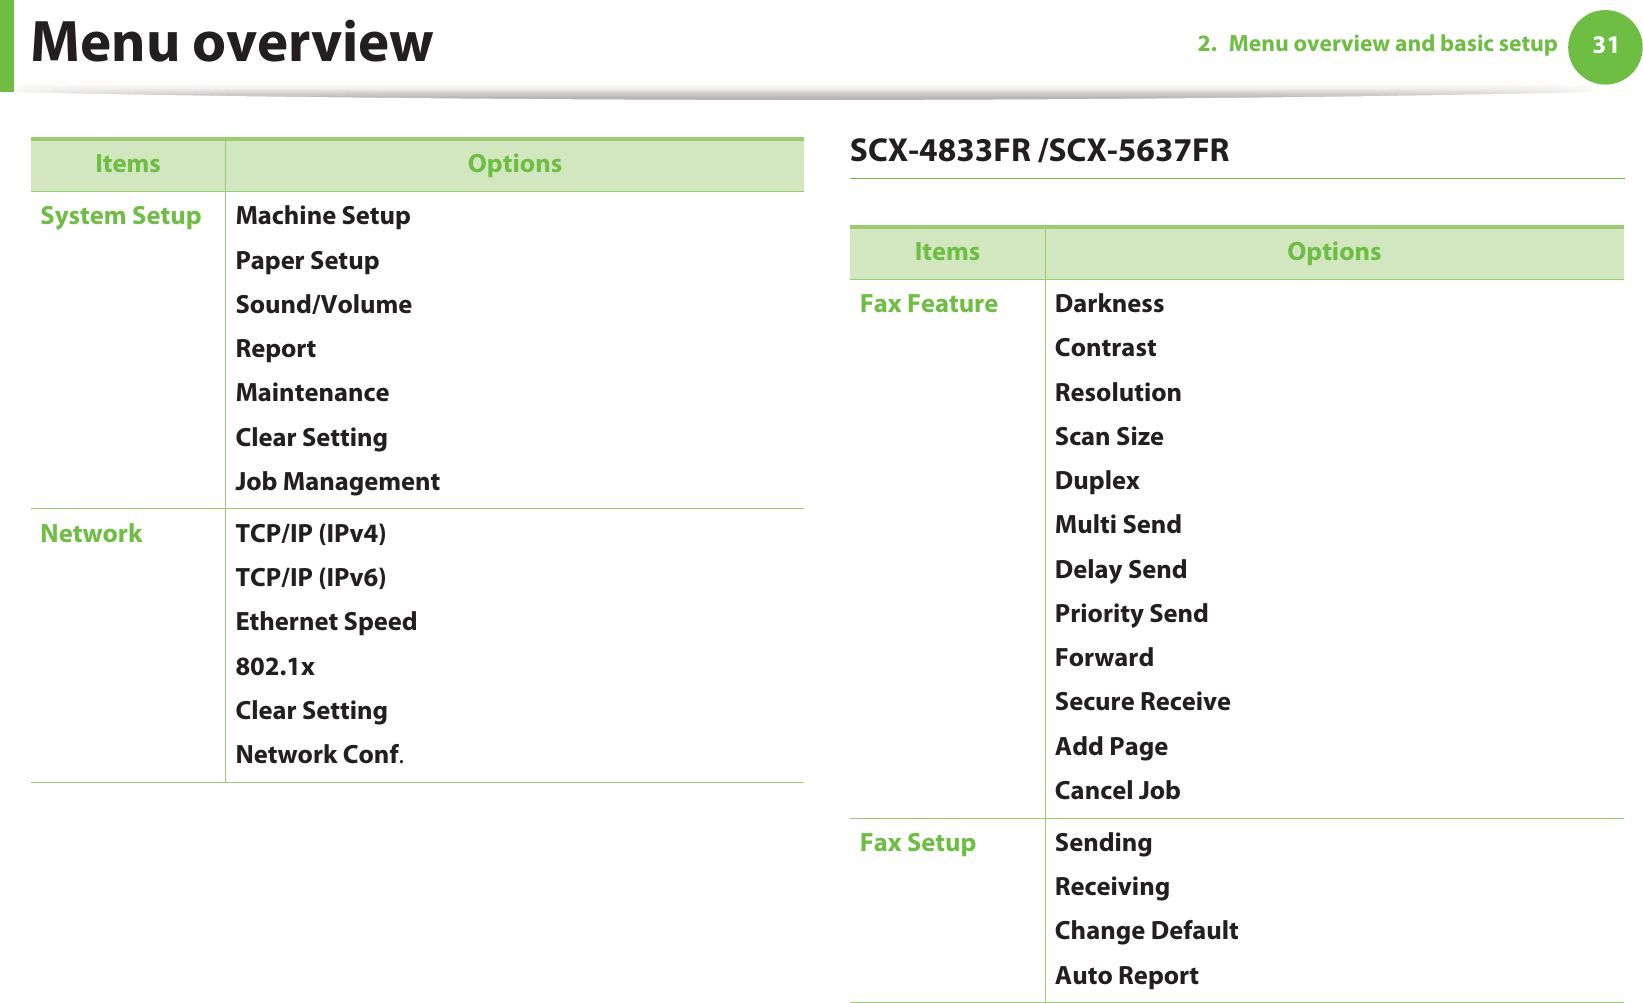
![ContentsZ\UAppendixXYZSpecificationsXZZRegulatory informationX[]Copyright](https://usermanual.wiki/Samsung-Electronics-Co/SCX4833FD.Users-Manual-1/User-Guide-1381483-Page-3.png)